
Lake of Bays, Ontario, Canada
Architect: Doug Carrick (2001)
Yardage: 7,166 Yards, Par-72
Rating/Slope: 74.4/136
My Quick Review: Though most will only remember the picturesque 6th and 18th holes, and the very wide fairways, it takes repeat plays to understand the genius use of angles at Bigwin Island.
A Unique Start to the Day
Bigwin Island, once the site of the exclusive summer destination The Bigwin Inn and a 9-hole Stanley Designed golf course, is... on an island!
 |
| Aerial Photo of Bigwin Island and the Lake of Bays |
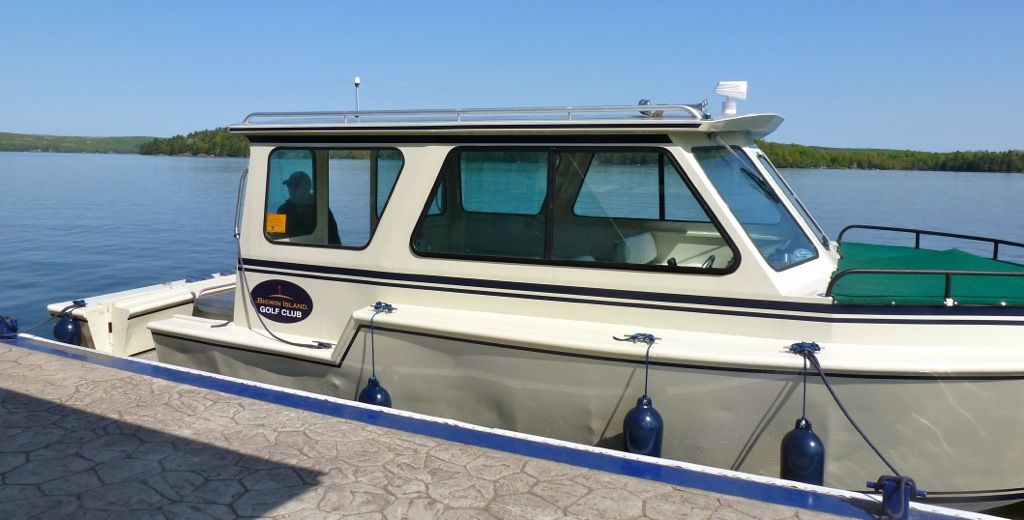 |
| My Transportation Across the Lake |
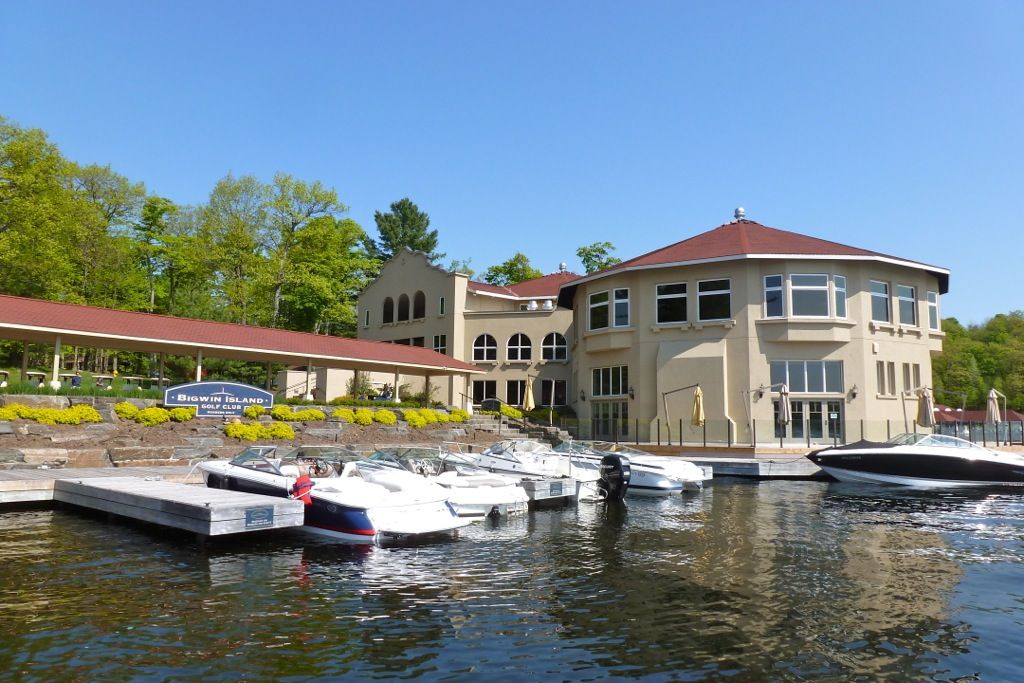 |
| Bigwin Island Clubhouse |

The Bigwin Island routing is exceptional. The front-nine is a figure-eight routing with the stretch of holes from 3-6 playing into the prevailing wind from the east. The back-nine is a mini-Murifield routing with an outer loop (10-14) and an inner loop (15-17) with the 18th playing along the water back toward the clubhouse.
I am no expert when it comes to routing a golf course, but given the significant change in elevation at Bigwin Island it is impressive that Carrick was able to route a golf course that is walkable and with few awkward transitions (the most awkward transition is from 3 green to 4 tee, and it also happens to be straight uphill).
Though there are lots and homes that surround the golf course, at no point does a home come into view.
Course Review
Bigwin Island is a golf course I have grown to appreciate more and more over time. I often hear that the golf course is "too easy" and the fairways "too wide," but "it is a fun experience" and "the 6th and 18th holes are amazing." There was a time I felt this way too.
I now recognize that Carrick's use of angles at Bigwin Island is done as well as at any other modern golf course I've seen in Canada. Through a combination of strategic bunkering, green shape and contour, and elevation change, Carrick clearly lays out a preferred angle of approach into each hole. The fairways are wide, allowing golfers to bail-out from the tee; but an approach from the wrong angle is clearly, but subtly, penalized.
While most golfers expect poor shots to be penalized in the form of full-shot penalties, Carrick has embraced the mantra of the modern strategic architects and employed the use of half-shot penalties.
The greens at Bigwin Island have more tilt than internal contour, further emphasizing the importance of the angle of approach. That is not to say there is no contour as greens such as the potato chipped 2nd, the spined 4th, and the ridged 8th, 13th and 18th provide variety in green contour. But, the real interest comes from the variety in tilt and especially in shape.
Holes to Note
Hole 3: Par 5, 523 Yards -- 'The Serpent'
The first example of the tremendous width at Bigwin Island is found at the par-5 3rd. Carrick entices the golfer to carry the extremely deep bunkering on the left to leave both the shortest approach and preferred angle into this reachable par-5. Plenty of room to bailout to the right, but tee shots long enough to carry the bunkering on the left are also long enough to reach the bunkers on the right.


From the start of the fairway one gets a better look at the snaking shape of the 3rd hole.

After a perfect tee shot down the left side of the fairway the golfer is left with the clearest line into the 3rd green, which lay at a very sharp angle to the fairway. Interestingly, golfers that wish to lay-up from the left side of the fairway have a more difficult shot as they must carry the deep bunker guarding the ideal approach angle 100 yards short of the green. Second shots from the right side of the fairway need not carry this bunker.

Carrick gives the golfer a choice on the lay-up. 1) Play to the right of the bunker 100 yards short of the green, and leave this intimidating approach over the green side bunkers to a very shallow green...

or 2) play past the fairway bunker and leave this simple pitch to the width of the green.

Plenty of room to miss long, though contouring near the edge of the green makes the recovery from fairway cut a more difficult task.


3rd green with 9th fairway in background


While a front pin, as pictured, is easily accessible, back pins require a very precise shot. A spine runs through the green 3/4 of the way back, forming a very small punchbowl in the back corner of the green. Putts from one side of the spine to the other are nearly impossible.


Approaches from the right or the centre have a semi-blind but clear line allowing for shots to be run onto the green. Shots from the left must challenge the green side bunkering.

A missed opportunity for a tremendous skyline green... maybe someday!

A look at the elevation change looking back from the green to the tee.

The 5th green


The approach appears innocent but is one of the most demanding on the golf course. Though it is hard to believe, the second shot actually plays slightly uphill and the land in front of the green forms a hog's back fairway. Anything landing right of centre will kick right into the deep bunkering, while anything landing to the left will find a difficult-to-recover-from collection area.

A look back up to the tee from the 6th green


Hole 9: Par 4, 408 Yards -- 'The Temptation'
A Bottle Hole!! The ideal line requires a forced carry to access the narrow left fairway. The bailout to the right requires no forced carry and there is tons of width -- it's almost impossible to miss this fairway to the right.


The approach from the right side is semi-blind over a series of intimidating bunkers short and right of the green.

The approach from the narrow portion of the bottle can be run onto the putting surface, which lay in clear view from this elevated position.

Very long tee shots will funnel down to this low point in the fairway leaving just a simple pitch into the green, which slopes significantly from back-right to front-left.


Hole 13: Par 4, 404 Yards -- 'The Ledgerock'
A good short par-4. The tee shot is played to a wide and rolling fairway that tilts from left-to-right. Many golfers will choose to hit less than driver from the tee to stay short of the severe fall-off 280 yards from the tee.


One of the most intimidating approaches on the golf course, the second shot at the 13th is played uphill over a bunker (visual deception) to a green protected by a severe fall-off both long and right.


Golfers hoping to bailout to the left and use this slope to find the green will be disappointed as most shots landing on the slope stay in the rough and leave a difficult pitch from an awkward lie.

This picture fails to show the green contouring. There is a ridge that runs across the green, splitting it into front and back halves. The front half slopes towards the tee, creating a small false-front. The back portion of the green is very difficult to find as it runs toward the back edge of the green.

Hole 14: Par 4, 403 Yards -- 'The Twister'
Another one of my favourites. The 14th is classic risk-reward. Challenge the bunkers/trees on the left and carry the hill to leave 100 yards or less into the green. But, as the golfers bails out more and more to the right, the approach gets more and more difficult...


From the start of the fairway it is easier to see just how much fairway there is to the right.

Tee shots that are too far right will funnel back to the bottom of this hill leaving a very difficult and blind approach from ~180 yards.

Tee shots played down the centre may stop at the top of the hill, leaving a 150 yard approach played downhill to the green.

But tee shots played down the left should run down to a position not too far from the green, leaving just a flip-wedge or pitch into this long and narrow green.

Tee shots that clear the hill but are played a bit too far right will leave an awkward pitch over a bunker to a green that lay at a diagonal.


Hole 15: Par 5, 515 Yards -- 'The Outcrop'
This reachable par-5 concludes the best stretch of holes on the golf course. Once again there is lots of room to bailout, but the ideal line is protected by a carry over a series of bunkers. As one moves back in sets of tees the hole not only gets longer, but the angle of the tee shot more difficult.

Look at all that fairway to the right!

Tee shots that bailout right leave not only a longer approach but also are faced with a semi-blind second shot over the crest of a small hill. The entire landing zone for the lay-up is blind from here.

Tee shots on a bolder line leave this second shot, which not only leaves a preferred angle into the green, but also gives a clear view of the lay-up area. The entire series of bunkers on the left can now be seen.

The farther left your tee shot, the better the angle of approach...

This diagonal bunkering guards the ideal angle of approach into the 15th green. Unfortunately, this angle is rough cut... no reason for this not to be fairway.

Approaches from the right are played uphill over a deep bunker that hides the putting surface. The combination of blindness, intimidation and the angle of the green to the line of play, make finding the putting surface from here extremely difficult.

A very bold lay-up will carry the left-side fairway bunkering, leaving just a pitch into the width of the green.

Deep green side bunkering, perhaps the deepest on the golf course -- appropriate for a short par-5.


Playing the second shot from the right side of the fairway leaves the shortest approach into the green and also the easiest line from which to reach the green in two. But, it complicates the lay-up as one must judge the carry over the duo of diagonal bunkers and the fairway is narrower from this angle.

Laying-up from the left side of the fairway is a simple task. Pin location determines whether an approach from the left or right side of the fairway is preferred.

Laying up down the right leaves easier access to a back/left pin...

While laying-up near these bunkers on the left leaves the preferred angle into a front/right pin.

The series of bunkers guarding the front-left of the green leave a very difficult recovery (mostly because there are members' boats docked on the lake just over the green -- more intimidating than a clubhouse with large windows!).

The green is two-tiered with a large front portion and a small upper back portion.


No comments:
Post a Comment