
Valentine, Nebraska, United States
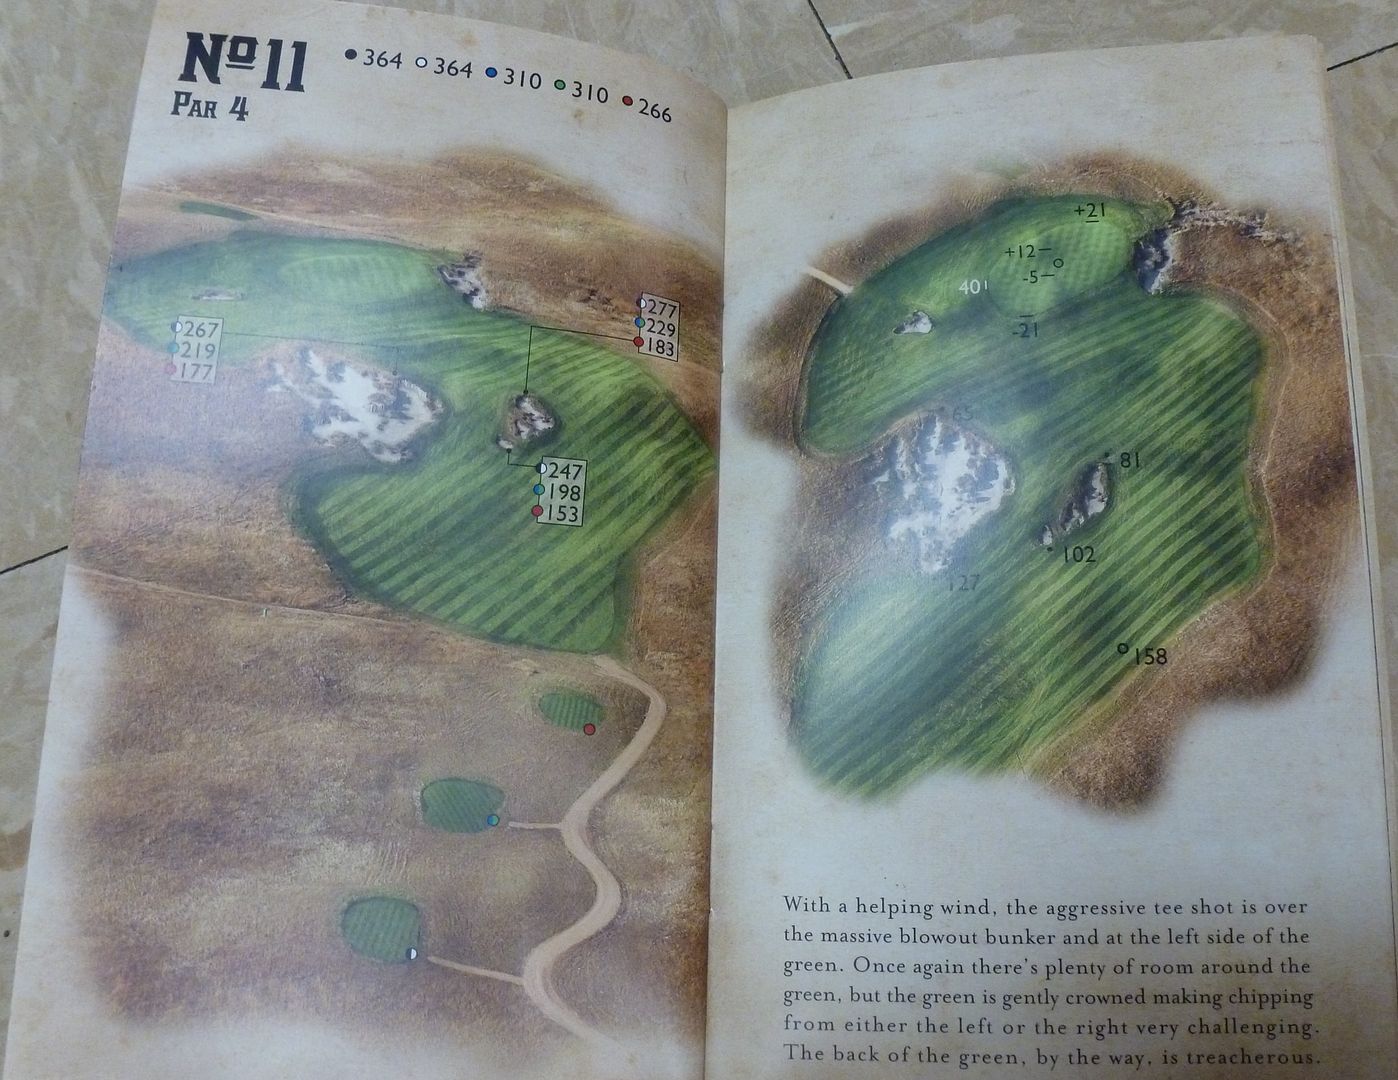
Architects: Tom Lehman / Chris Brands (2010)
7,583 Yards, Par-73
Rating/Slope: 75.0/135
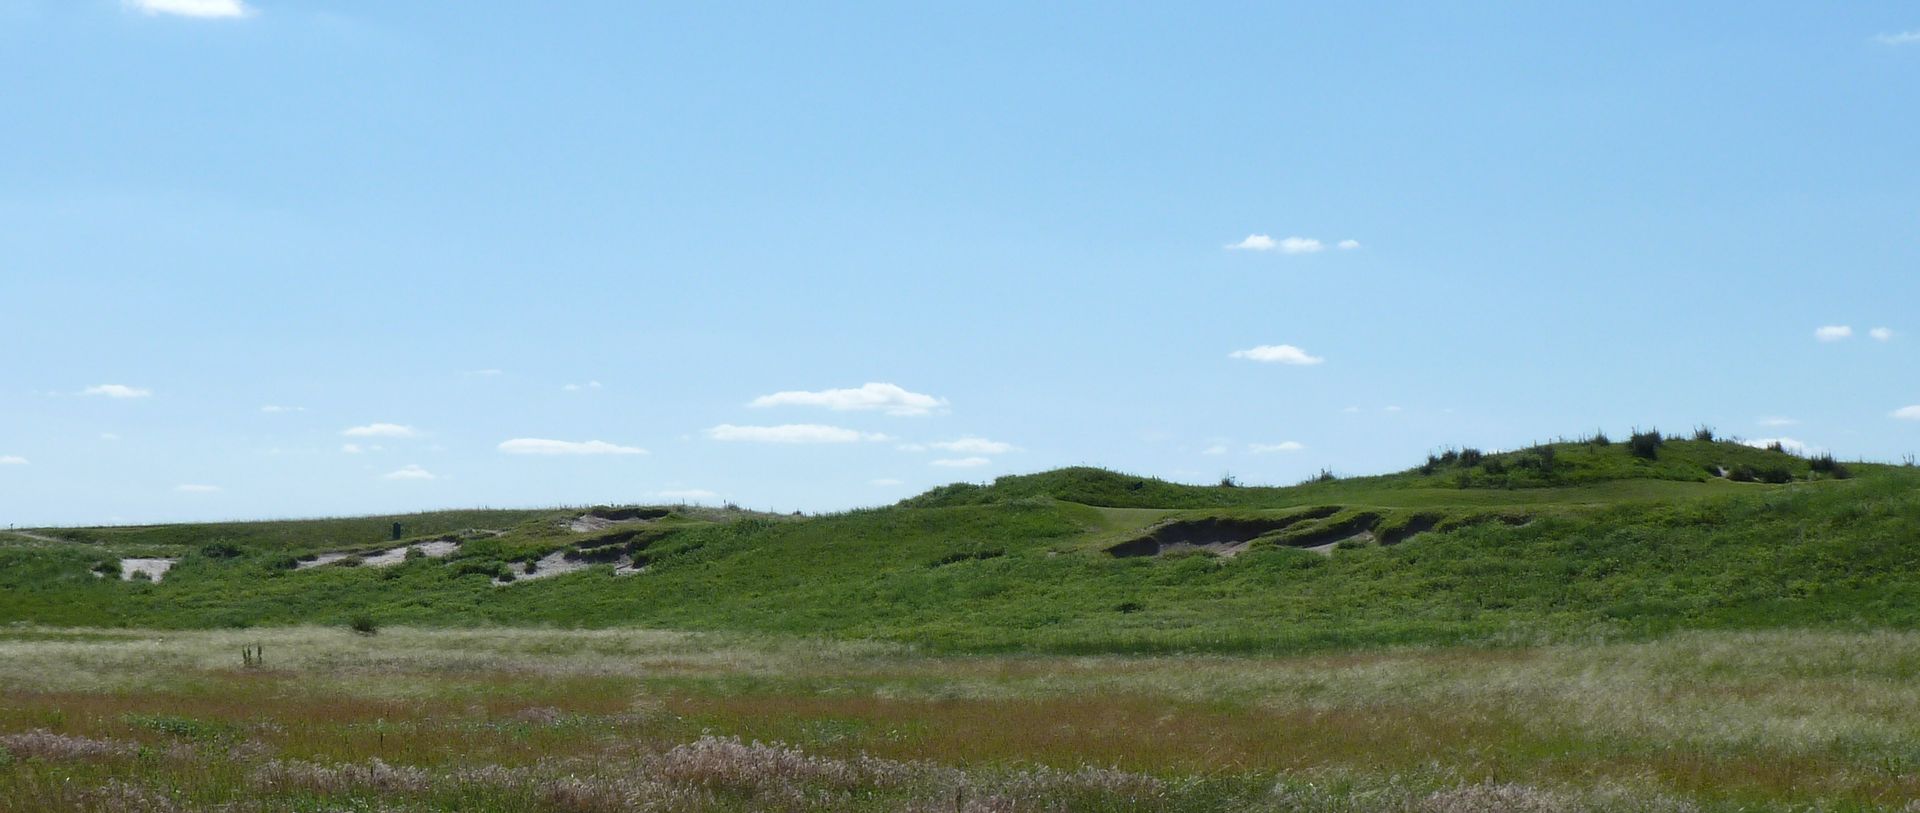
My Quick Review: The most expansive golf course I have ever seen. Inspired bunkering, massive width and genius green complexes make this one of the best modern golf courses in the United States. A Must-Play!
My Thoughts
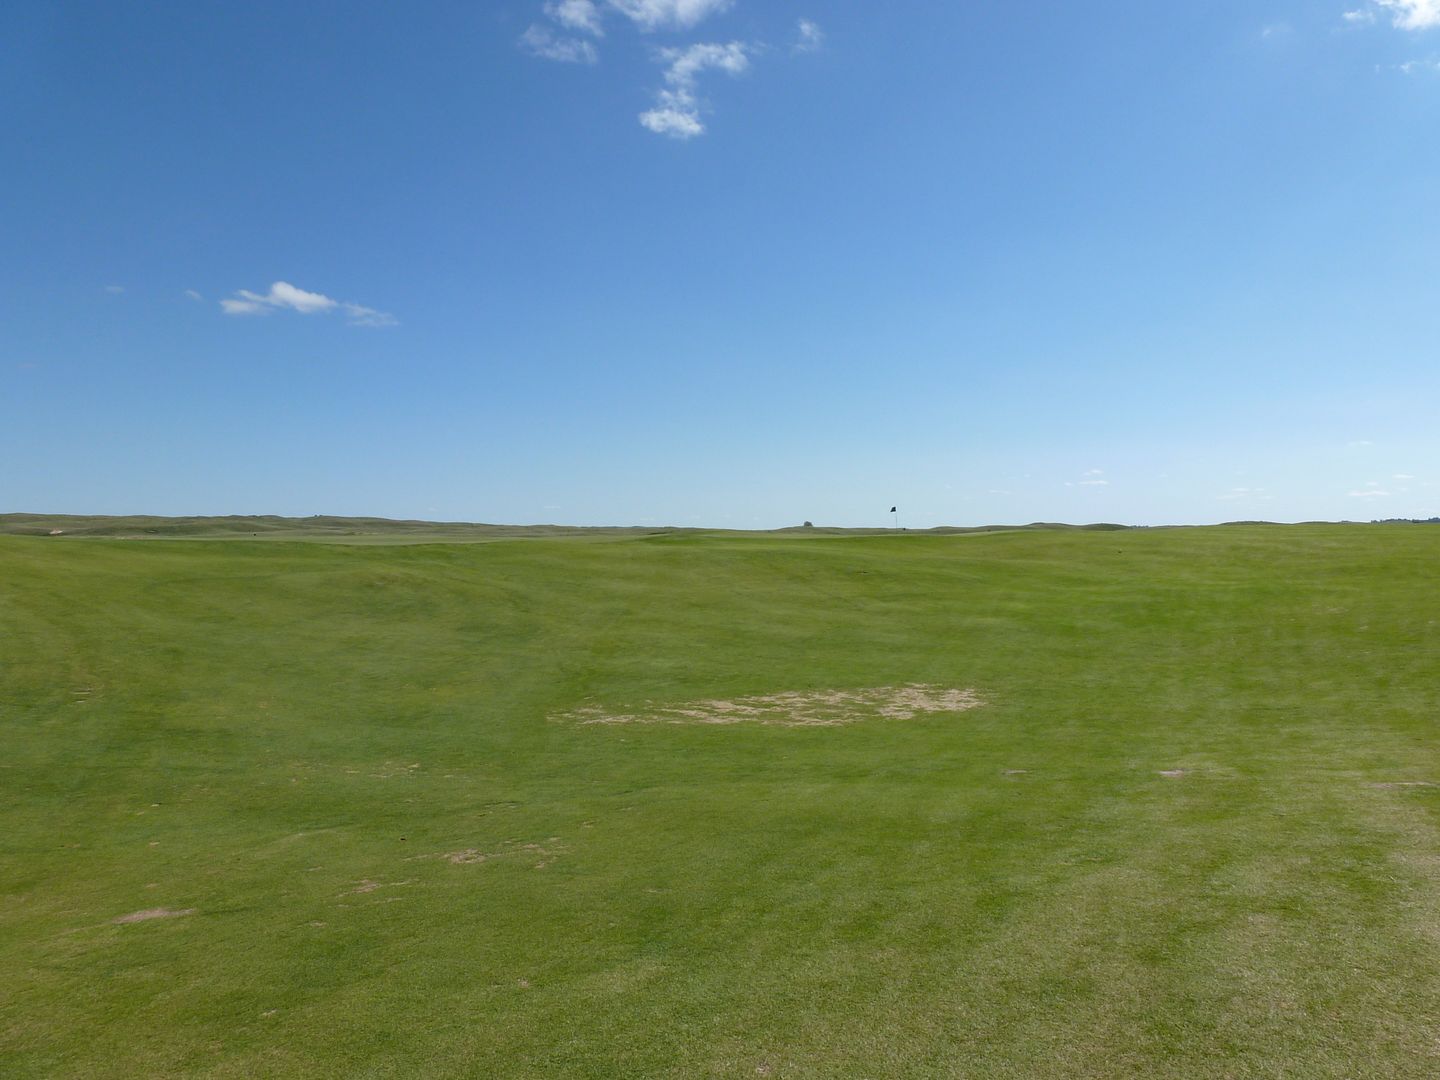
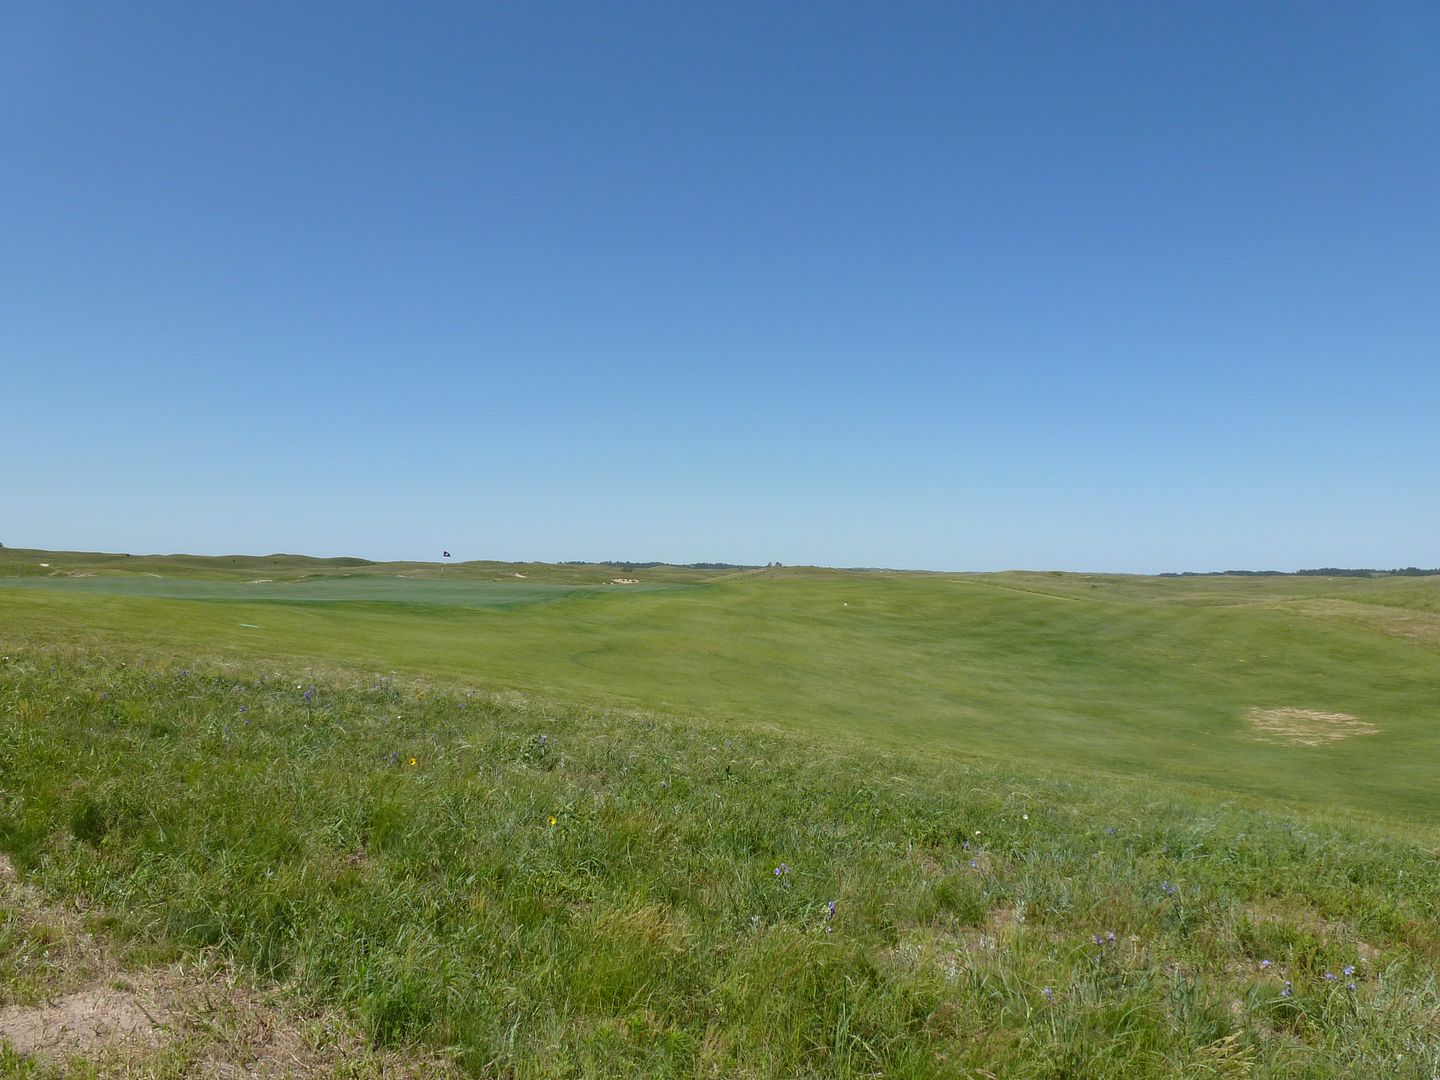
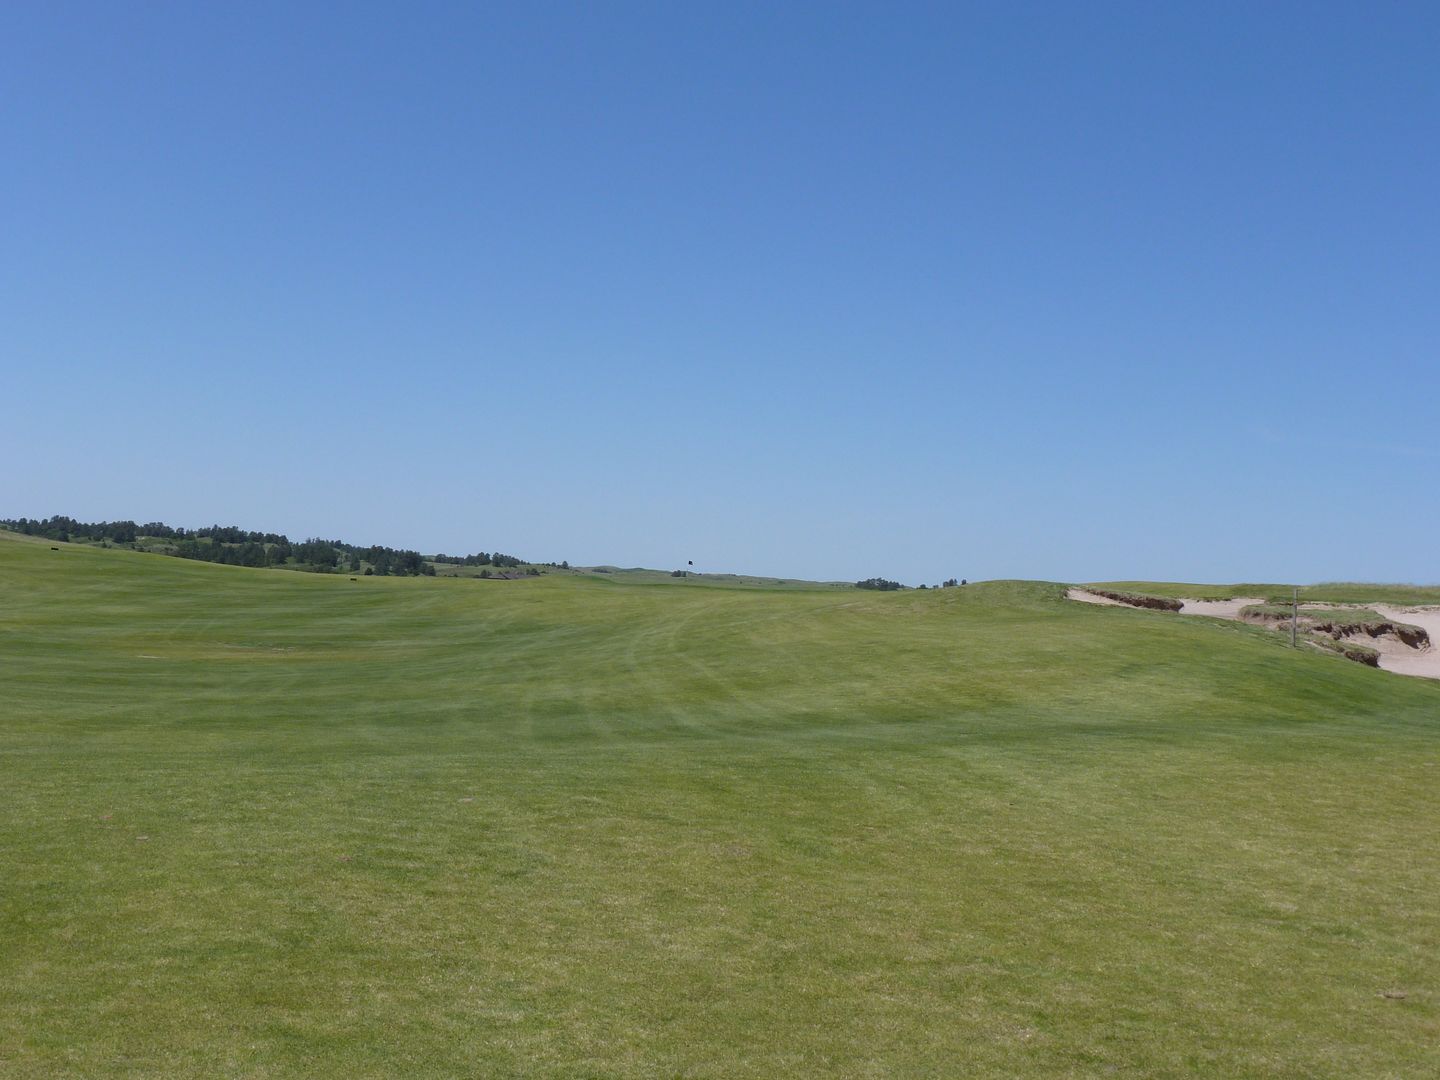
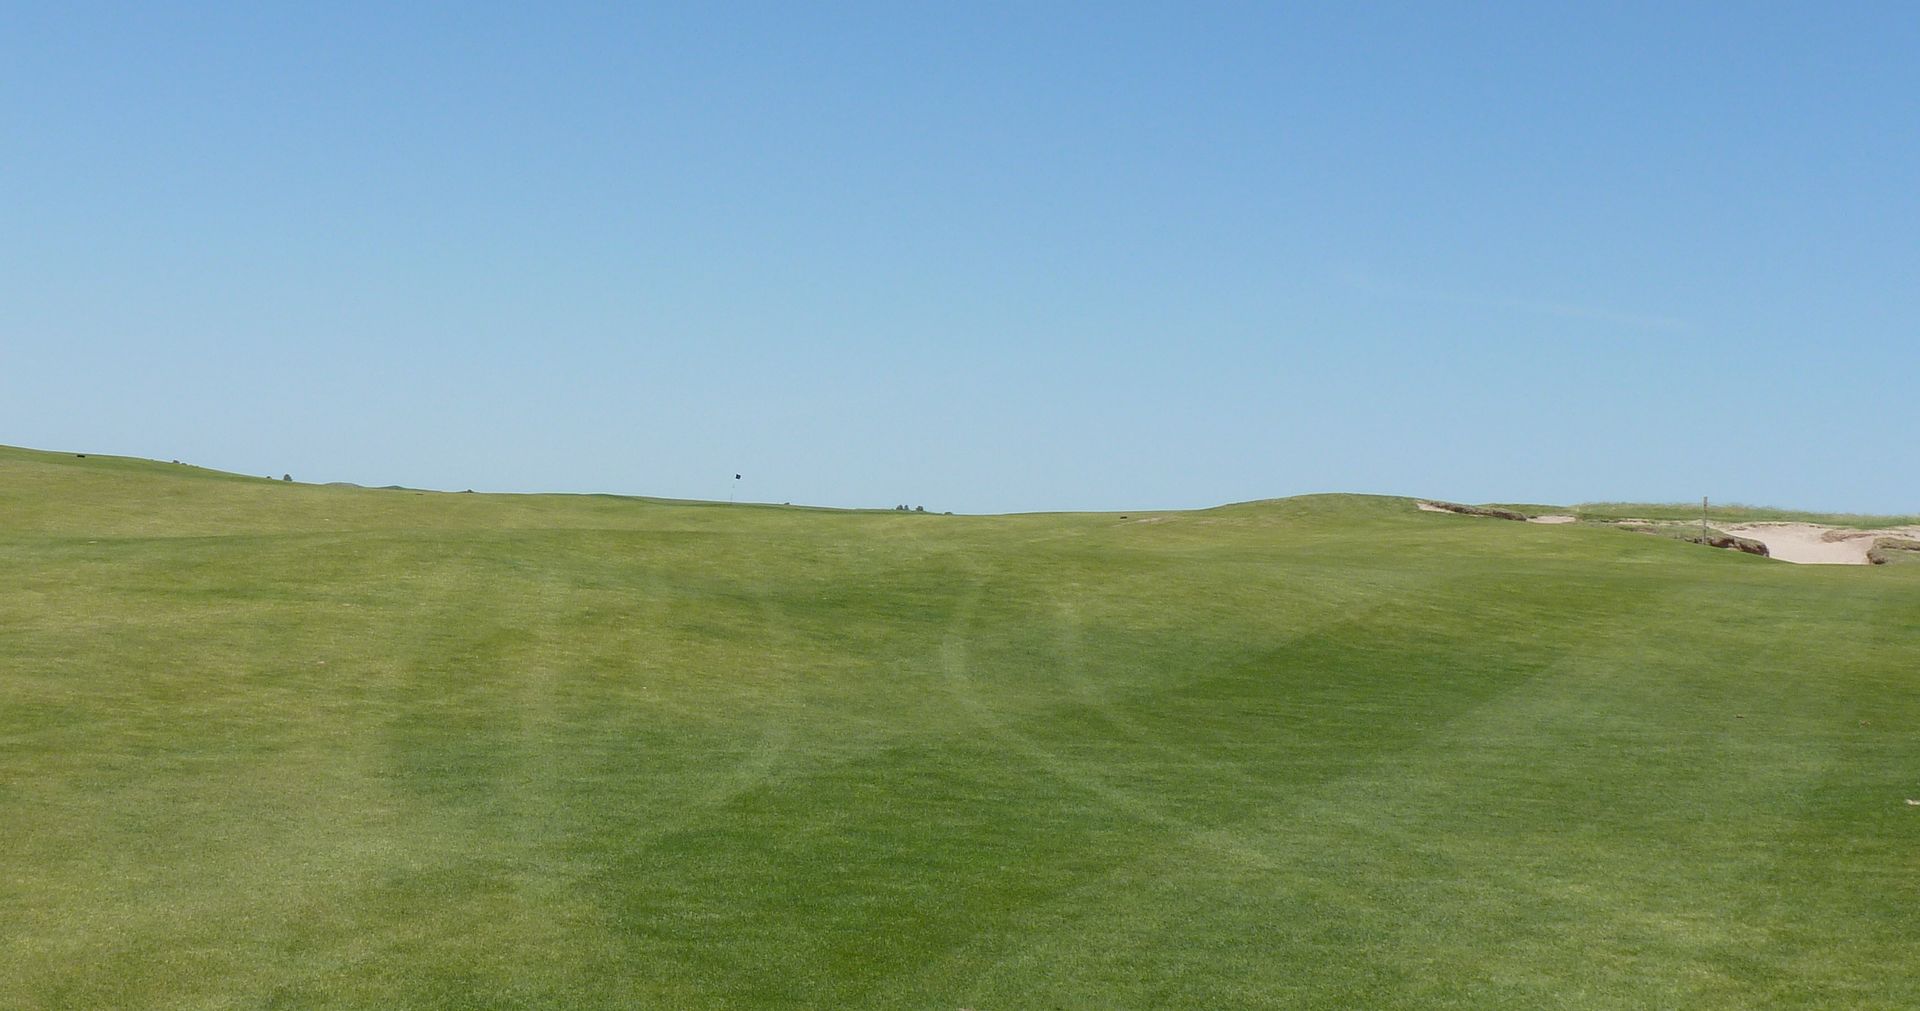
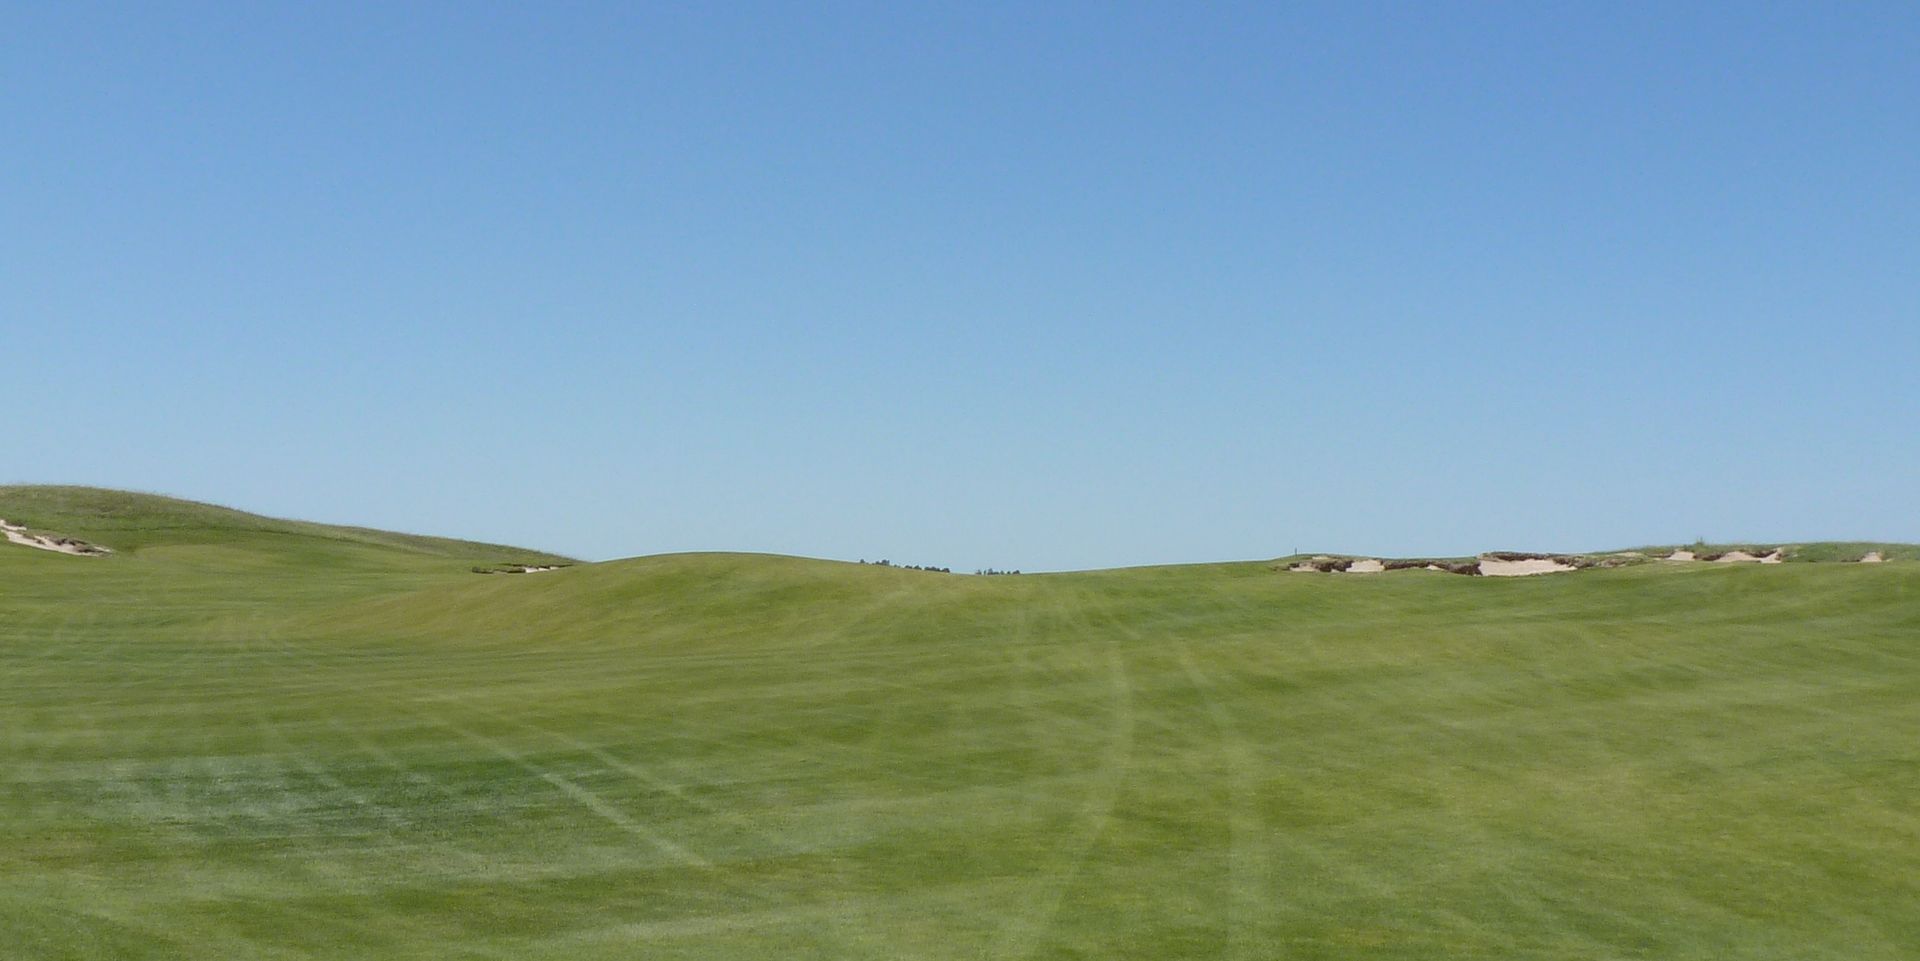
There are so many sets of tees, possible pin positions and cleverly placed fairway bunkers (and an ever-present, constantly switching wind) that give the course a very different feel every time you play it. I played 72 holes over 2 days, from three sets of tees with two different winds and honestly the course was equally fun with every combination.
I was really impressed that even though the wind switched 180 degrees from one day to the next, the course remained fair and interesting both days. I was convinced I knew the direction of the predominant wind after my first day of play because the course 'fit' that day's wind so well. After the second day and an opposite wind, however, I really wasn't sure. The course played that good with both wind directions.
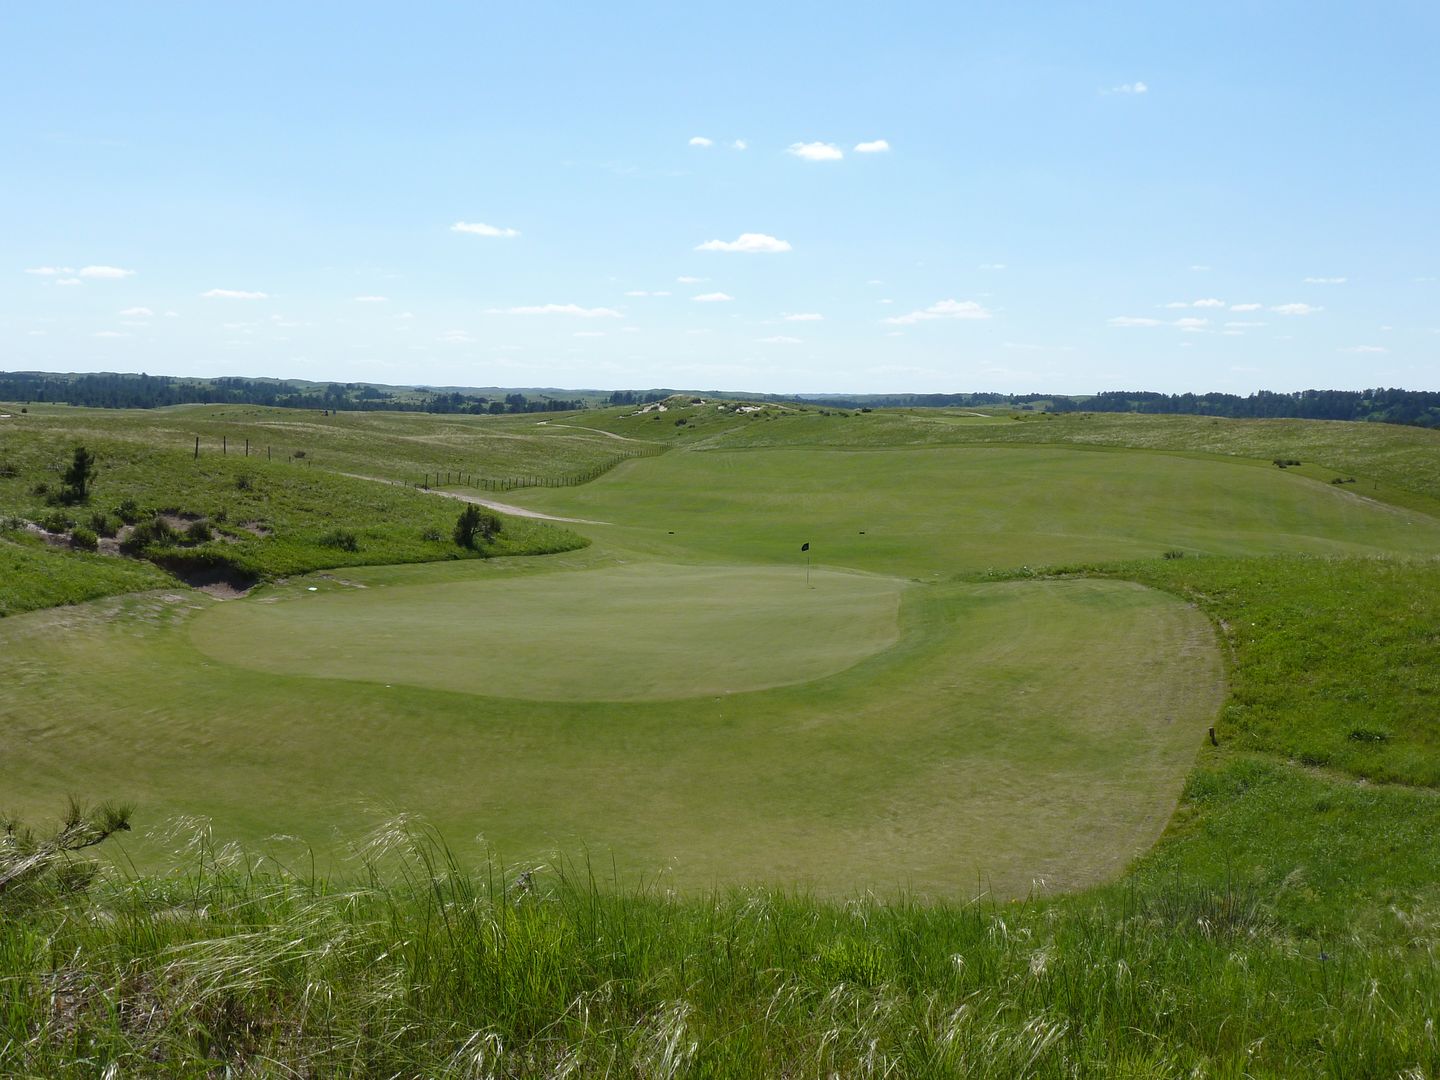
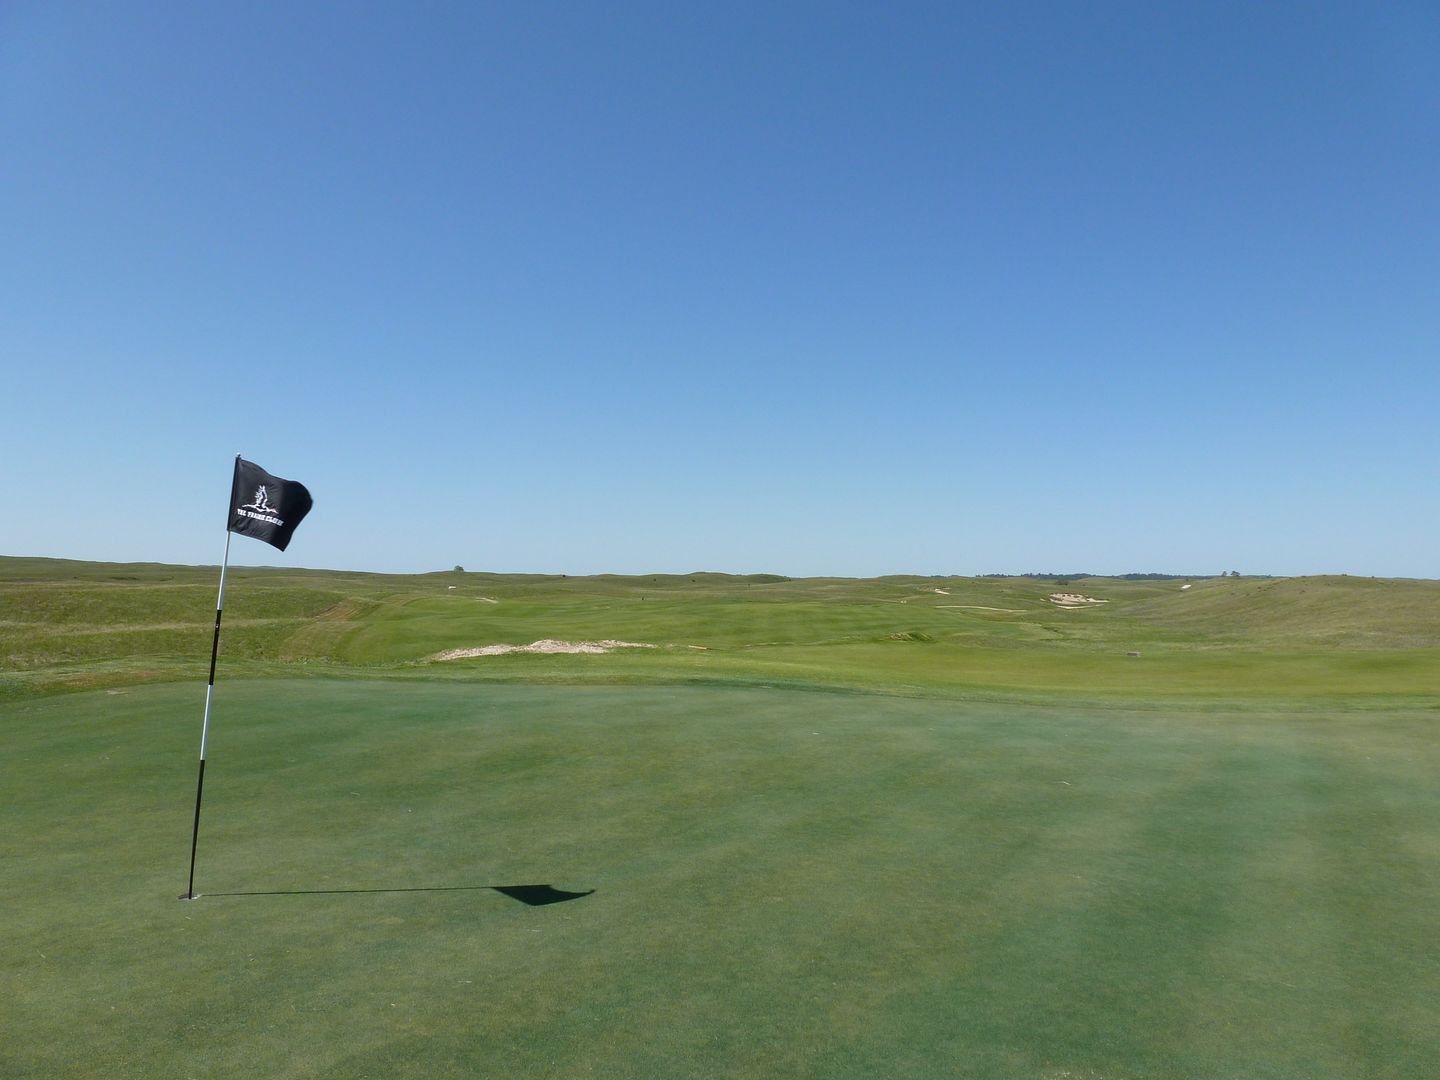
Another thing I found really interesting about the course was that even though the greens are very, very large, often the internal contouring was quite subtle. As a result, long two-putts were possible. That being said, there was substantial contouring around the perimeter of the greens. It seemed as though the archies had a couple of pin positions in mind that would be seriously impacted by these difficult contours, but on days where the supers wanted the course to play a bit easier, middle of the green pin positions could be used that would not bring the large contours into play.
I played the course from three different tees (all par 73) (Black - 7583 Yards, 75/135; White 7355 Yards, 74.2/133; Blue 6838 Yards, 71.7/128). None of the tees I played actually played close to their stated yardages as tees were moved up on many holes. Photos will be from a few sets of tees as will be noted.
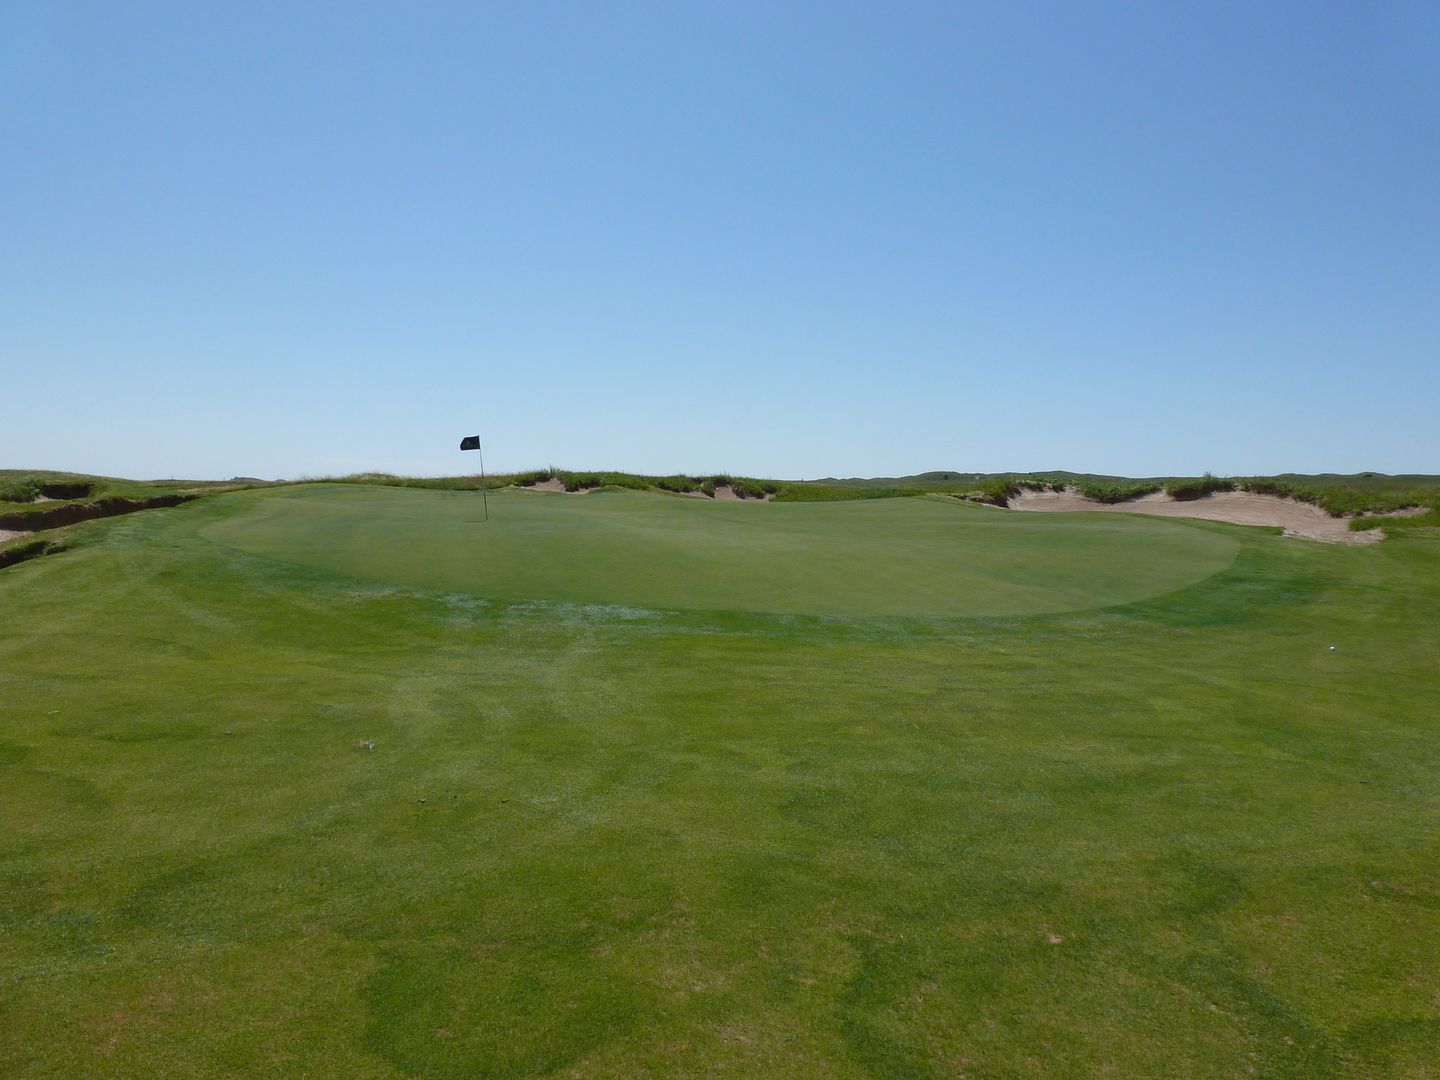
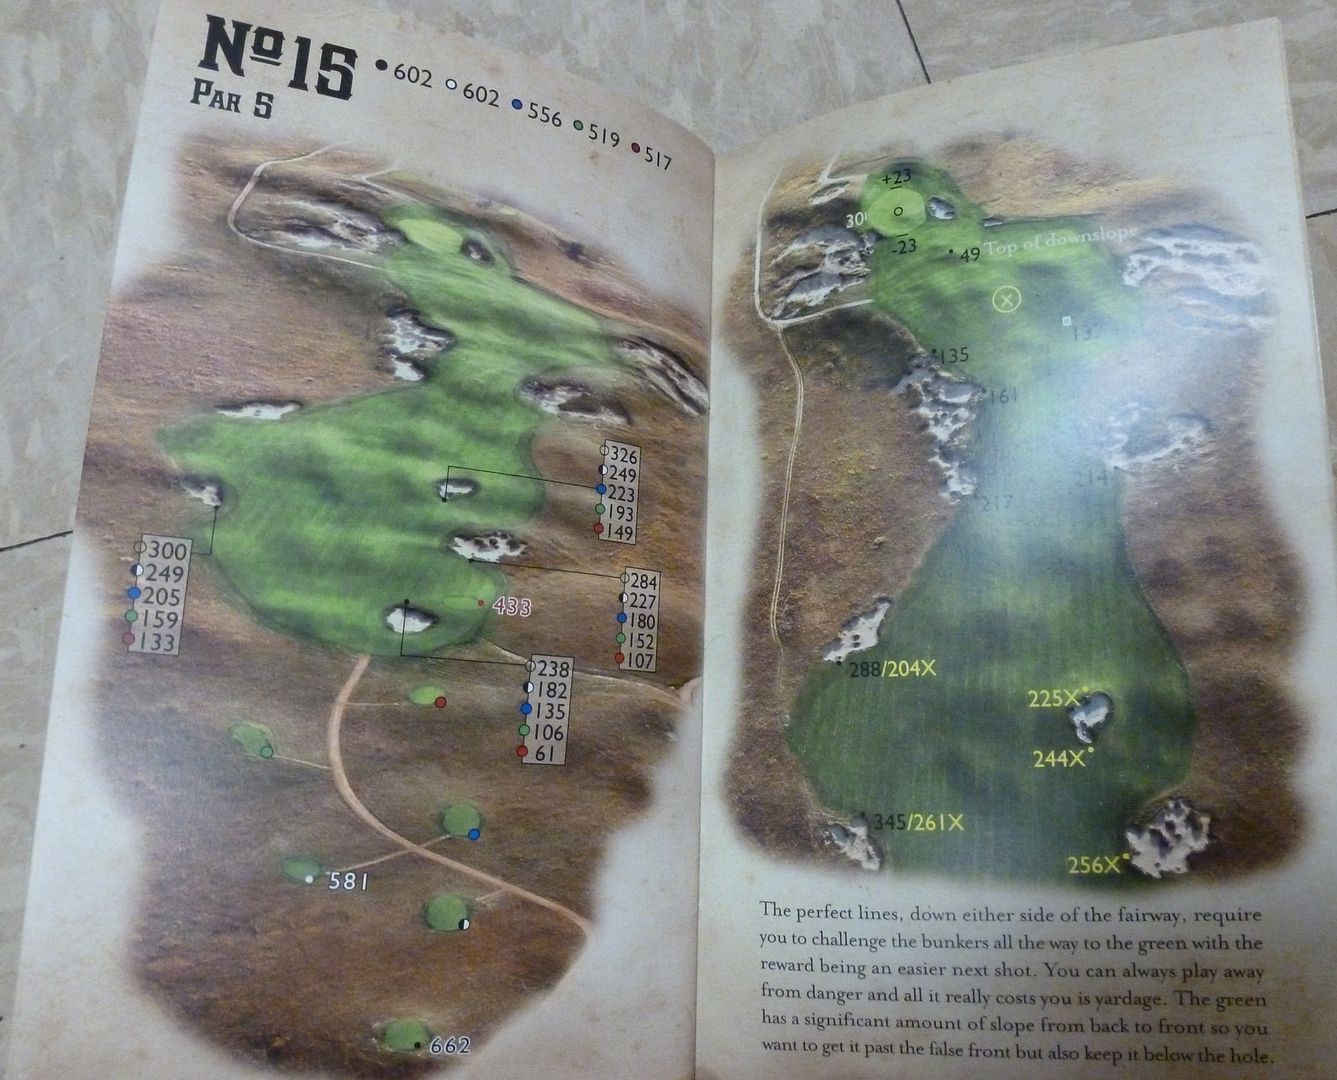
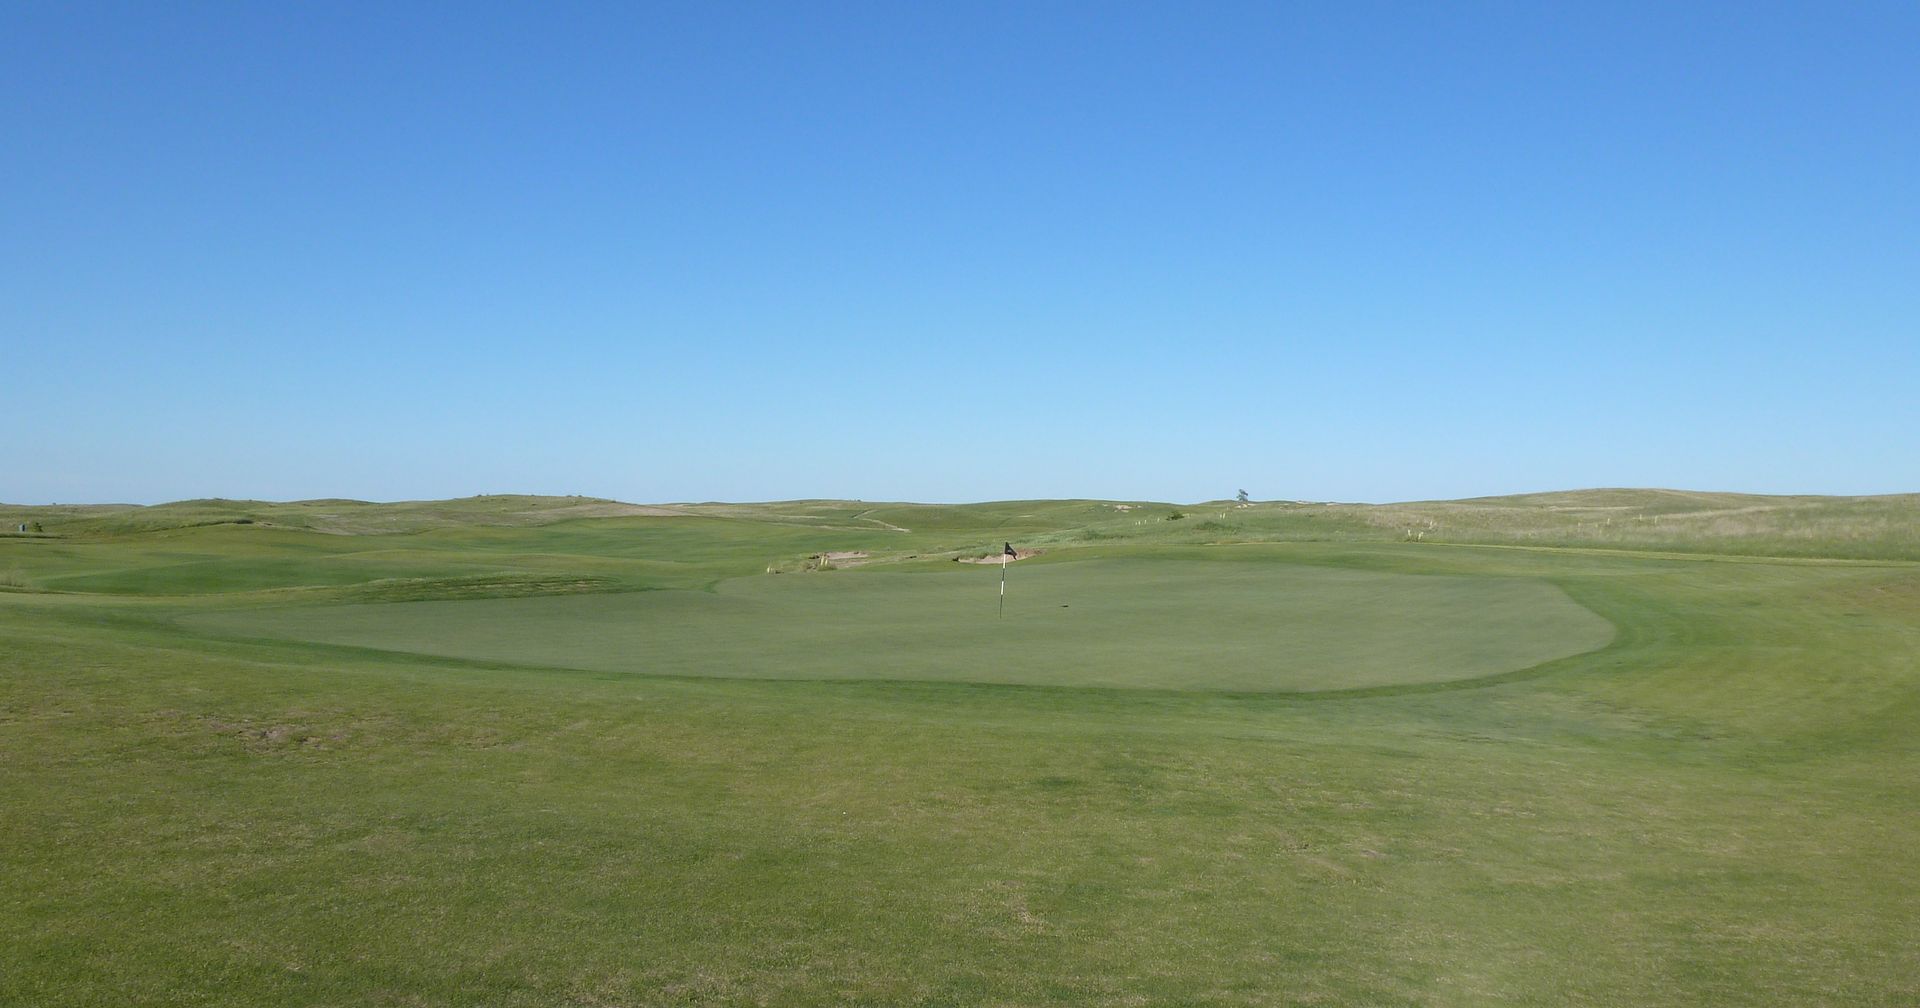
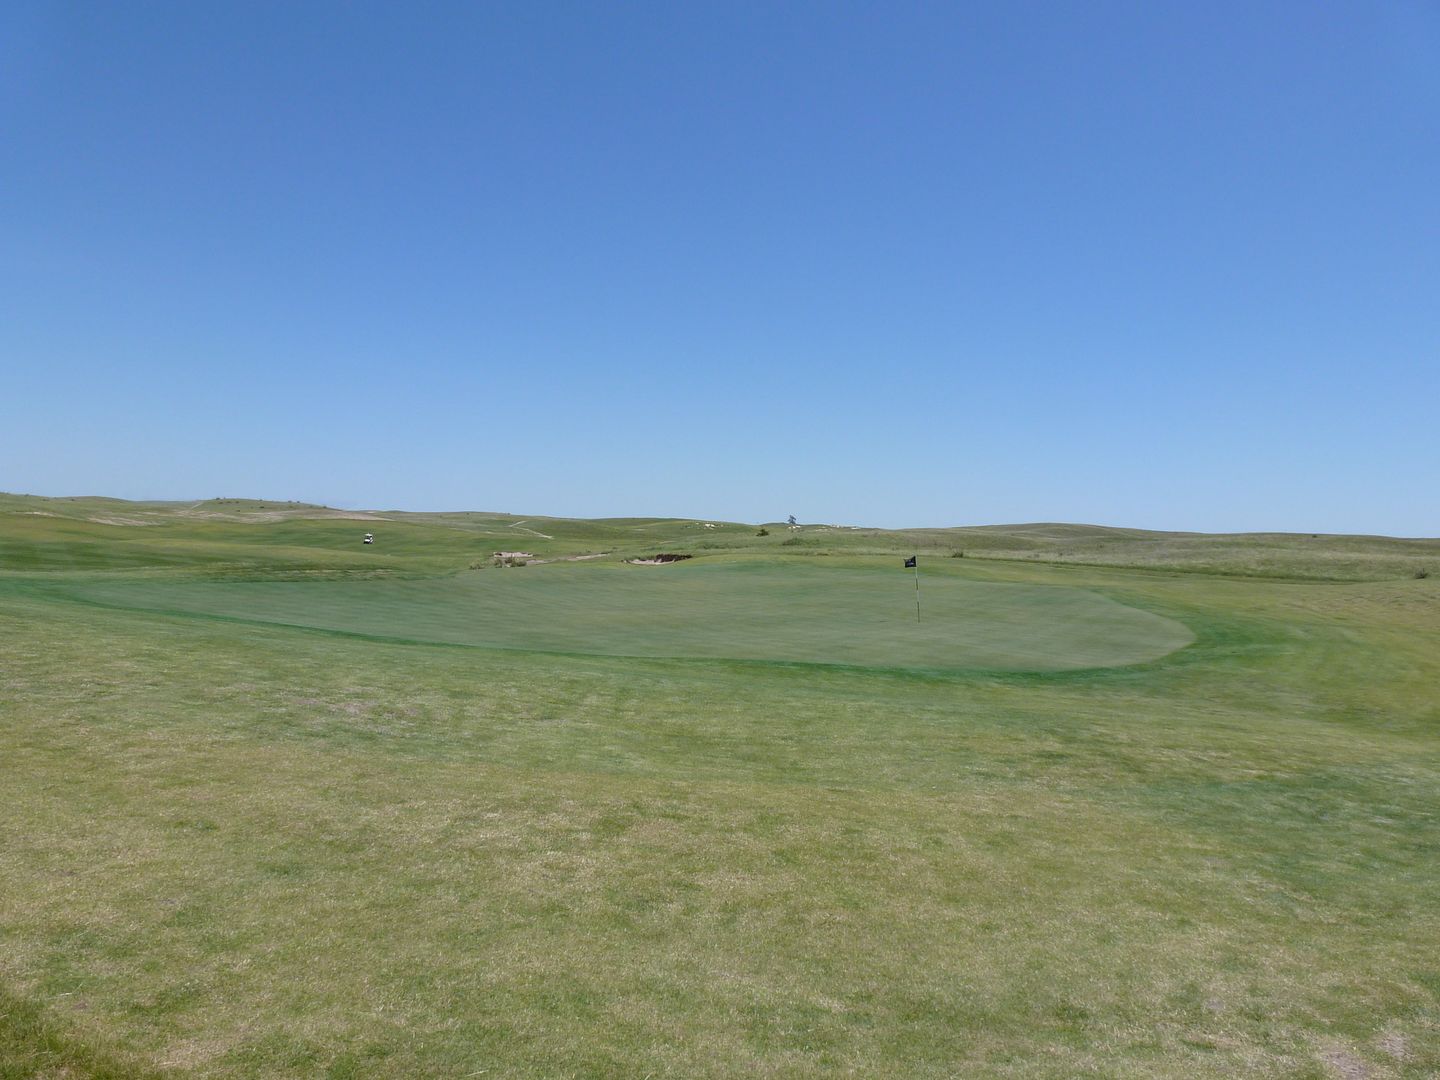
The Greens
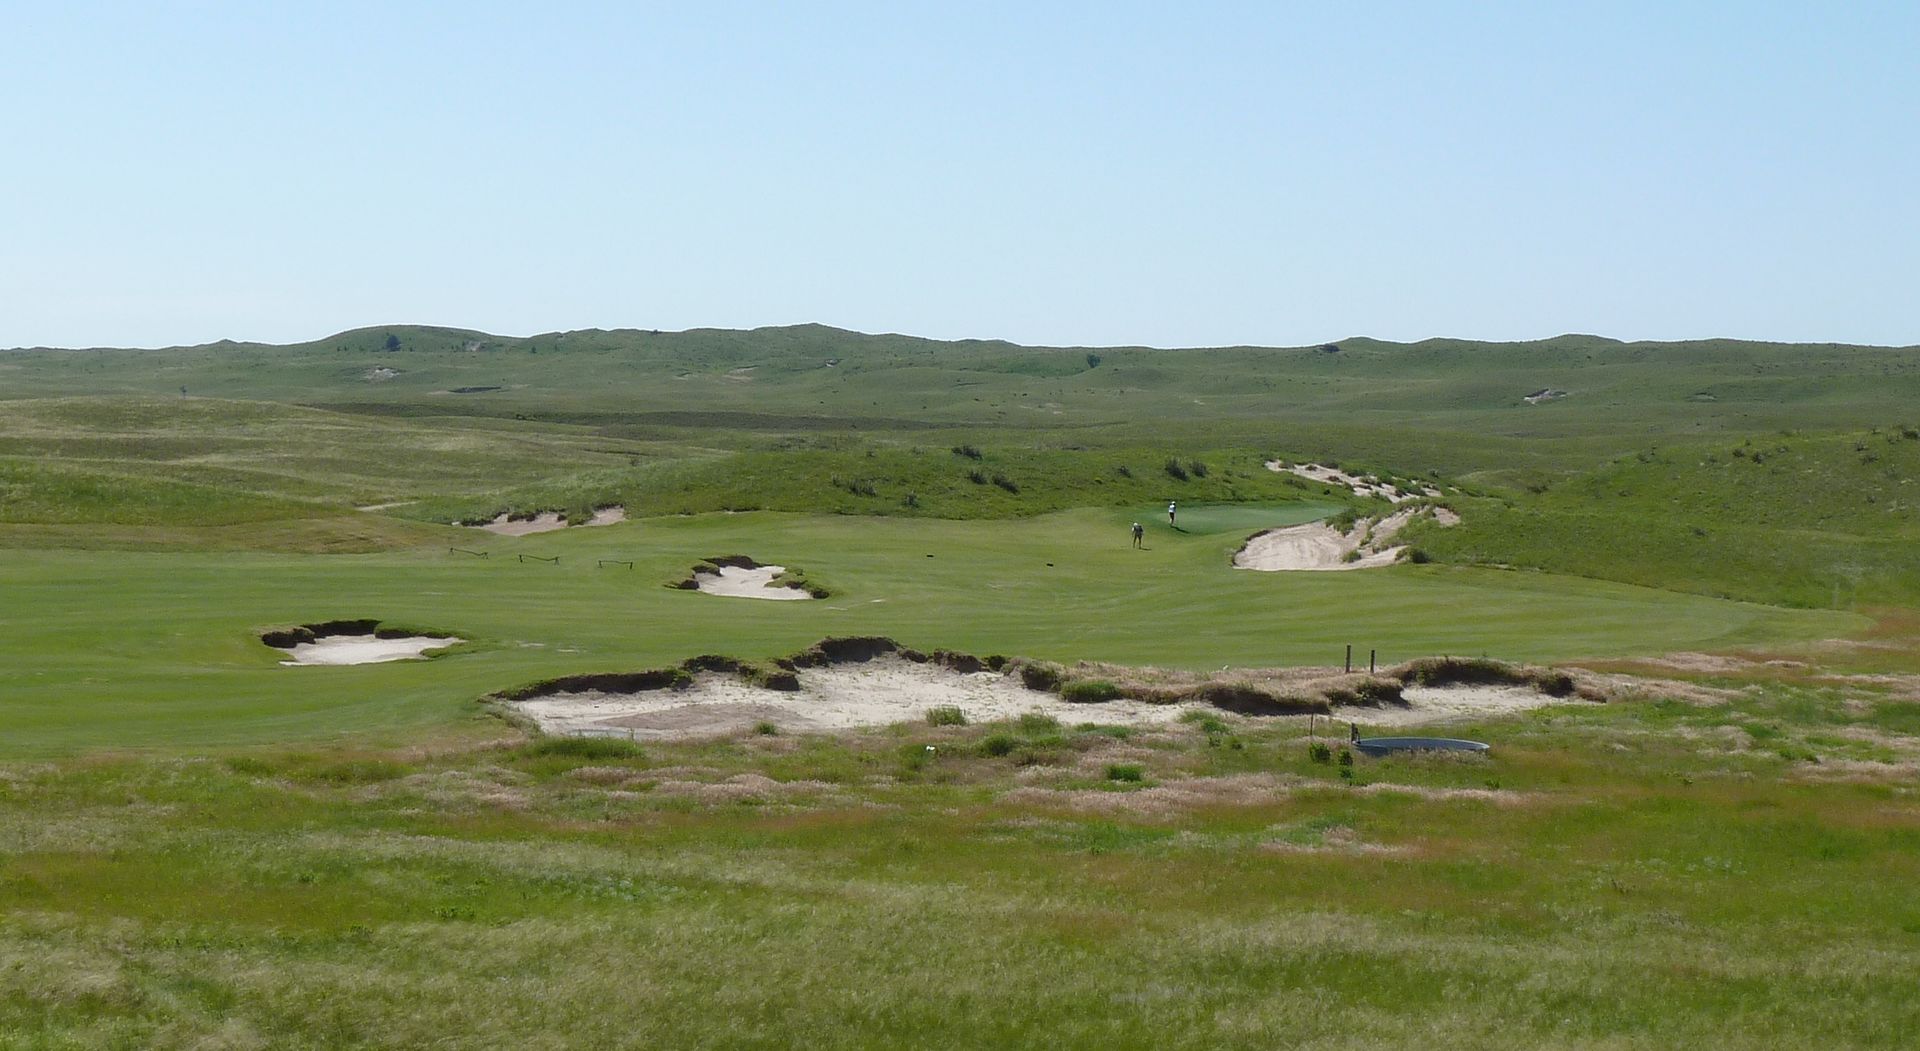
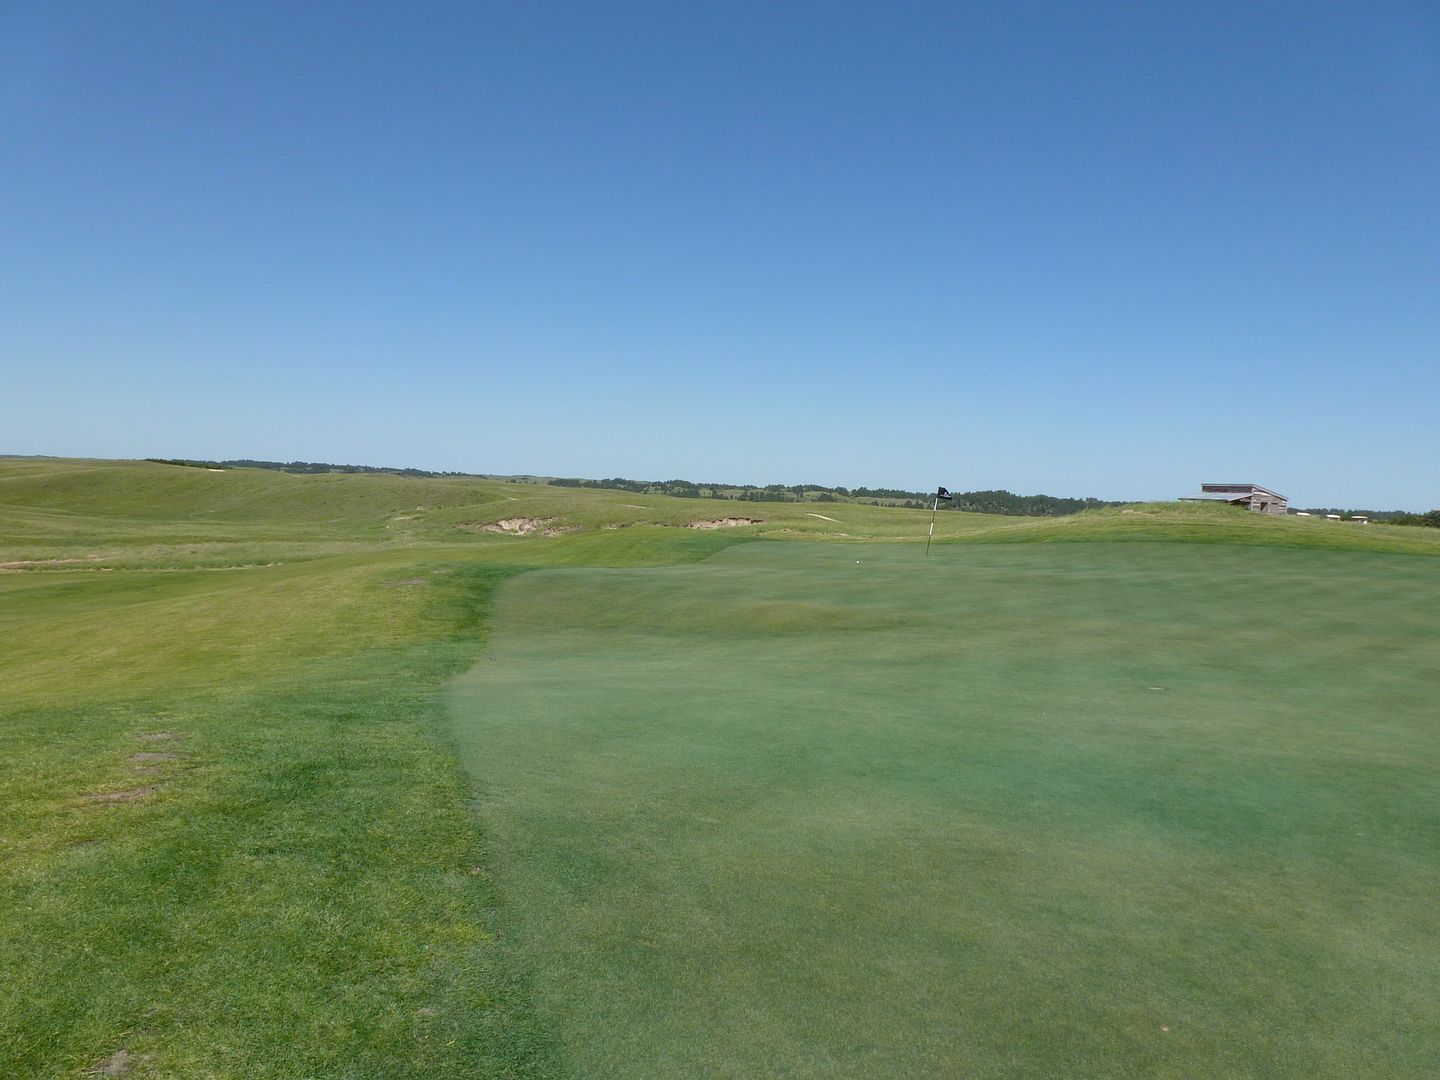
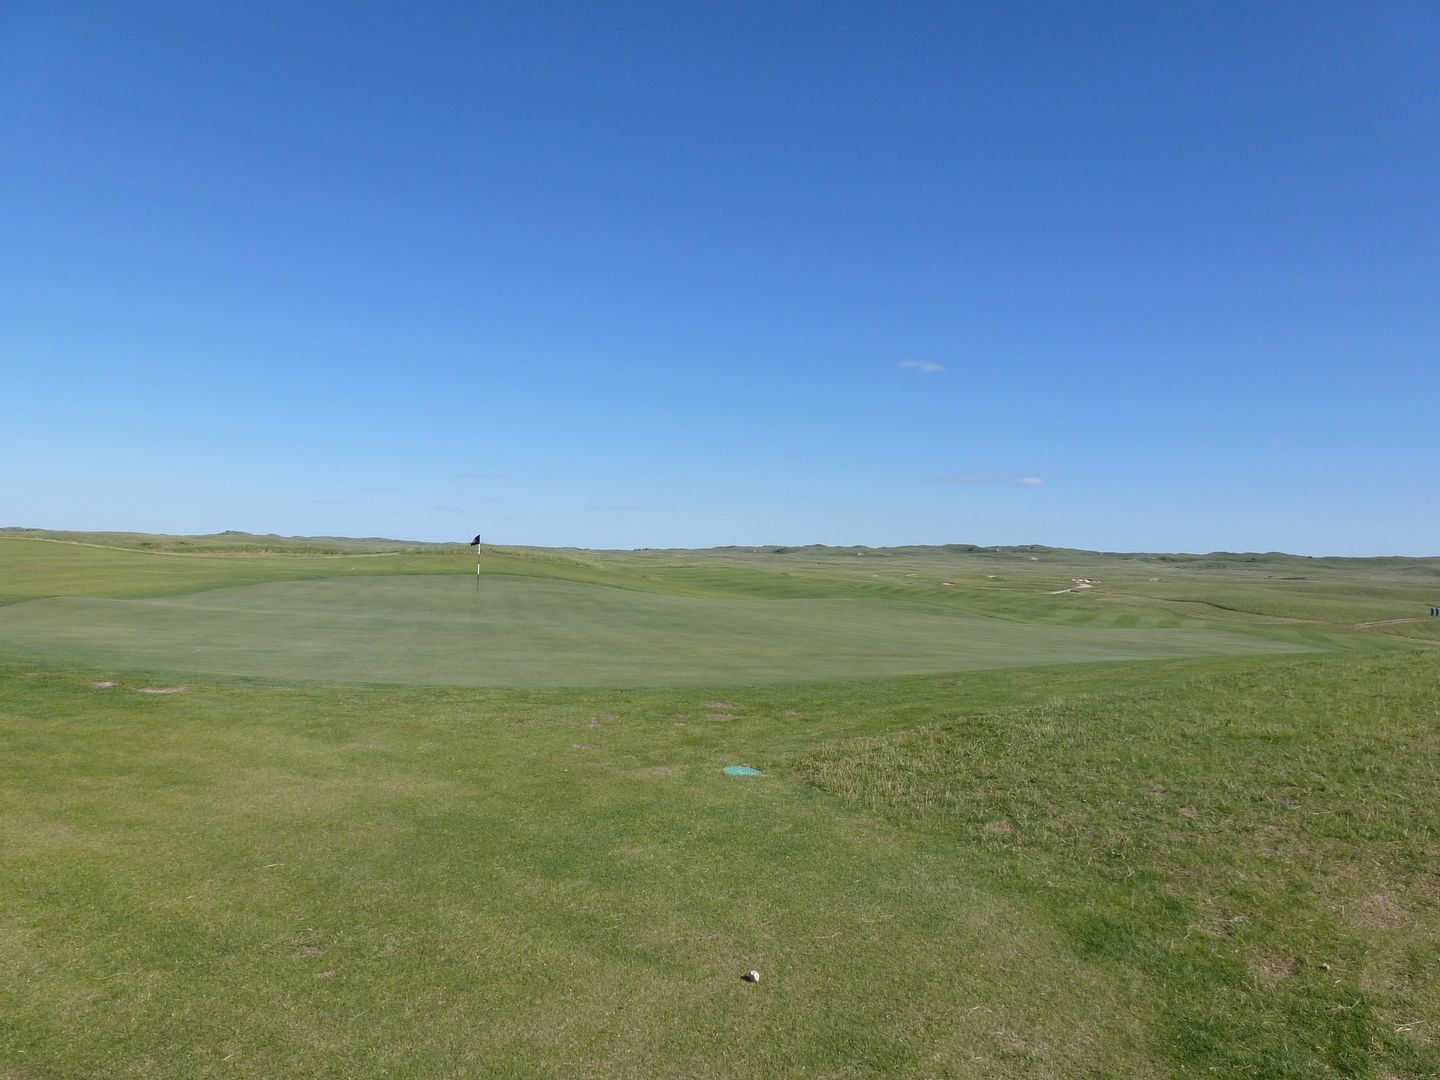
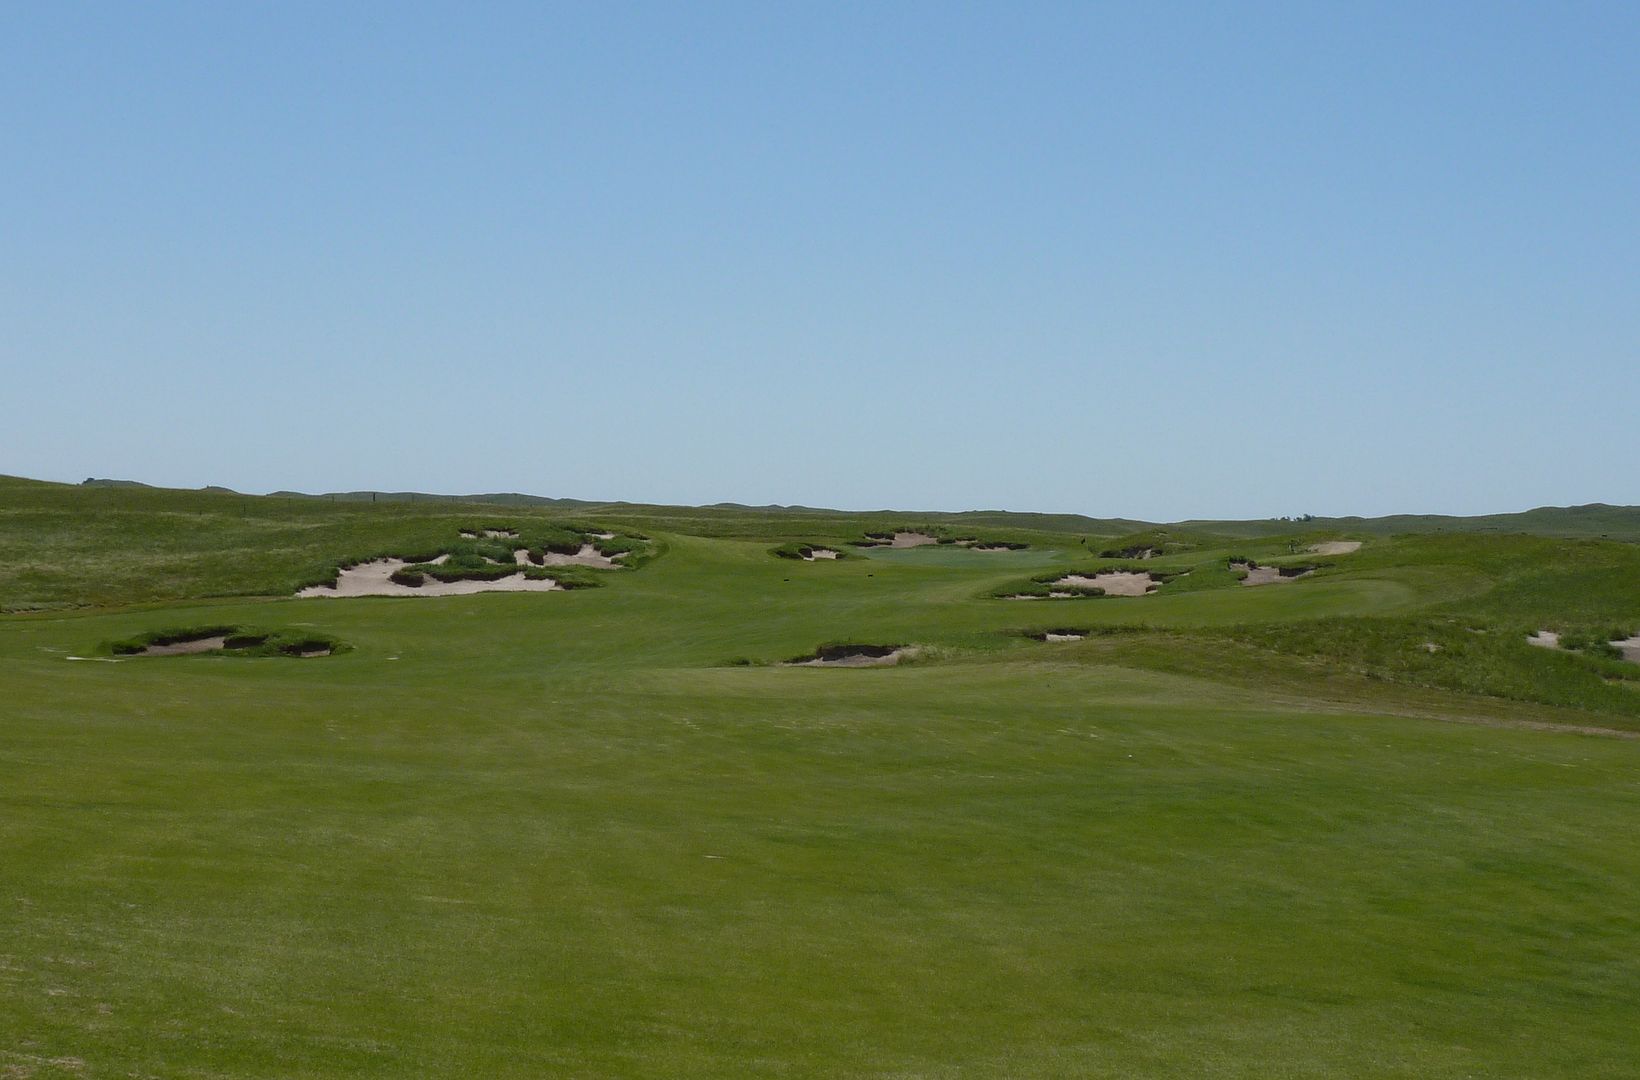
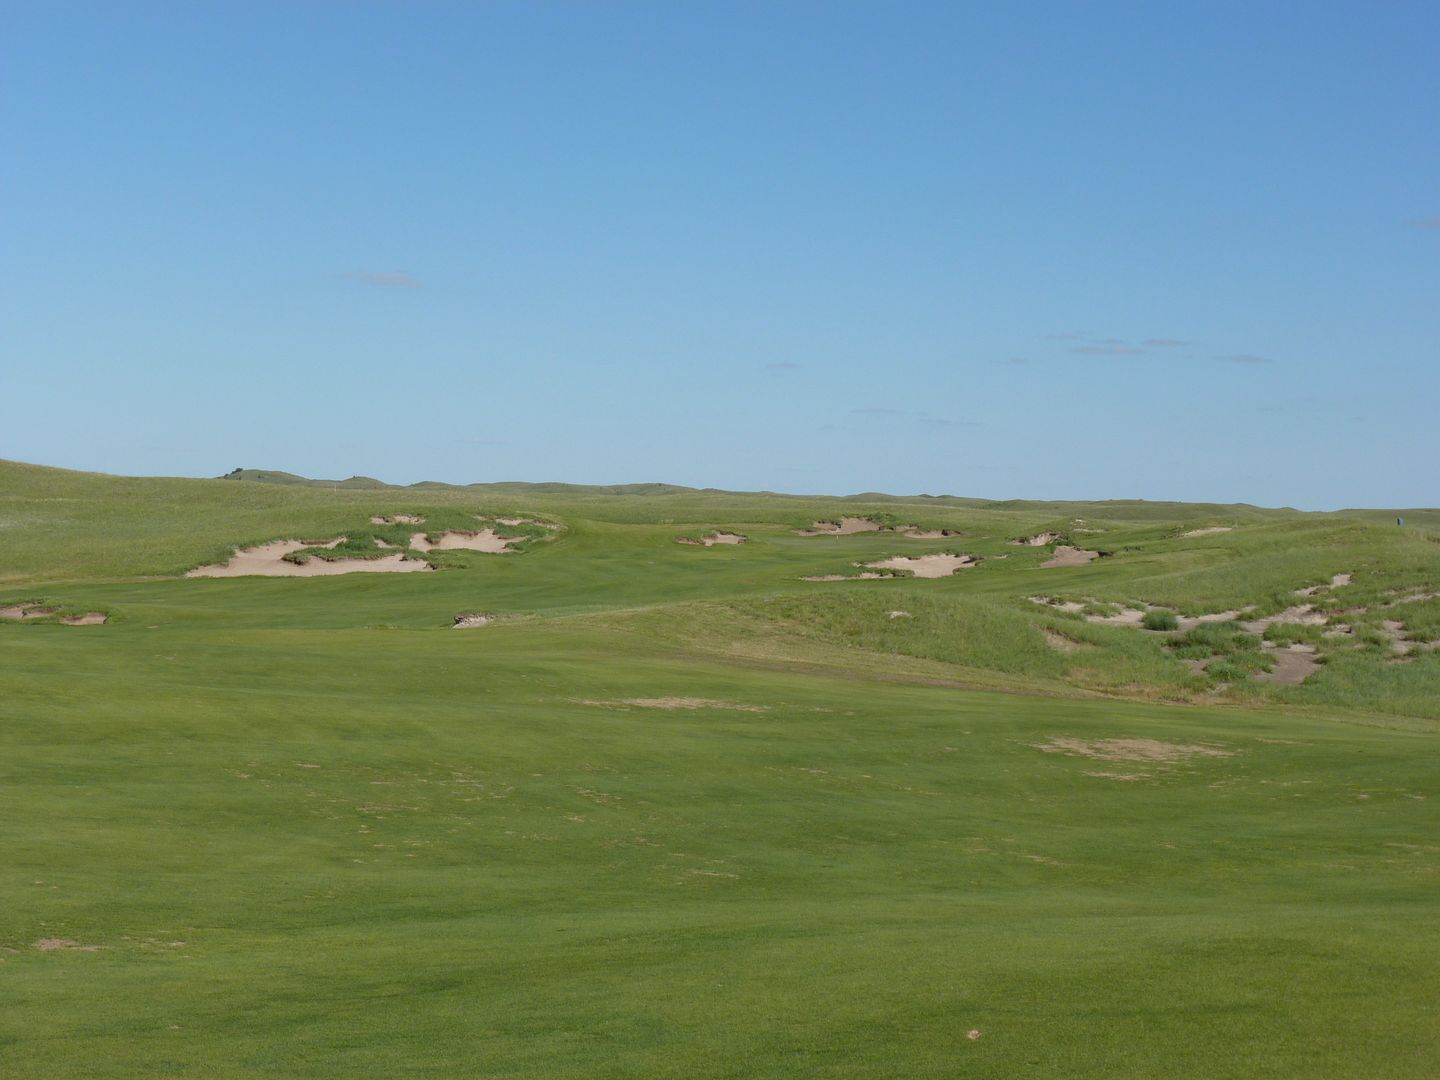
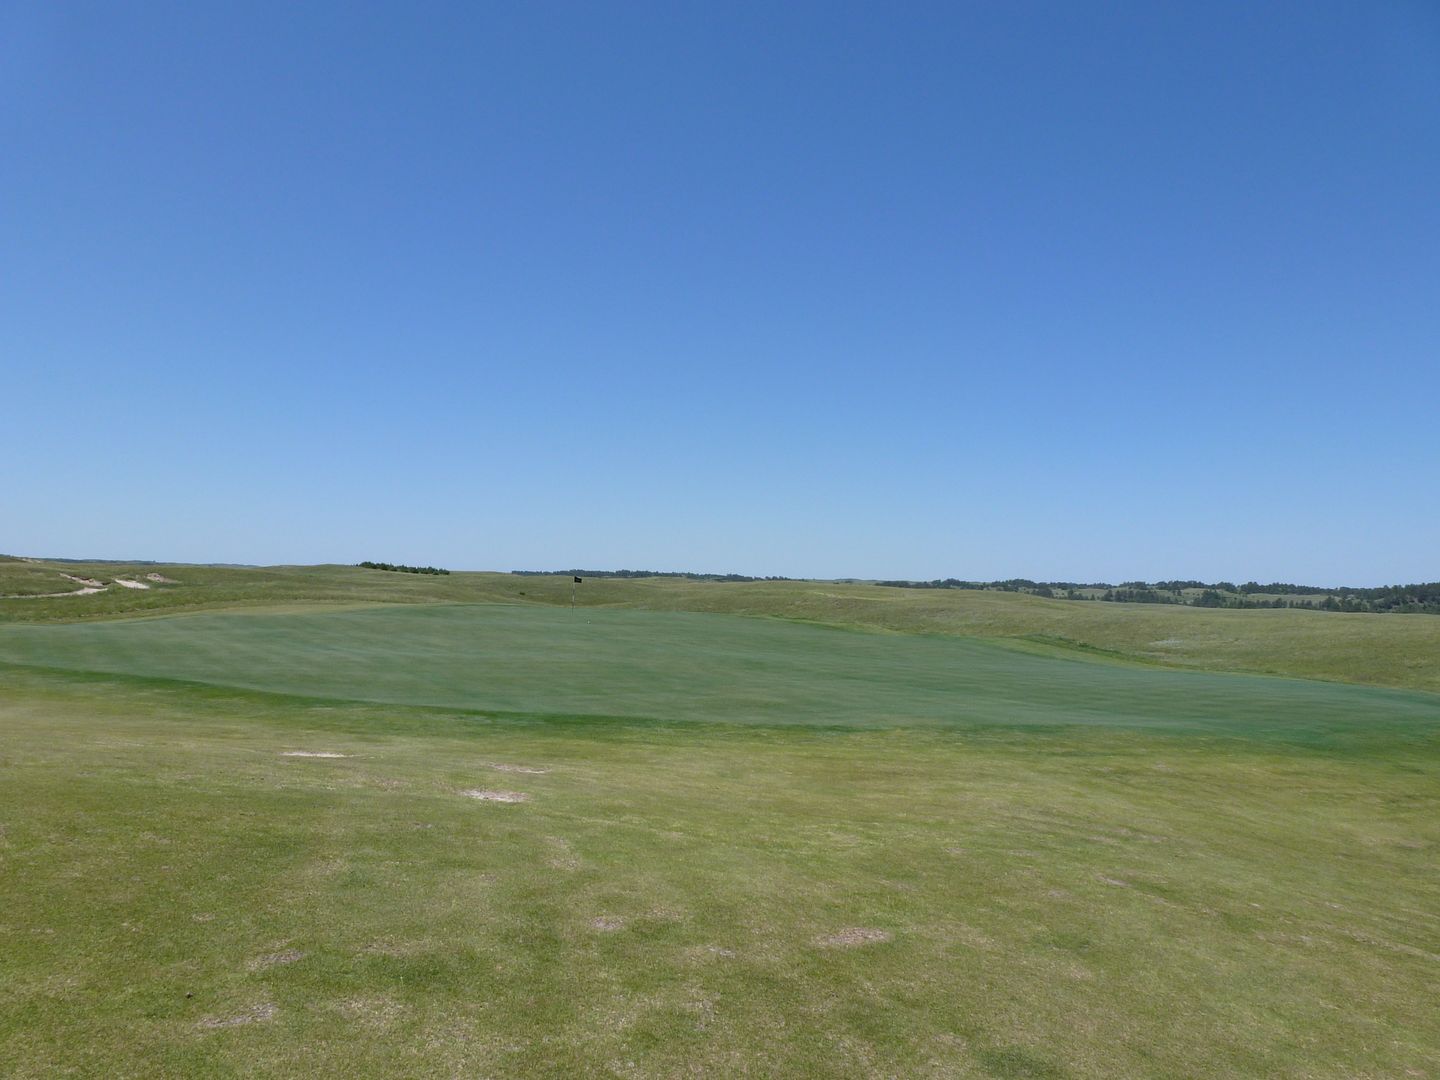
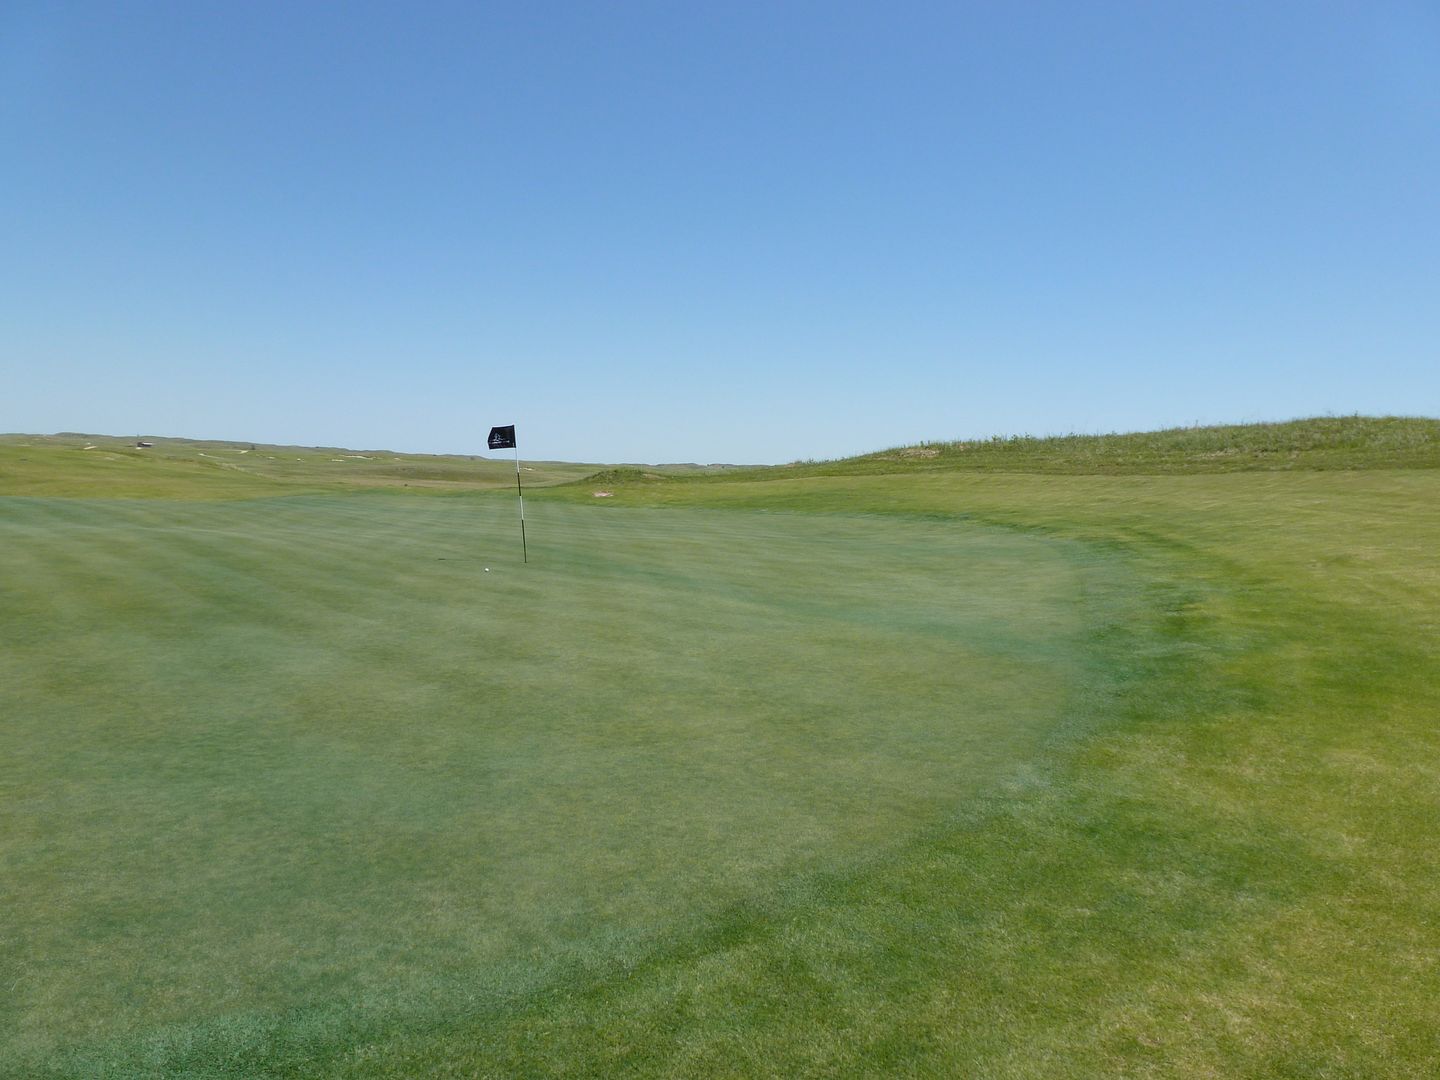
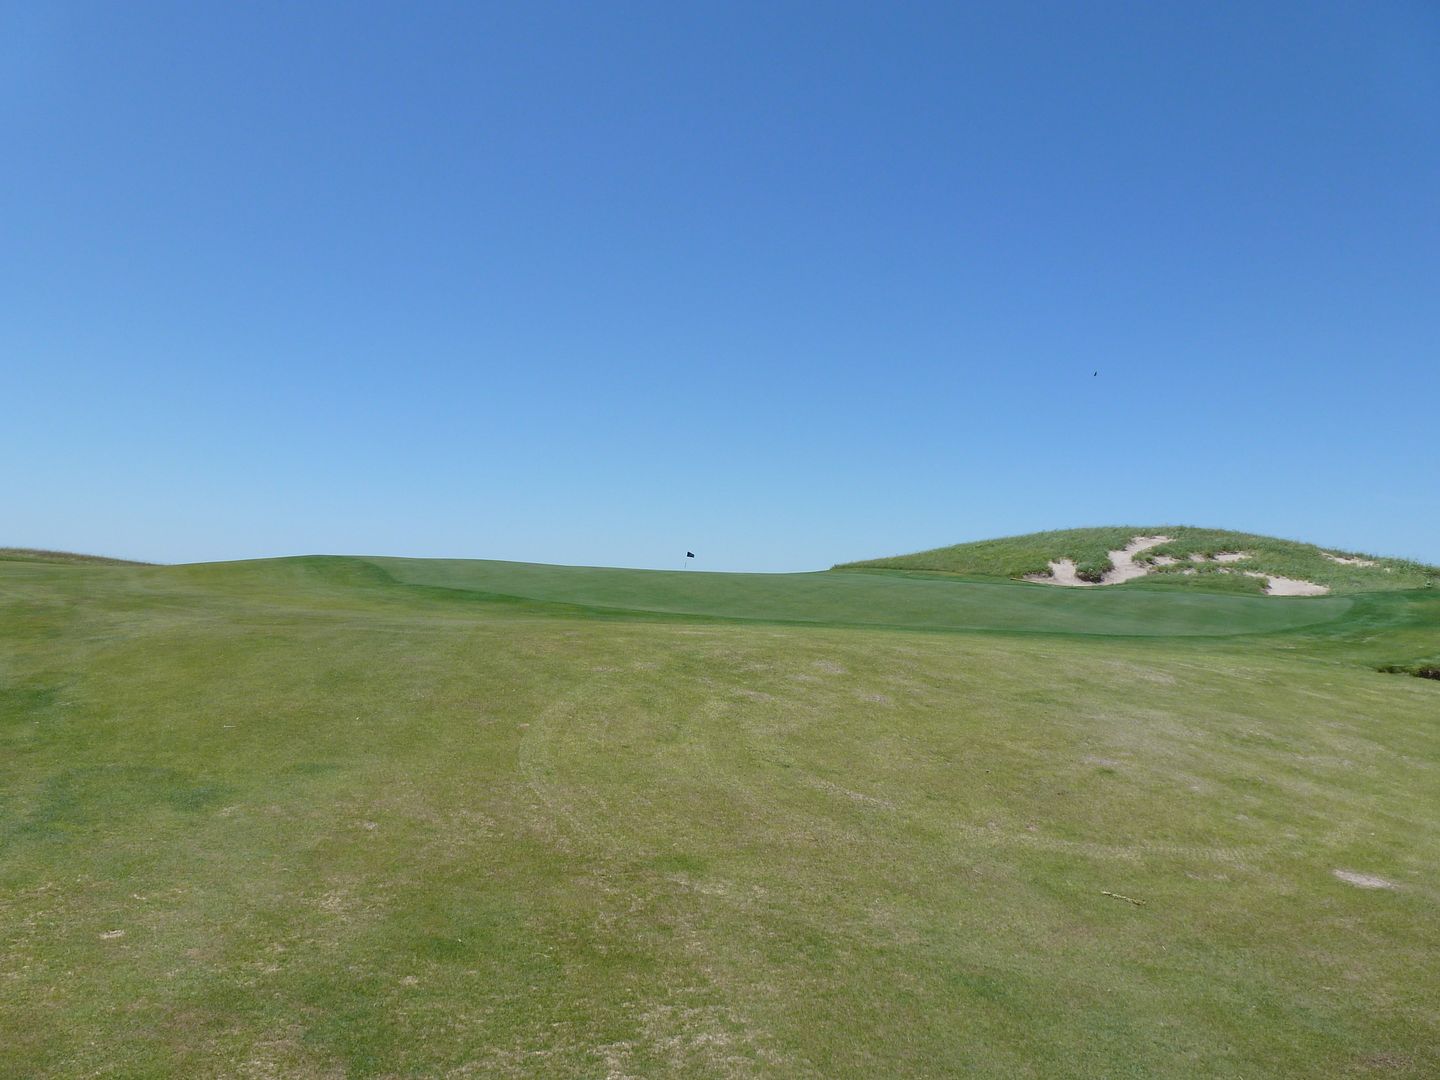
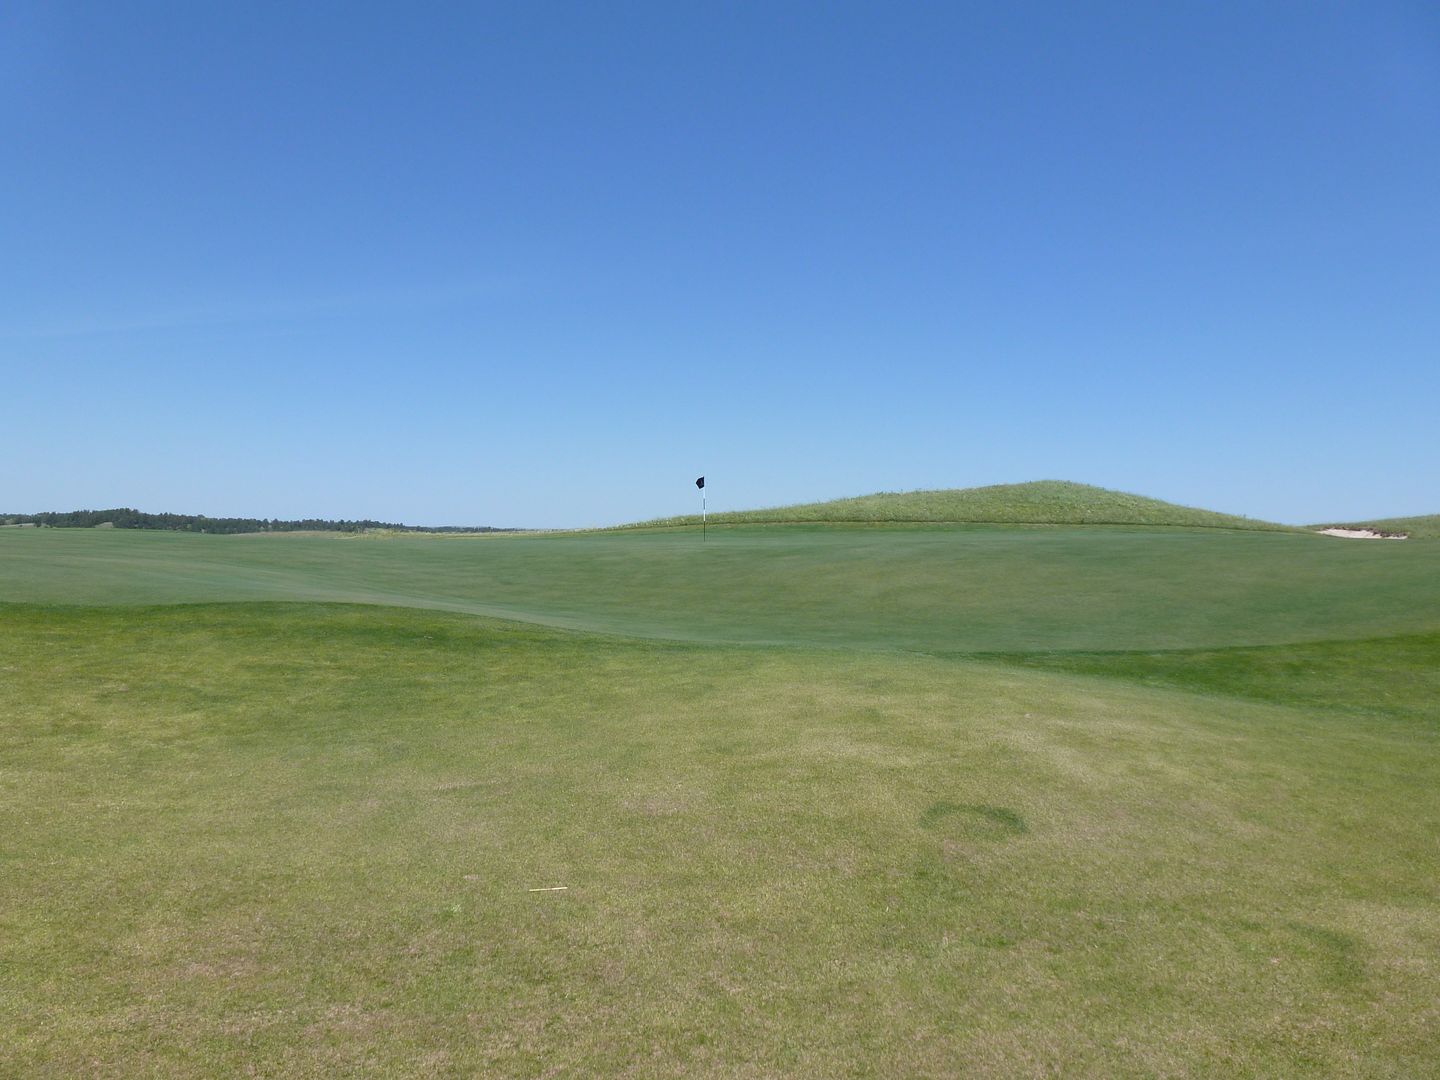
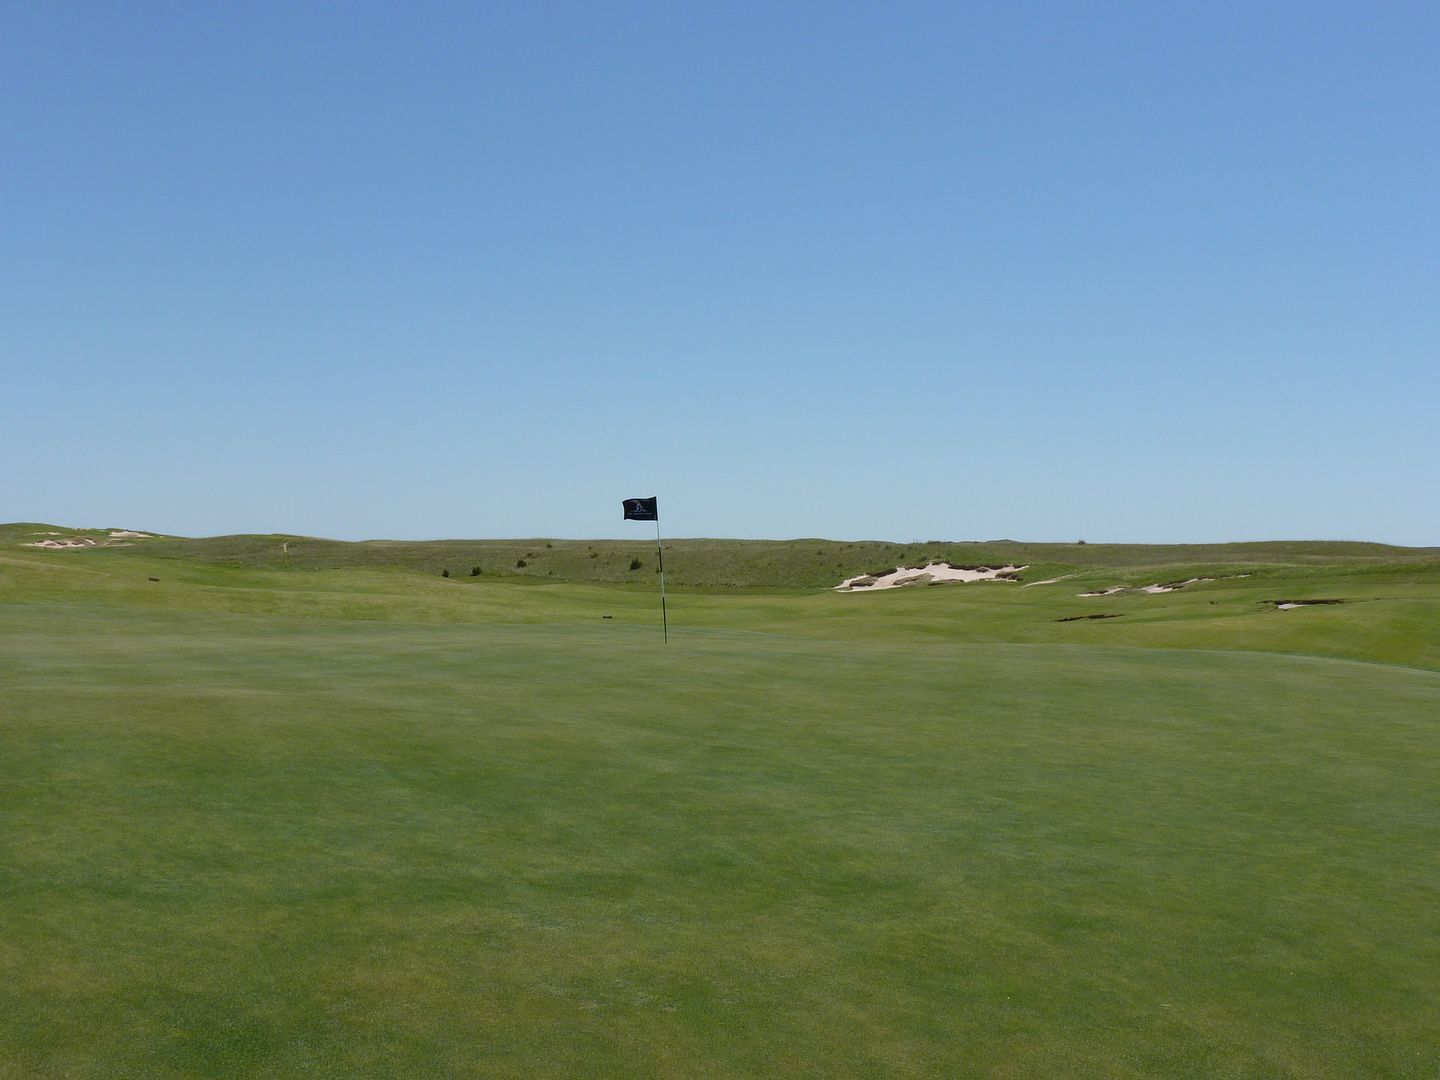
In none of my hole description do I details the green contouring. This is not because they are uninteresting. It is because they are so big and have so many contours (many subtle, other less so) that it is impossible to make brief comments about any green. From the pin location on day one to the location on day two I saw so many subtleties on the greens I didn't notice the first day. Each green has, I would guess, at least 10 pinnable locations. I can comment a bit on the greens but I did not come even close to taking in most things about them. One need play the course many times (or have a much keener eye than I) to make educated statements about the greens at The Dunes.
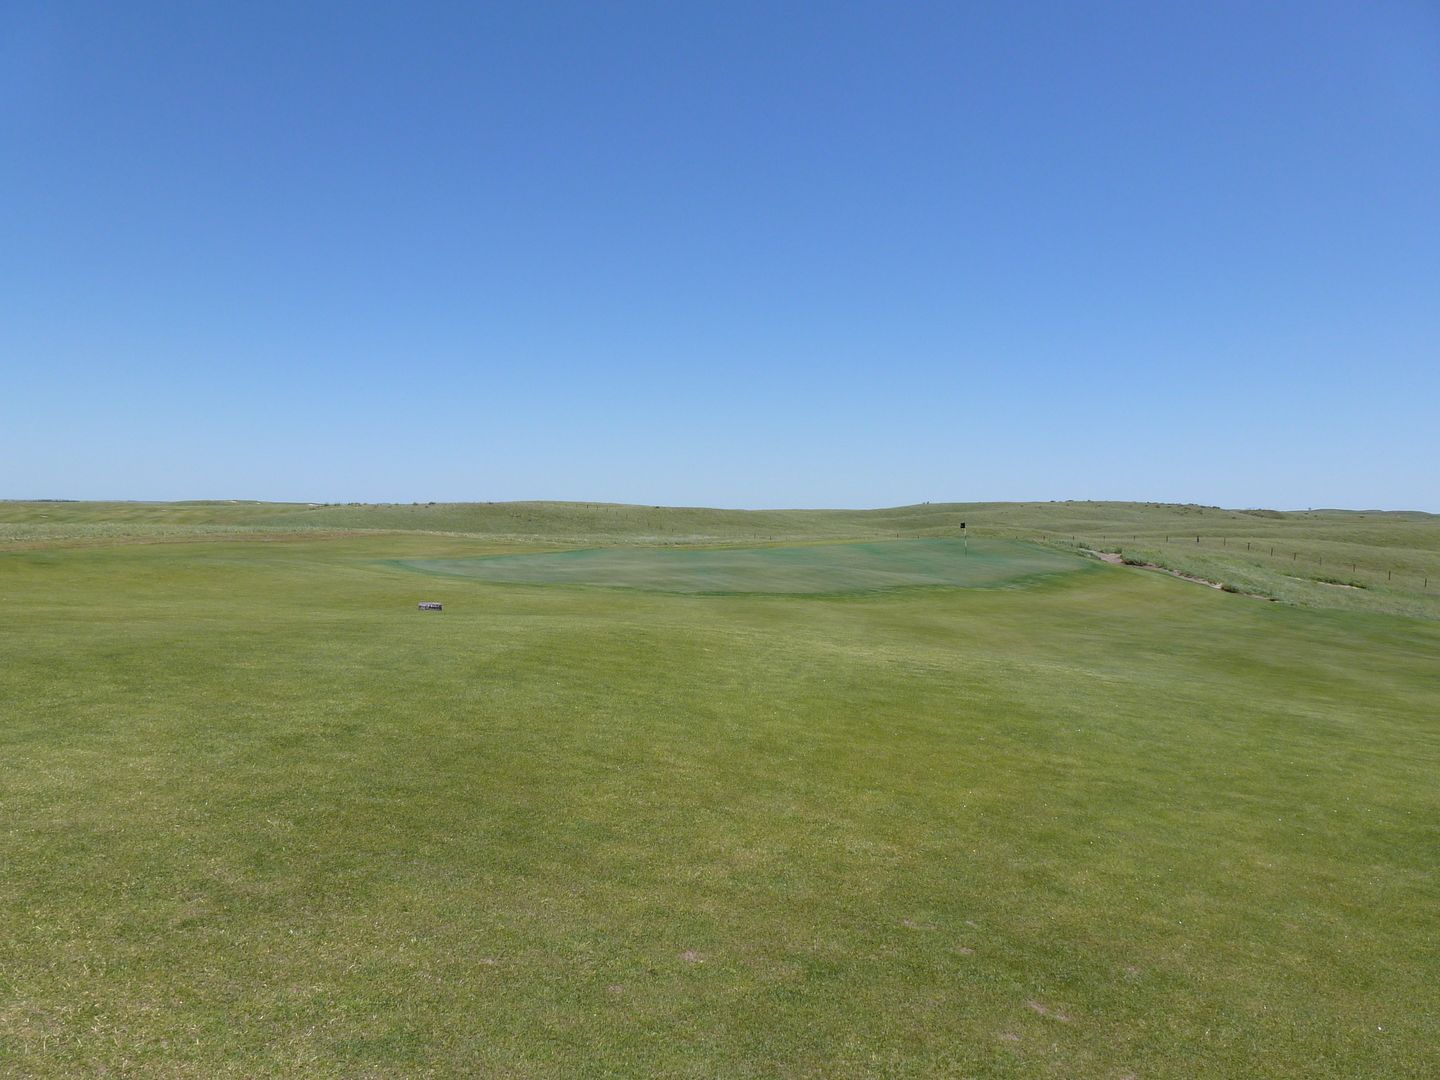
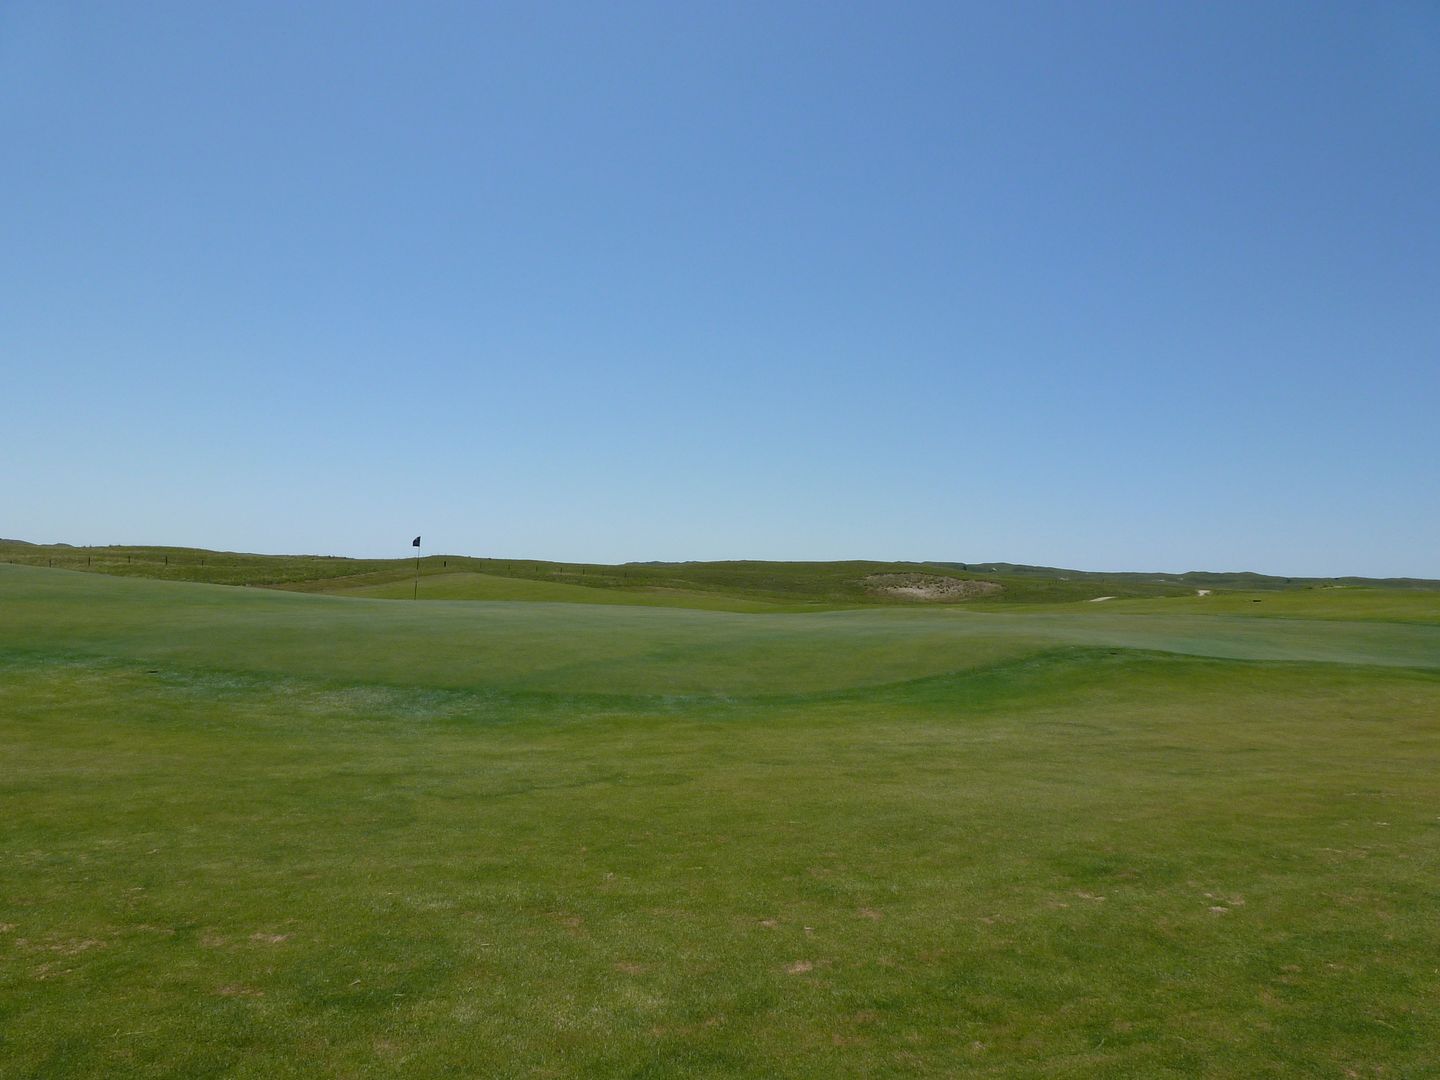
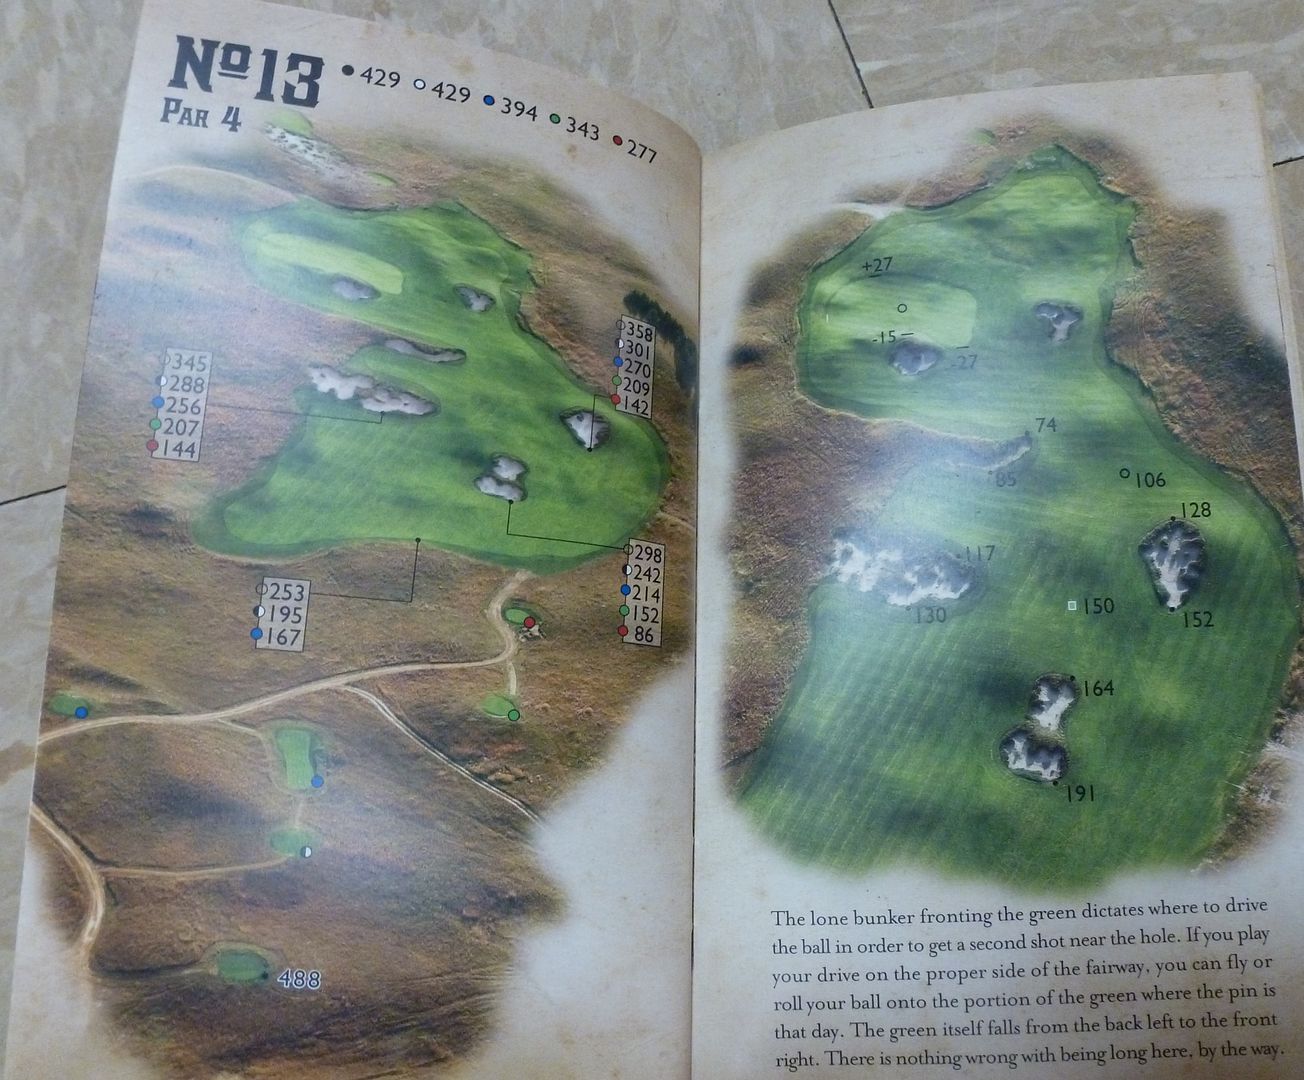
For example, the square footage of the first three greens are (approximately): 15120 feet, 14580 feet, and 18500 feet. Compare this to an average green of about 5,000 feet! That's 3+ greens in one!
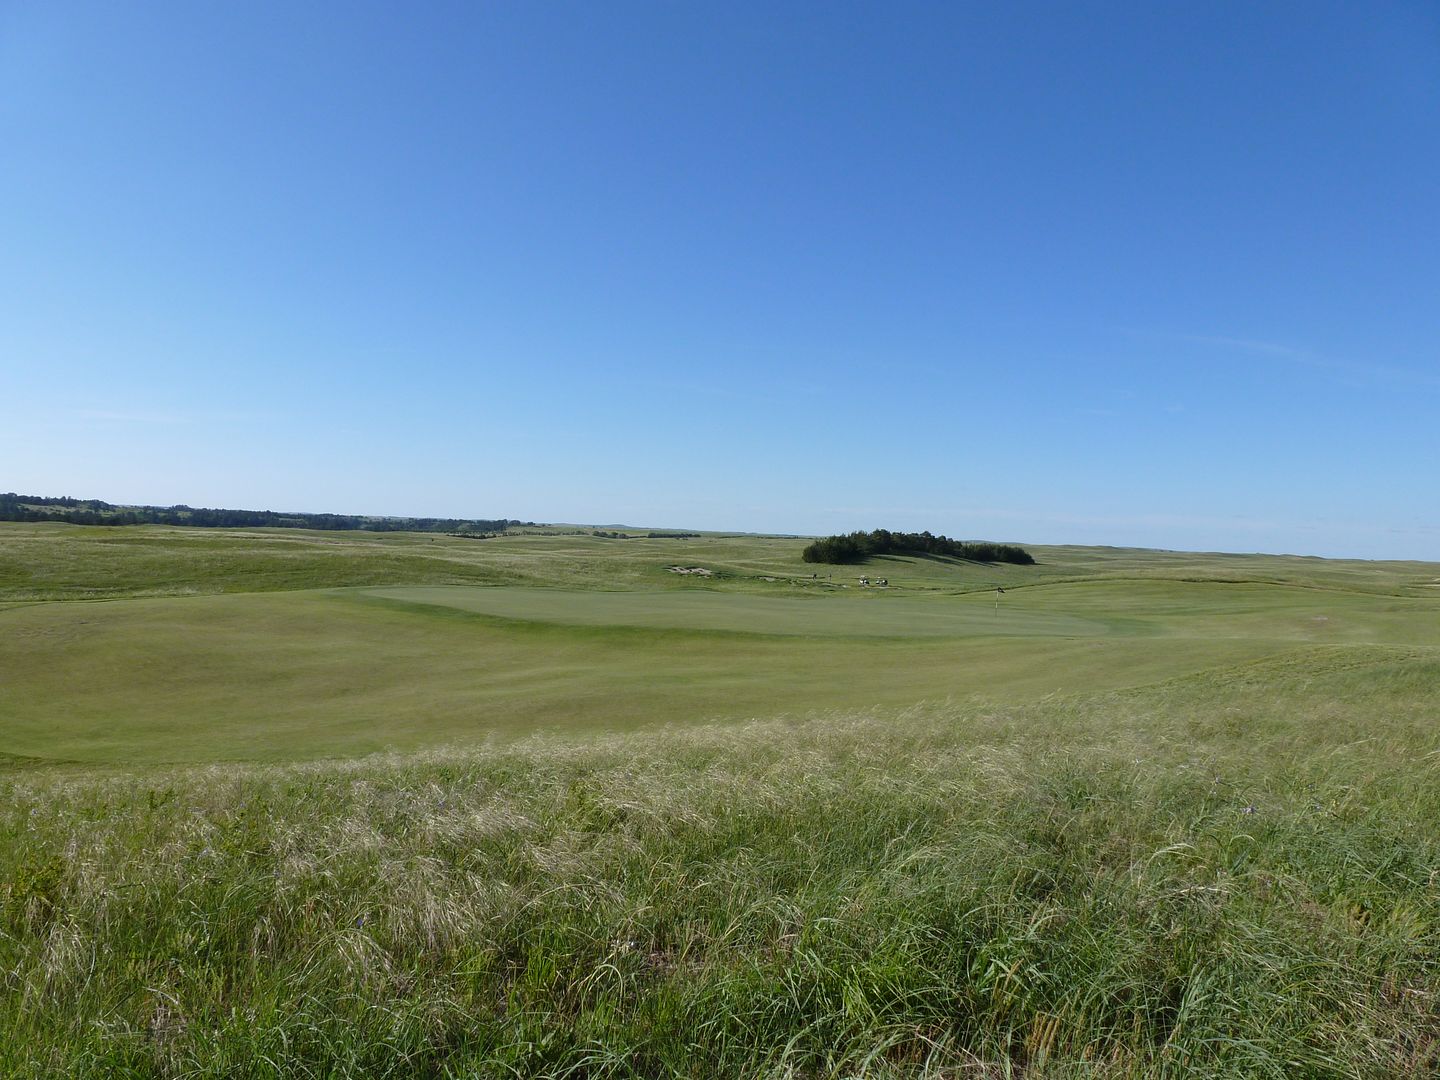
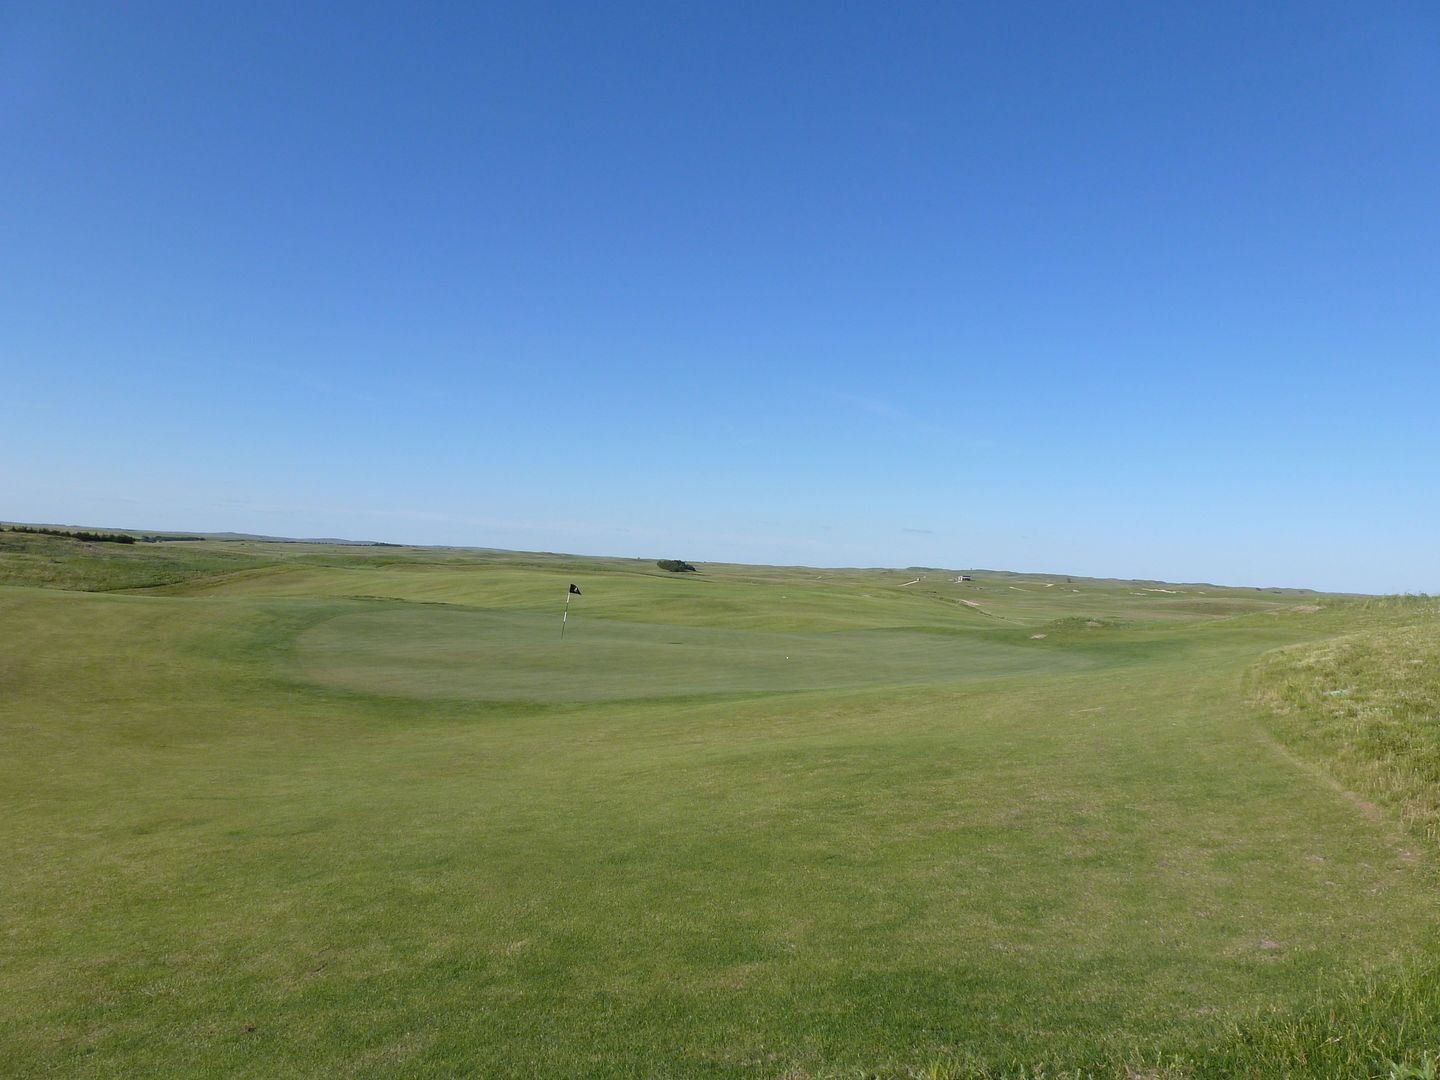
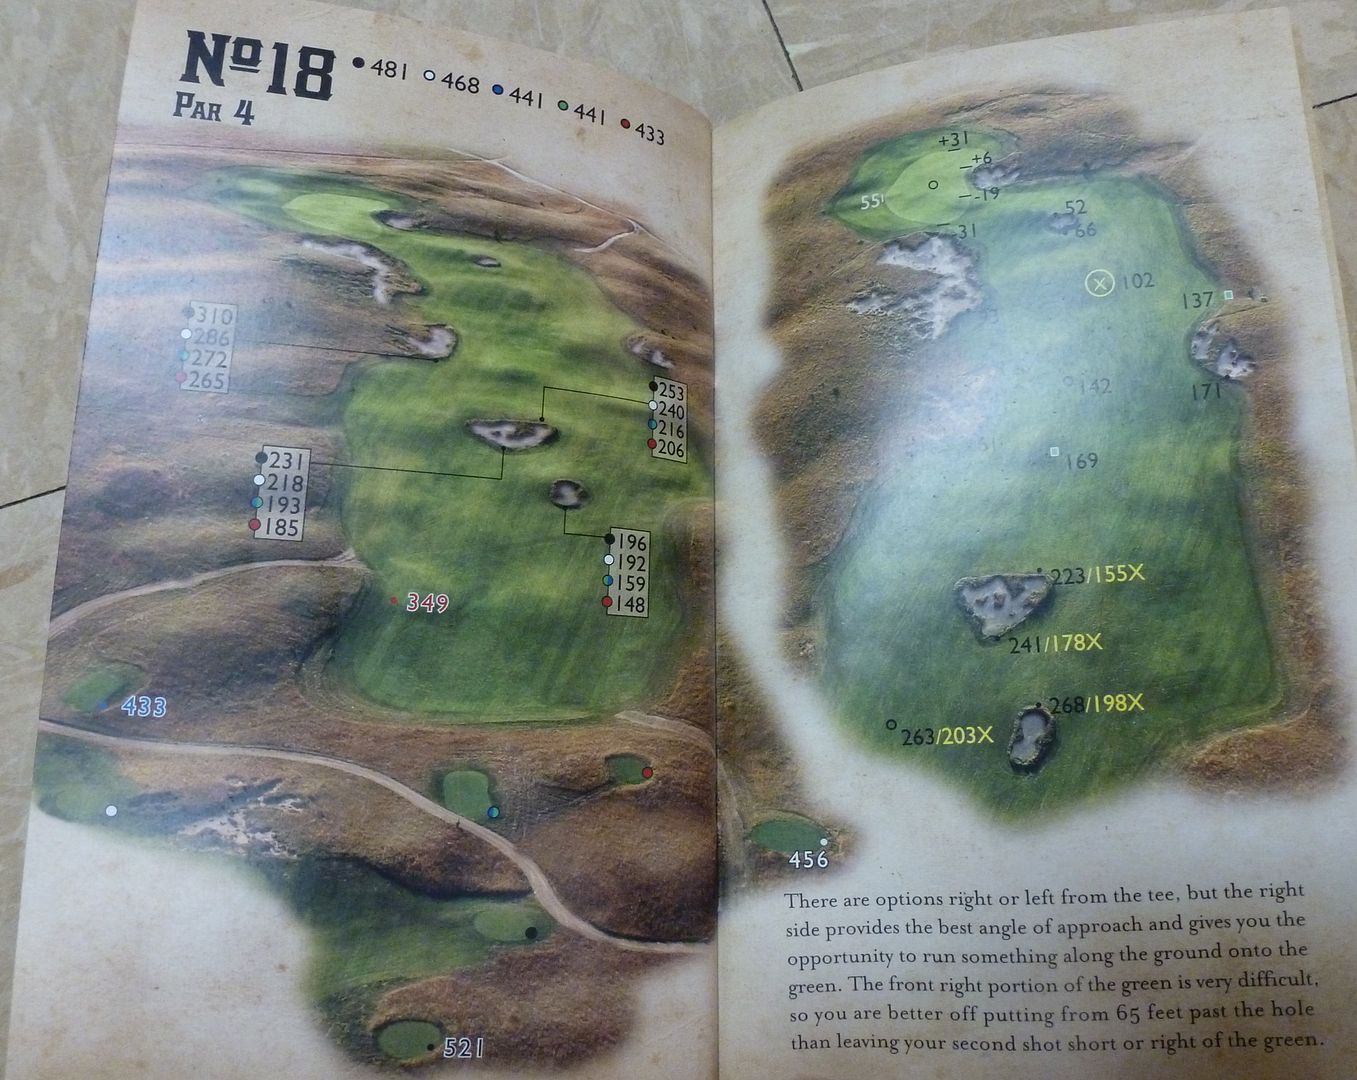
The green on 4 is 80 yards long, the green on 9 is 50 yards wide, and the green on 16 is 82 yards long with a square footage in the range of 22150 sq.ft.
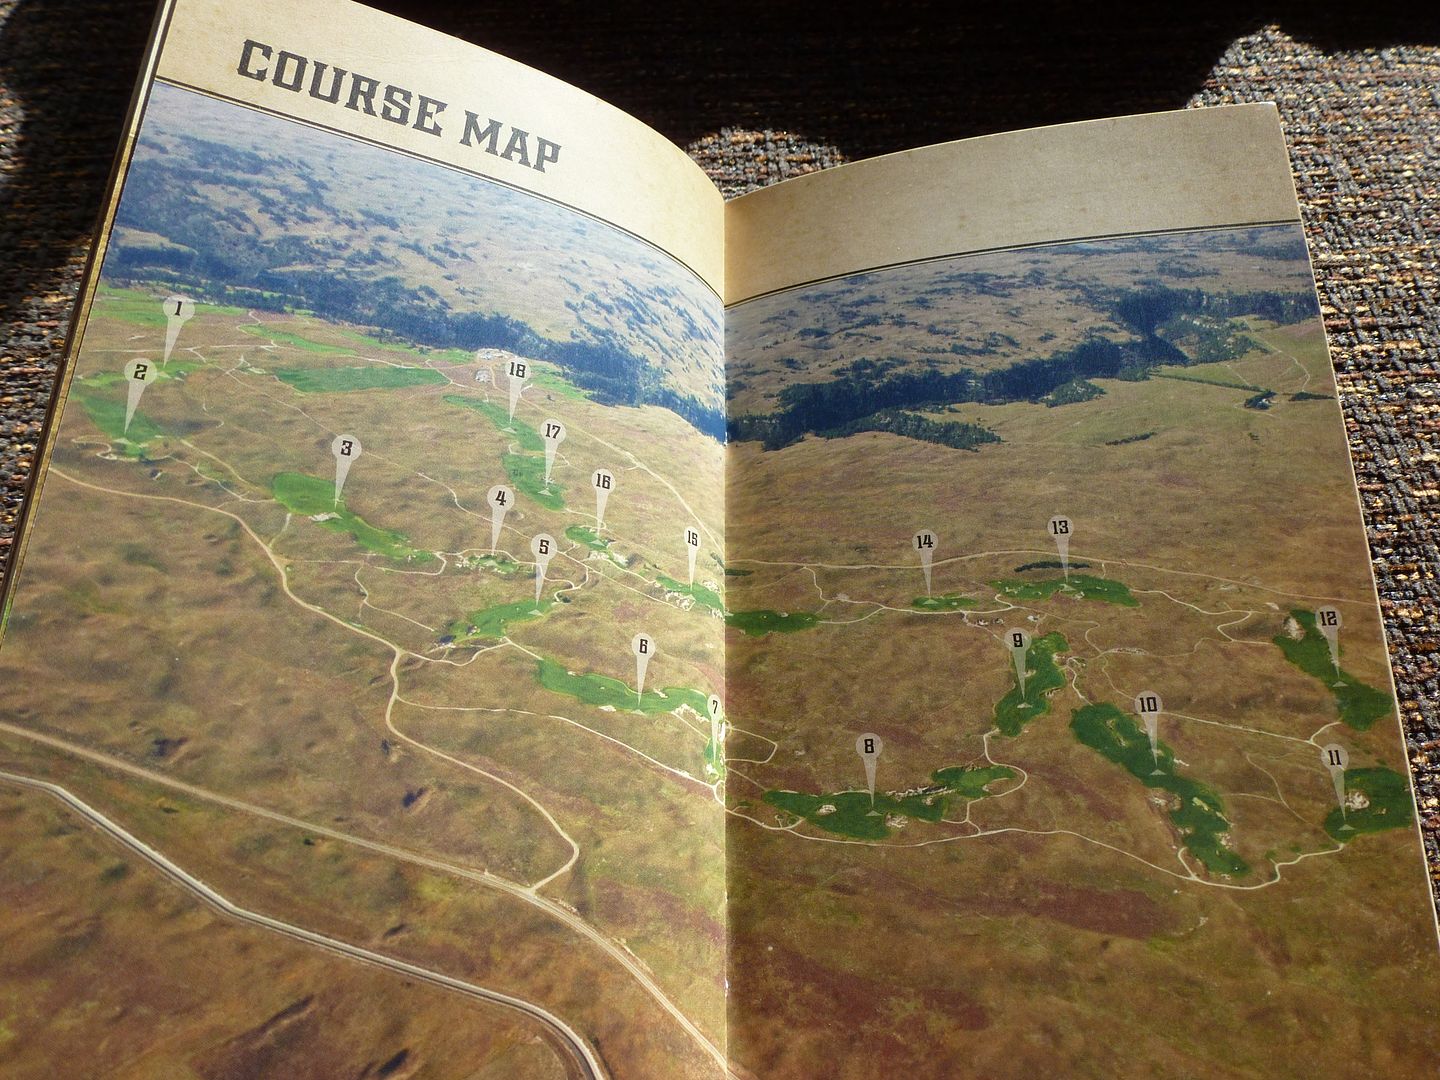
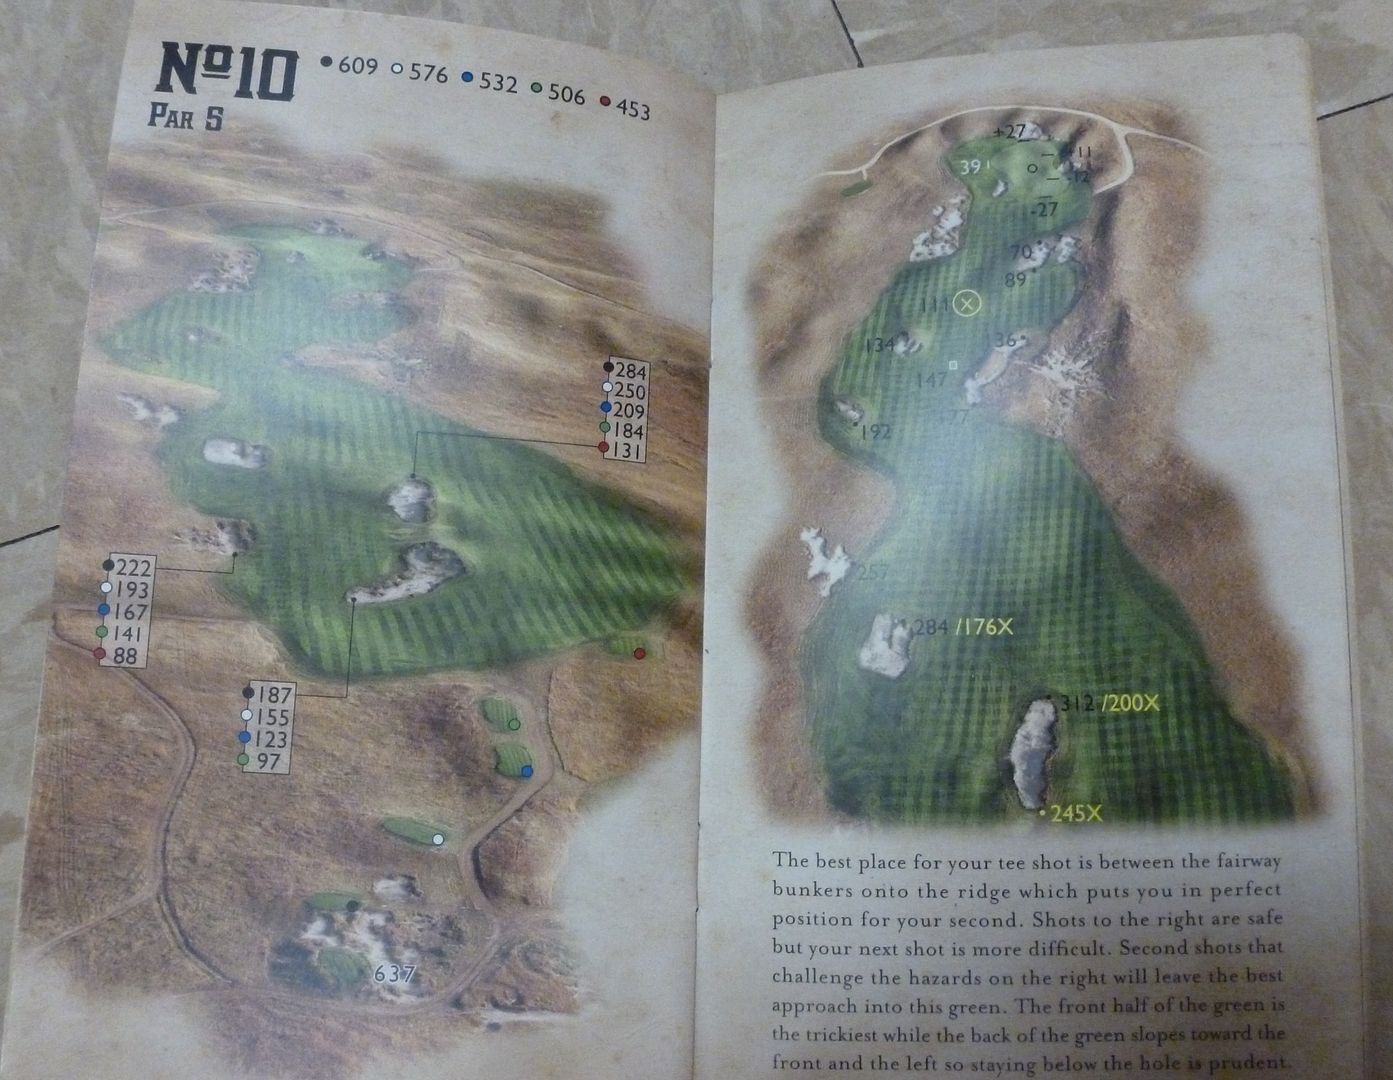
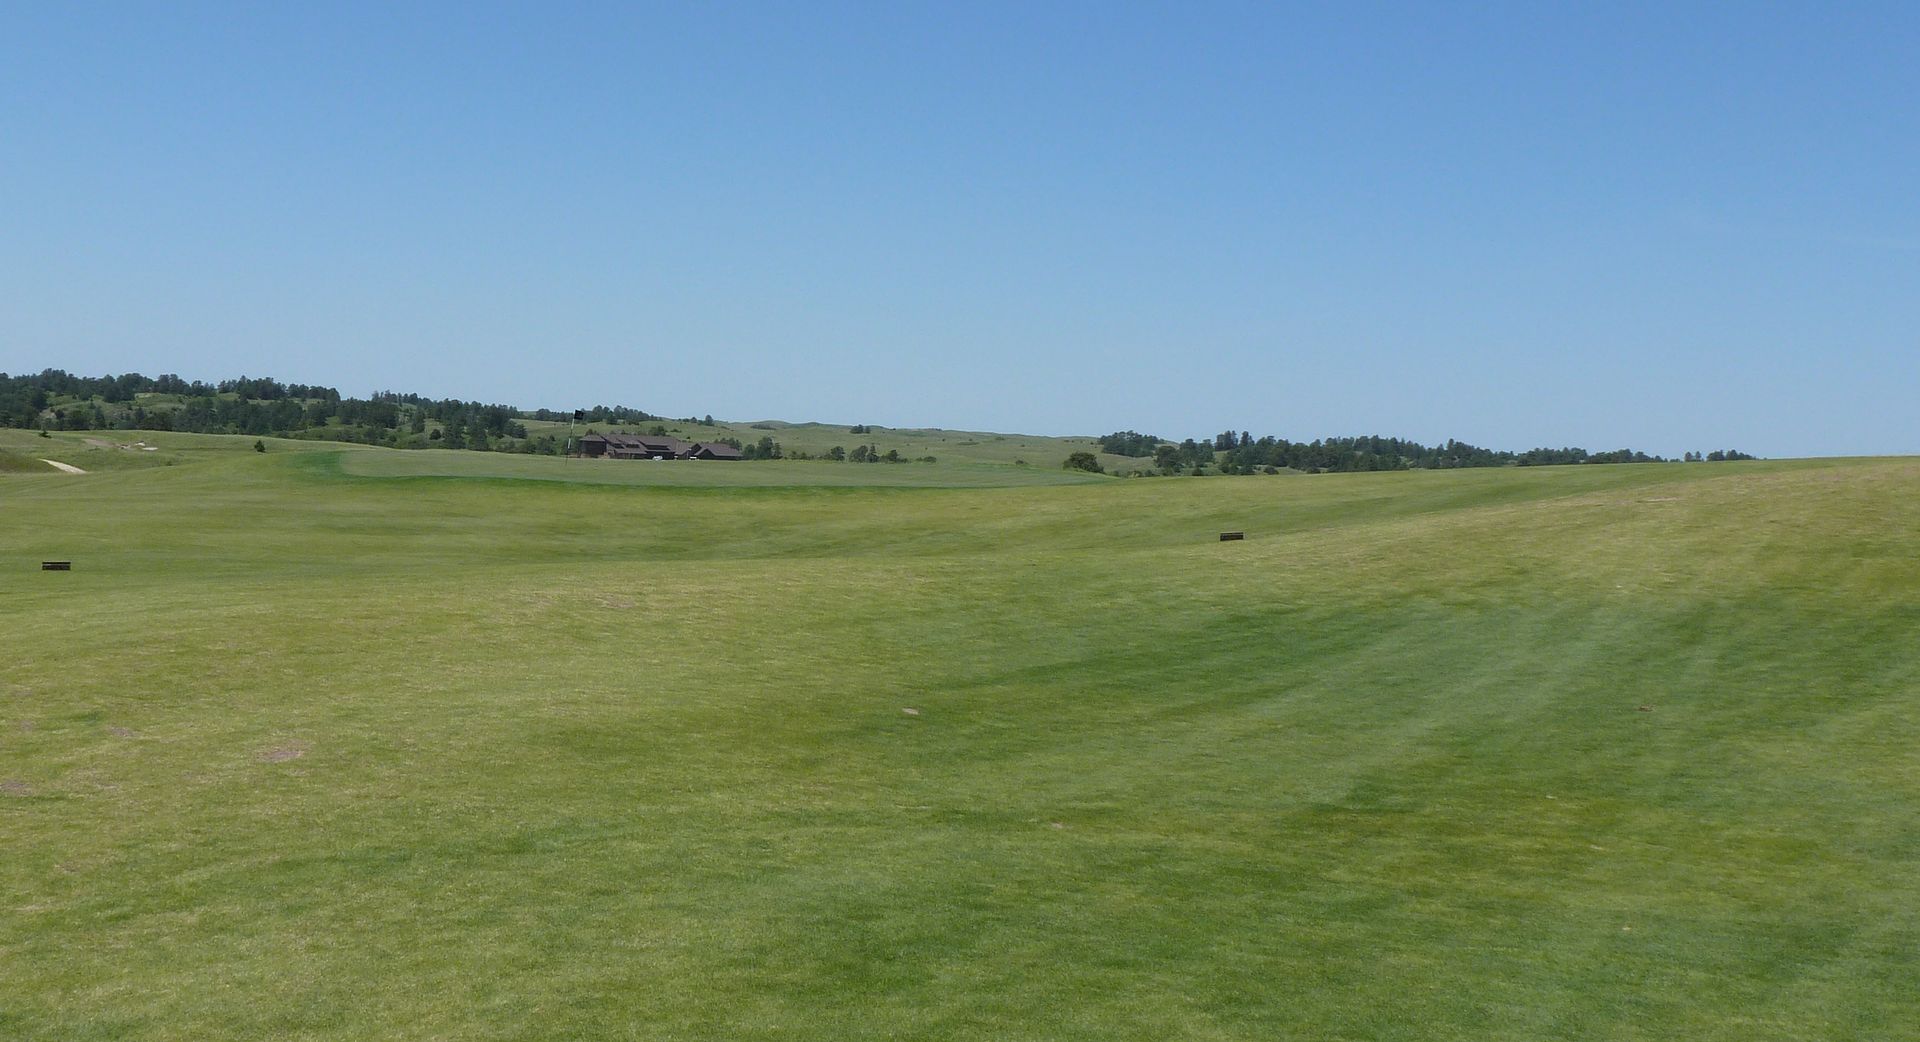
The Routing
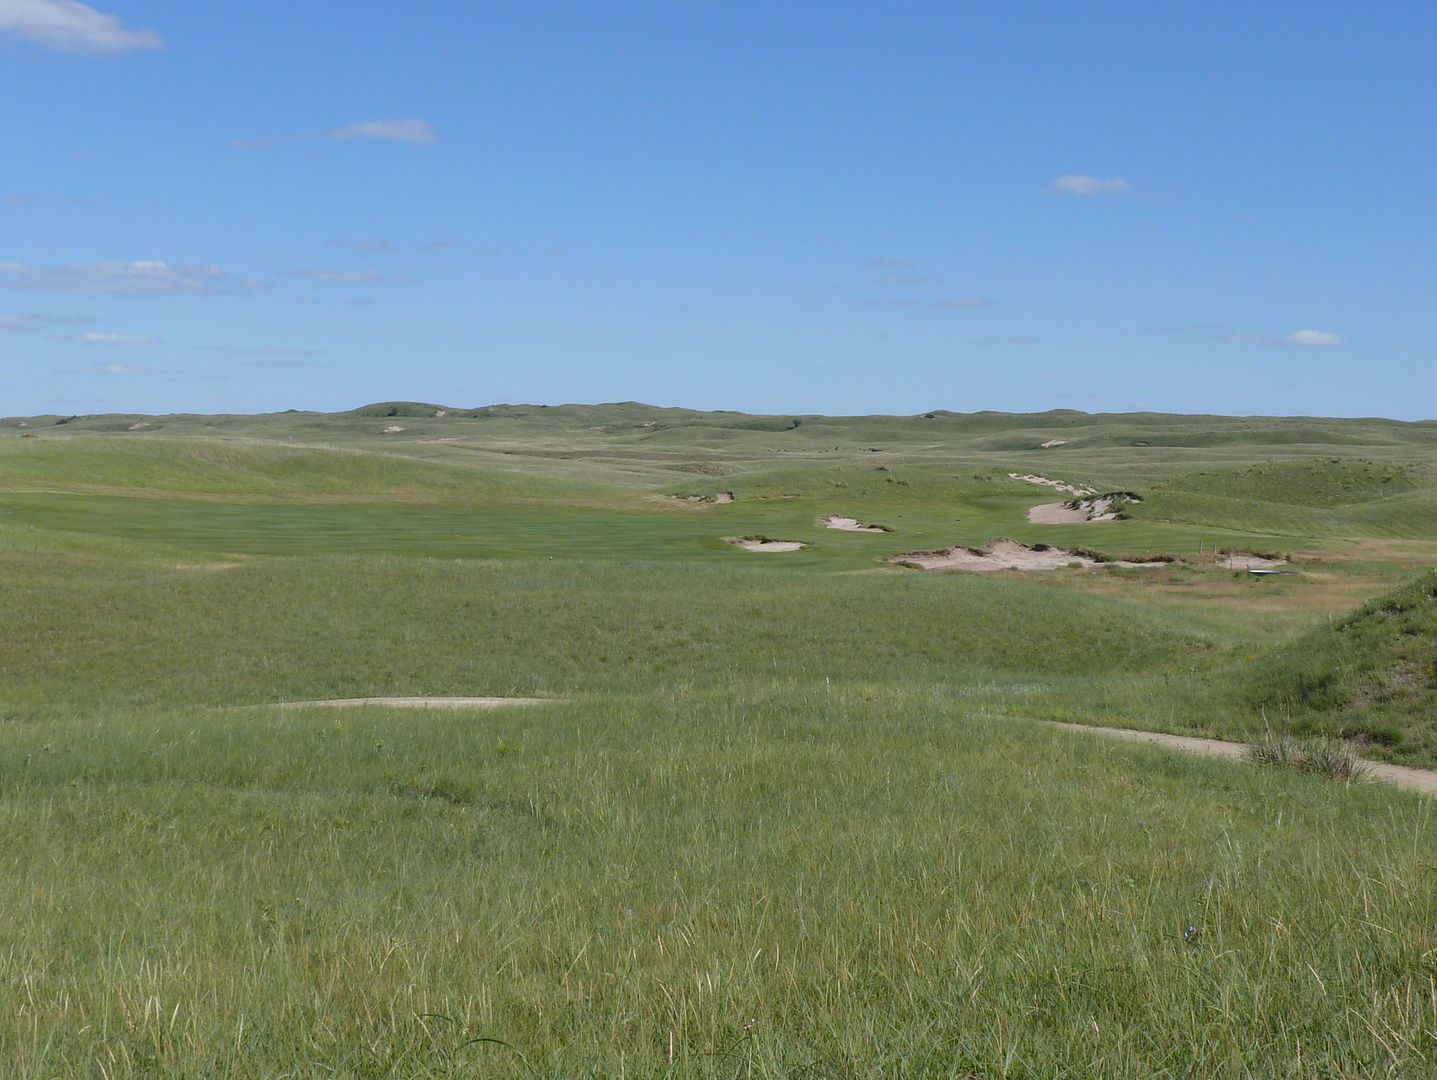
The course is largely an out and back layout, though not in the purest sense as the routing makes a few jaunts that are largely perpendicular to the general direction of the routing. I was told that the predominant wind for the course is a south wind, making most of the front nine into the wind (exceptions being 4, 8 and 9) and most of the back nine downwind (except 14 and 15).
RE: Green to Tee Walks
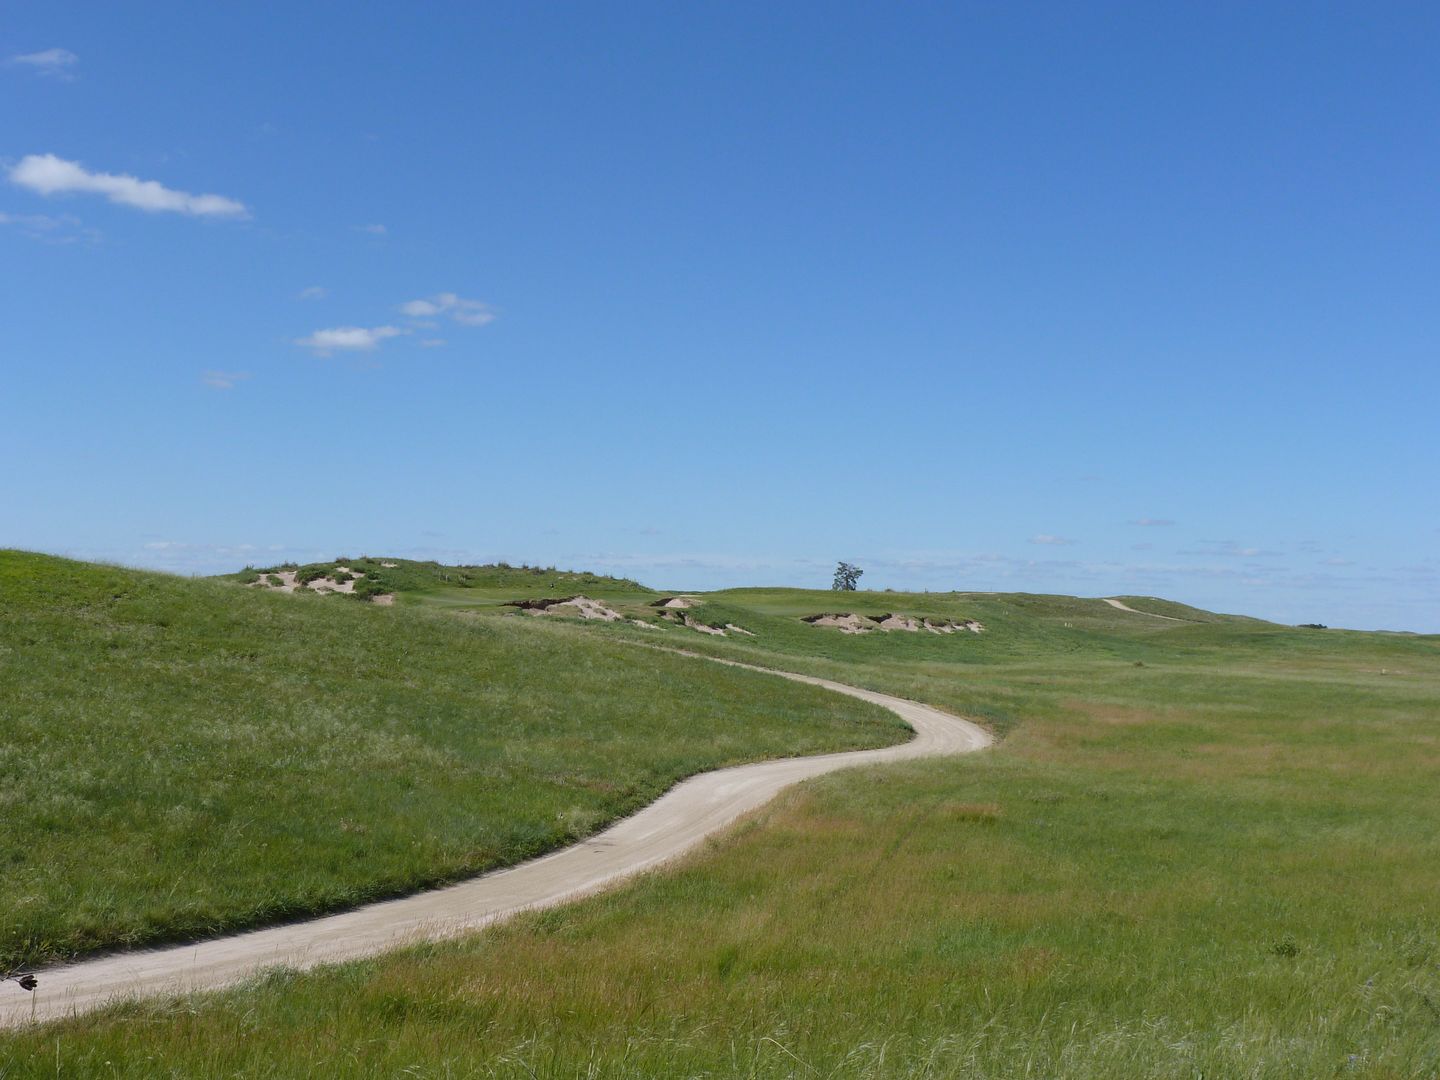
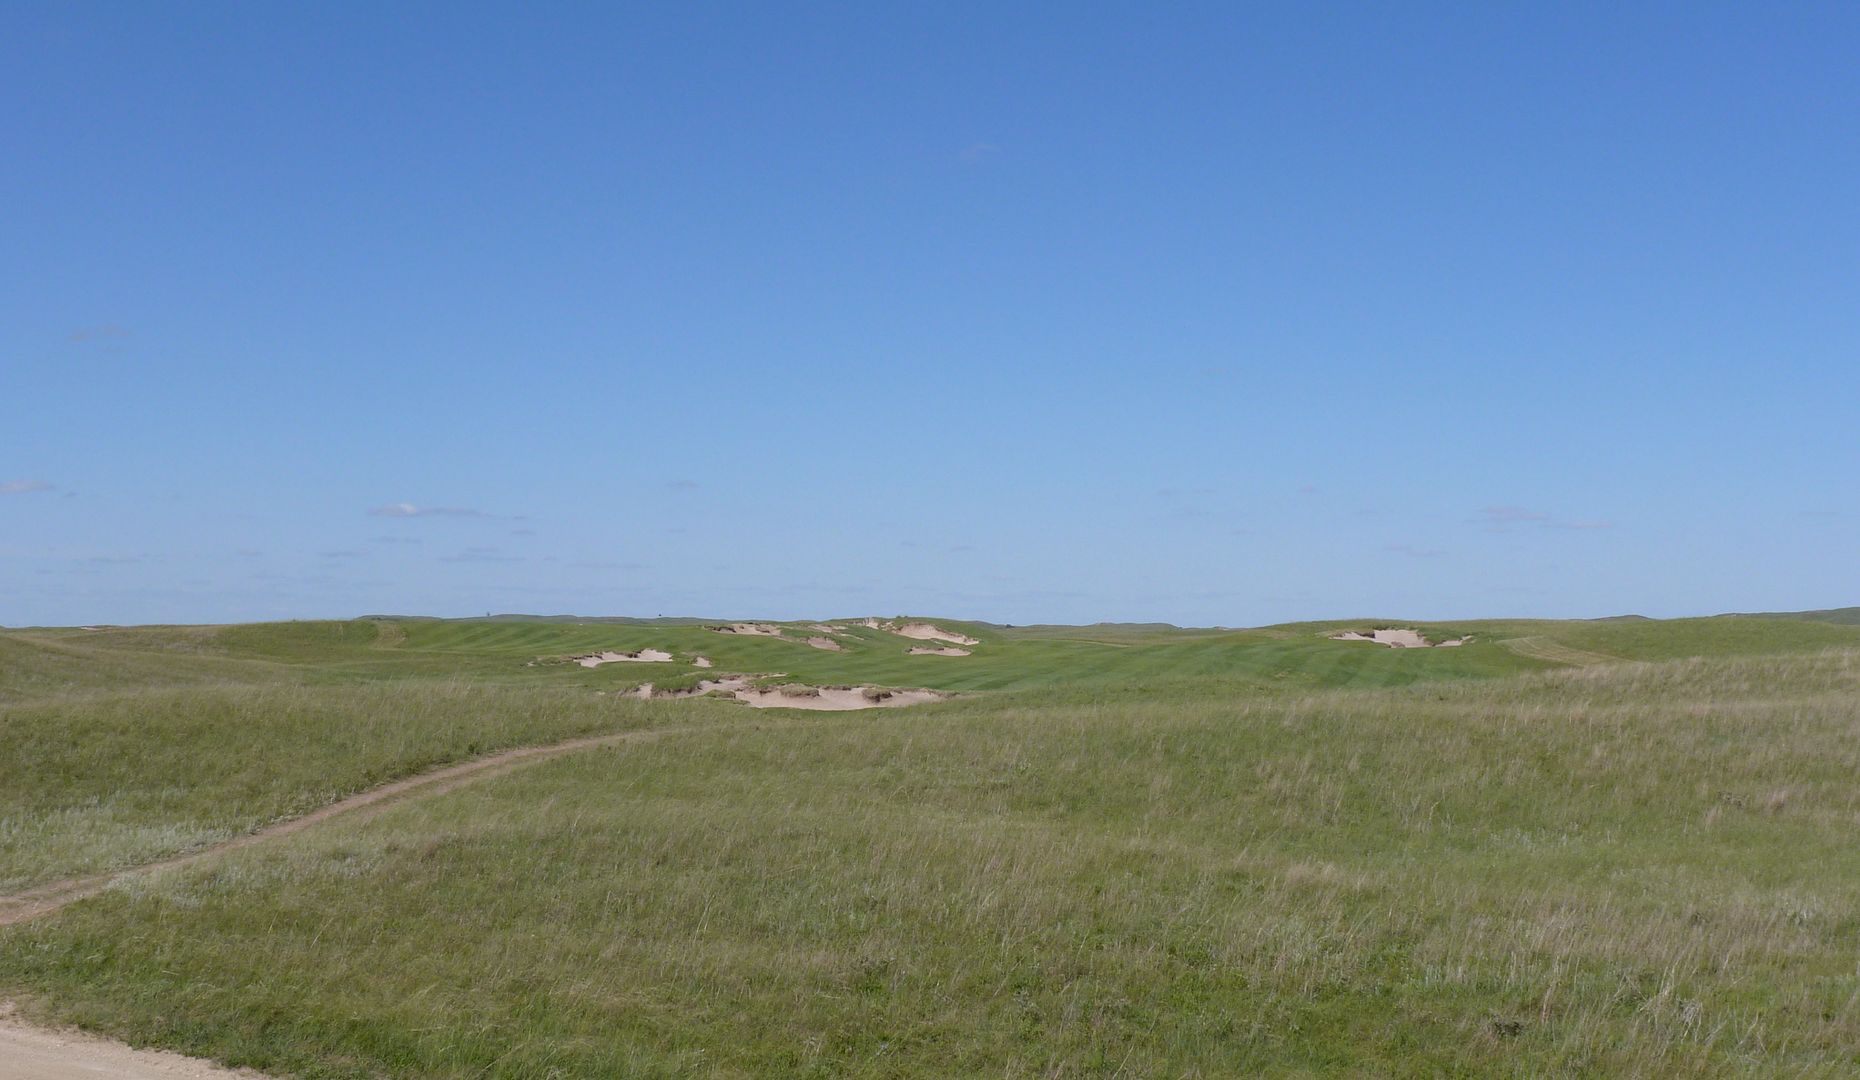
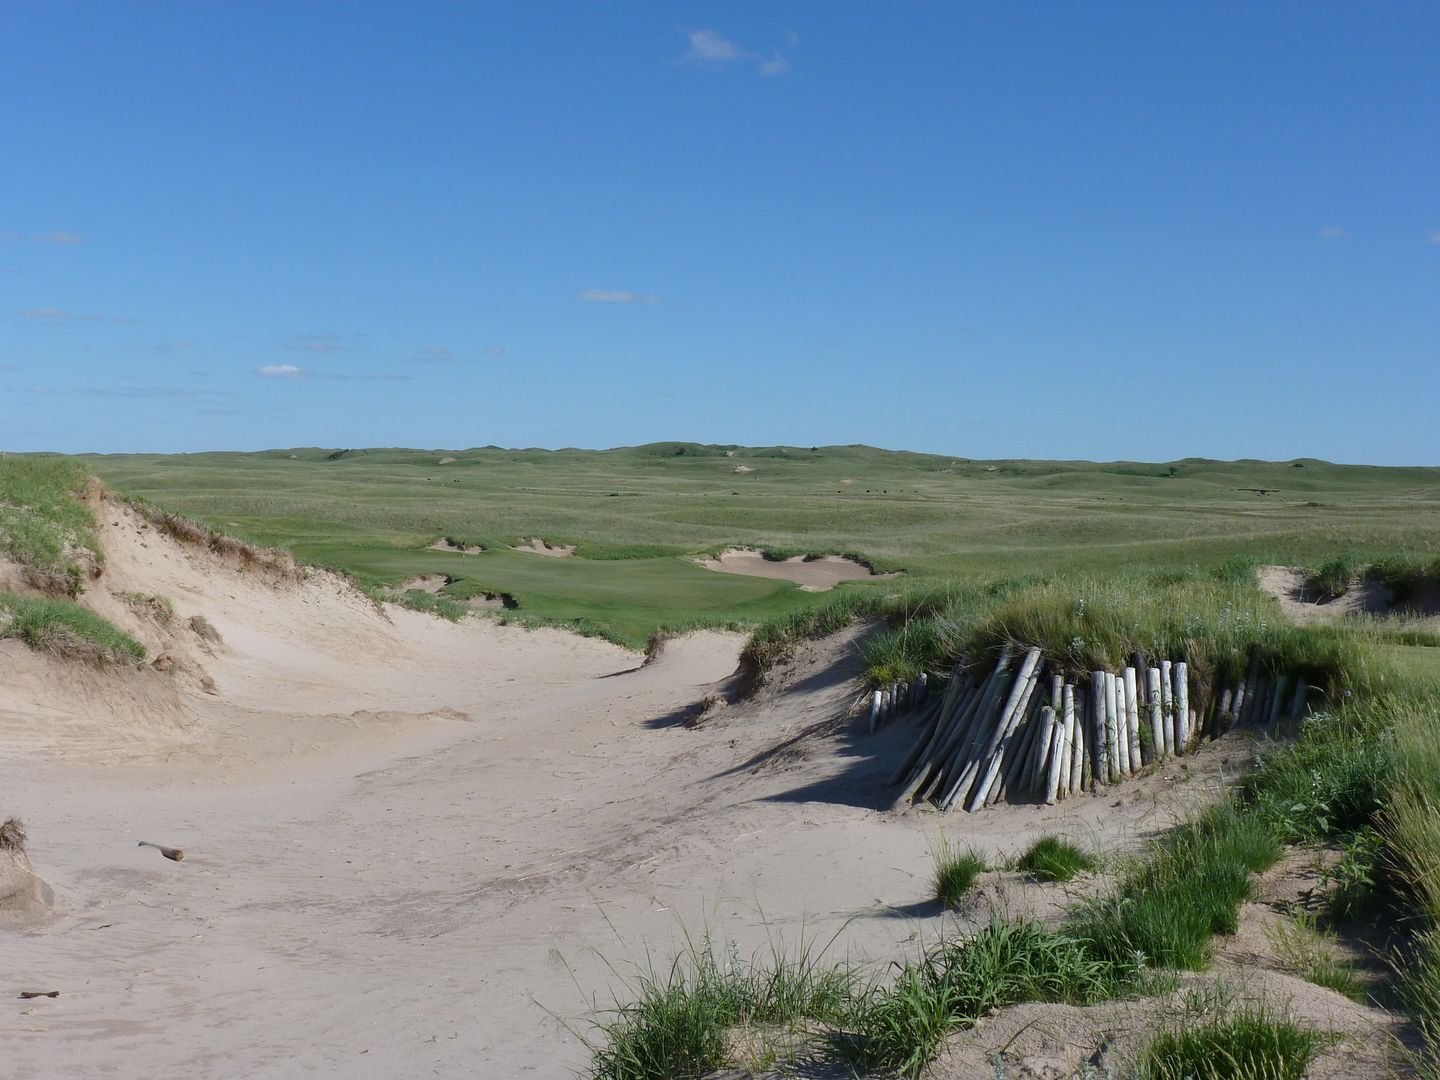
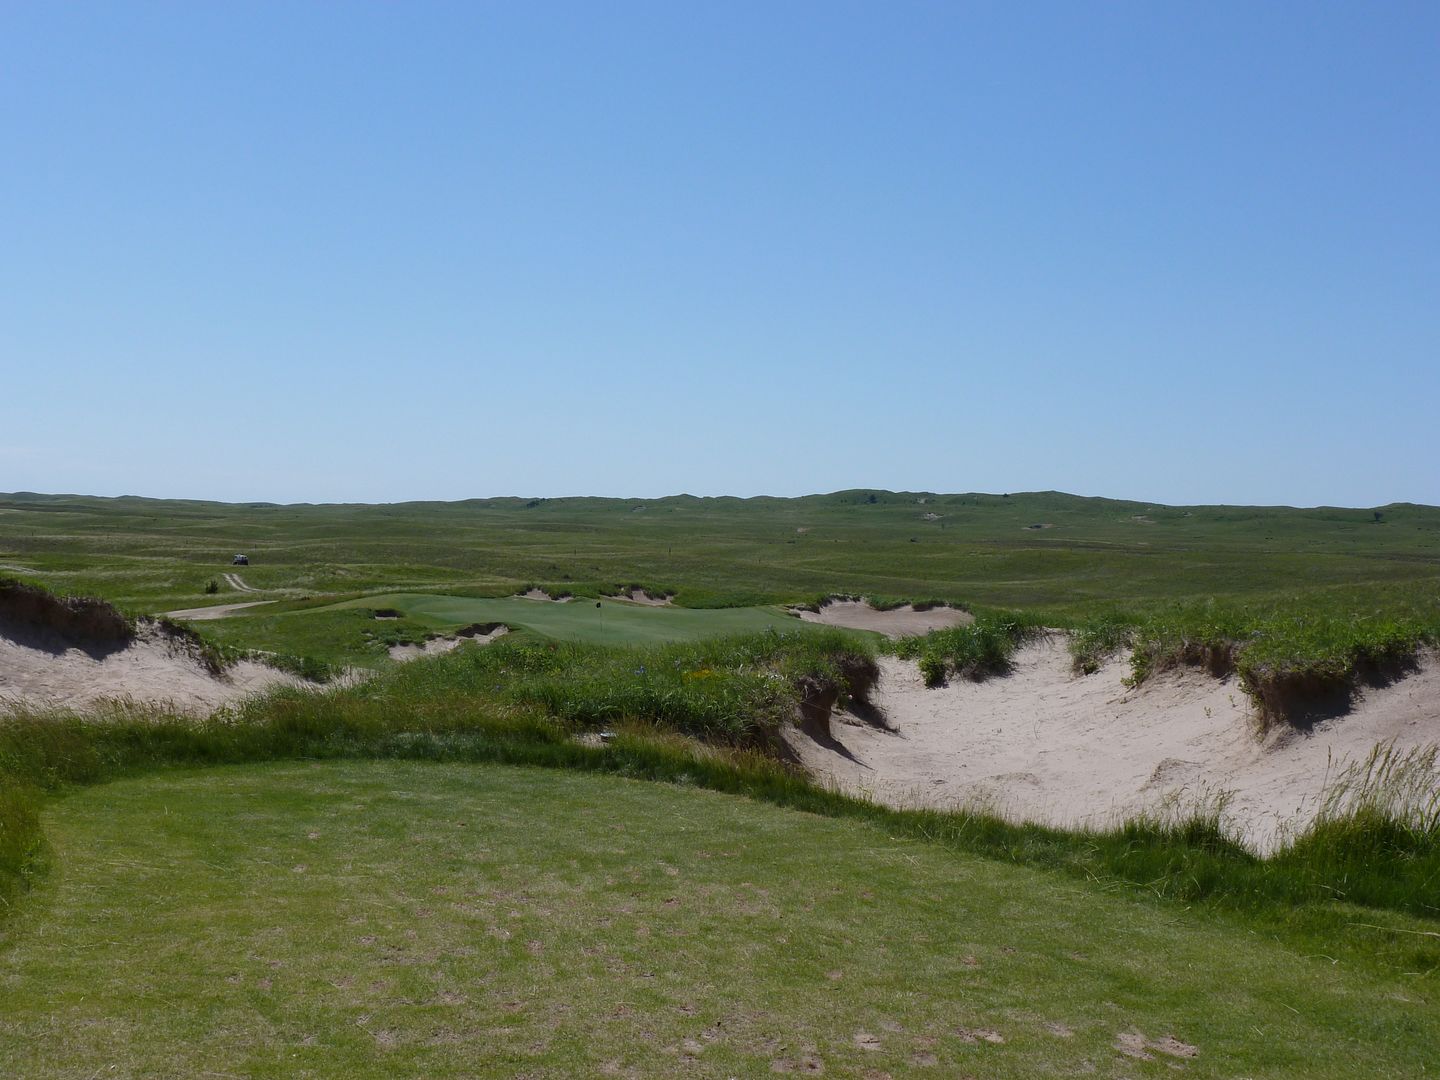
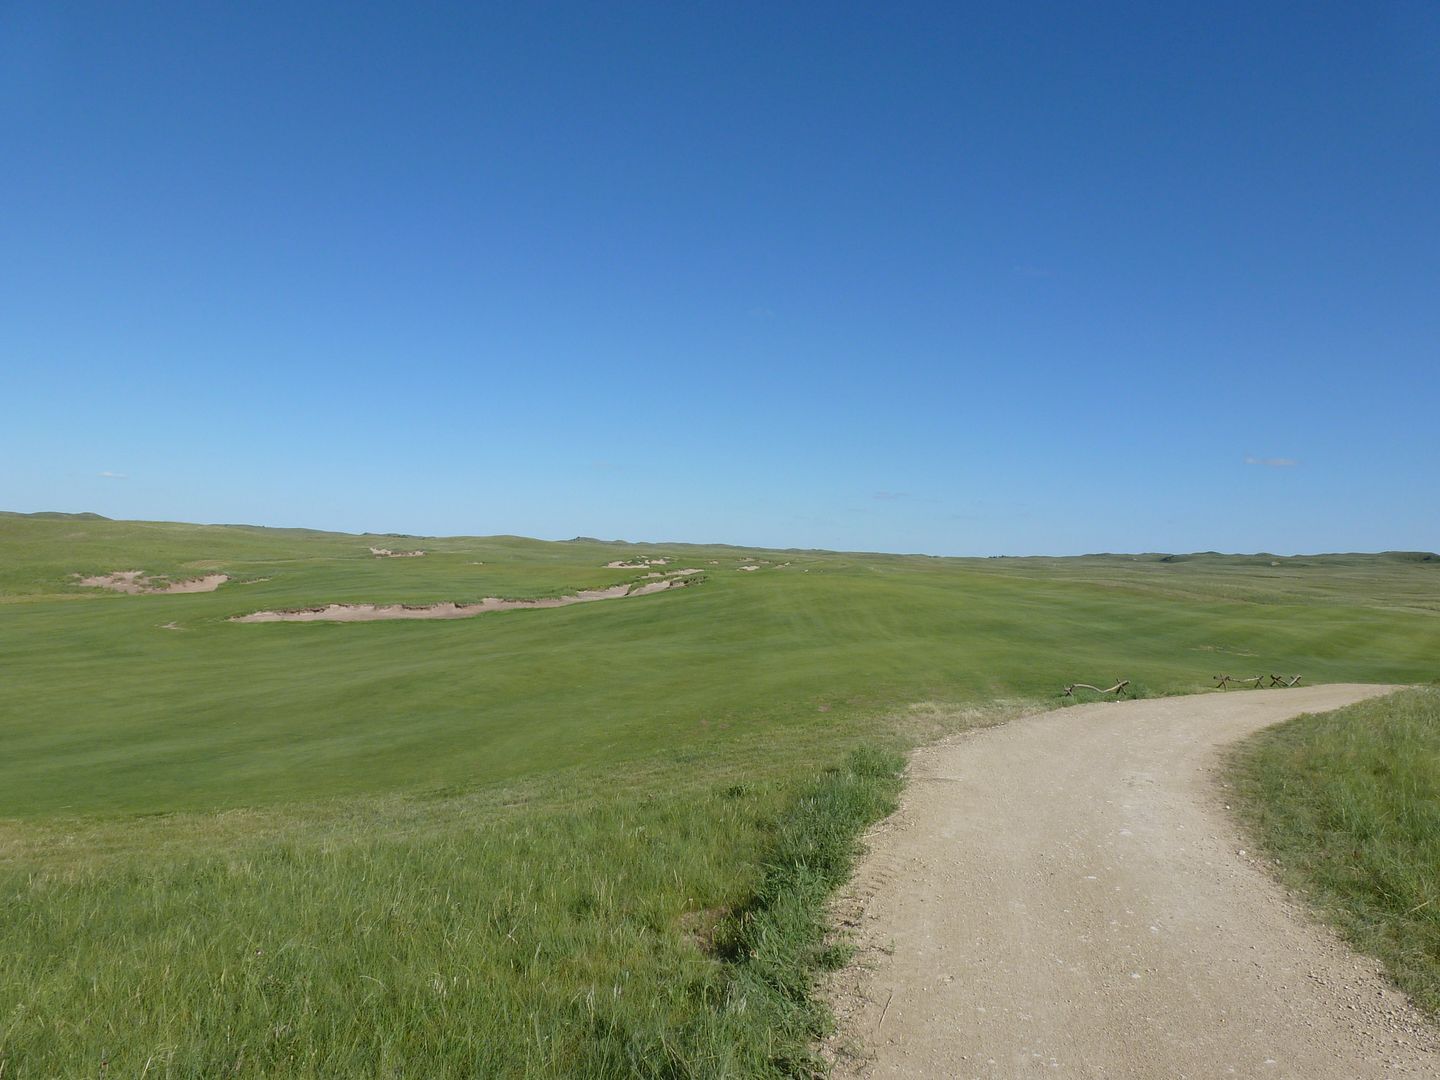
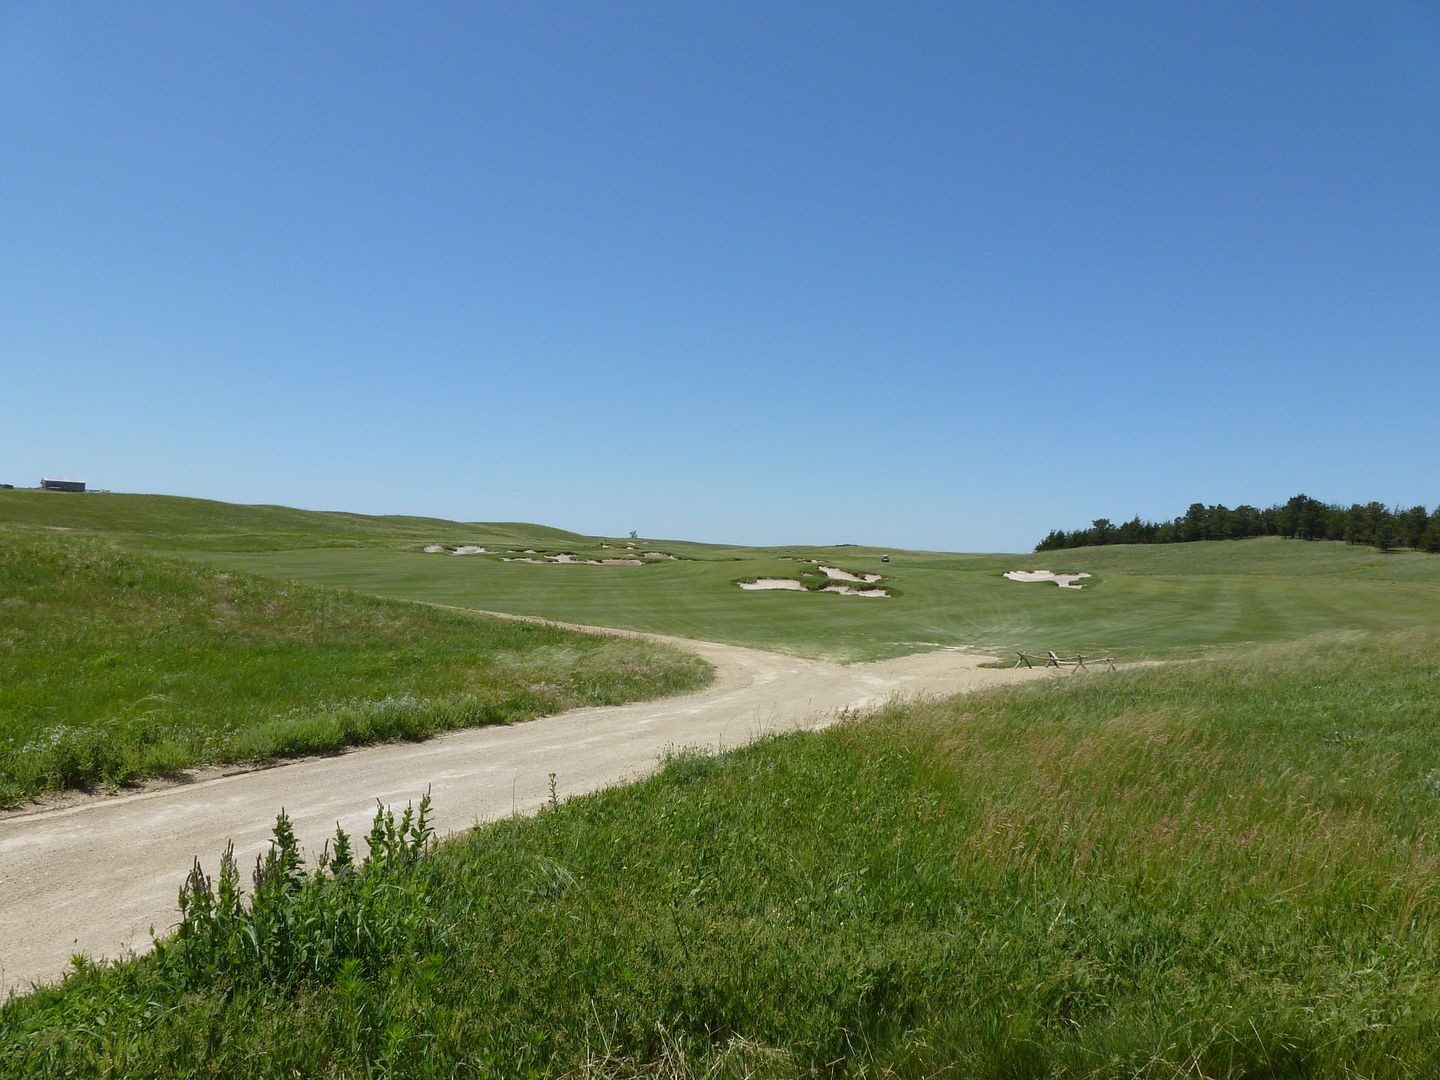
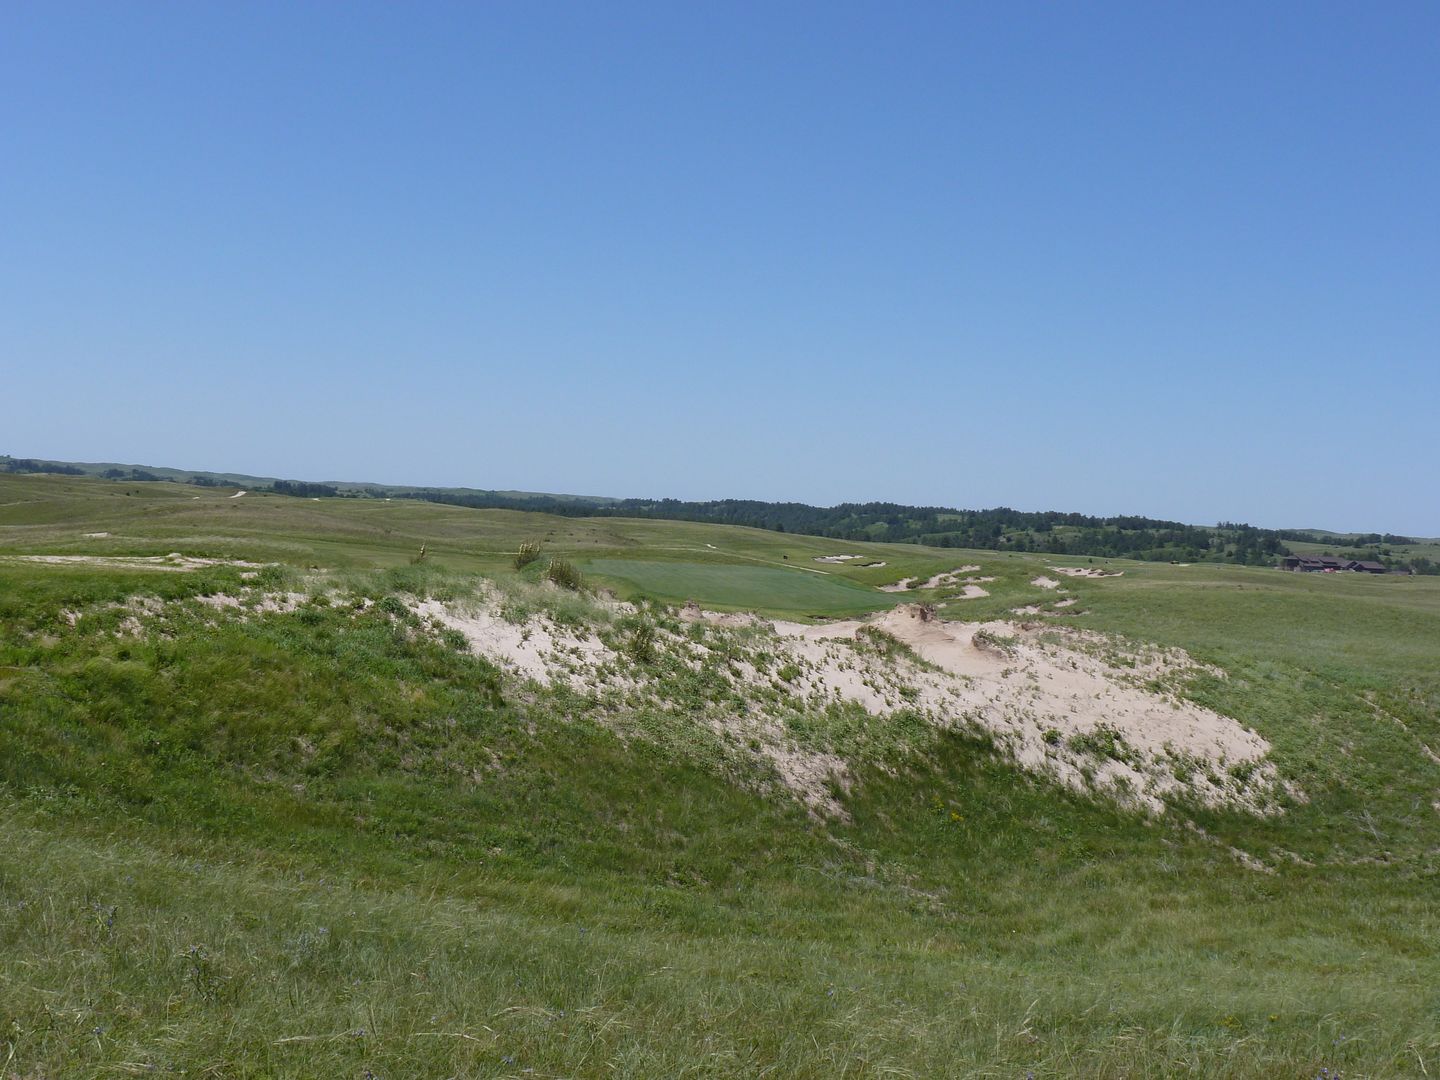
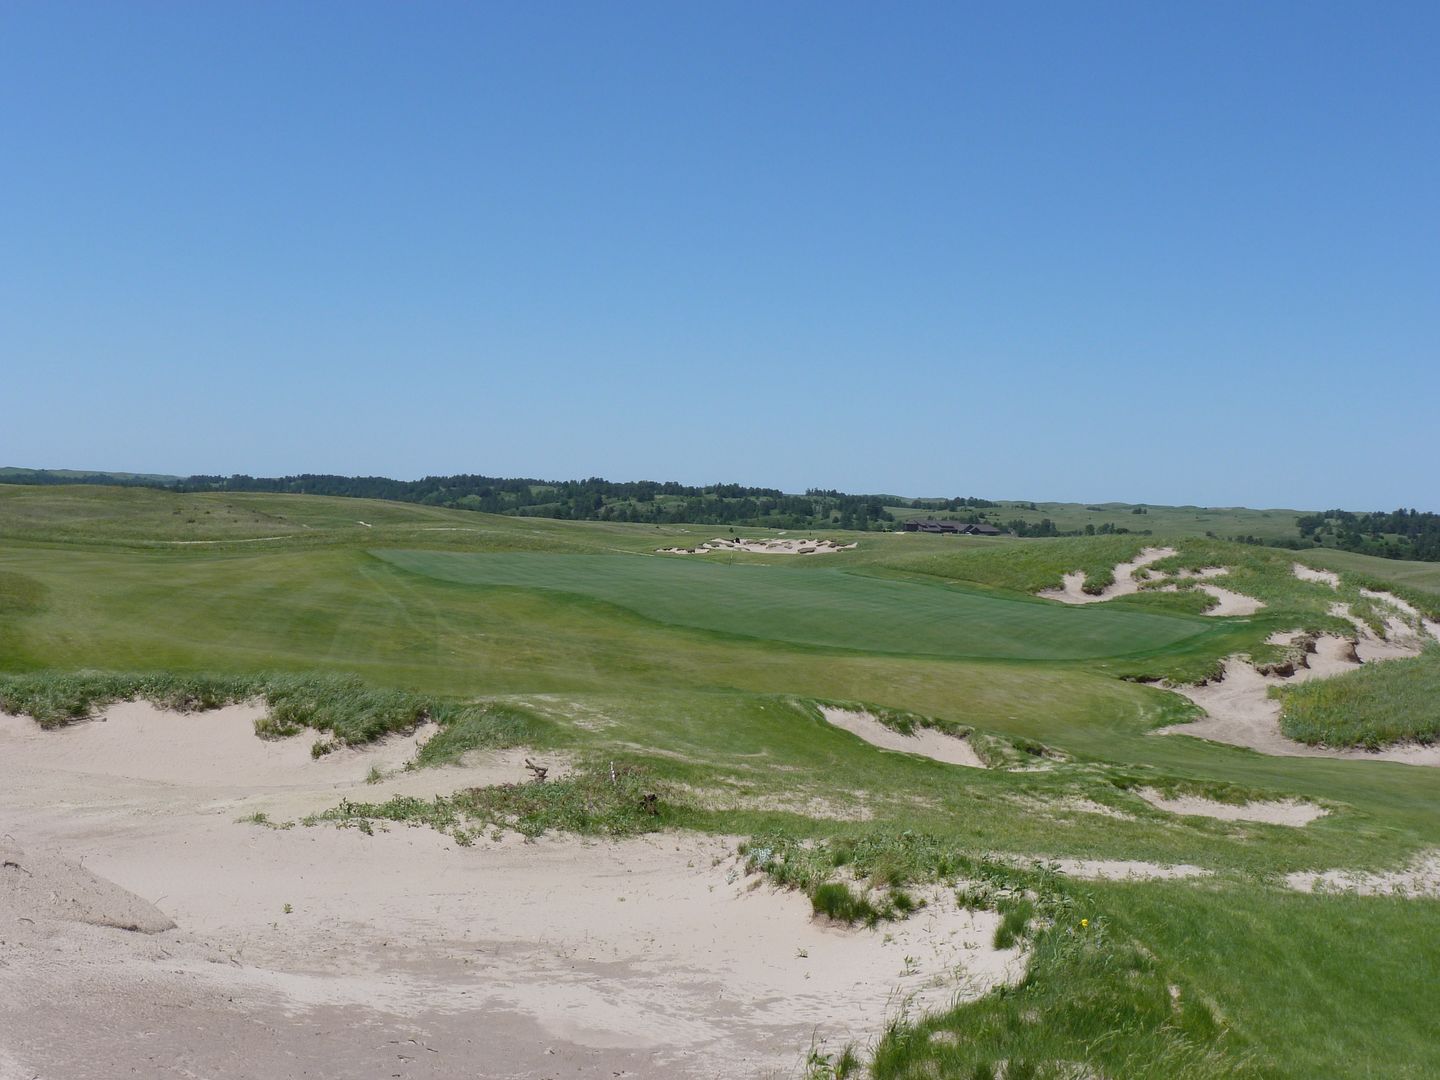
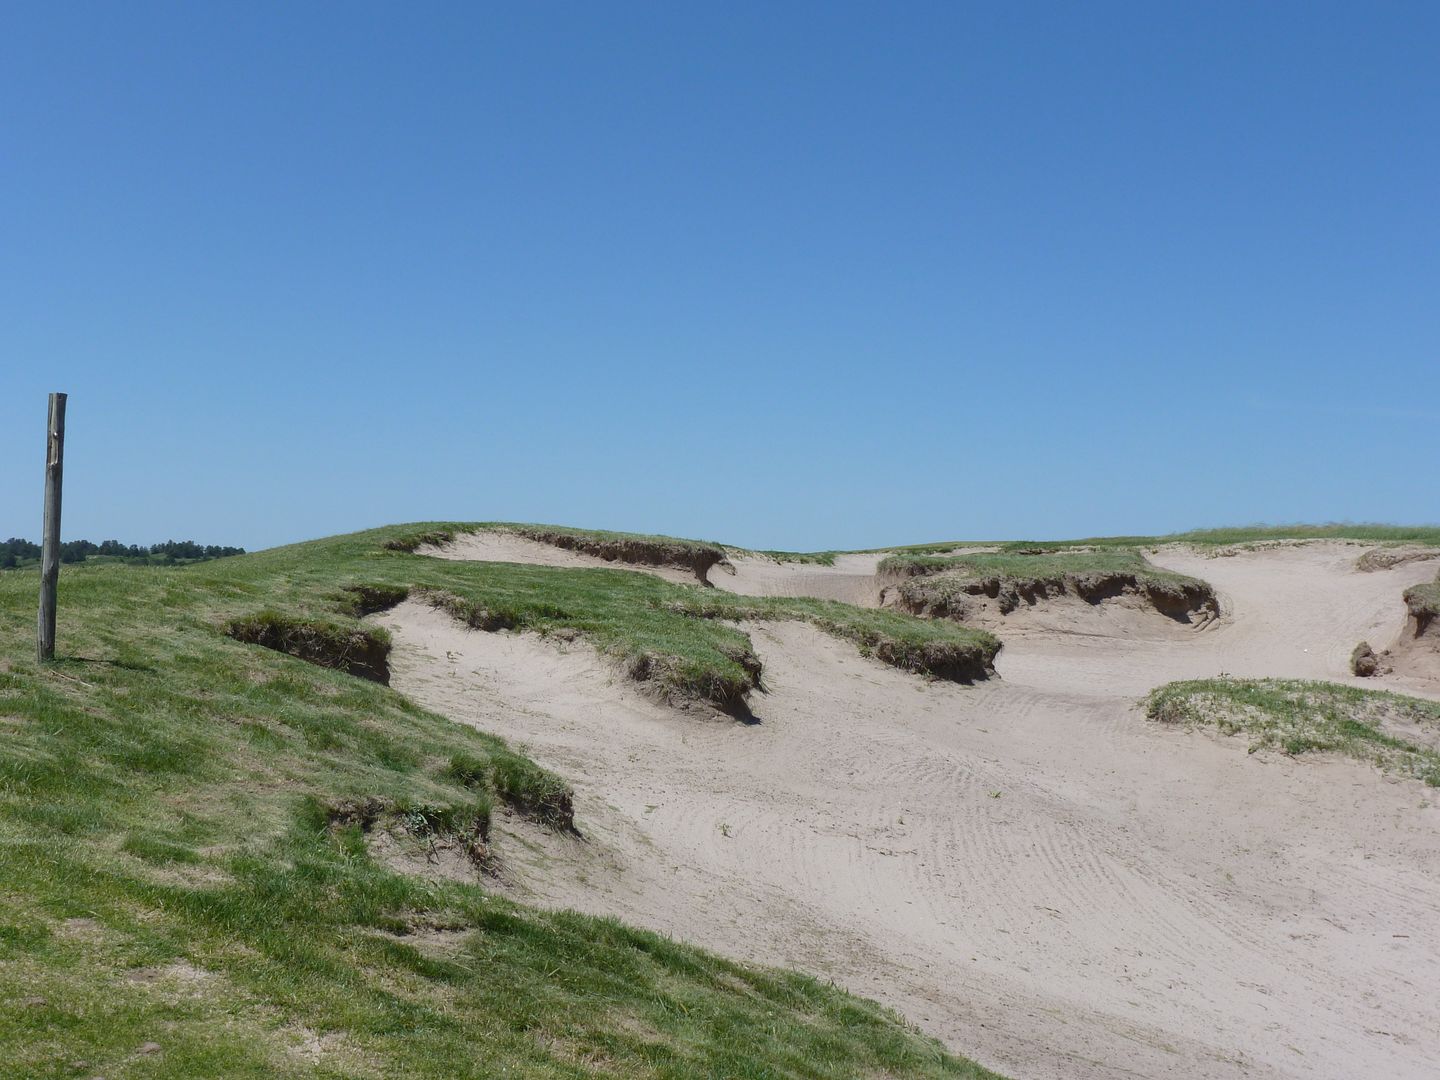
The paths on the course map are the cart paths. On several holes the next tee is basically a part of the collection area from the previous green. For example, the fourth tee is probably only 5 yards from the back left portion of the third green (I think I have a picture, which I will post). Still, the course is not the easiest walk because of all the undulations and changes in elevation.
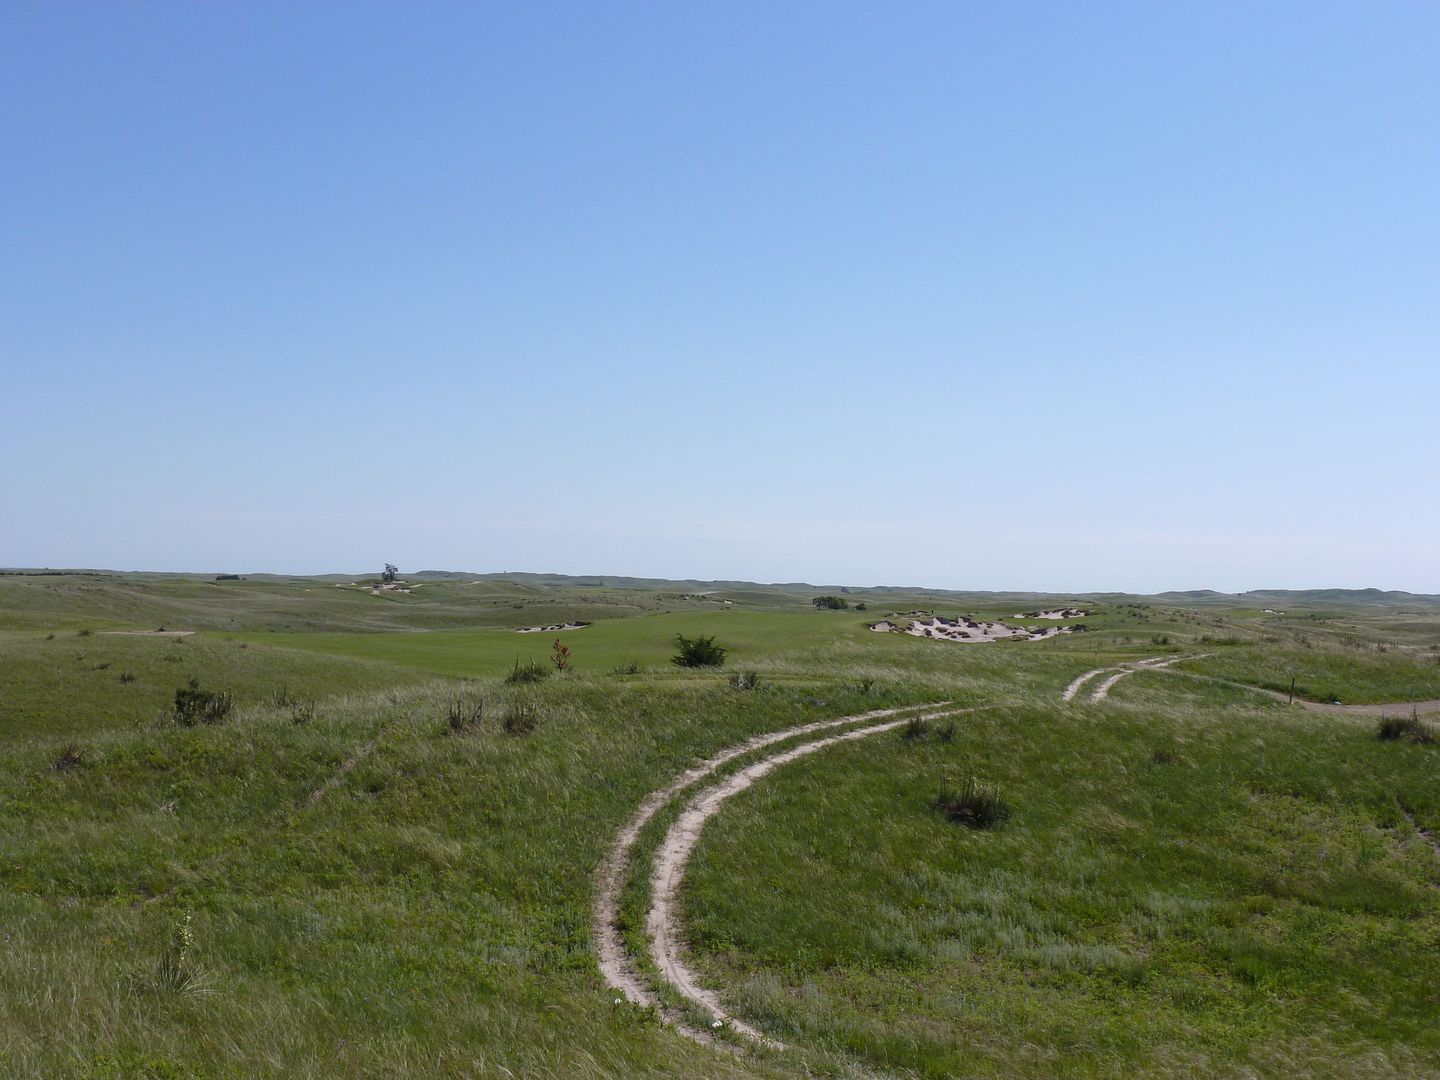
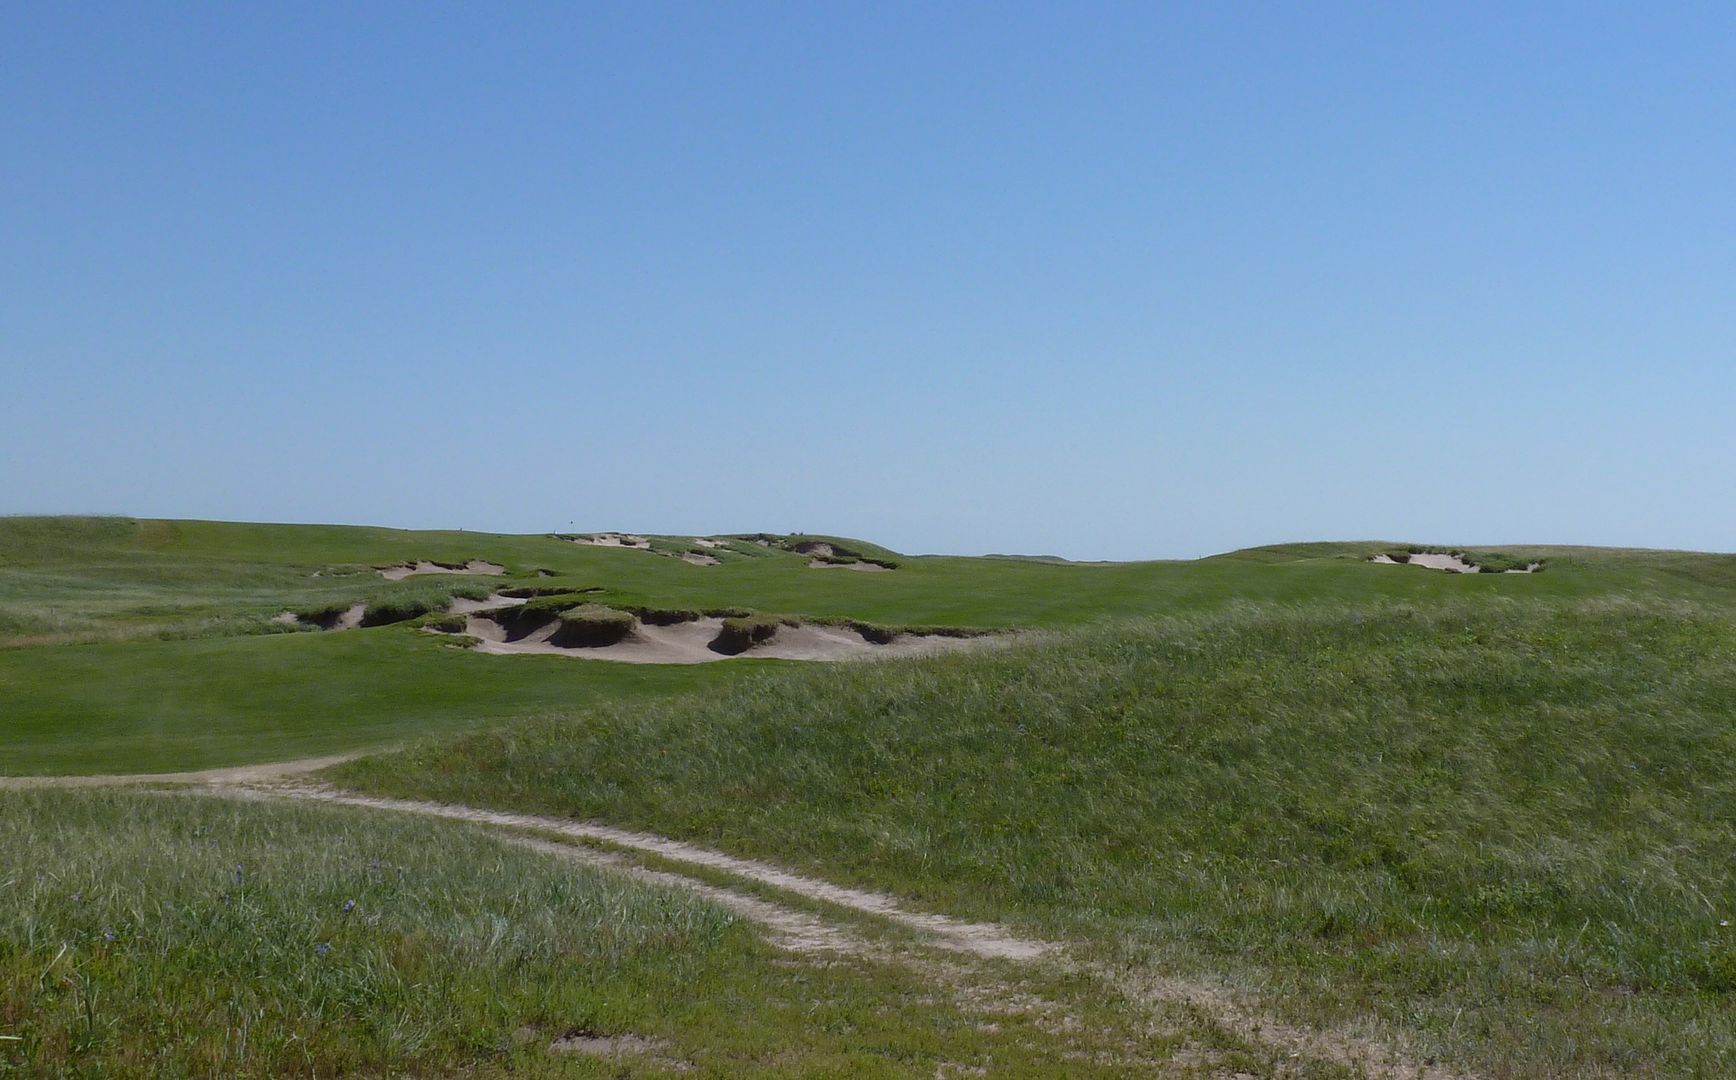
The only caveat is that the shortest paths from tee to fairway and from green to next tee are not cleared through the longer grass. There is usually a rugged path that has been flattened down (a bit) by previous golfers walking through the fescue. I might be laughed at now, but... there is a big warning re Rattlesnakes in the long grass on the property and the whole procedure about what you do if you encounter one and if you get bit... I didn't want to have to deal with that... so, unless the path was really clear I avoided walking in the tall grass whenever possible. As a result on holes like 5 (the tee is again maybe 15-20 yards from the previous green), I would take the cart path to the fairway. If you look at the routing, the cart path is very roundabout and results in a disjointed feeling where you lose sight of the hole and come out somewhere in the middle of the fairway. If the paths through the fescue were cleared better the walk would be much more enjoyable.
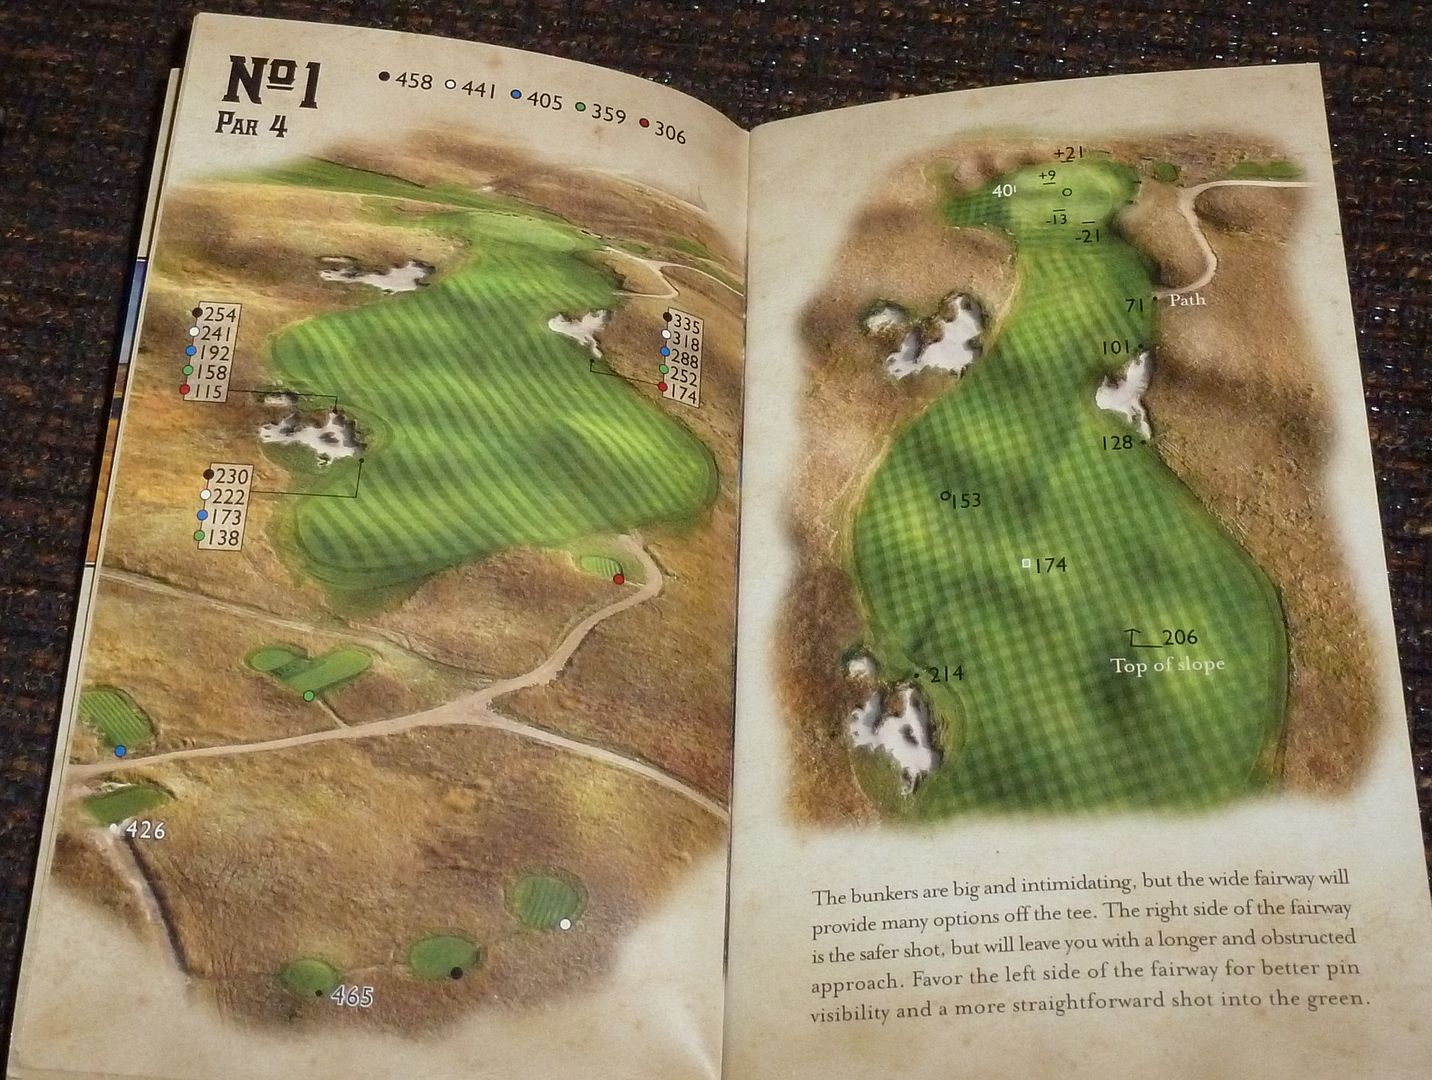
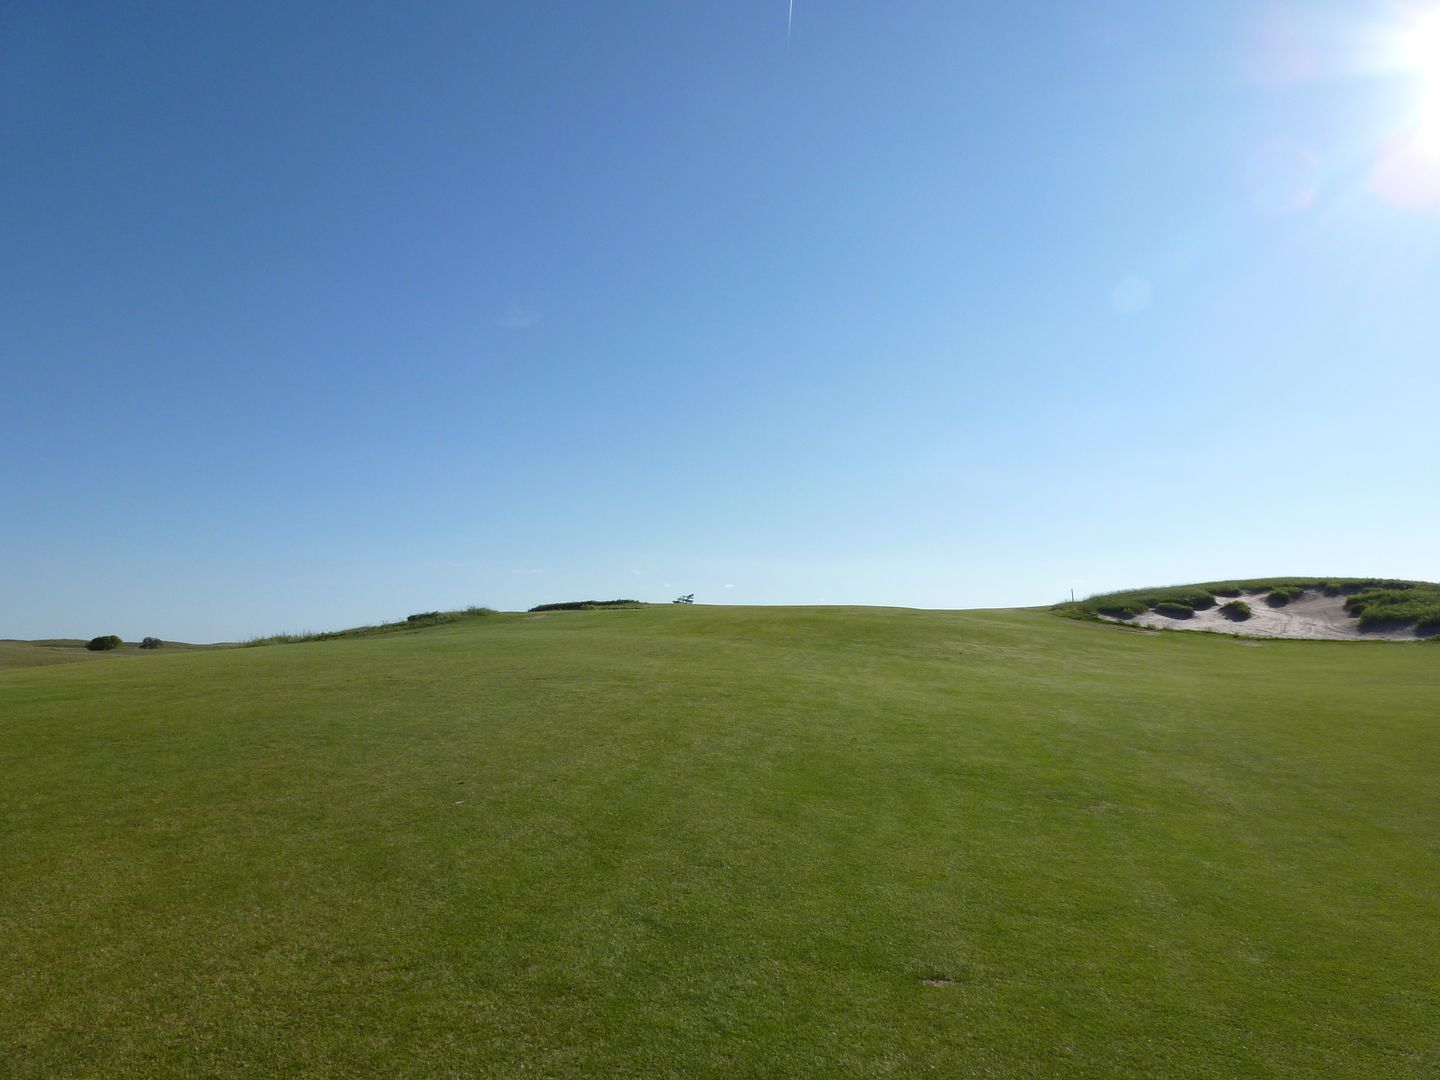
Tee from the blacks (which were on the 426 yard tee)
Tee from the whites (which were at the 359 yard green tee box)
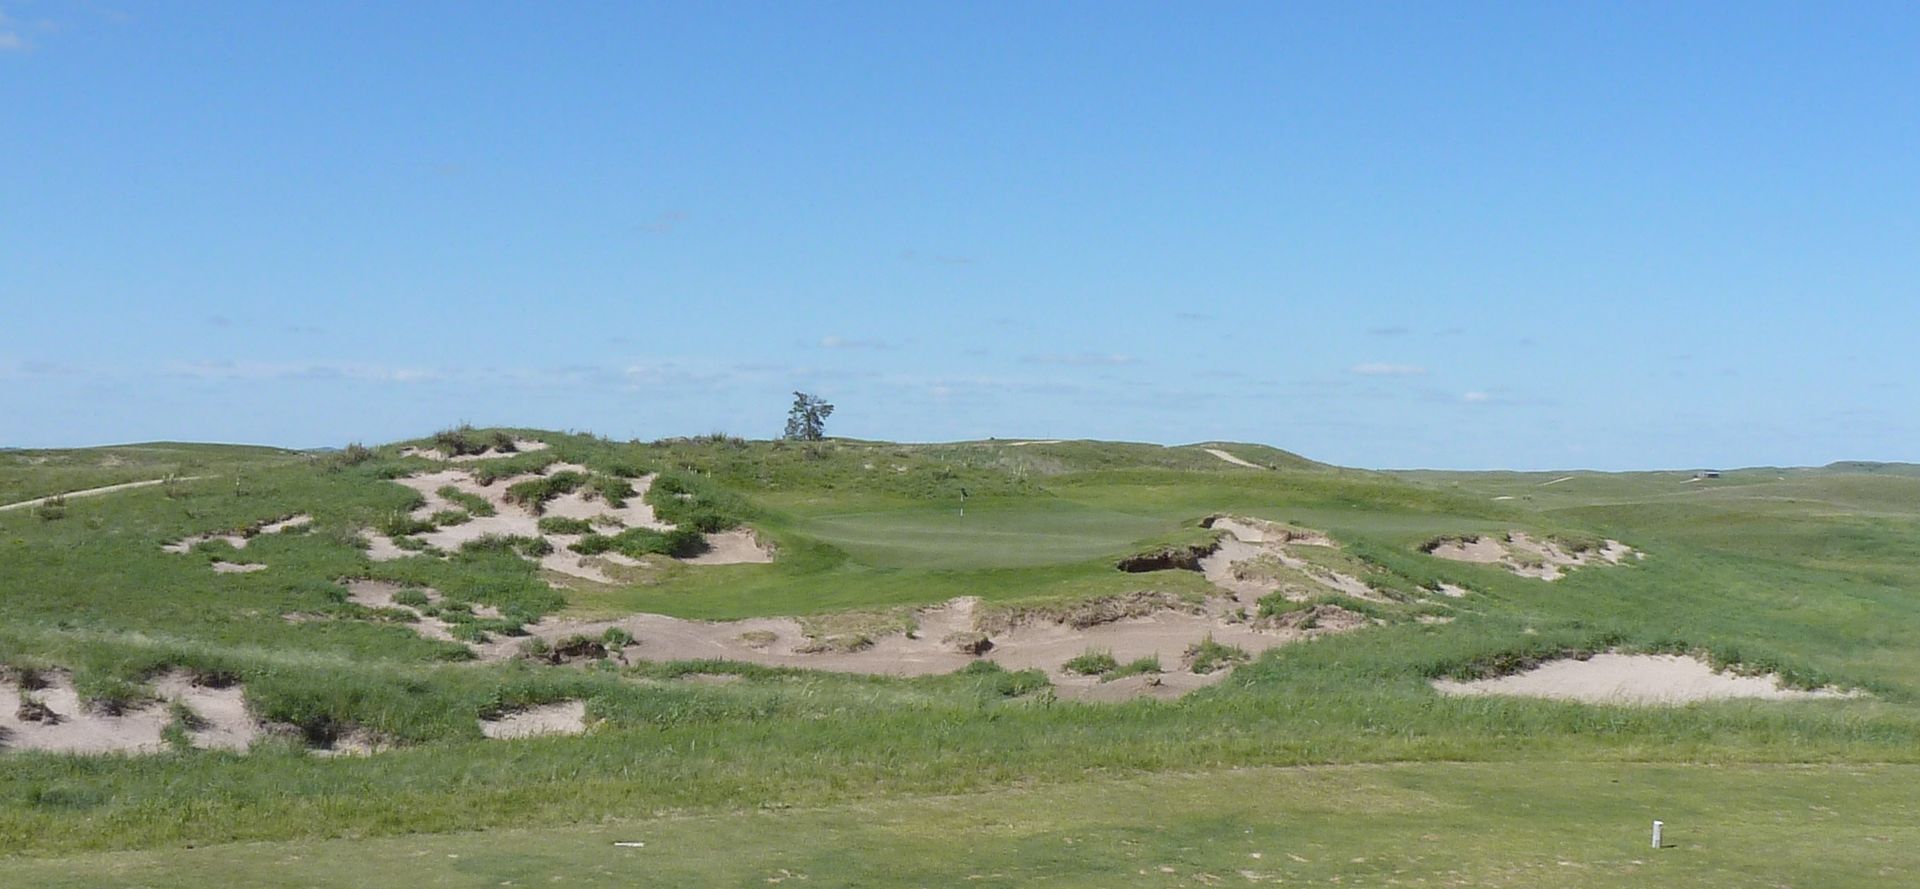
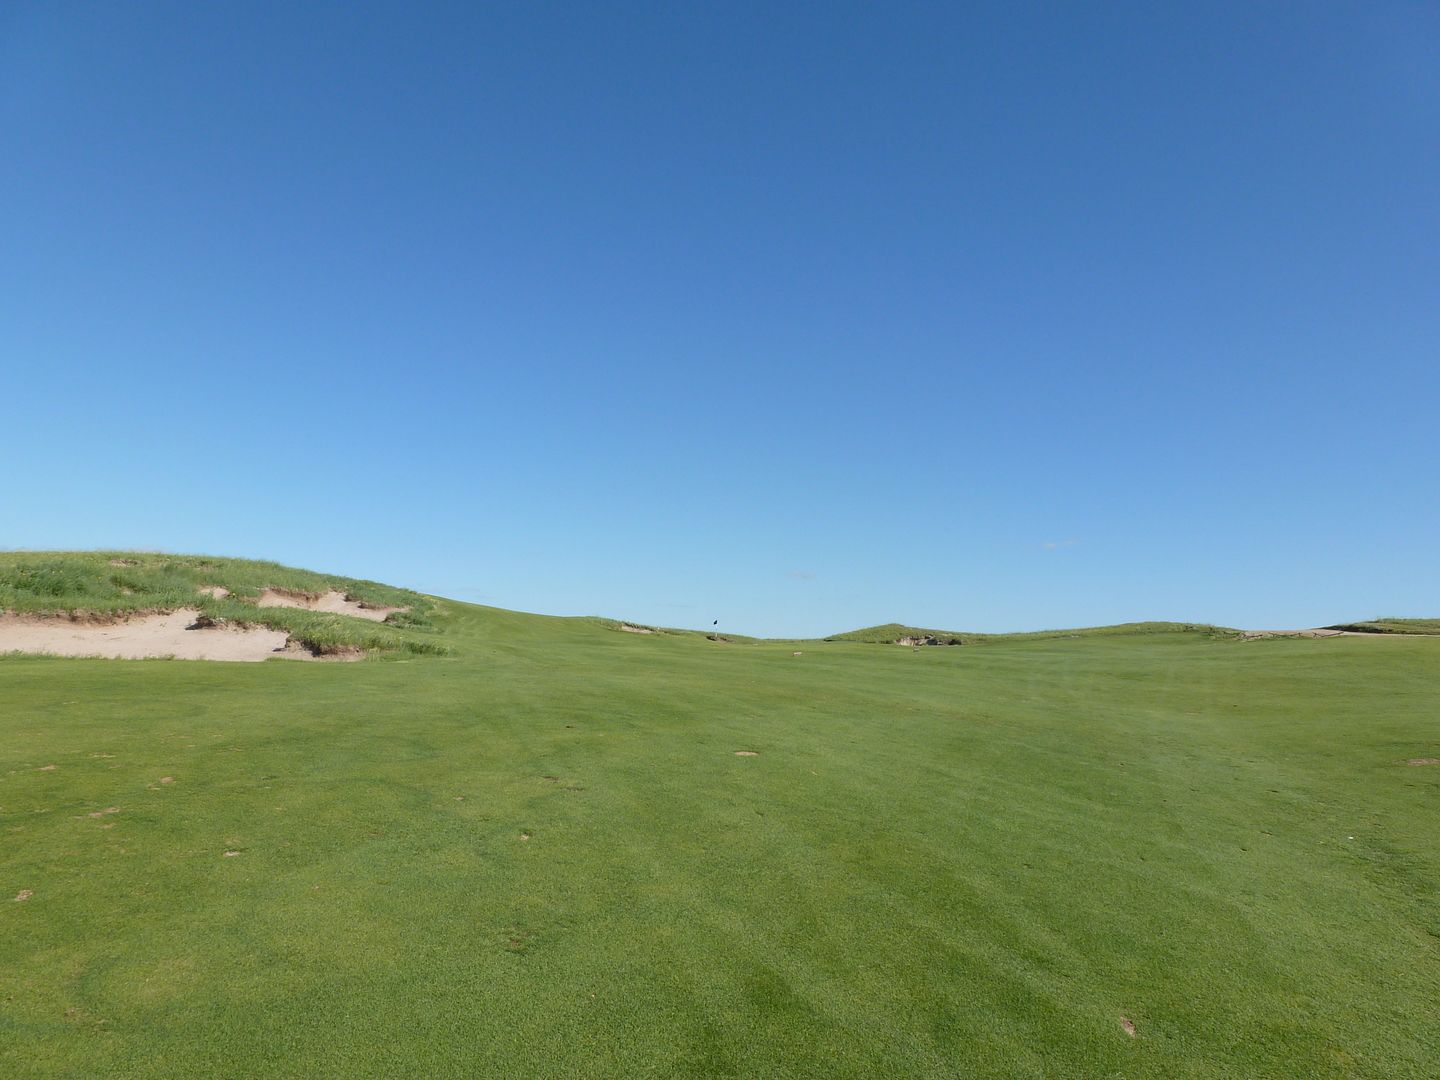
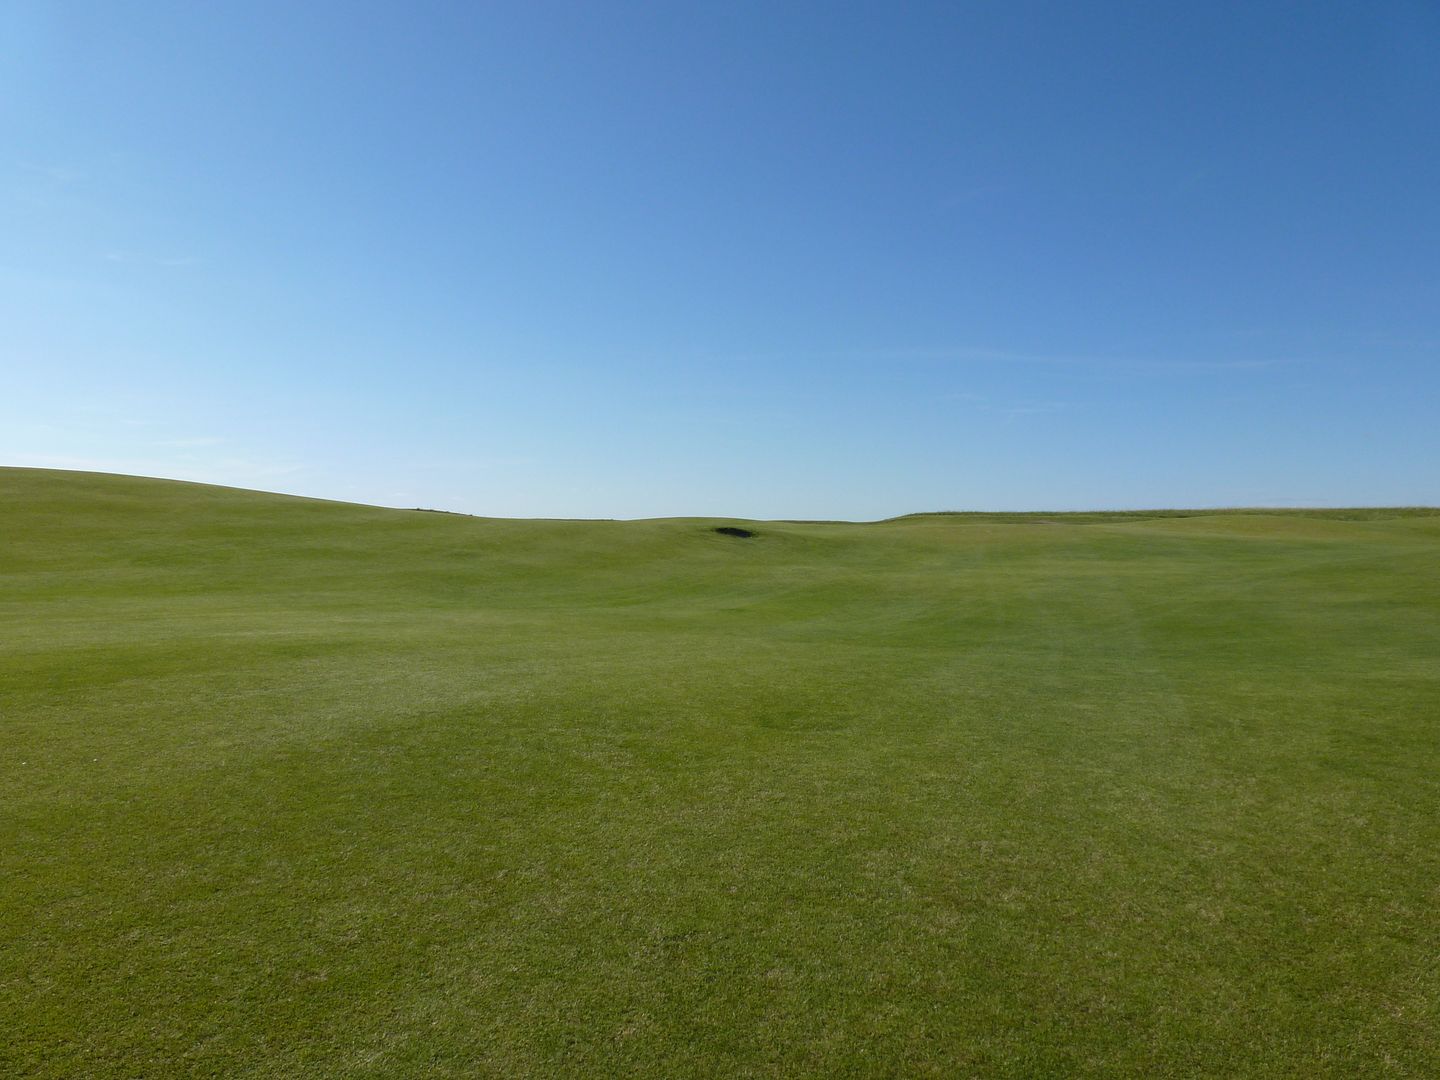
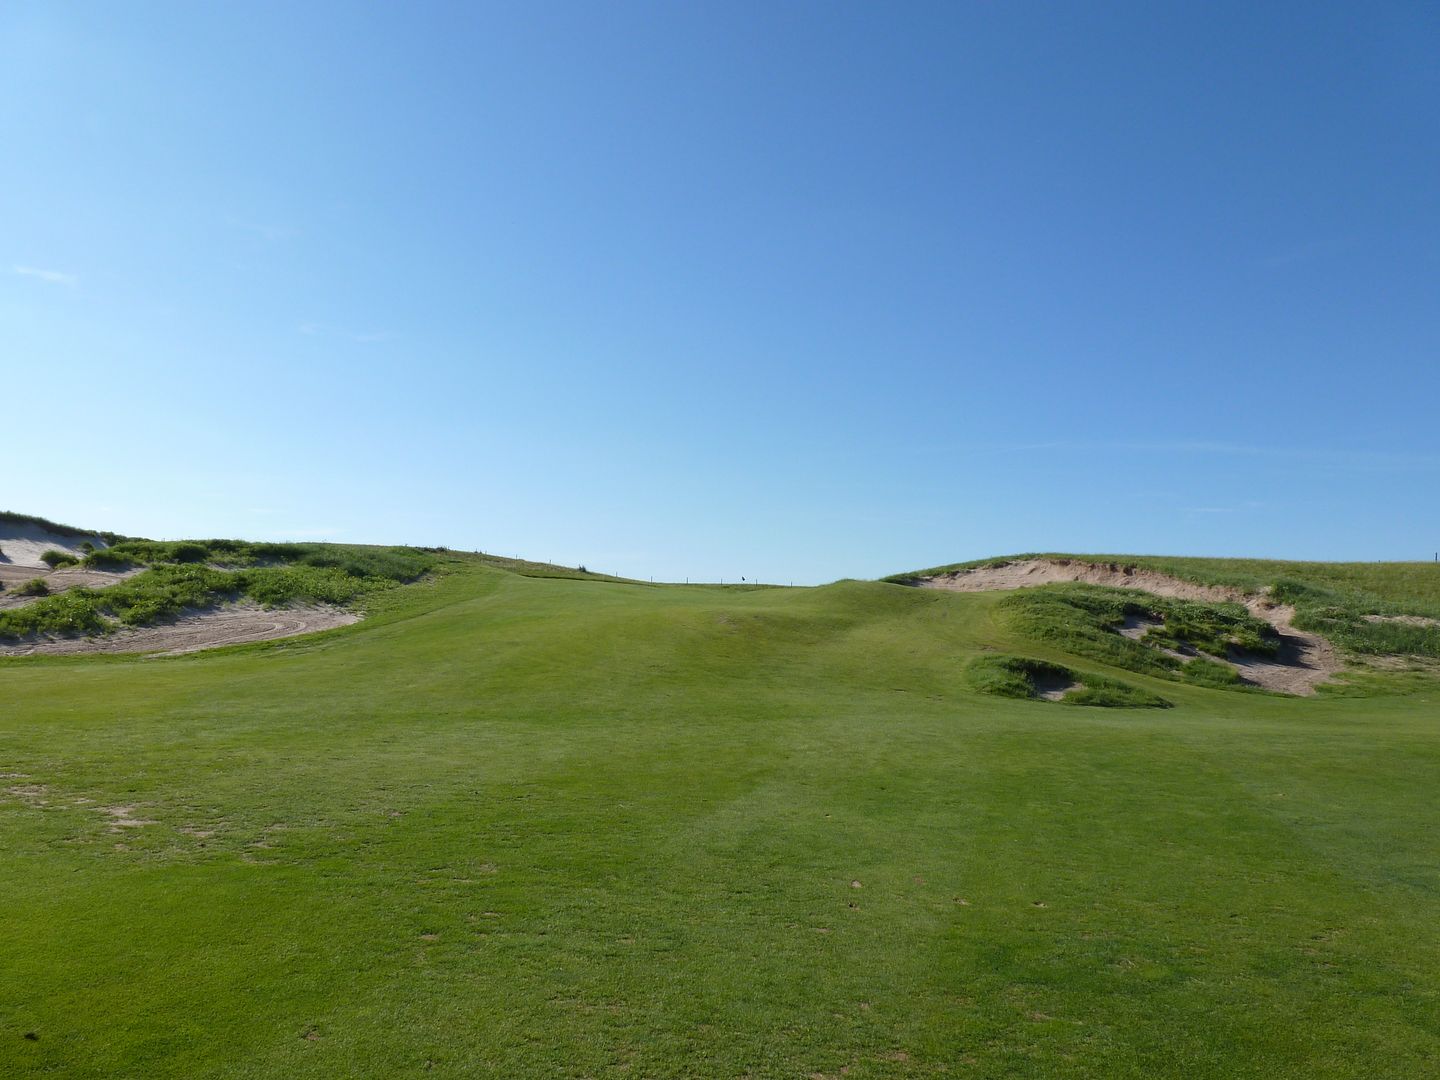
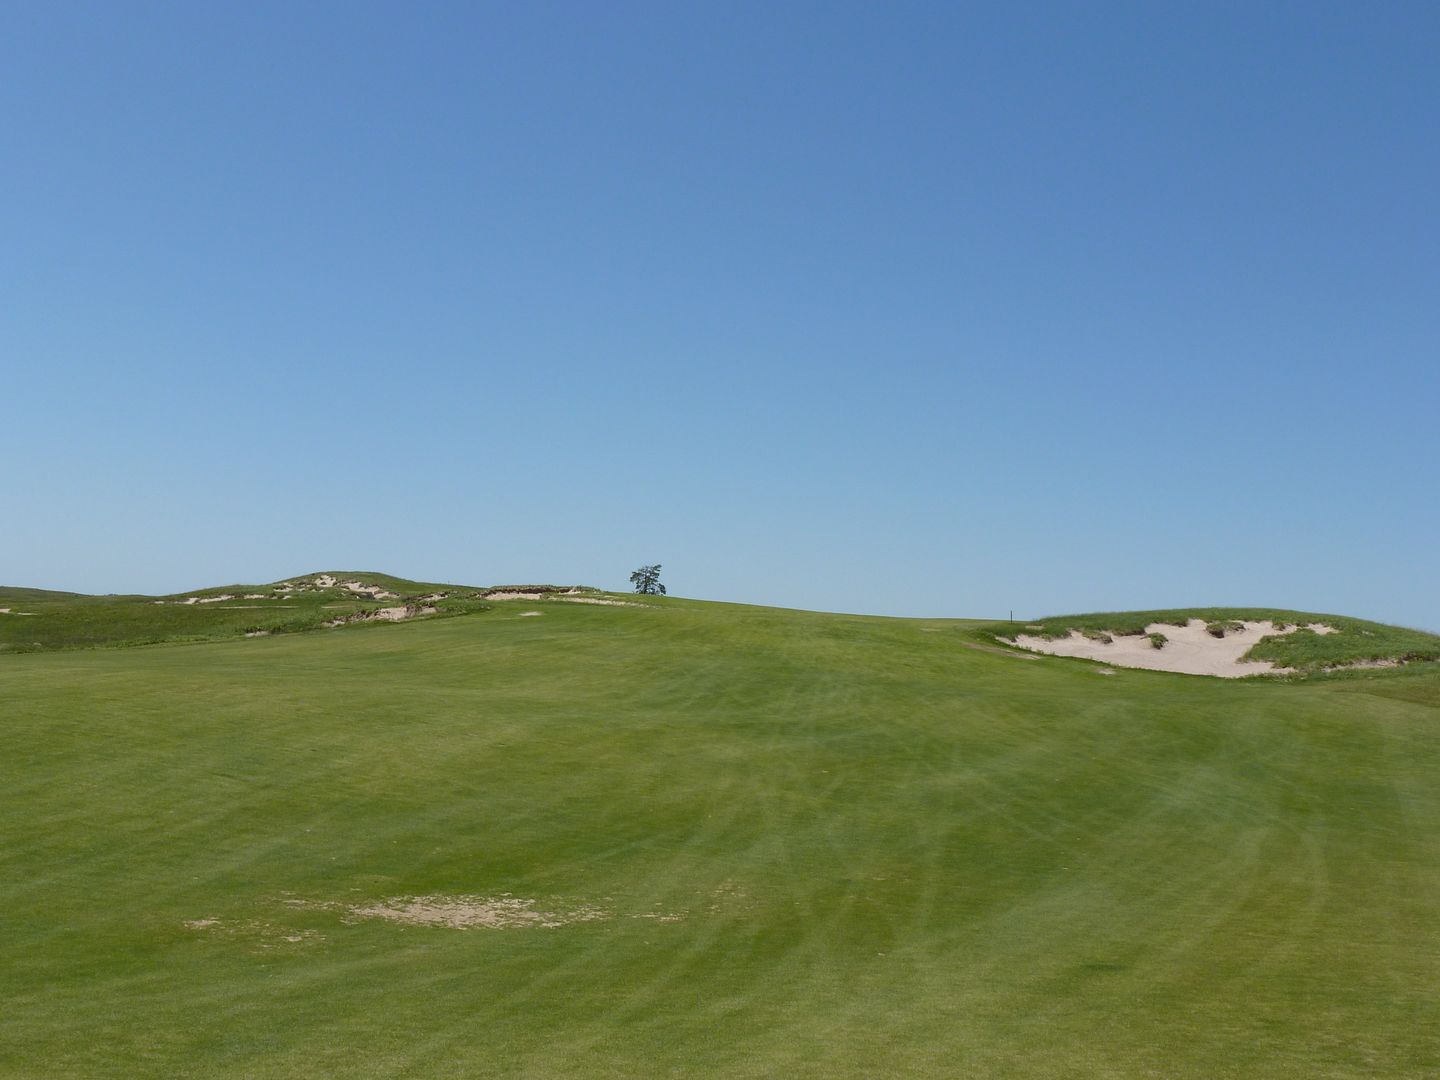
From 175 yards out on the right side of the fairway - from here the green is entirely blind
From 160 yards out from the center/left side of the fairway - the top of the pin can be seen from here
From just on top of the hill - the first time the green comes into view

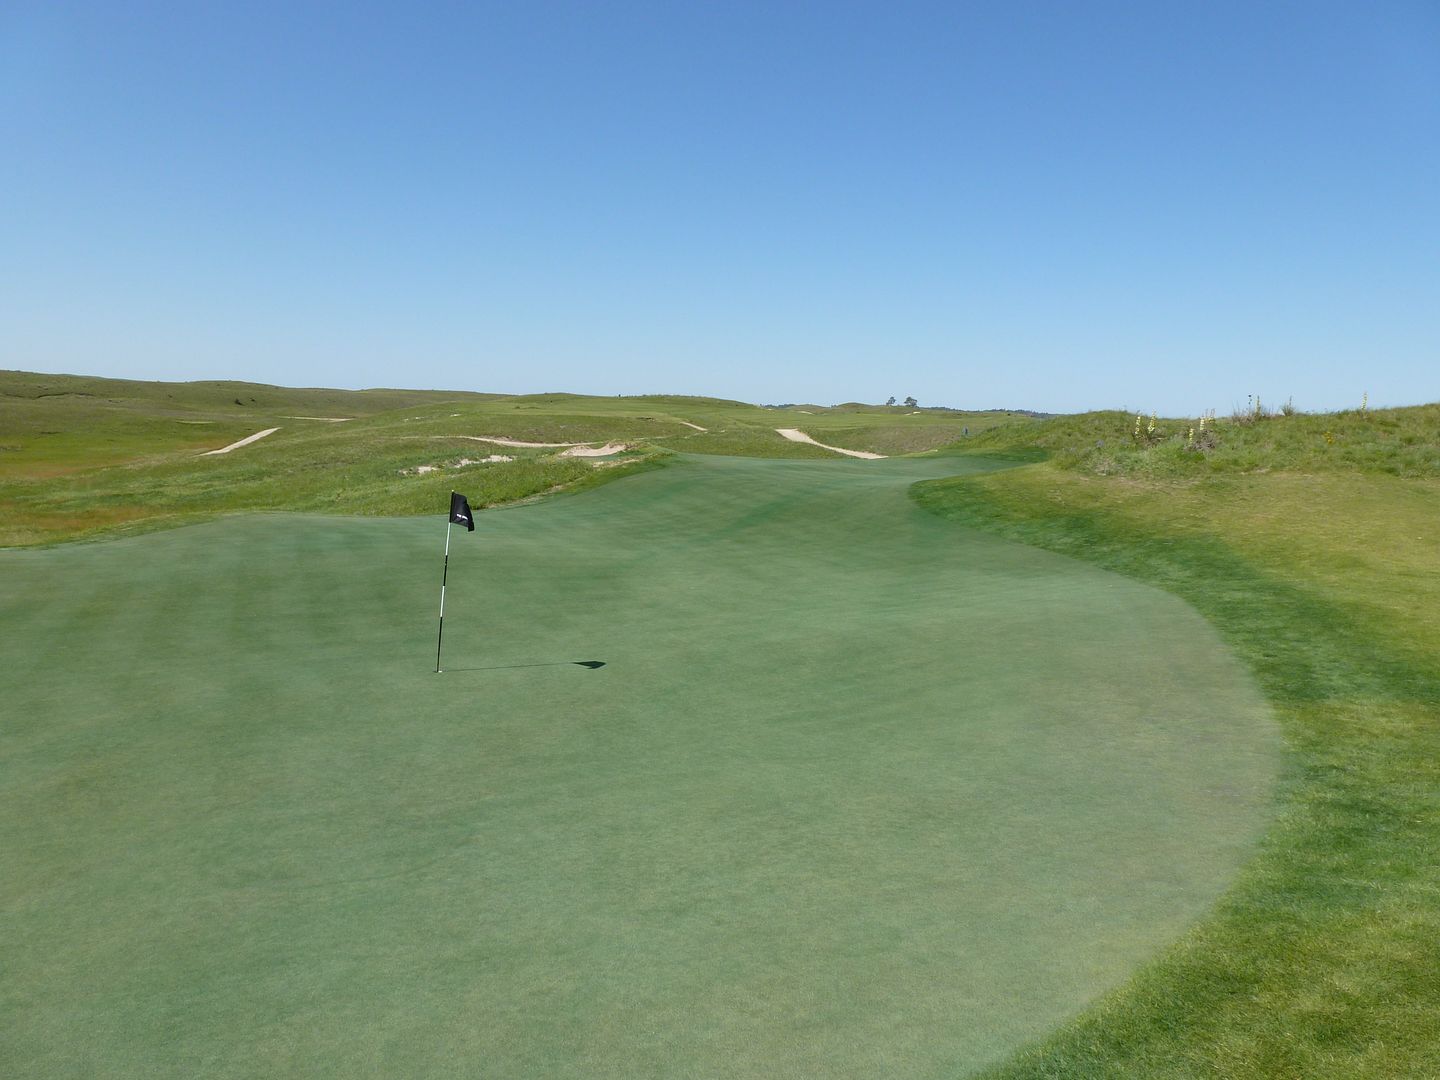
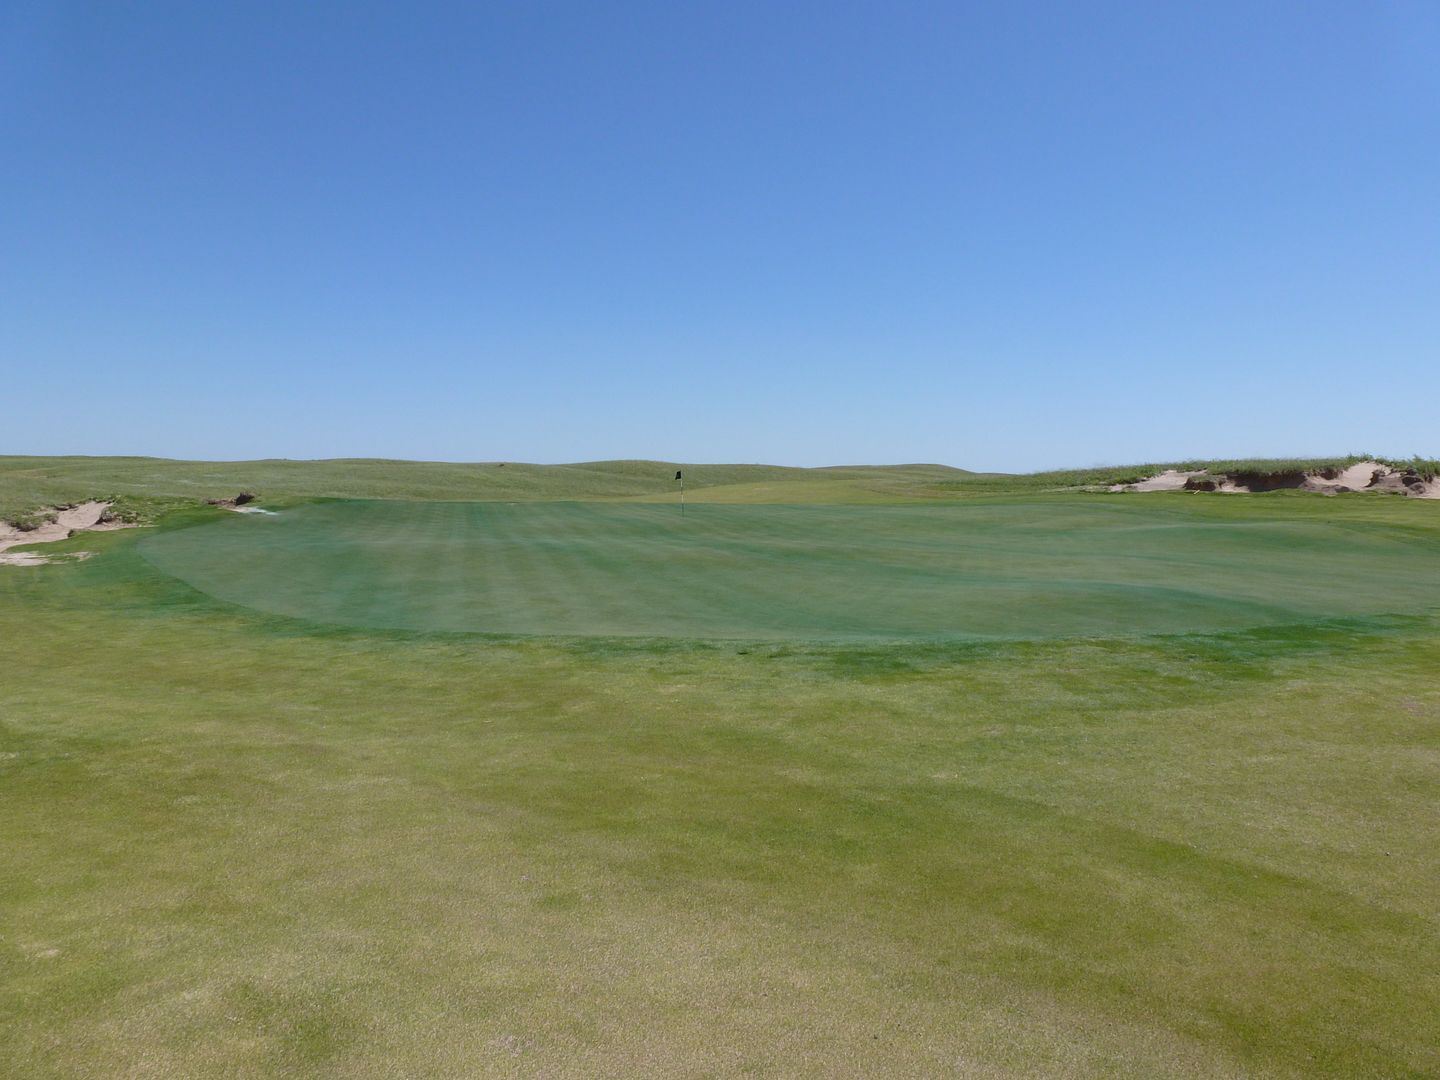
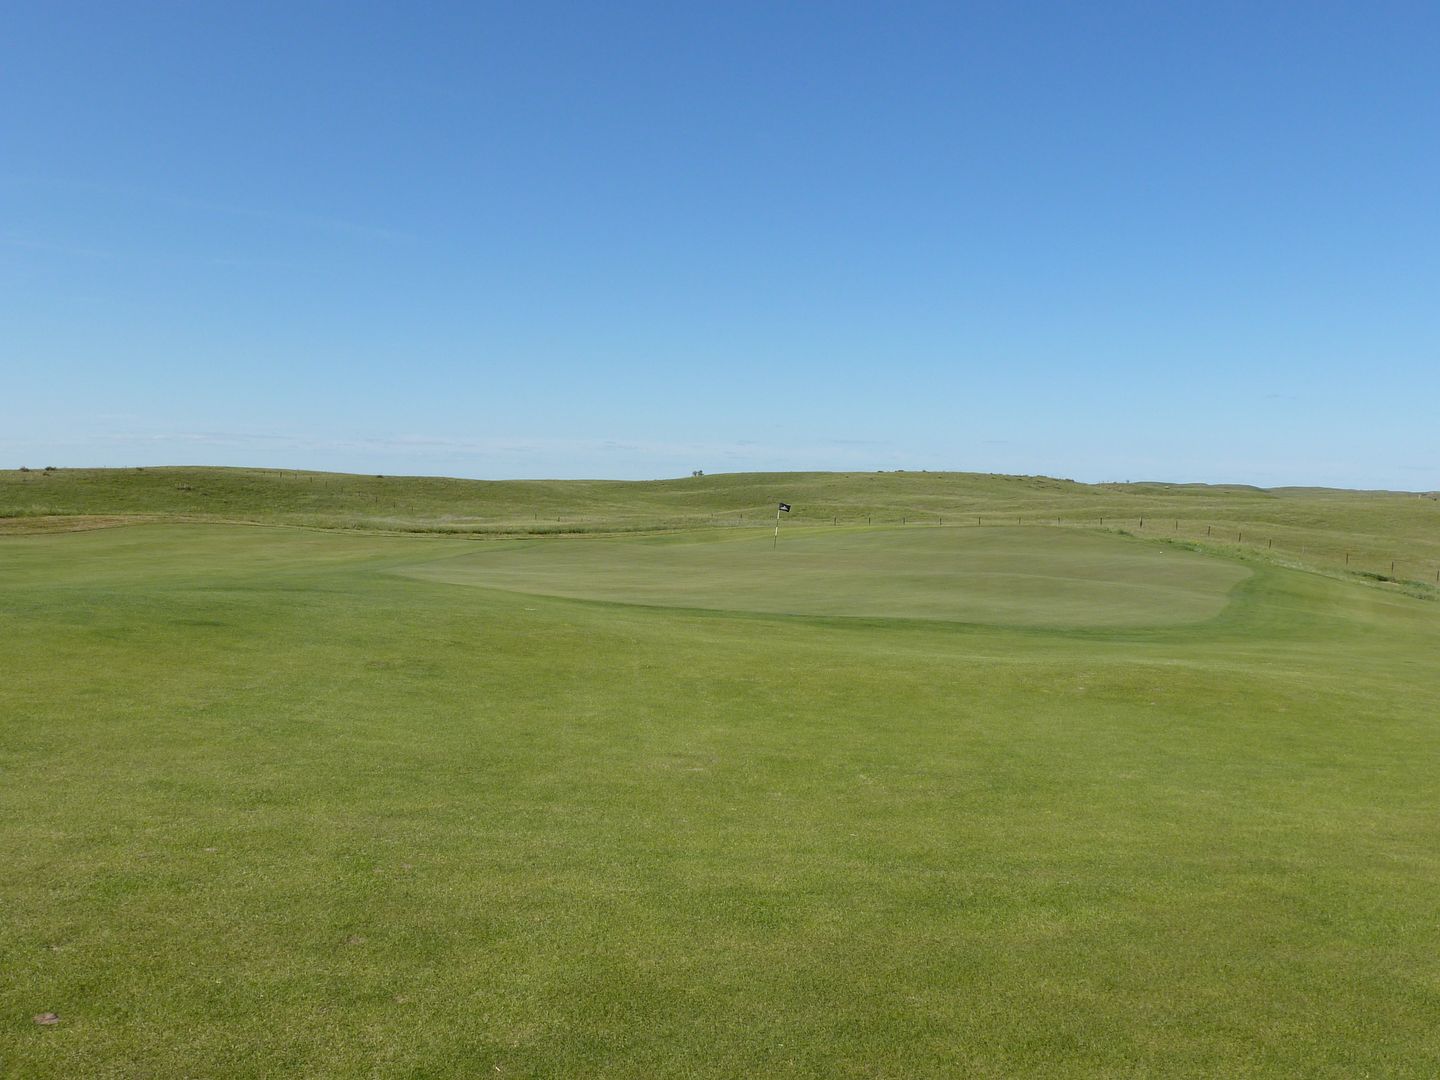
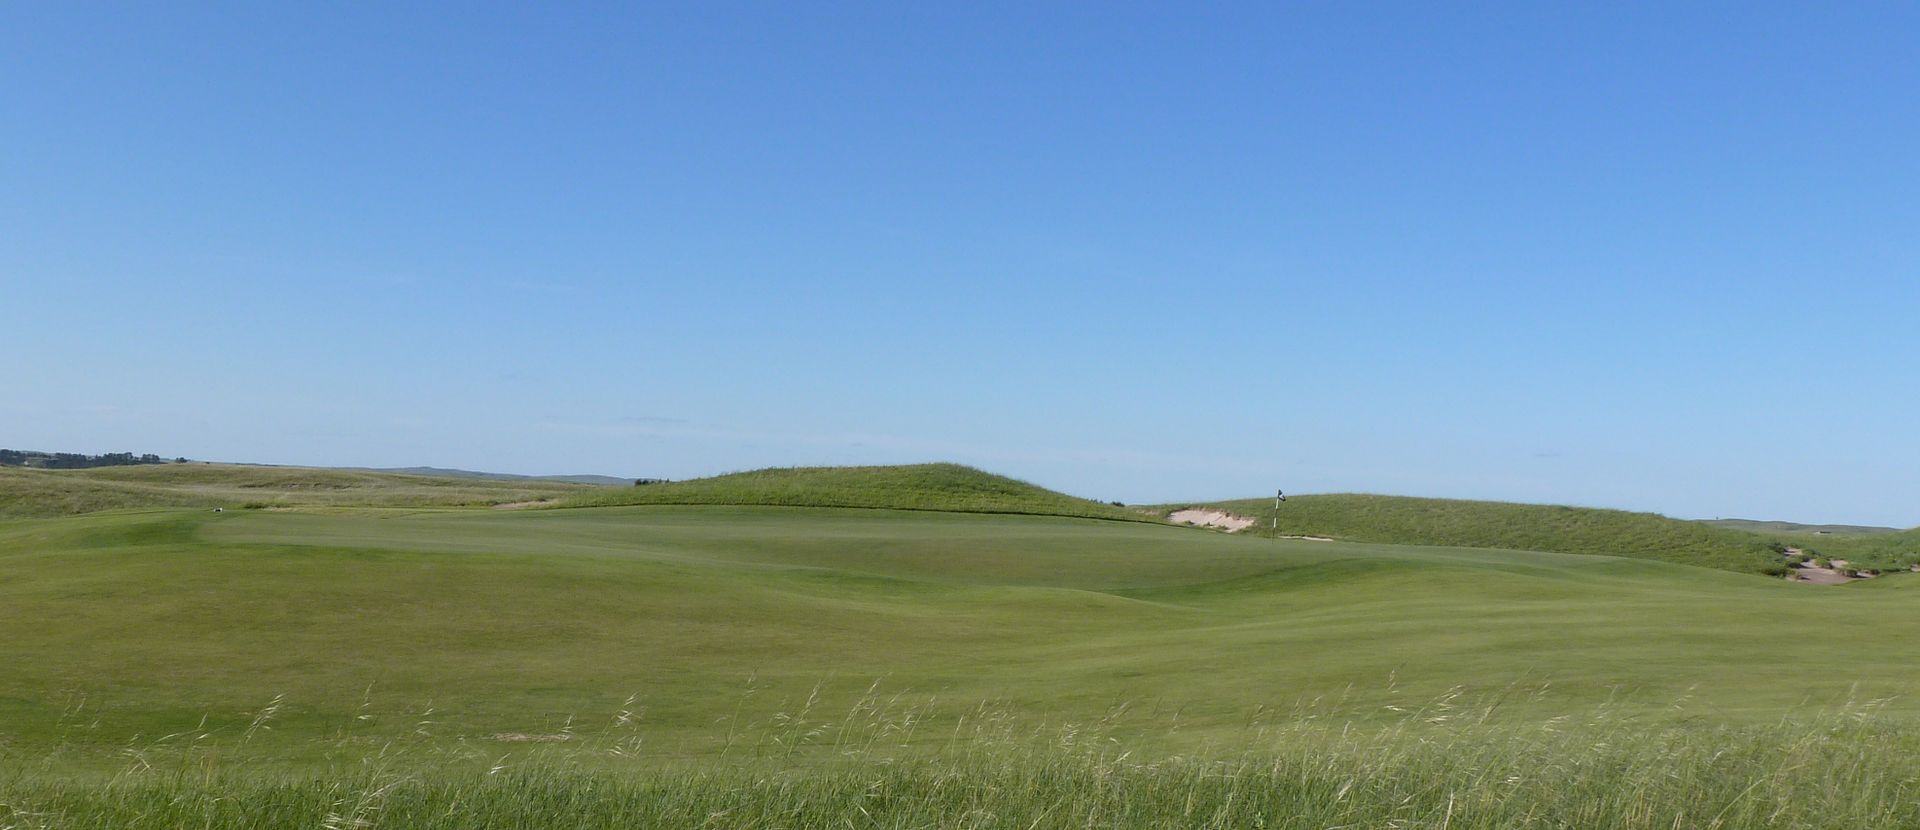
Green from right (with holes 2 and 3 in the background)
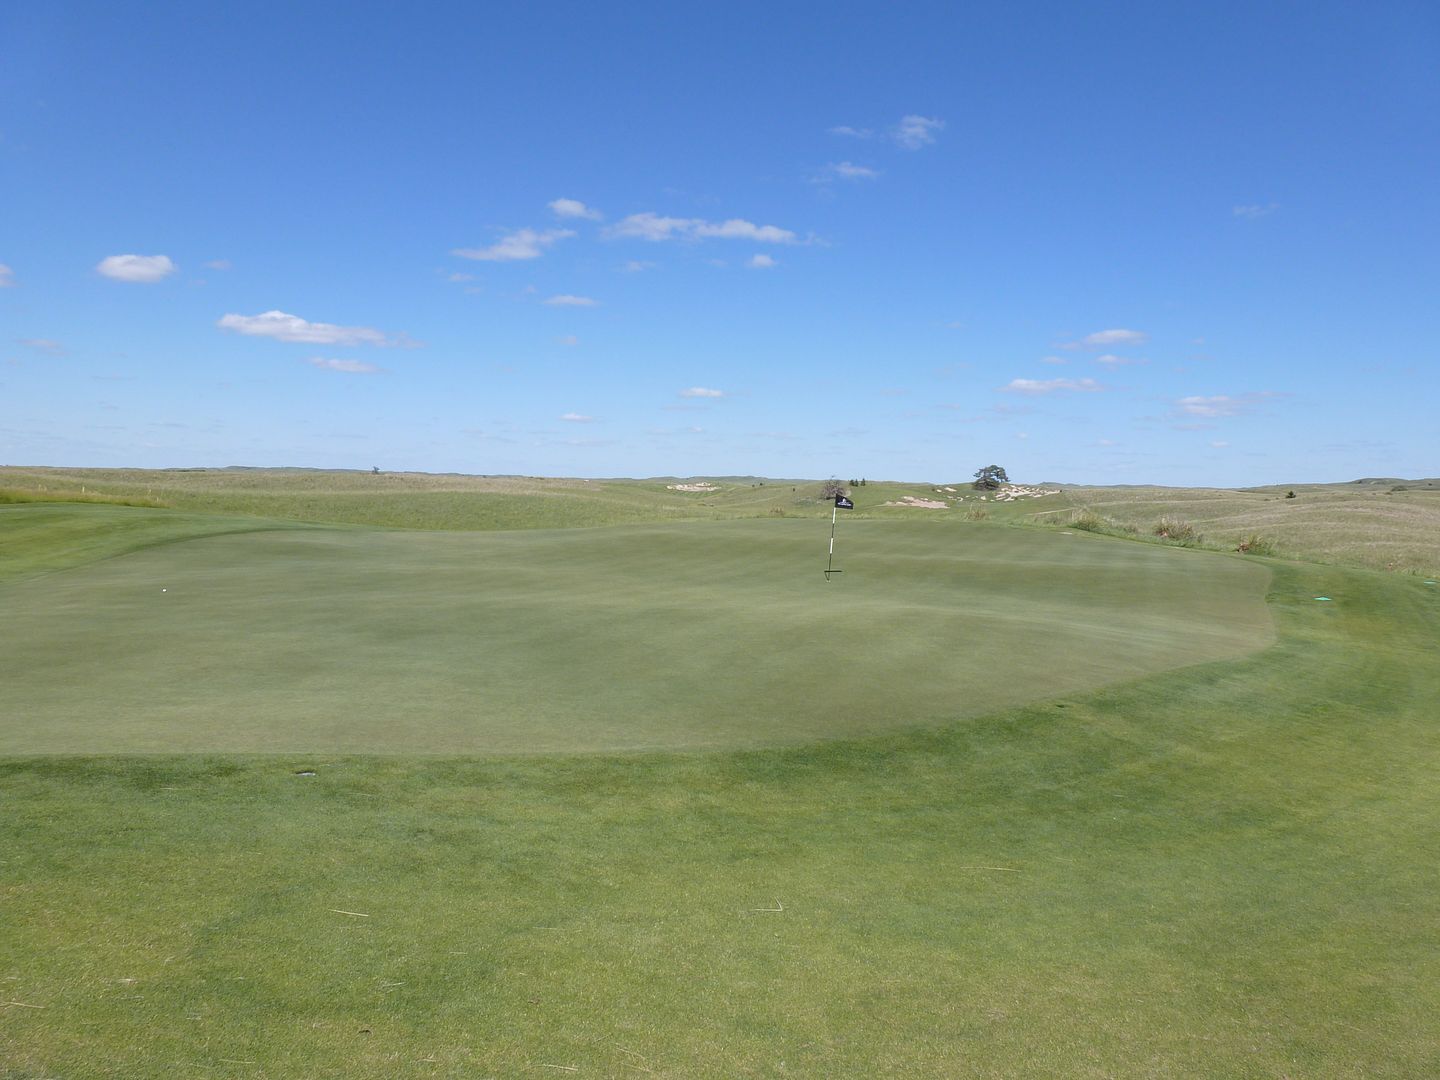
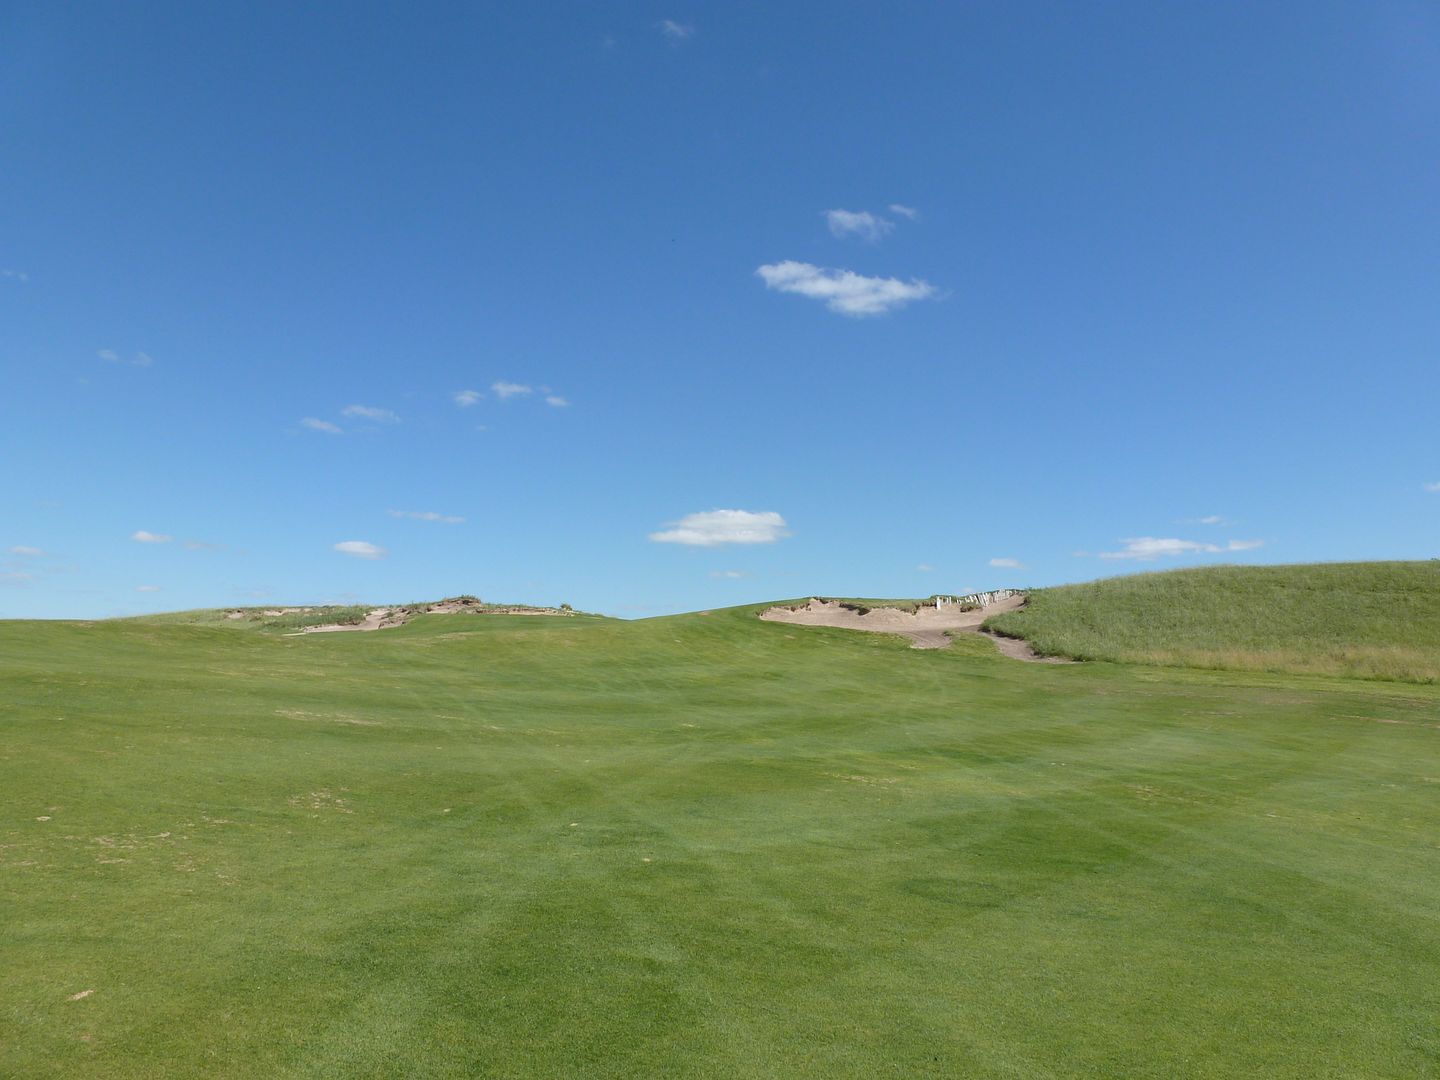
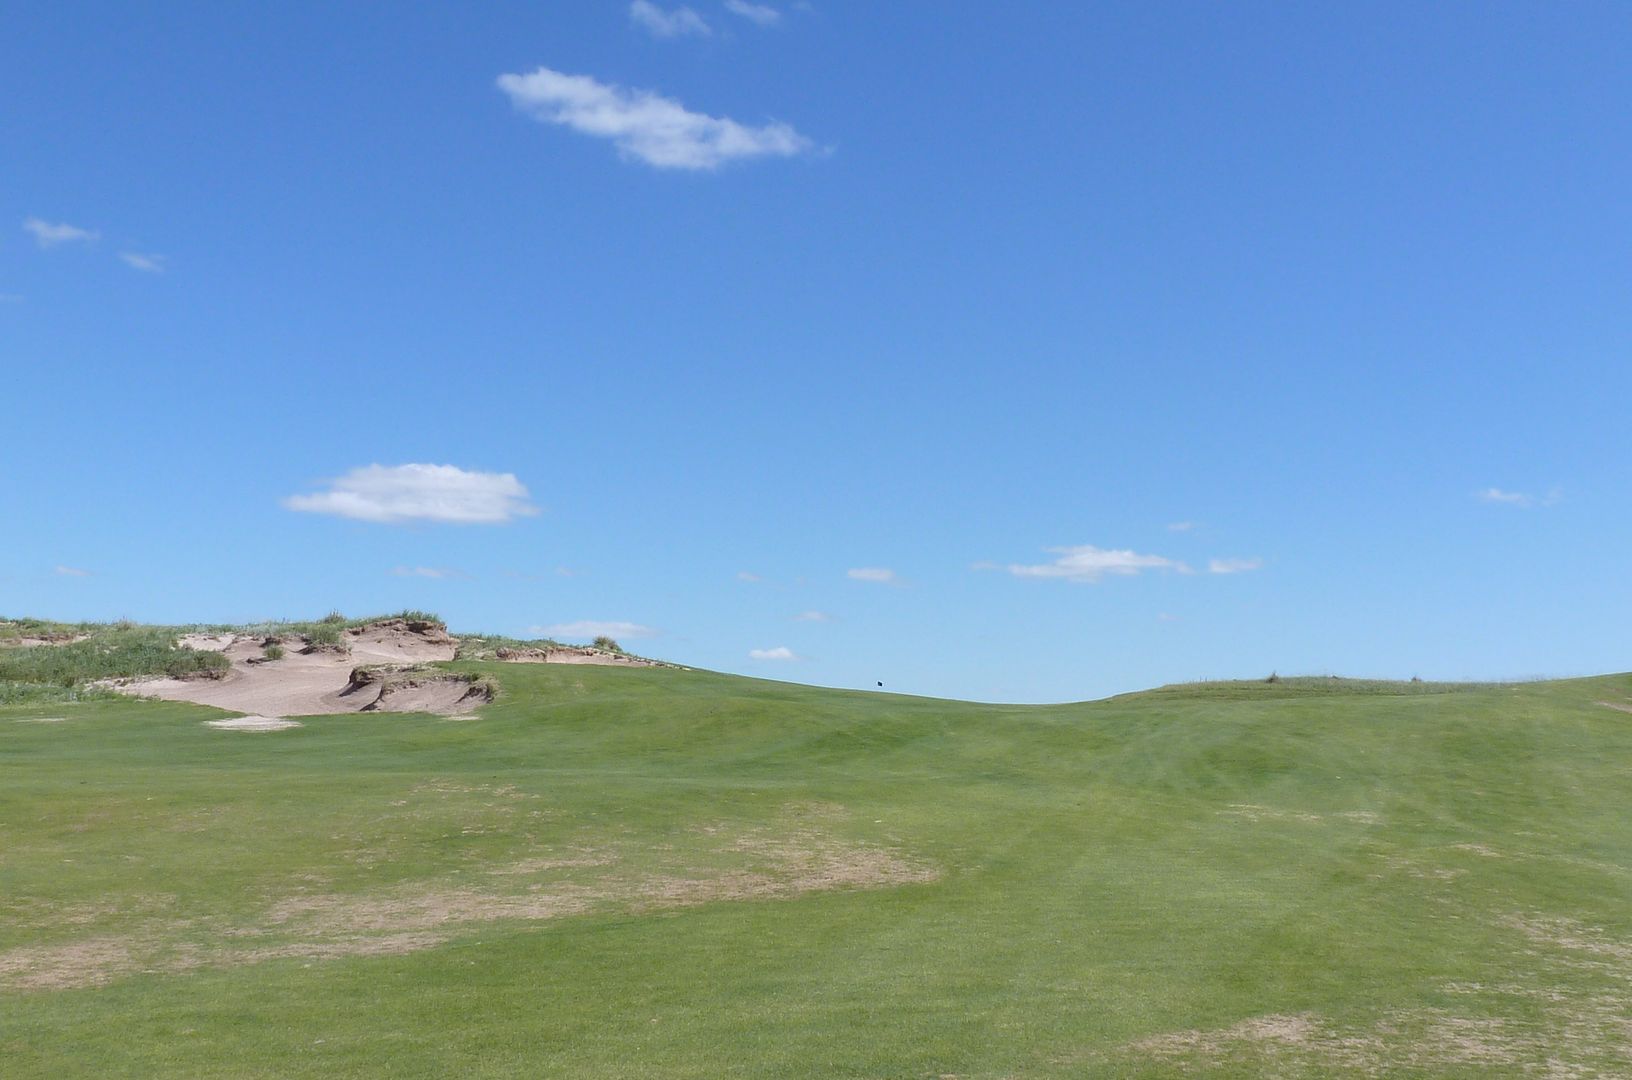
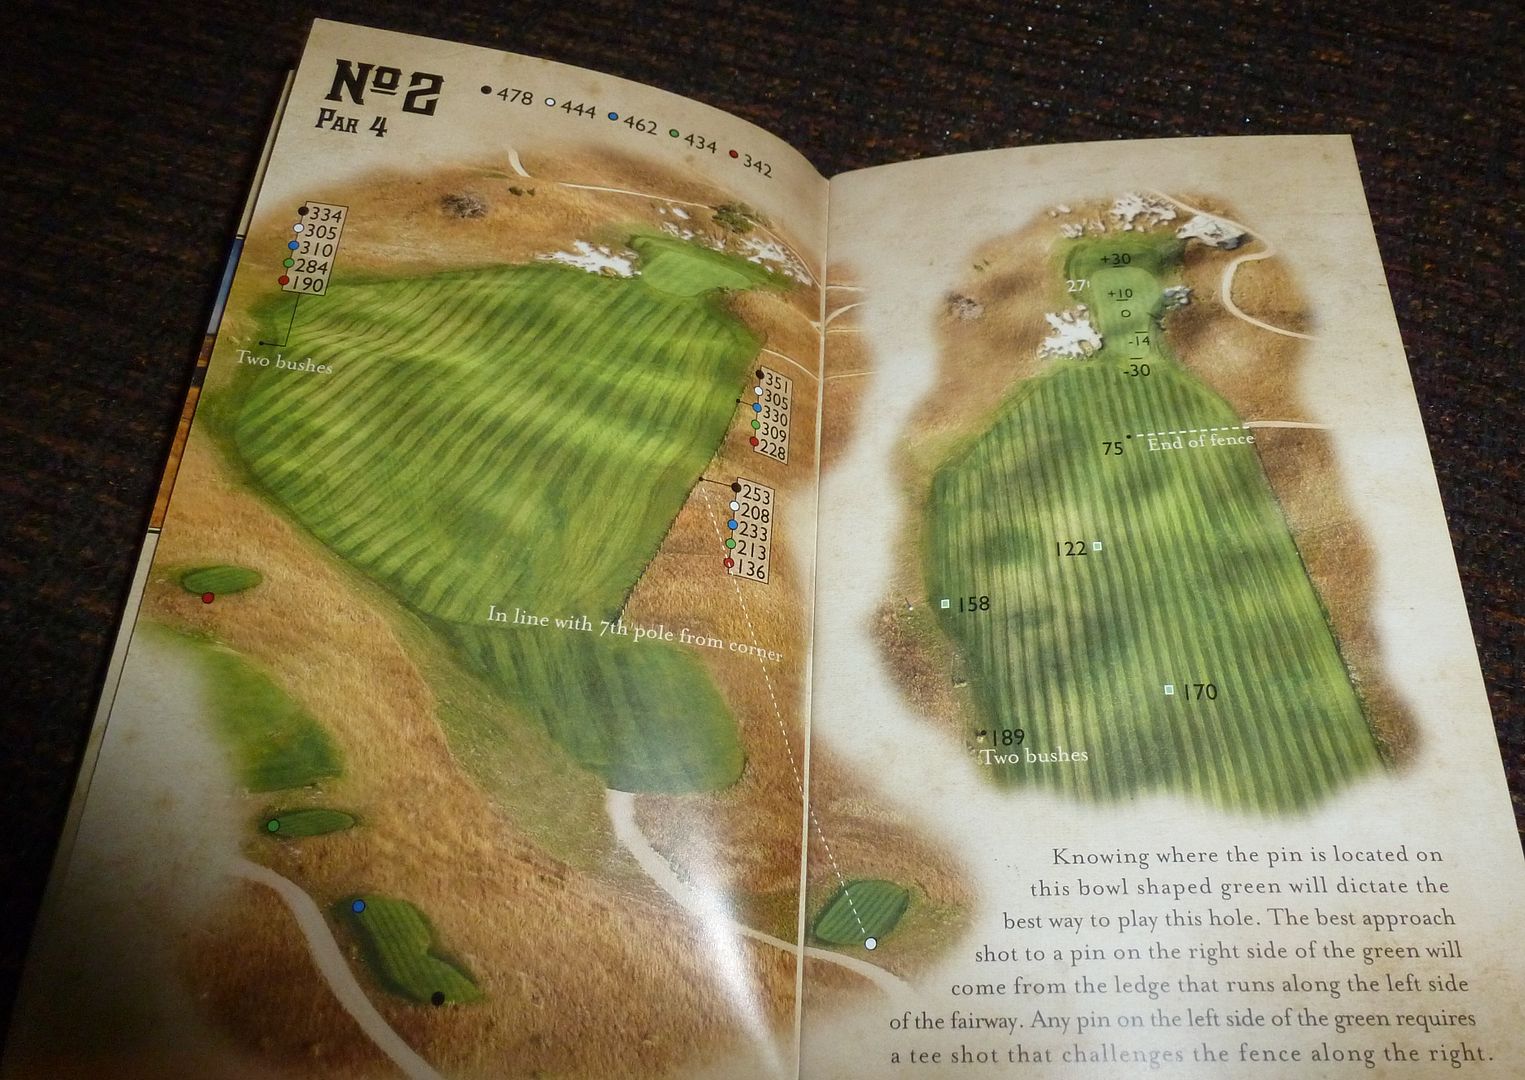
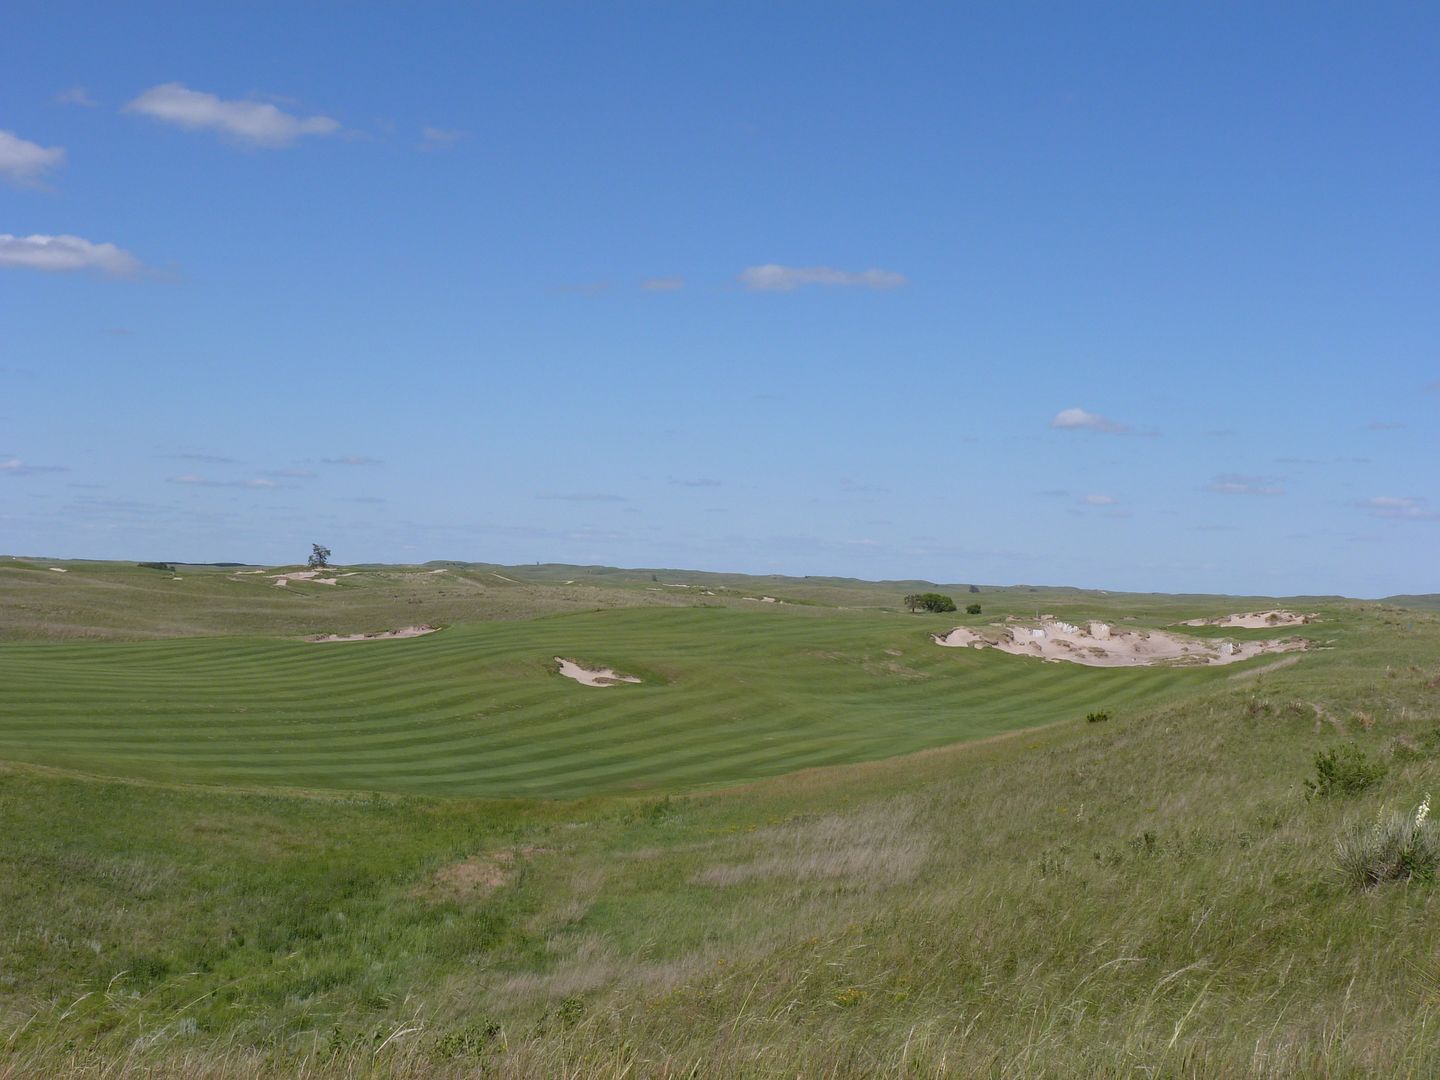
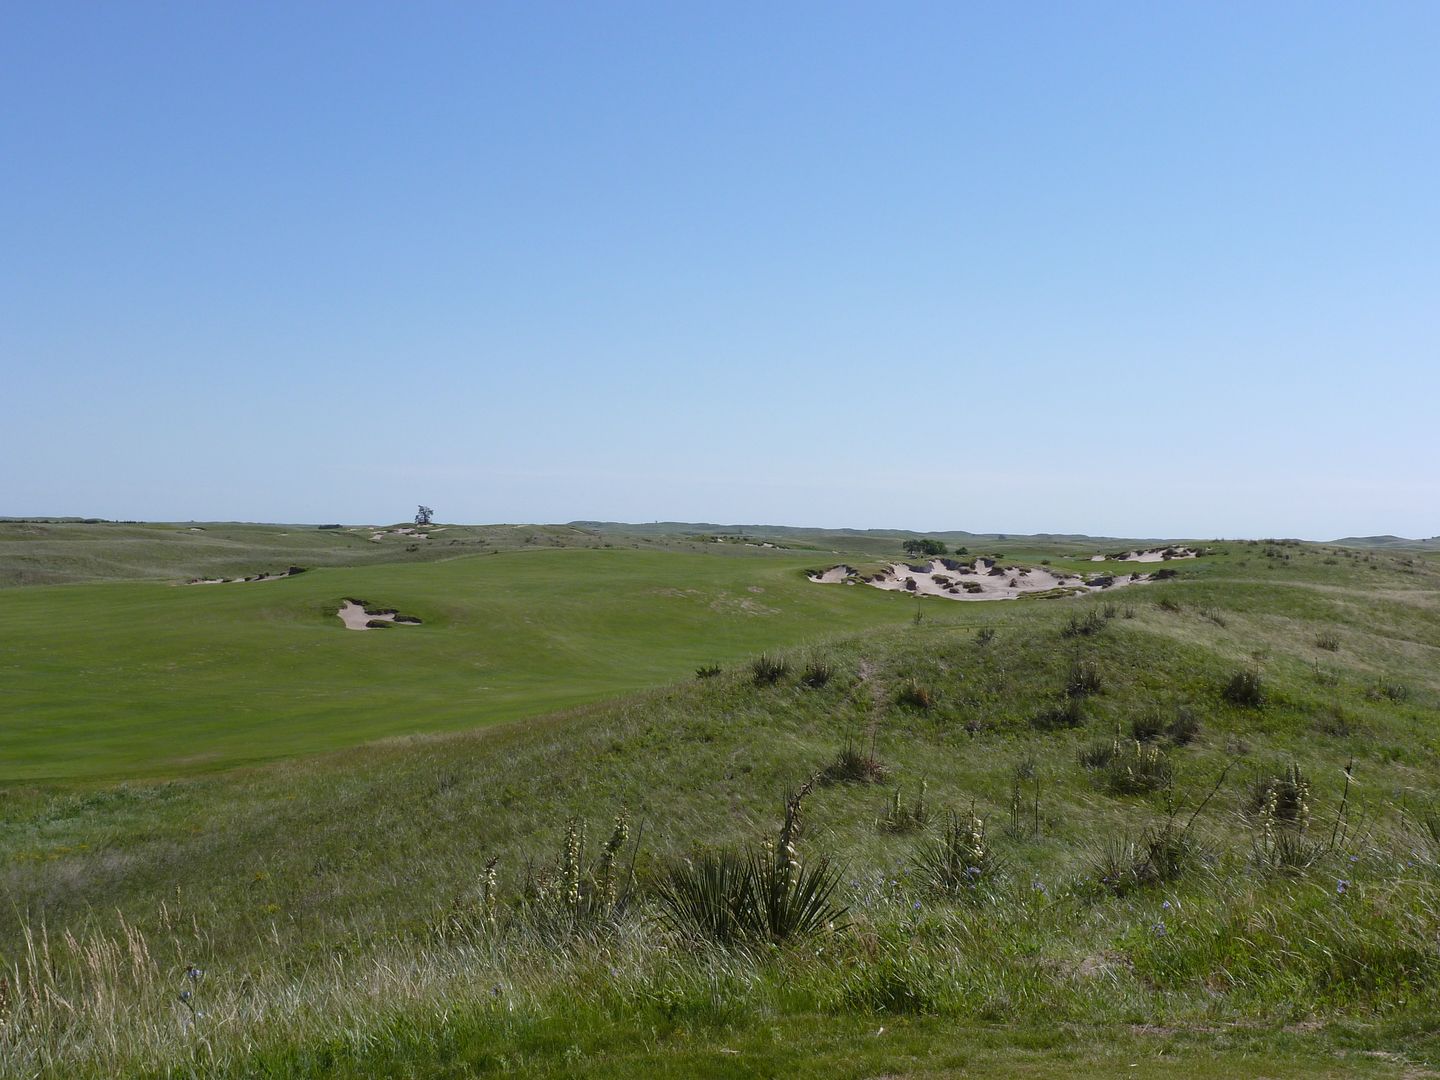
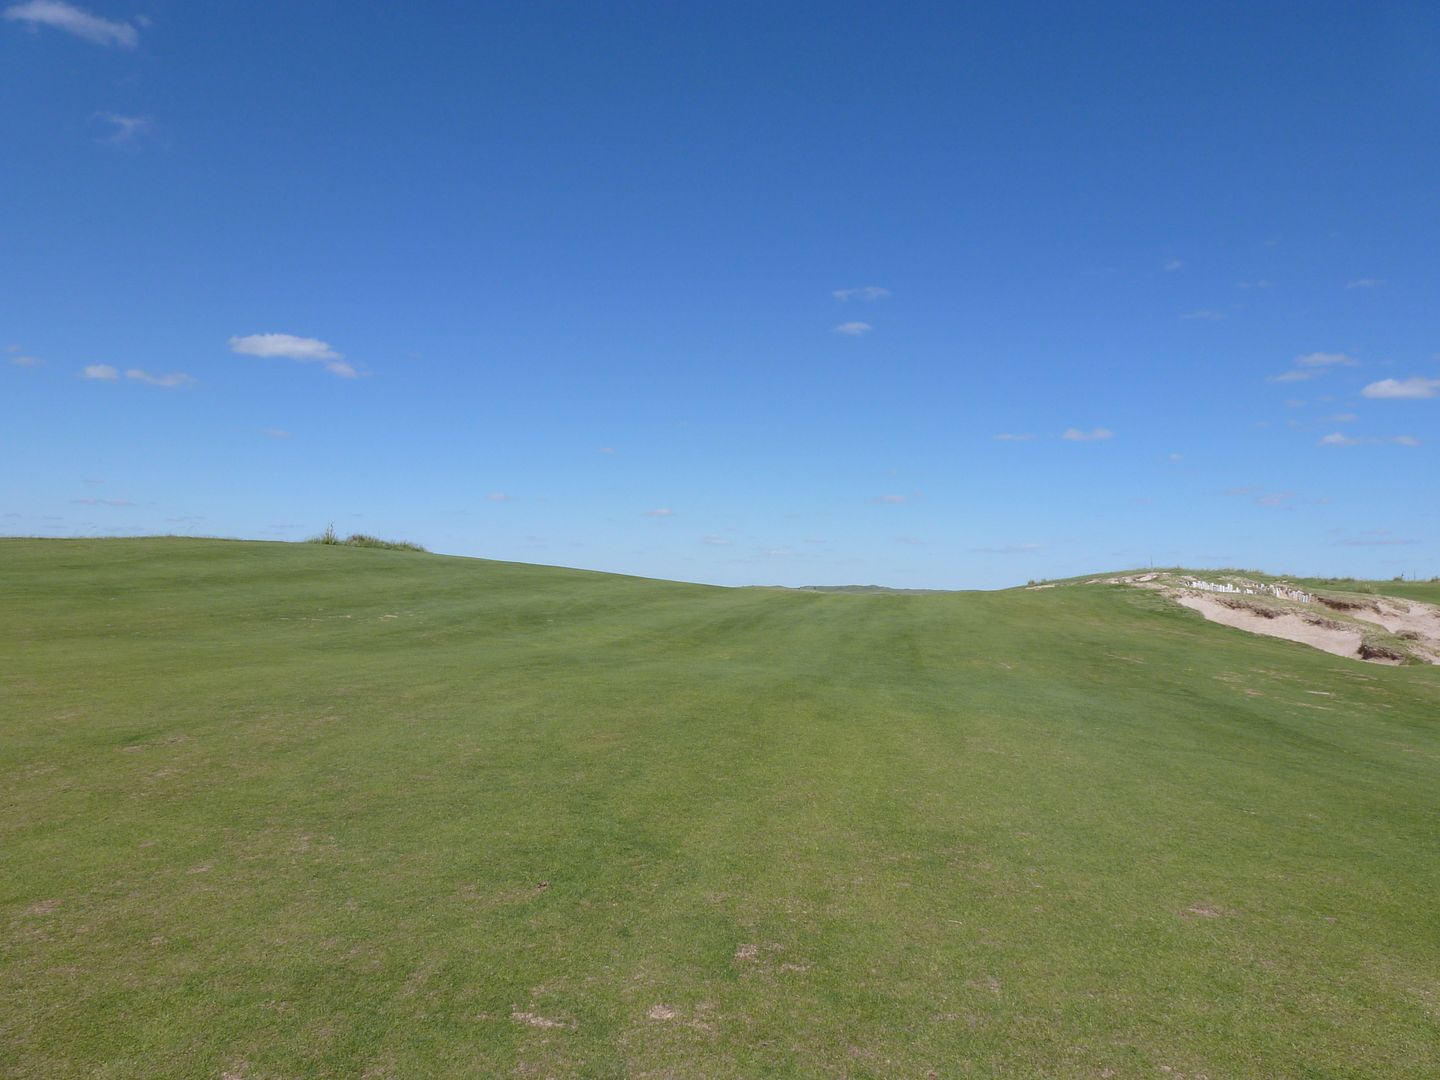
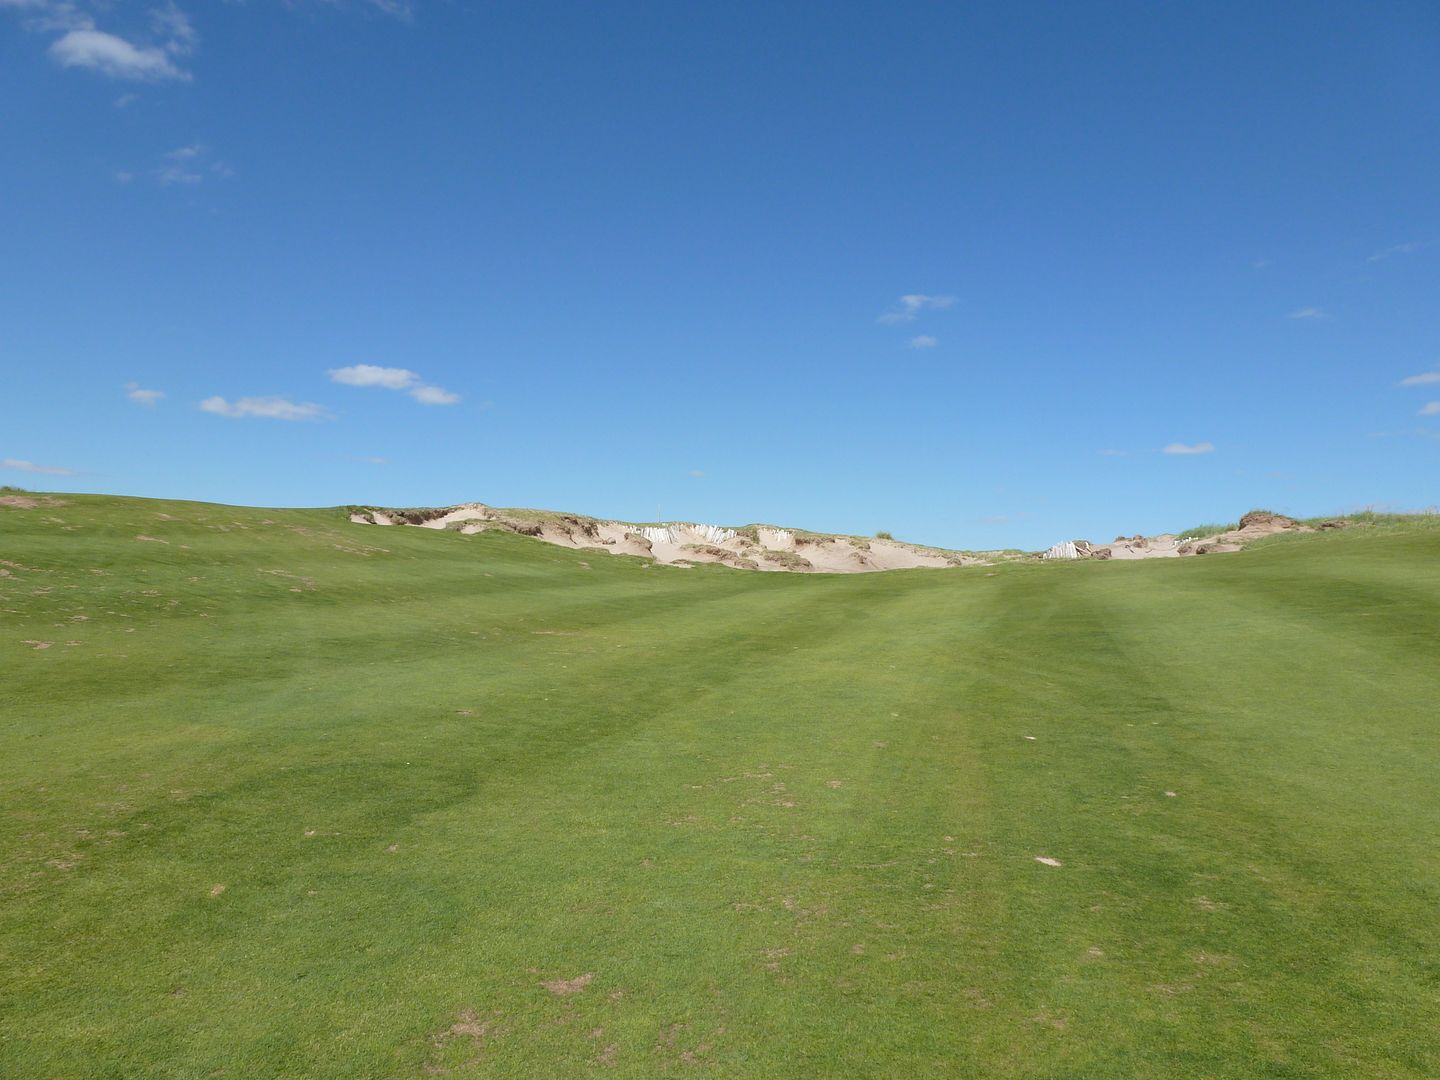
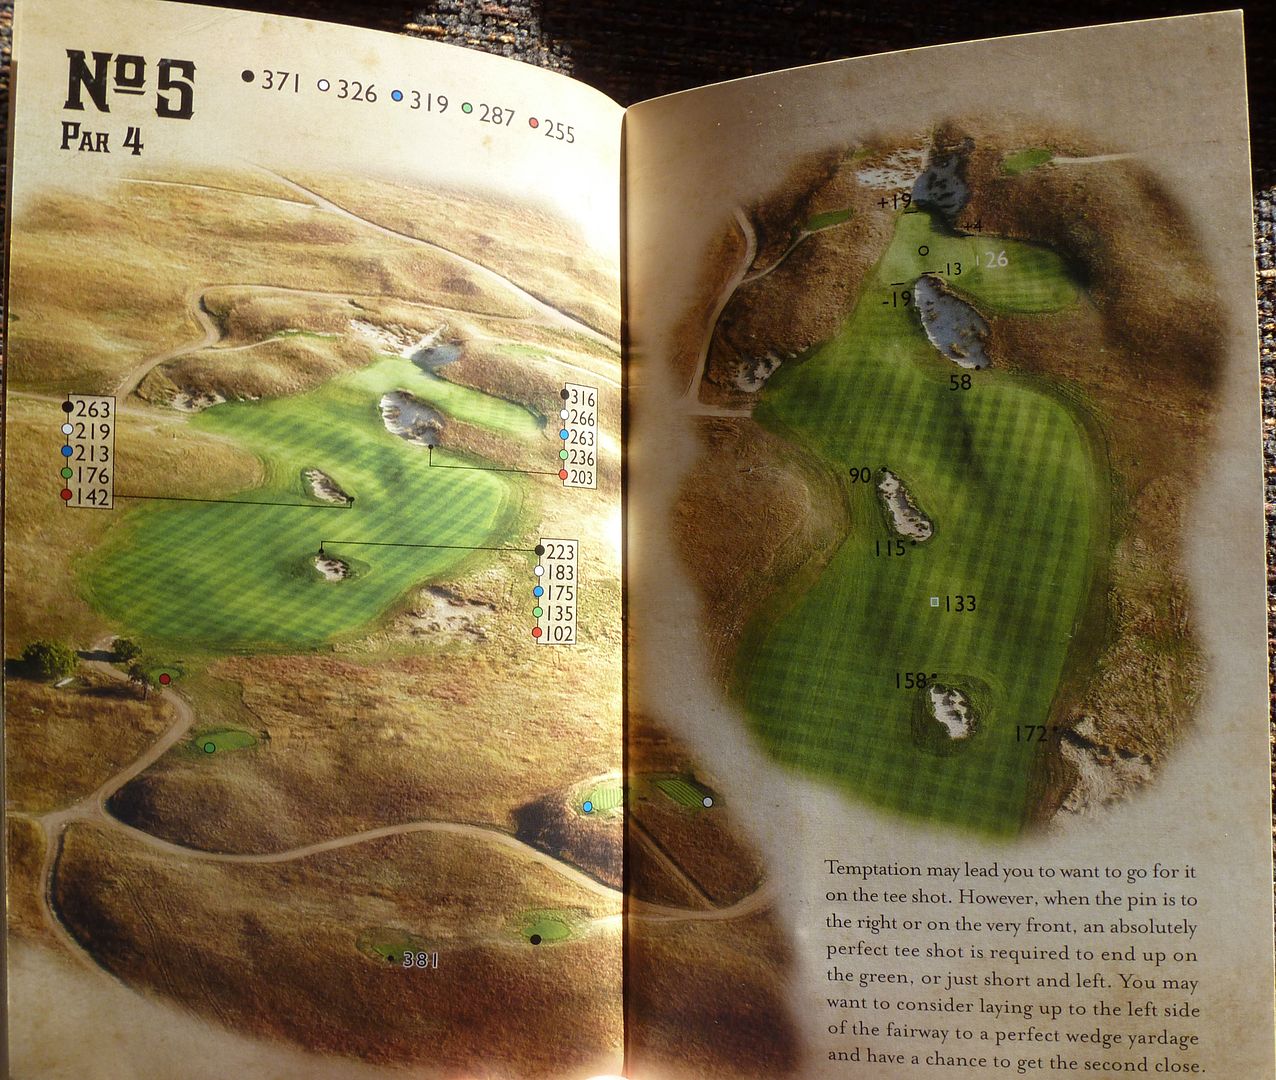
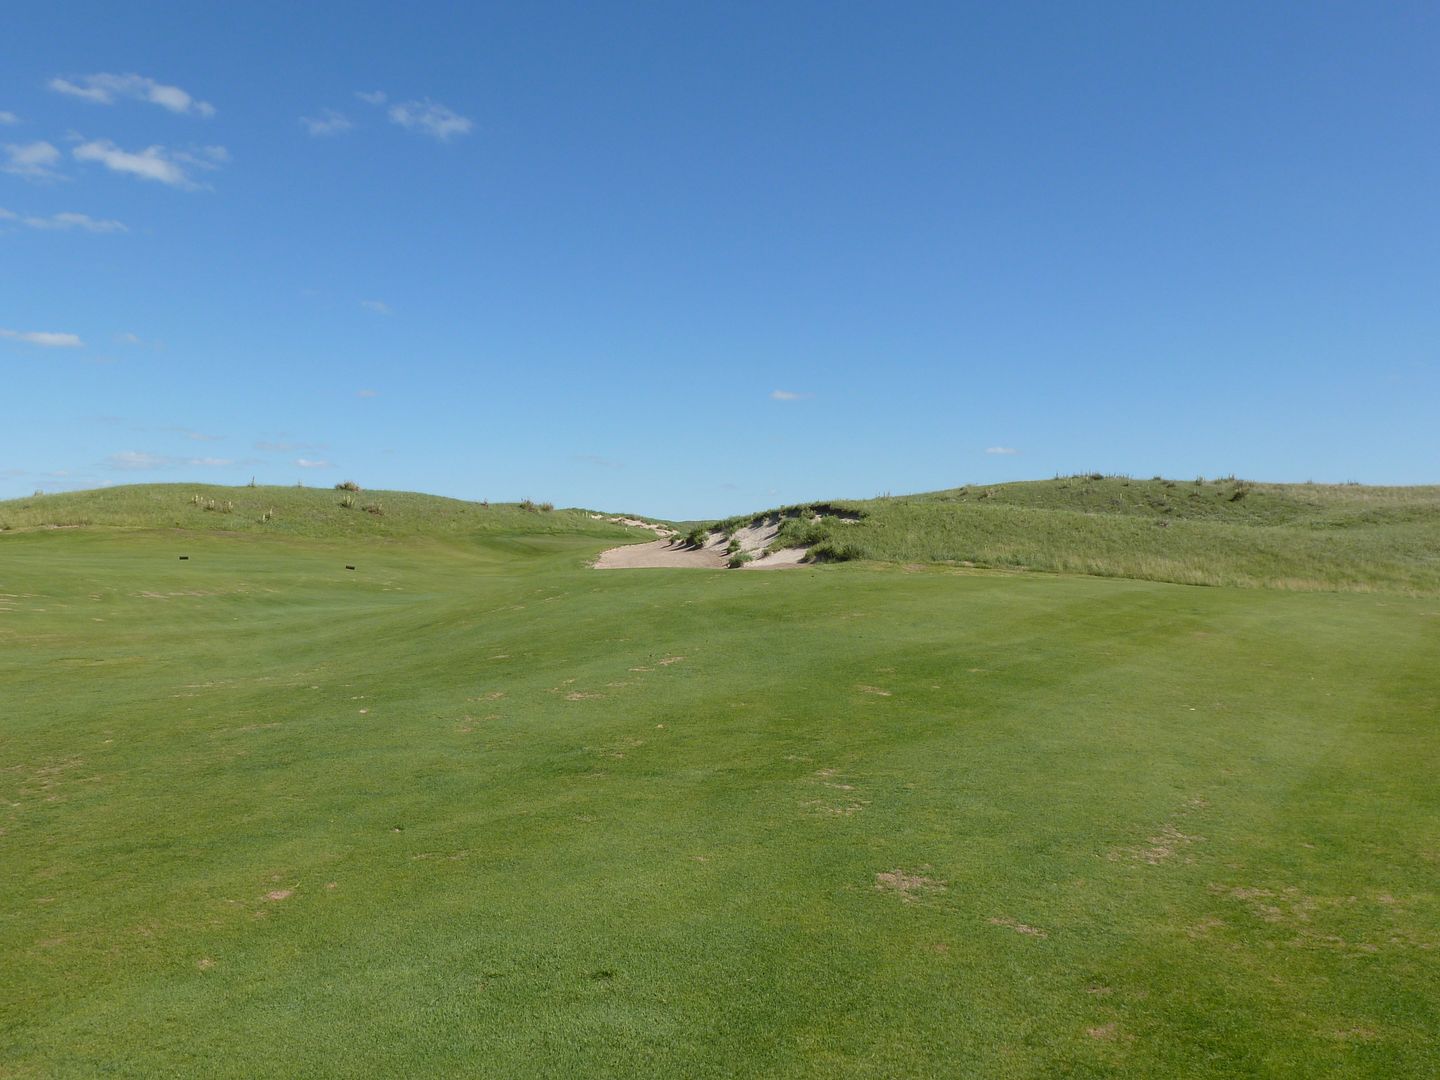
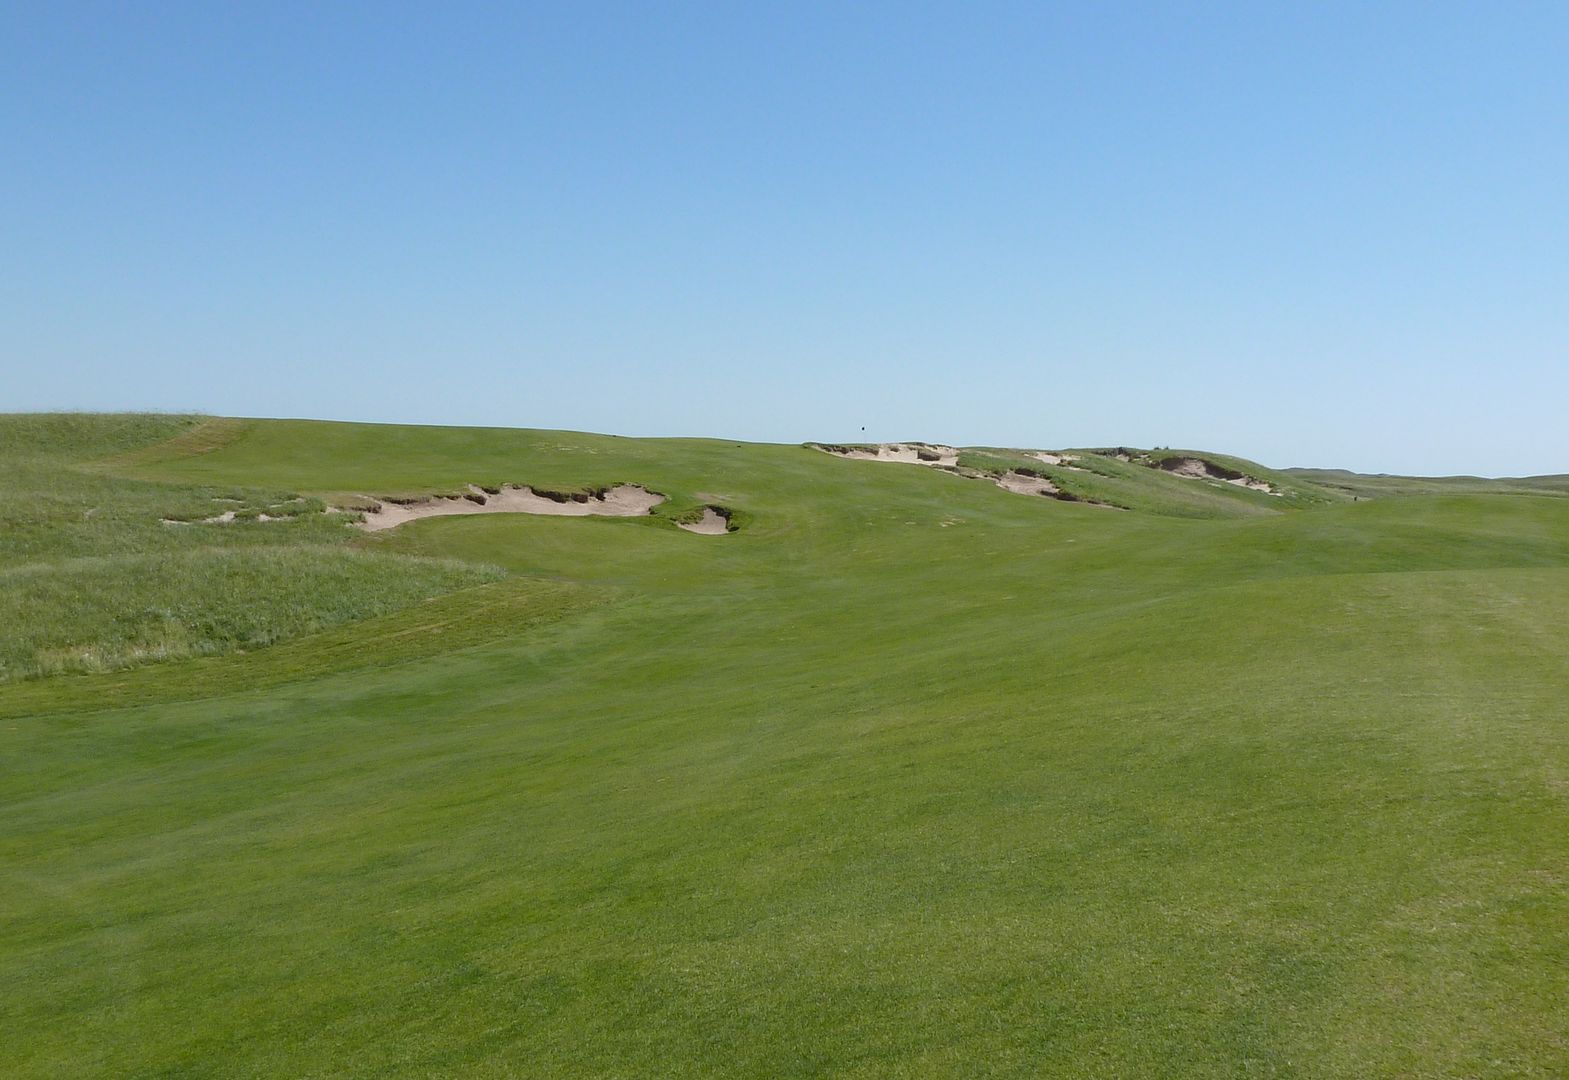
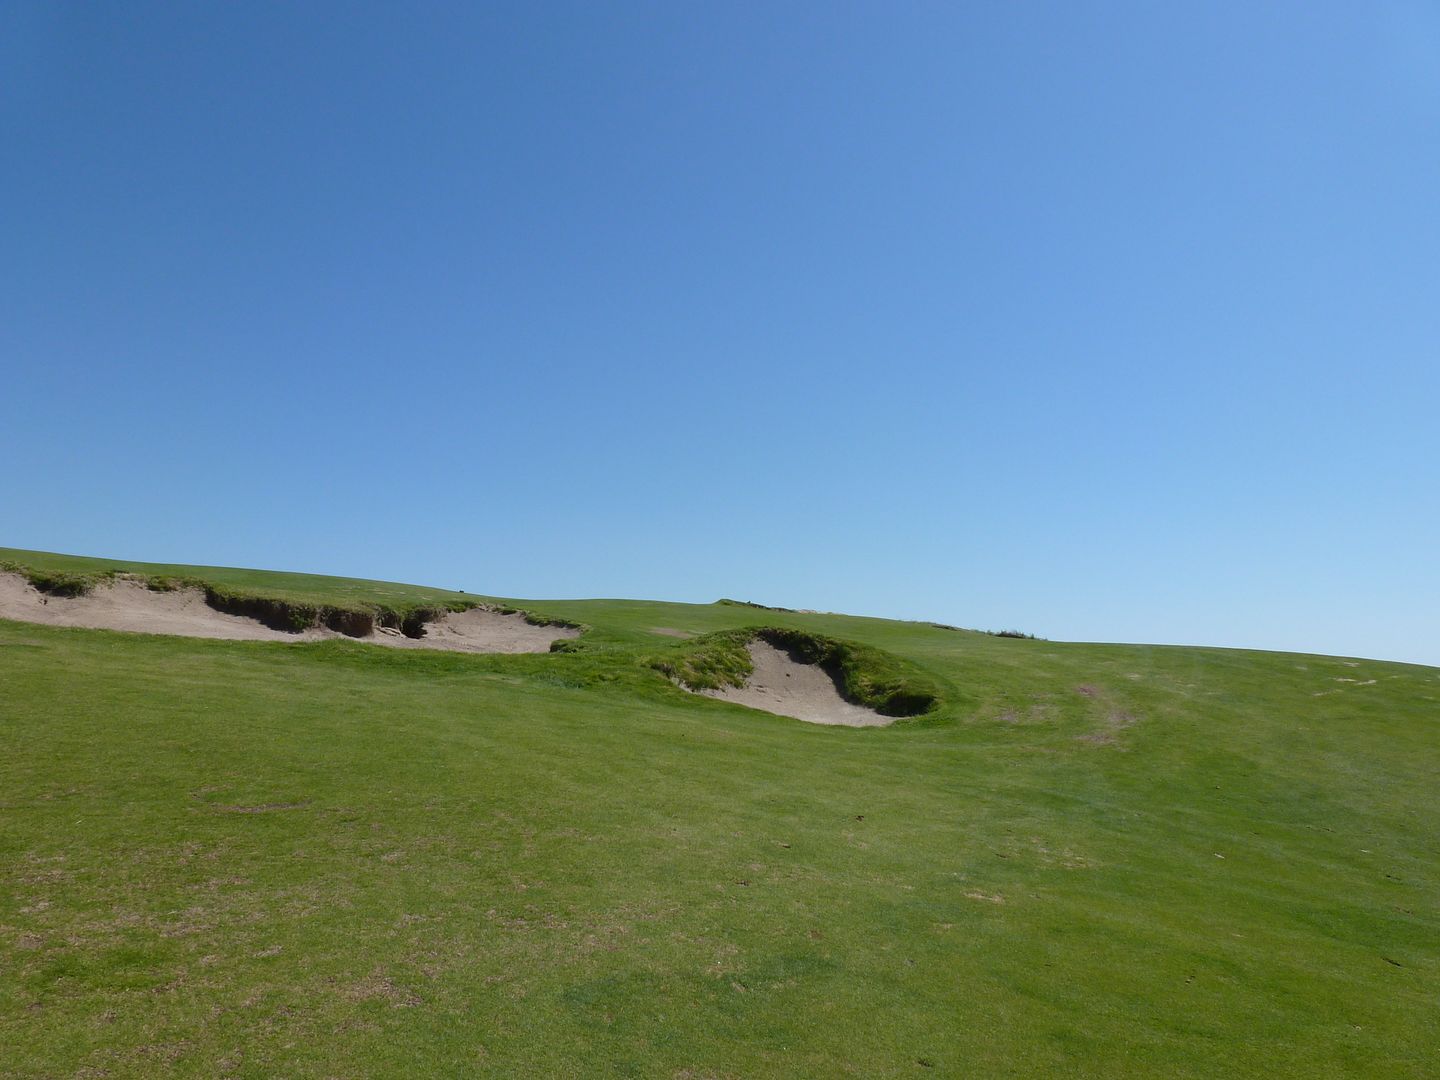
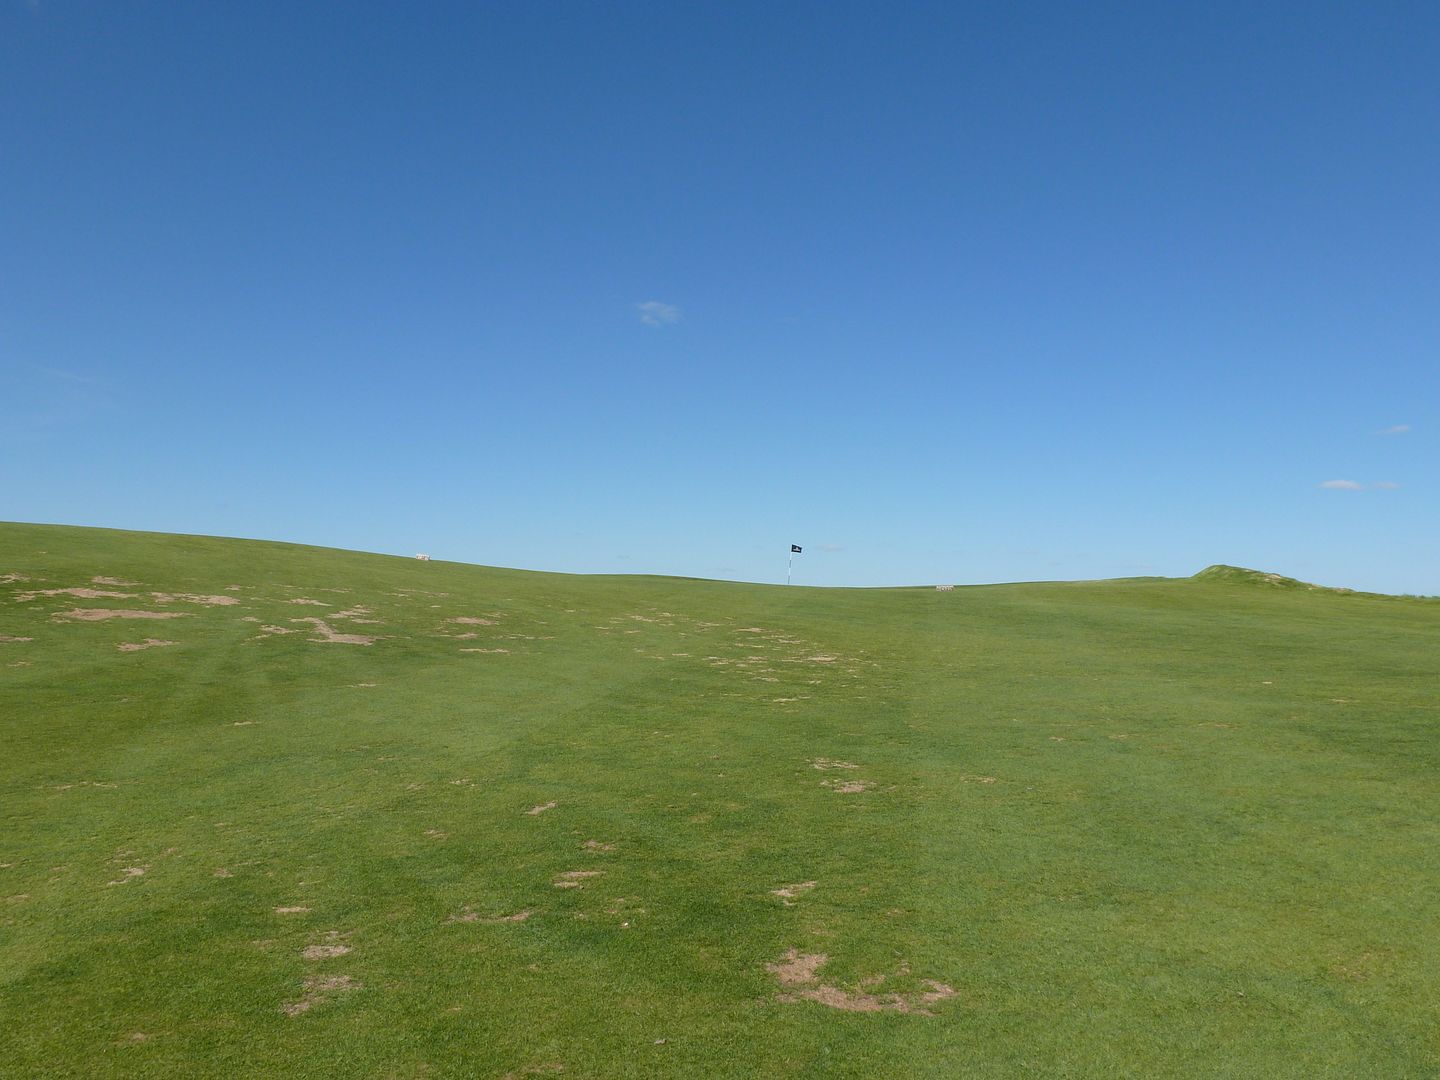
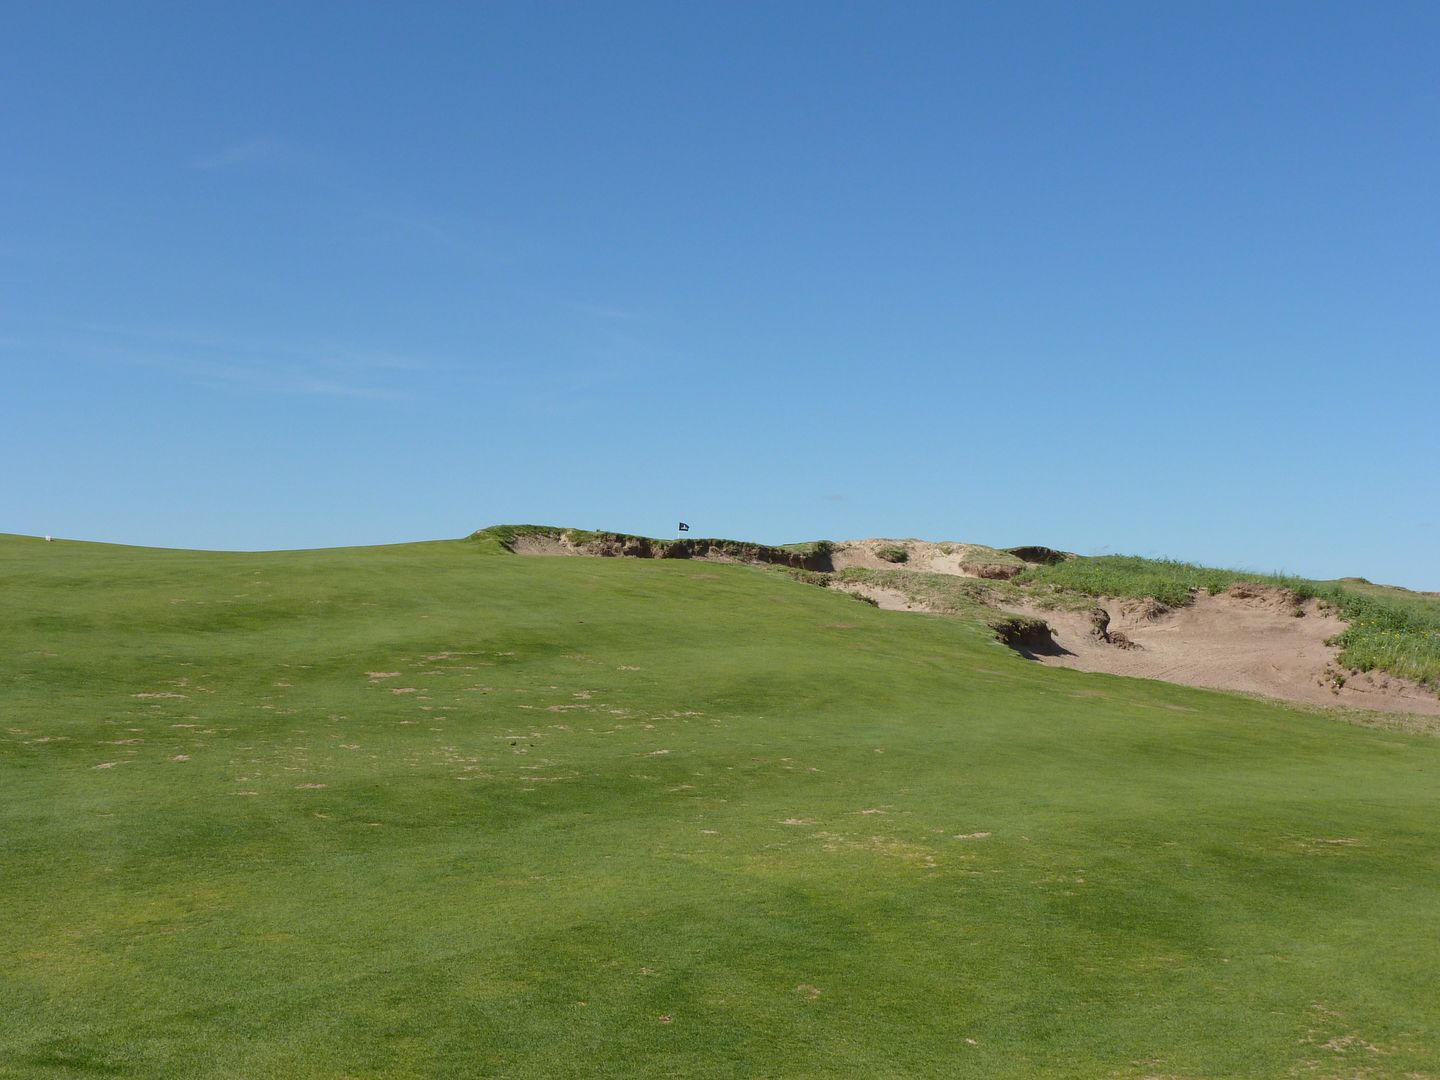
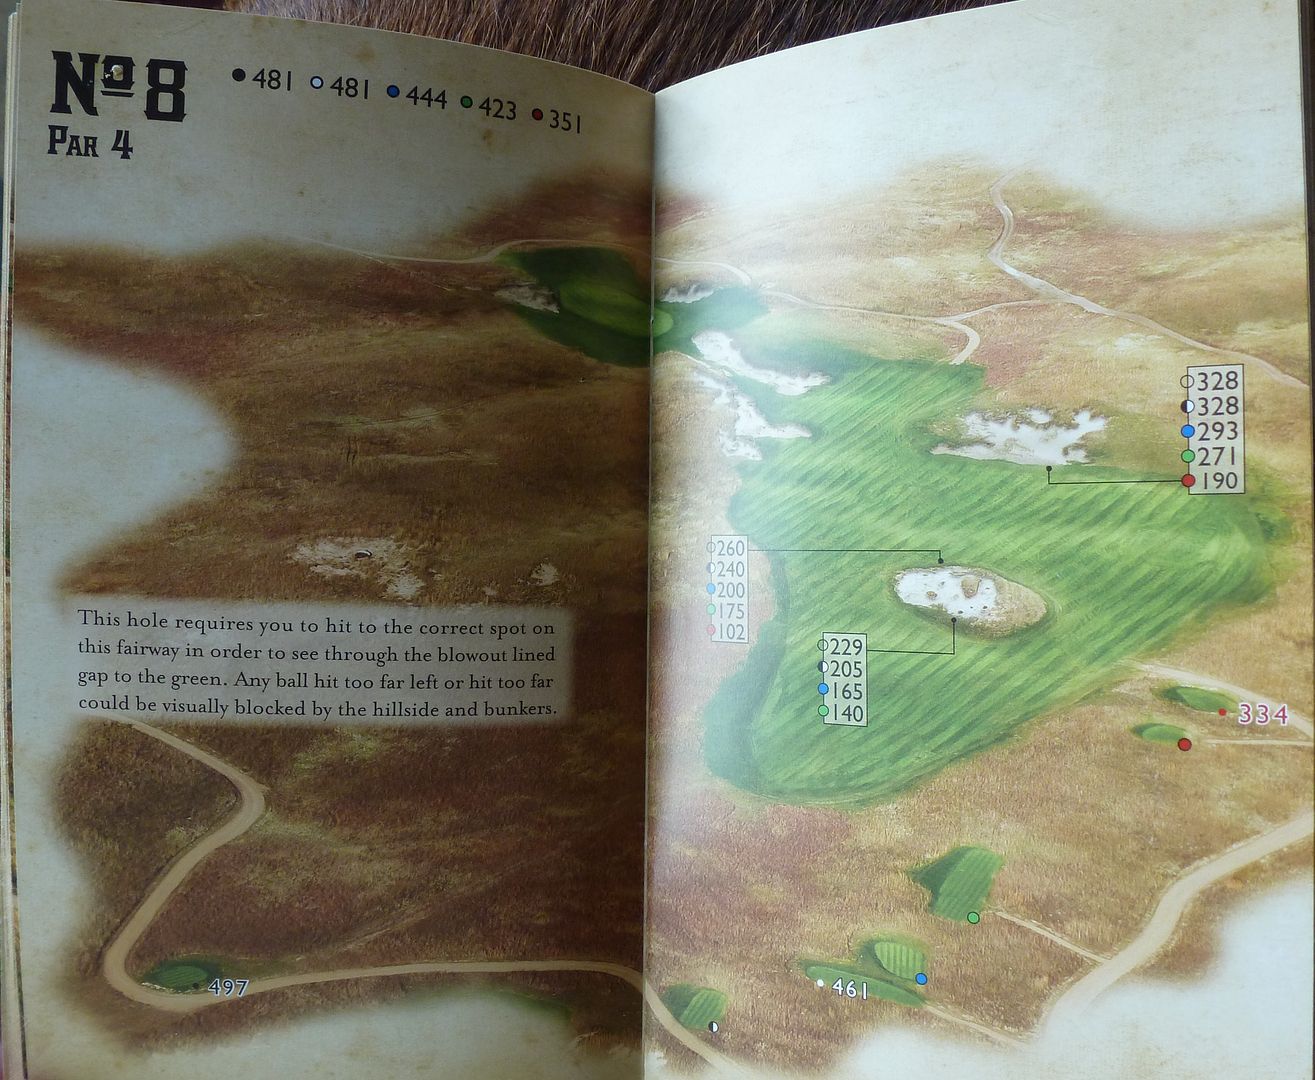
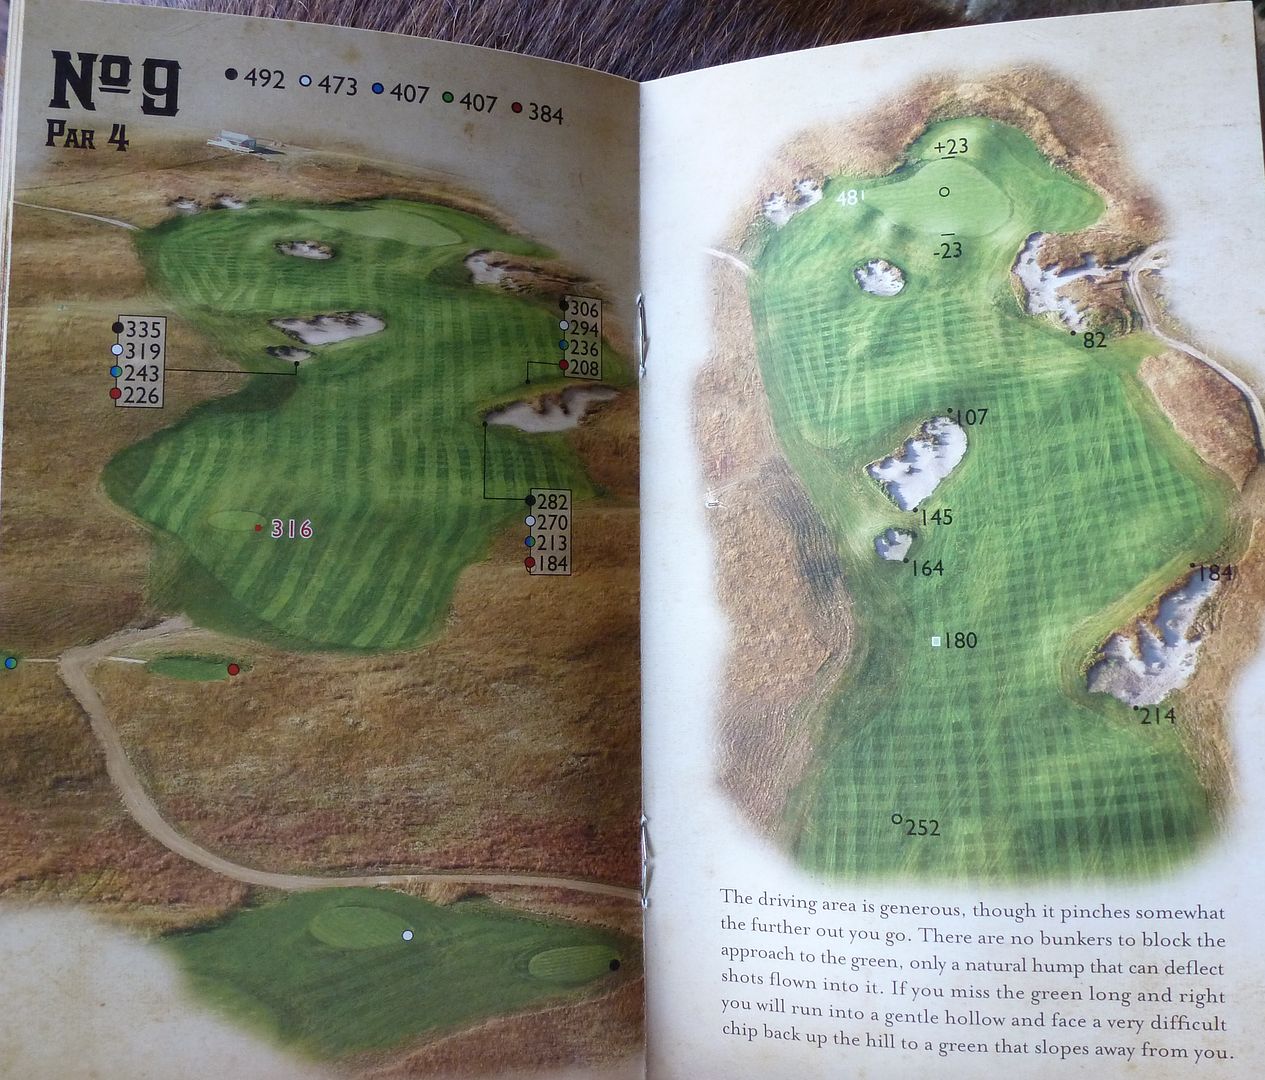
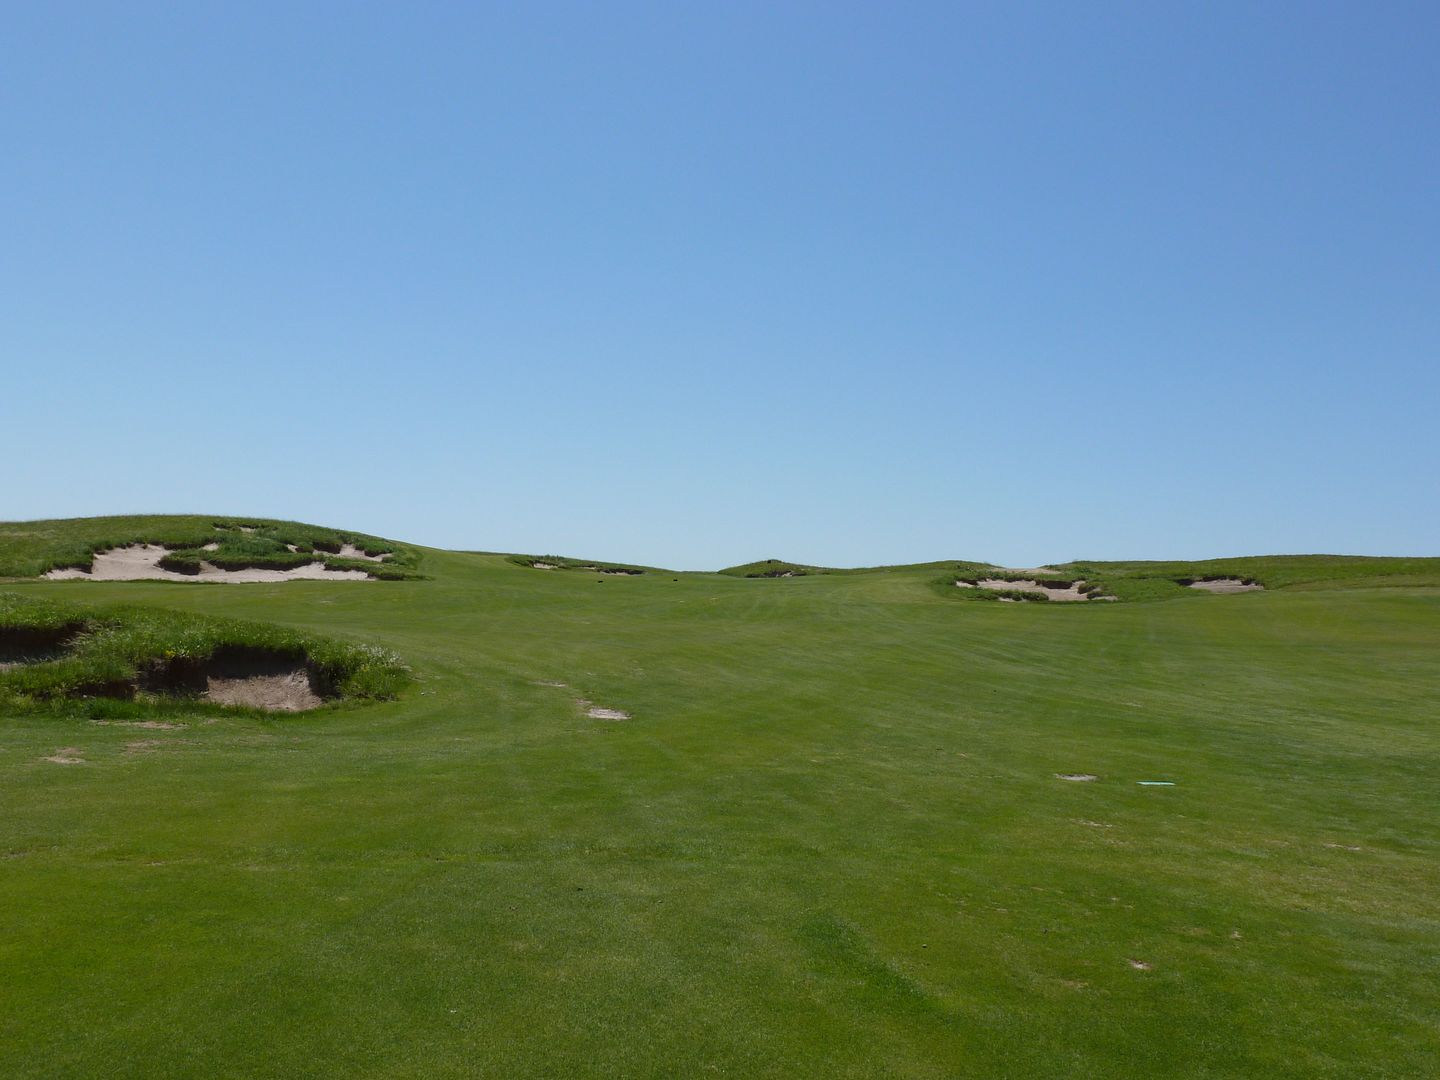
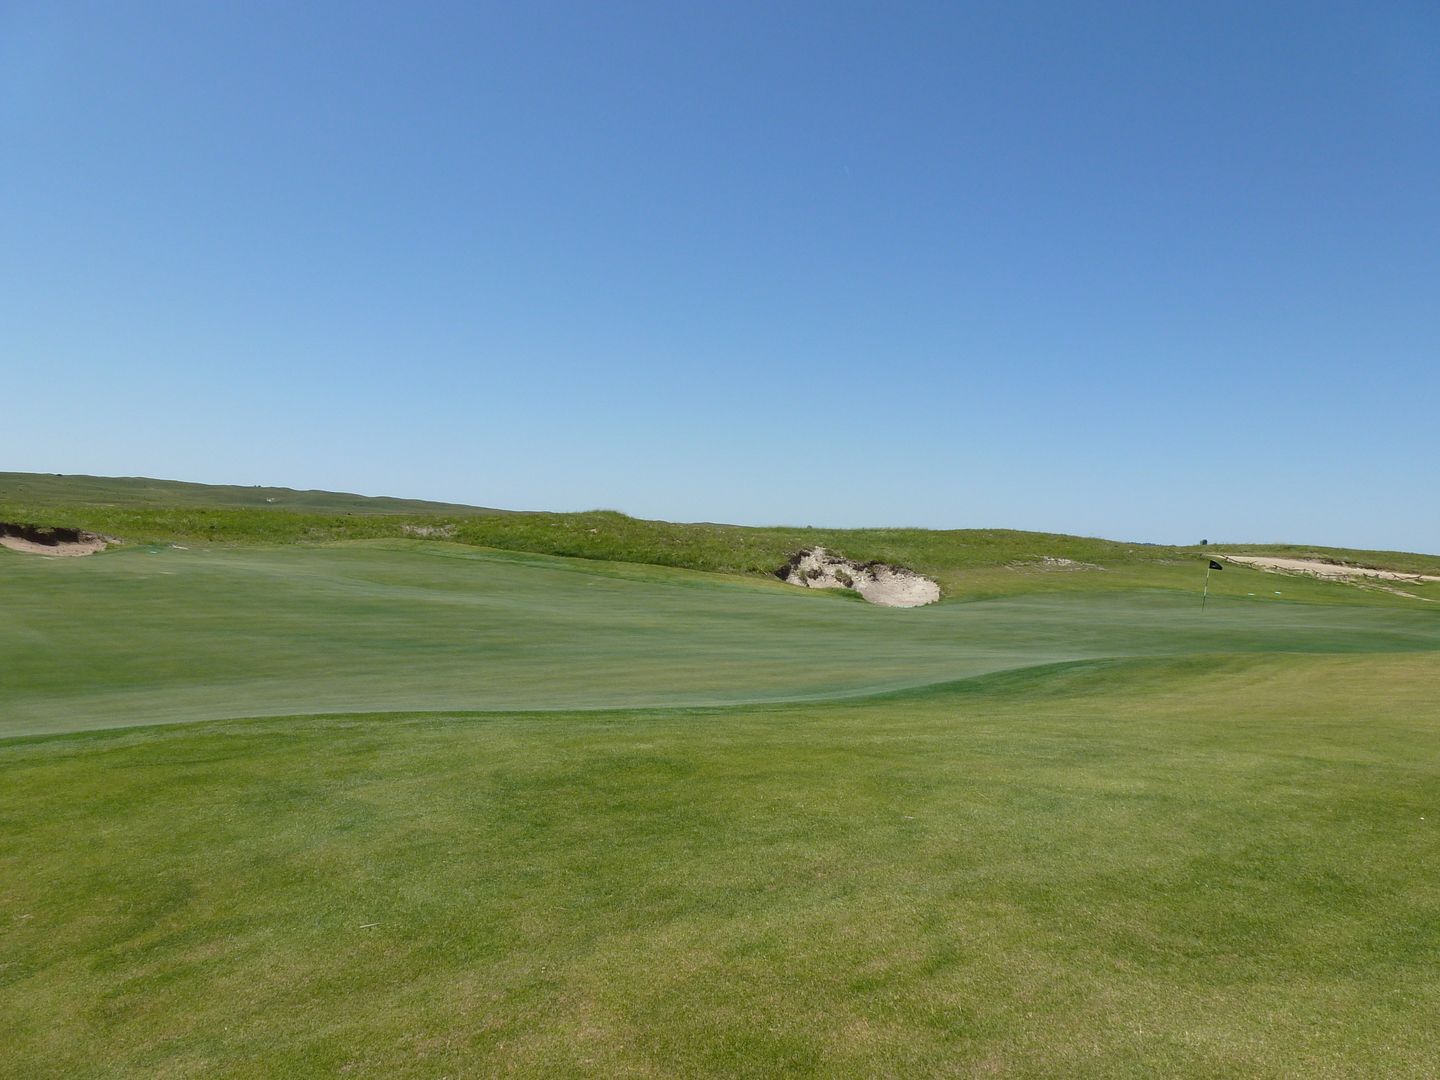
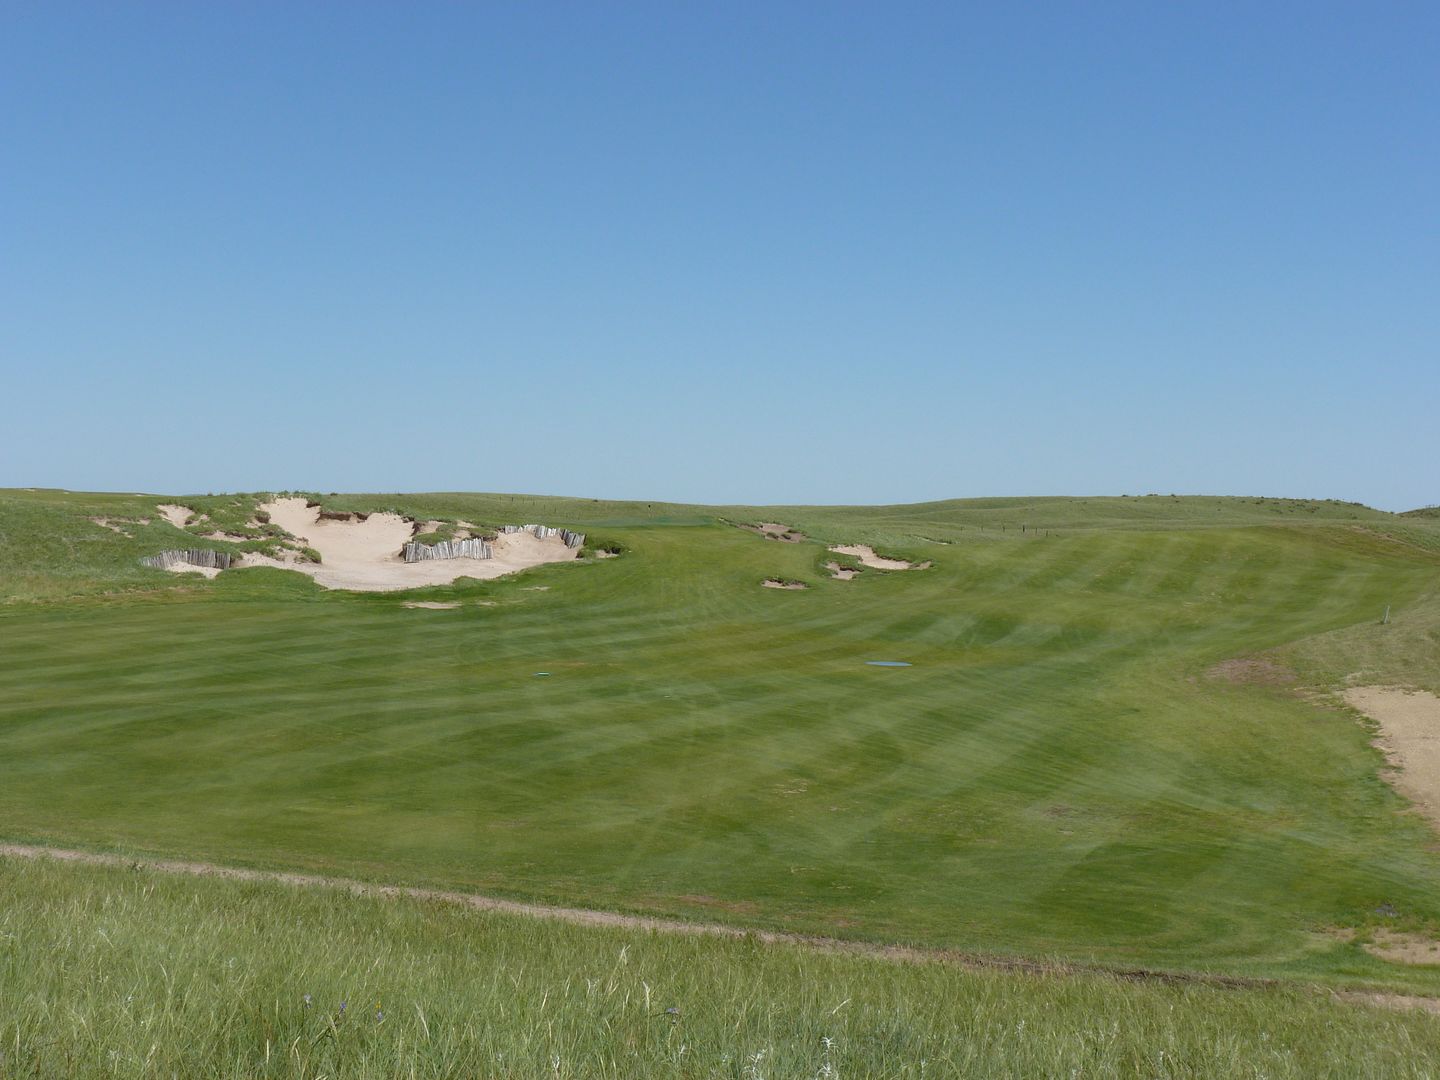
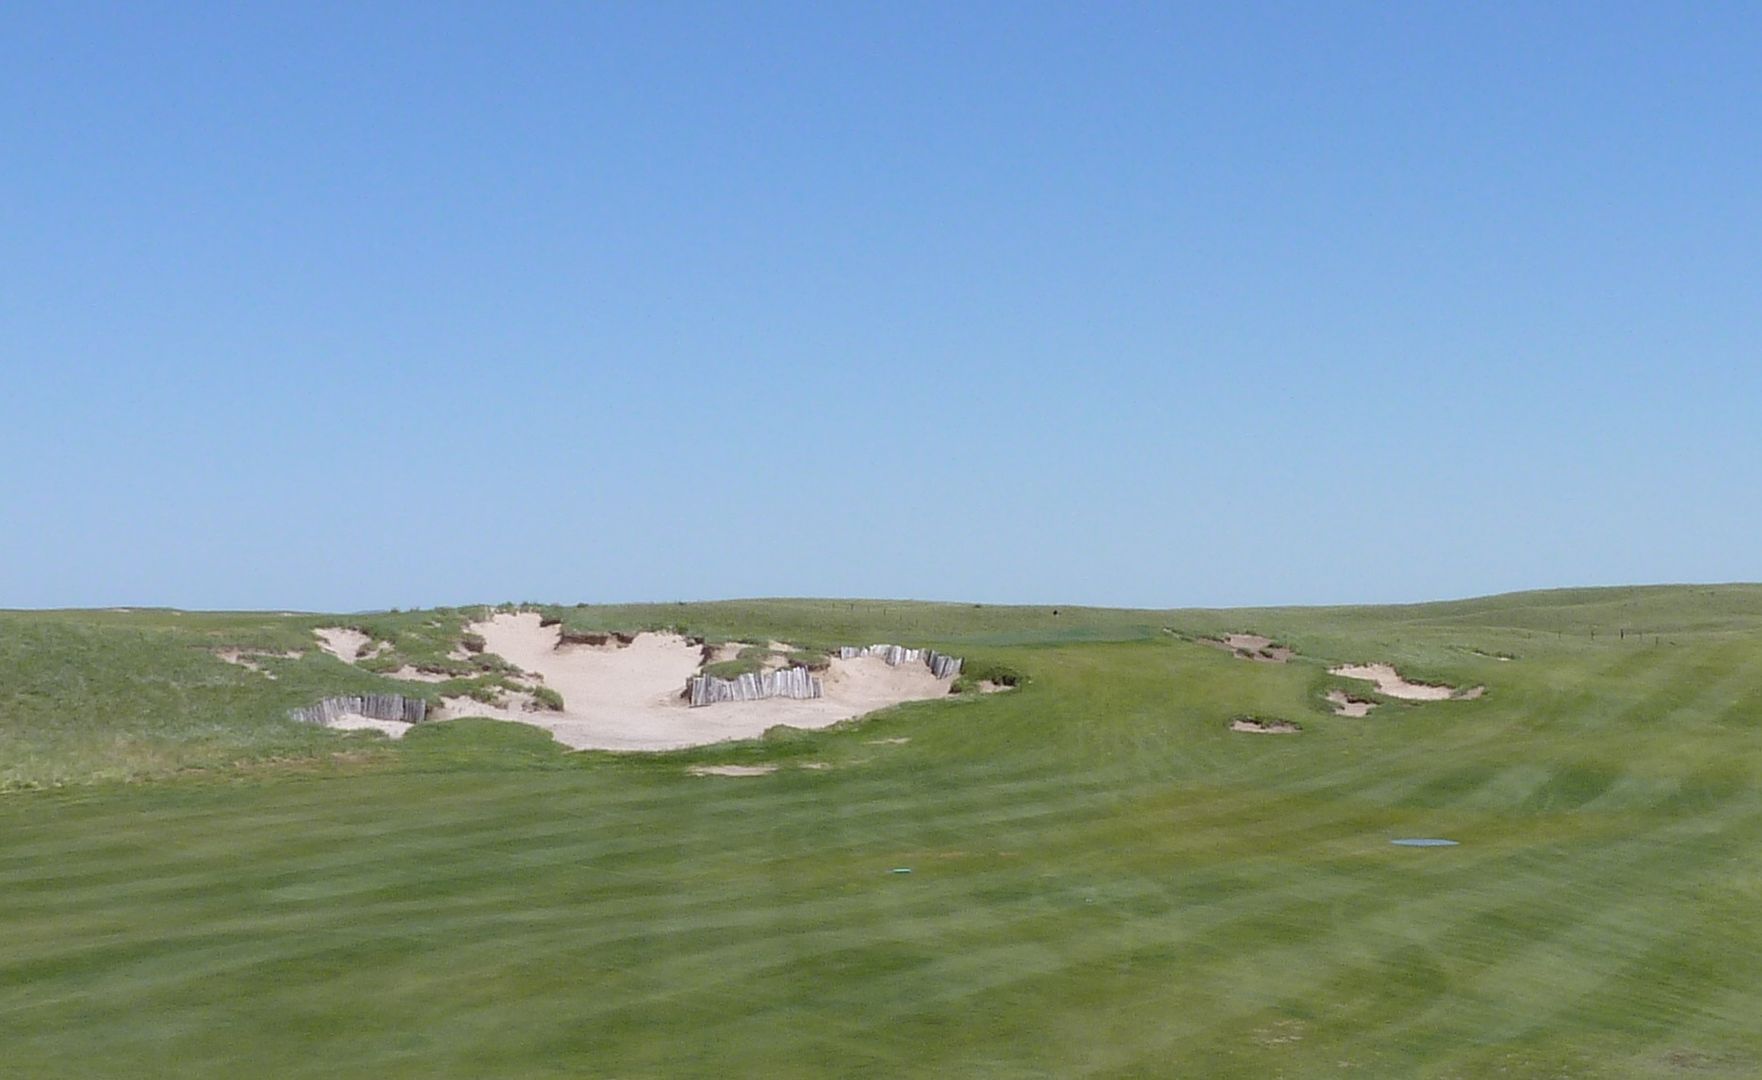
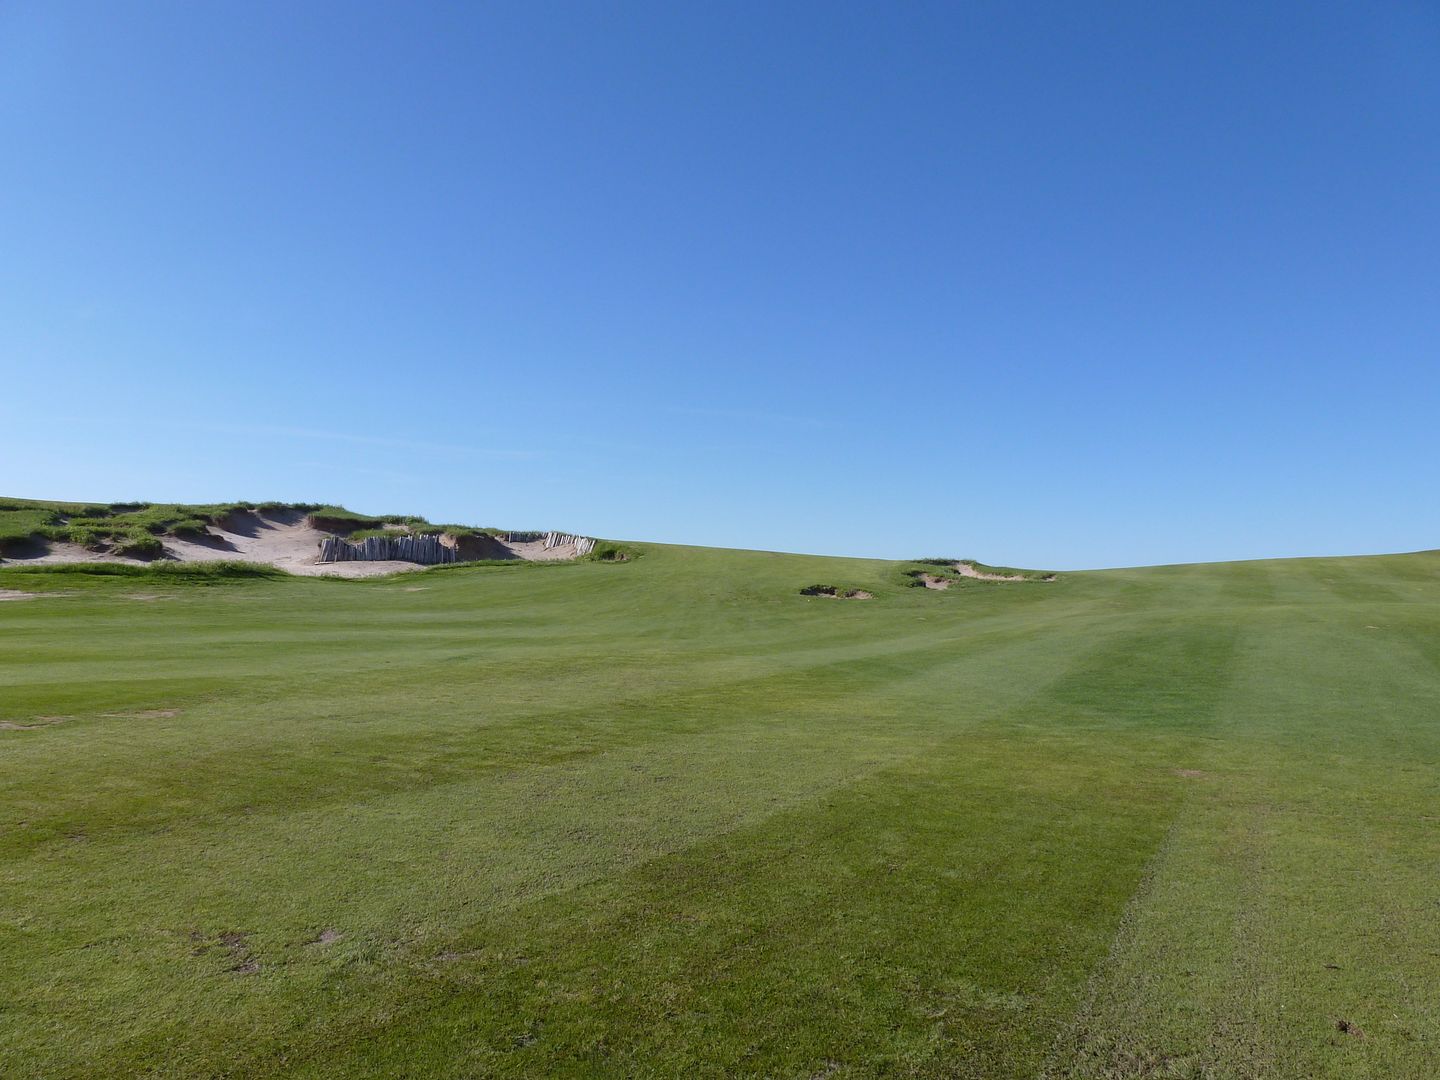
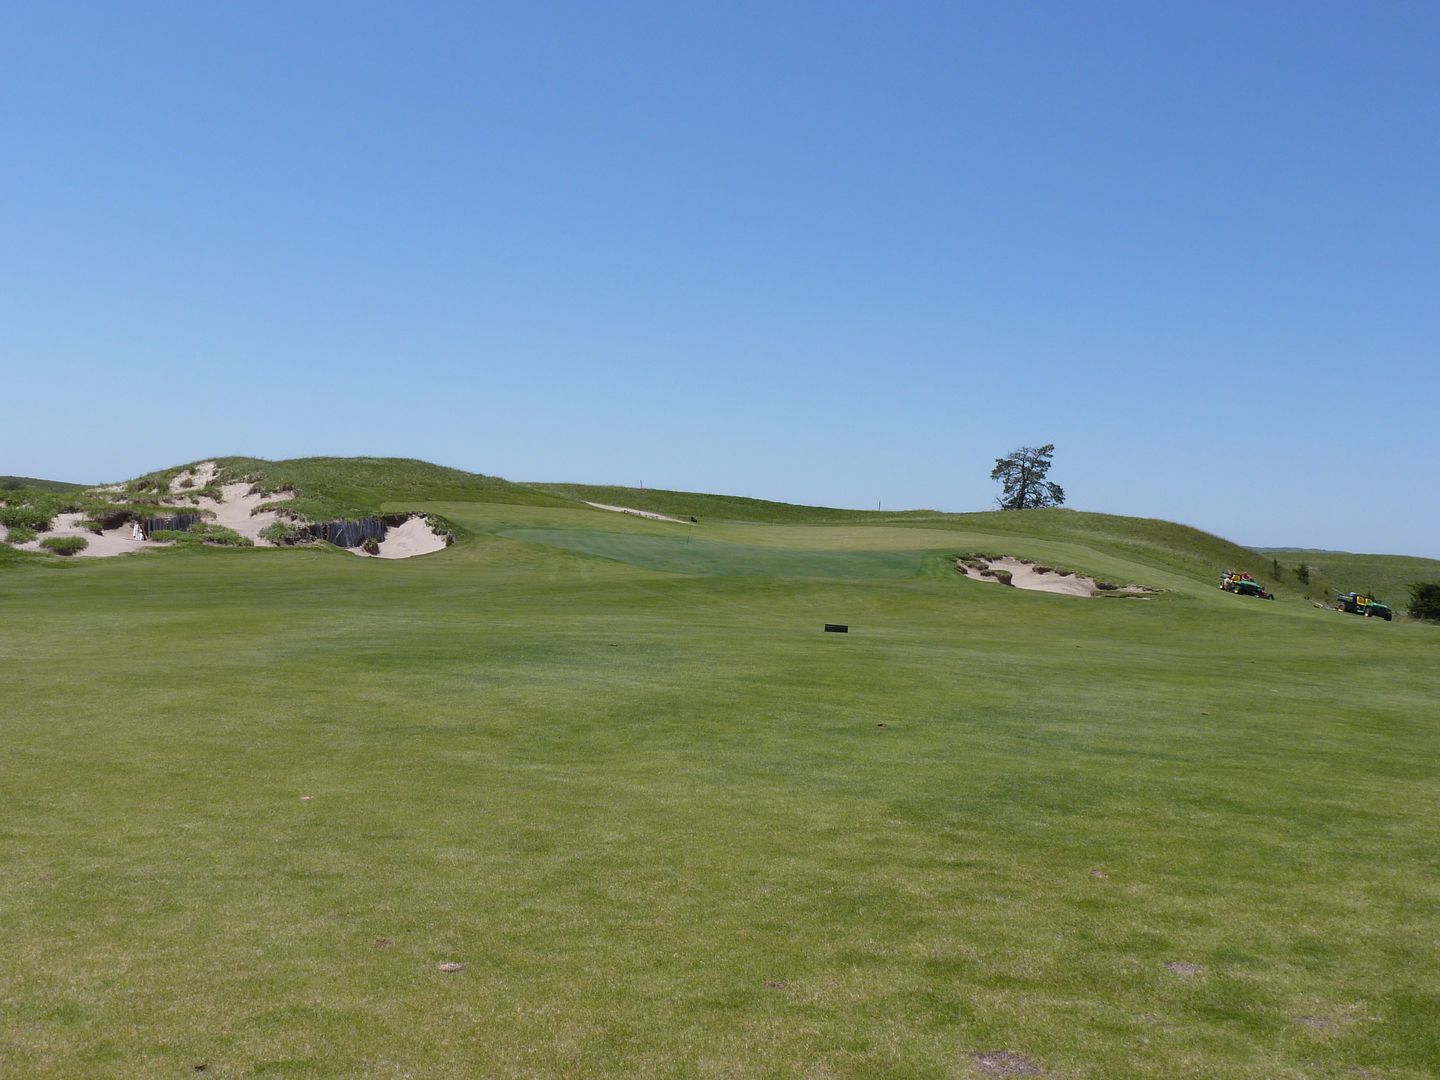
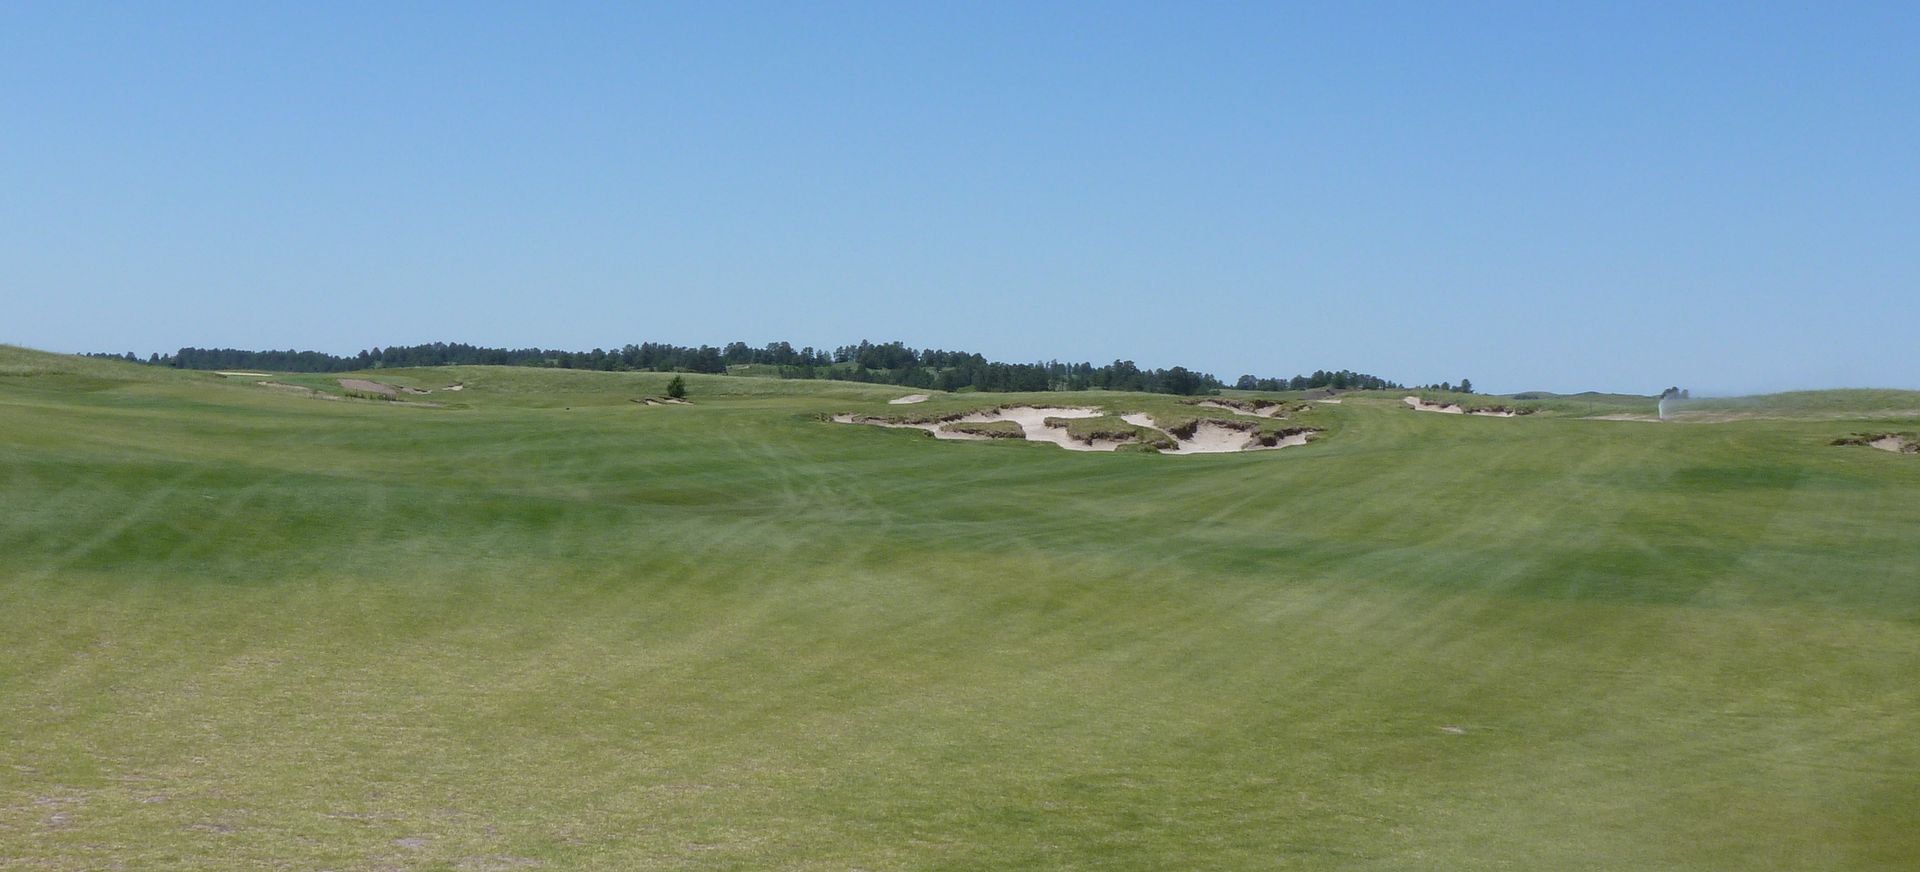
Hole 2 requires a lot of thought. As the yardage guide indicates, pin position dictates the line on the tee shot to the fairway that is some 70 yards wide. With left side of the fairway sloping substantially towards the center and the OB lurking all the way down the right side, it is very difficult to get the ball anywhere but the center of the fairway. However, the green is narrow in the front and opens up in the centre and back meaning pins that are tucked either right or left must be approached from the correct side of the fairway and the player must be bold in his decision from the tee.
Black Tee (478 Yards)
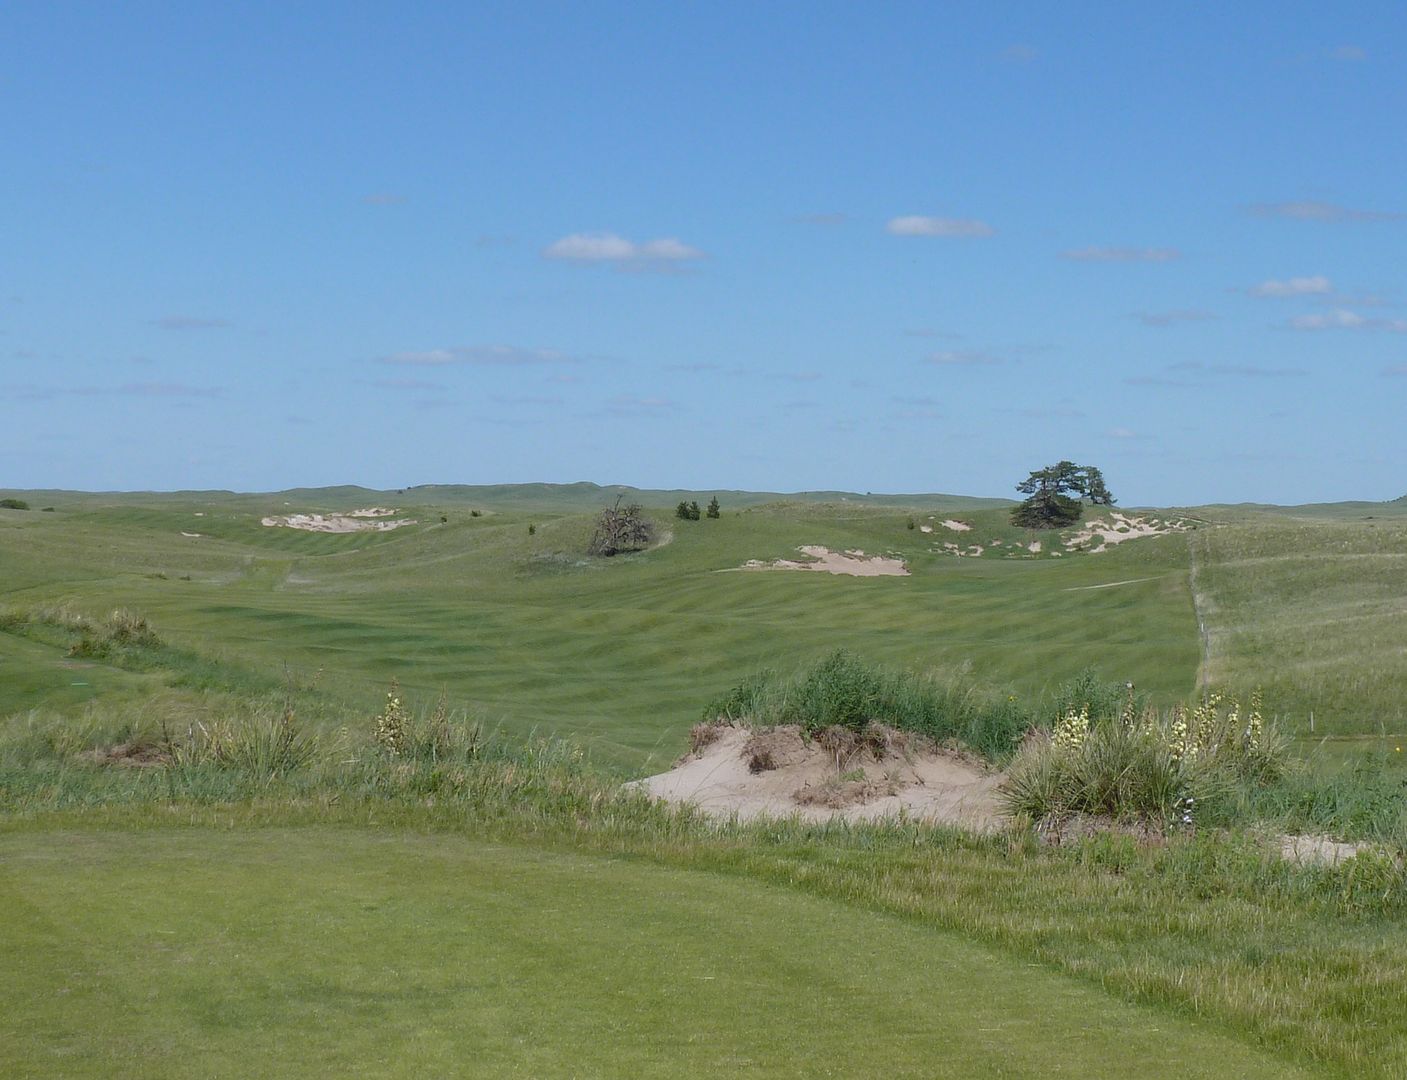
White Tee (444 Yards) - Notice the whites play shorter than the blue tees, but are arguably more difficult than even the black tees as one is forced to drive over the OB. Given the substantial wind at TPC, one must be very familiar with course to properly choose a line on this semi-blind tee shot.
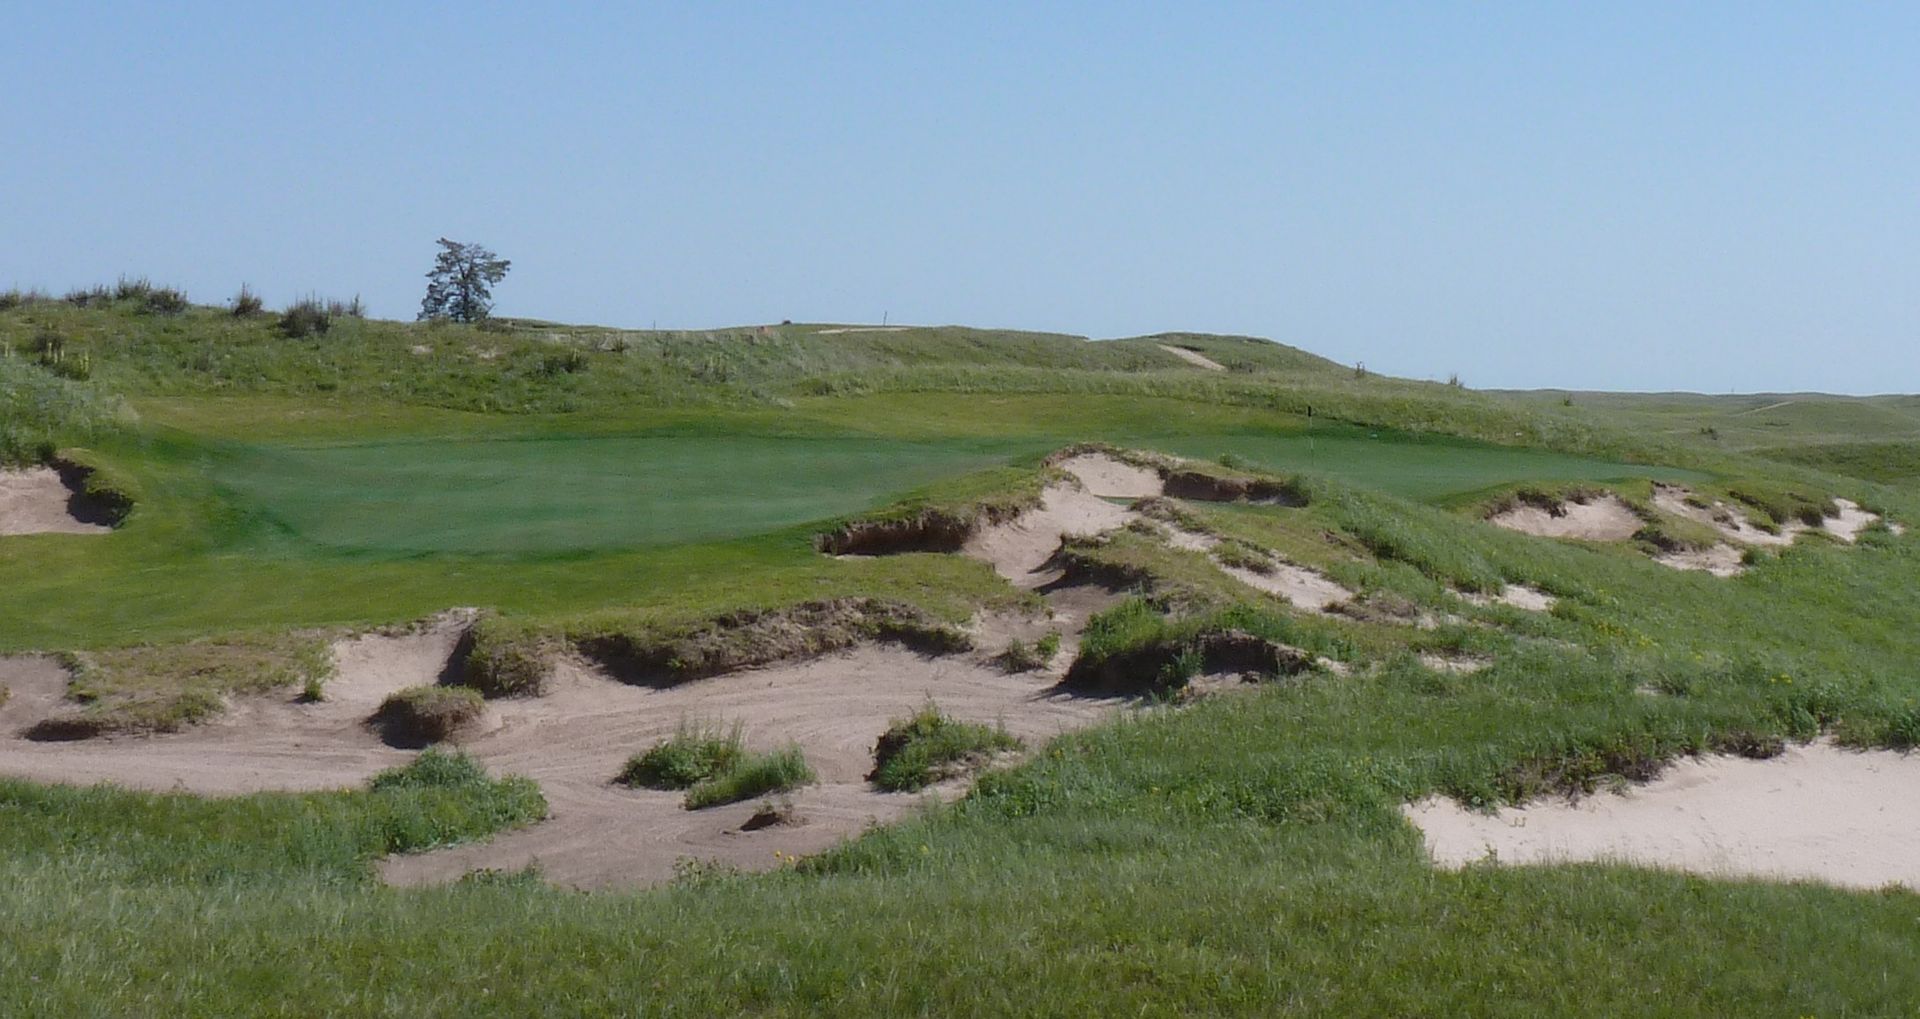
Approach from center of fairway
From 25 Yards Short of Green
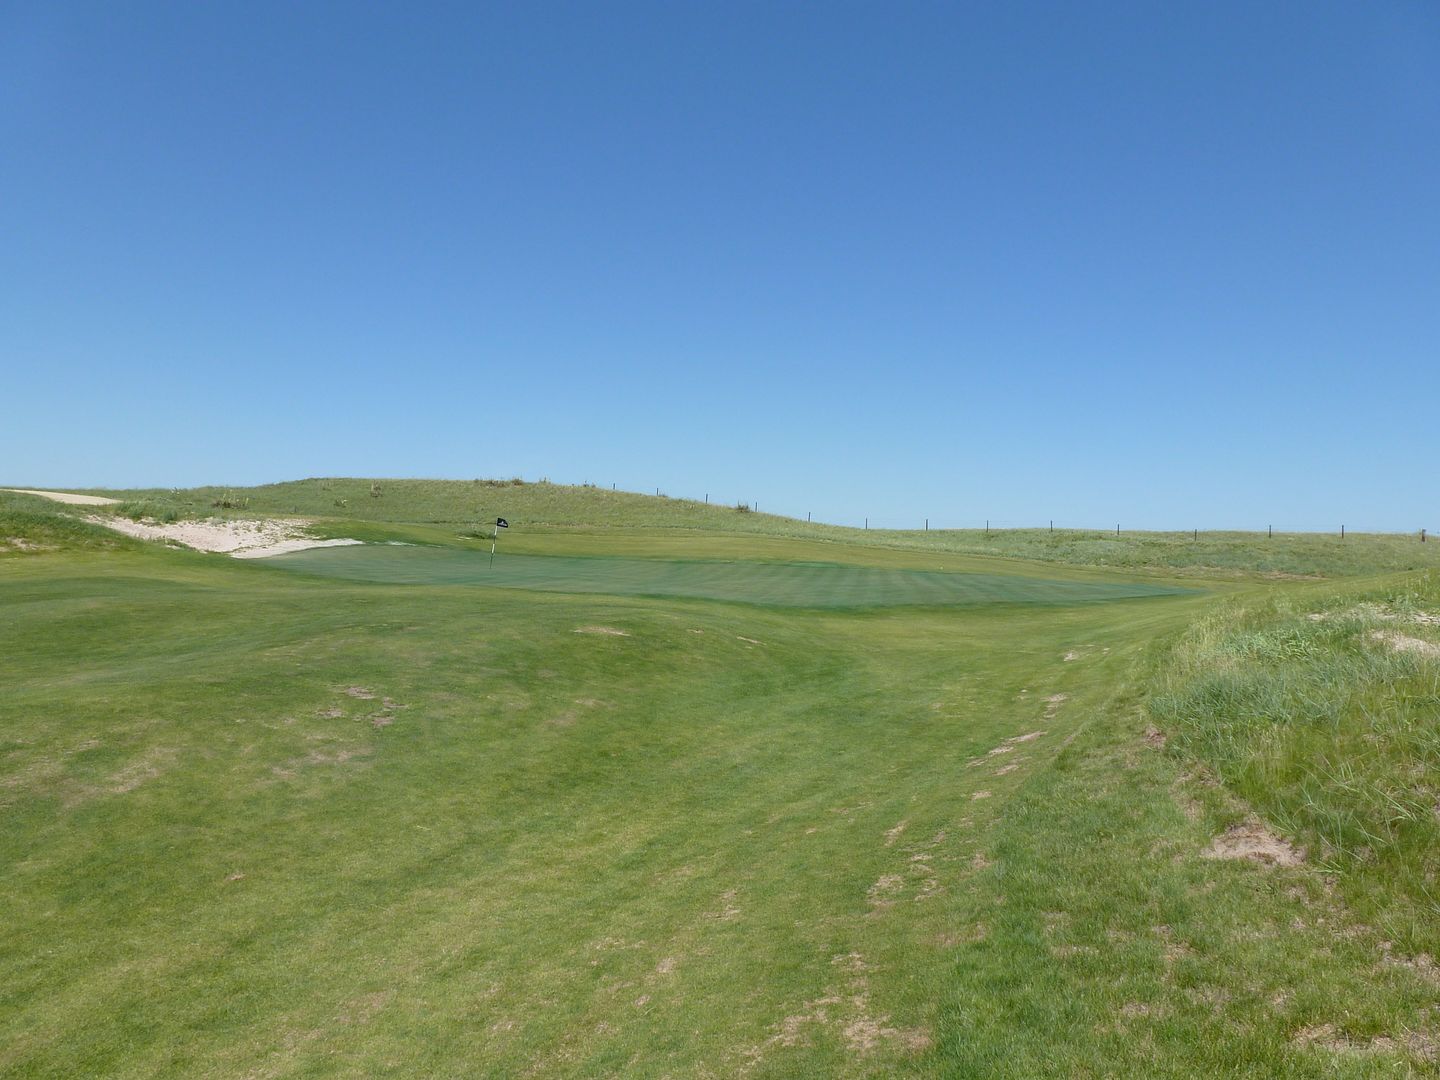
Green from Right
Green from Behind
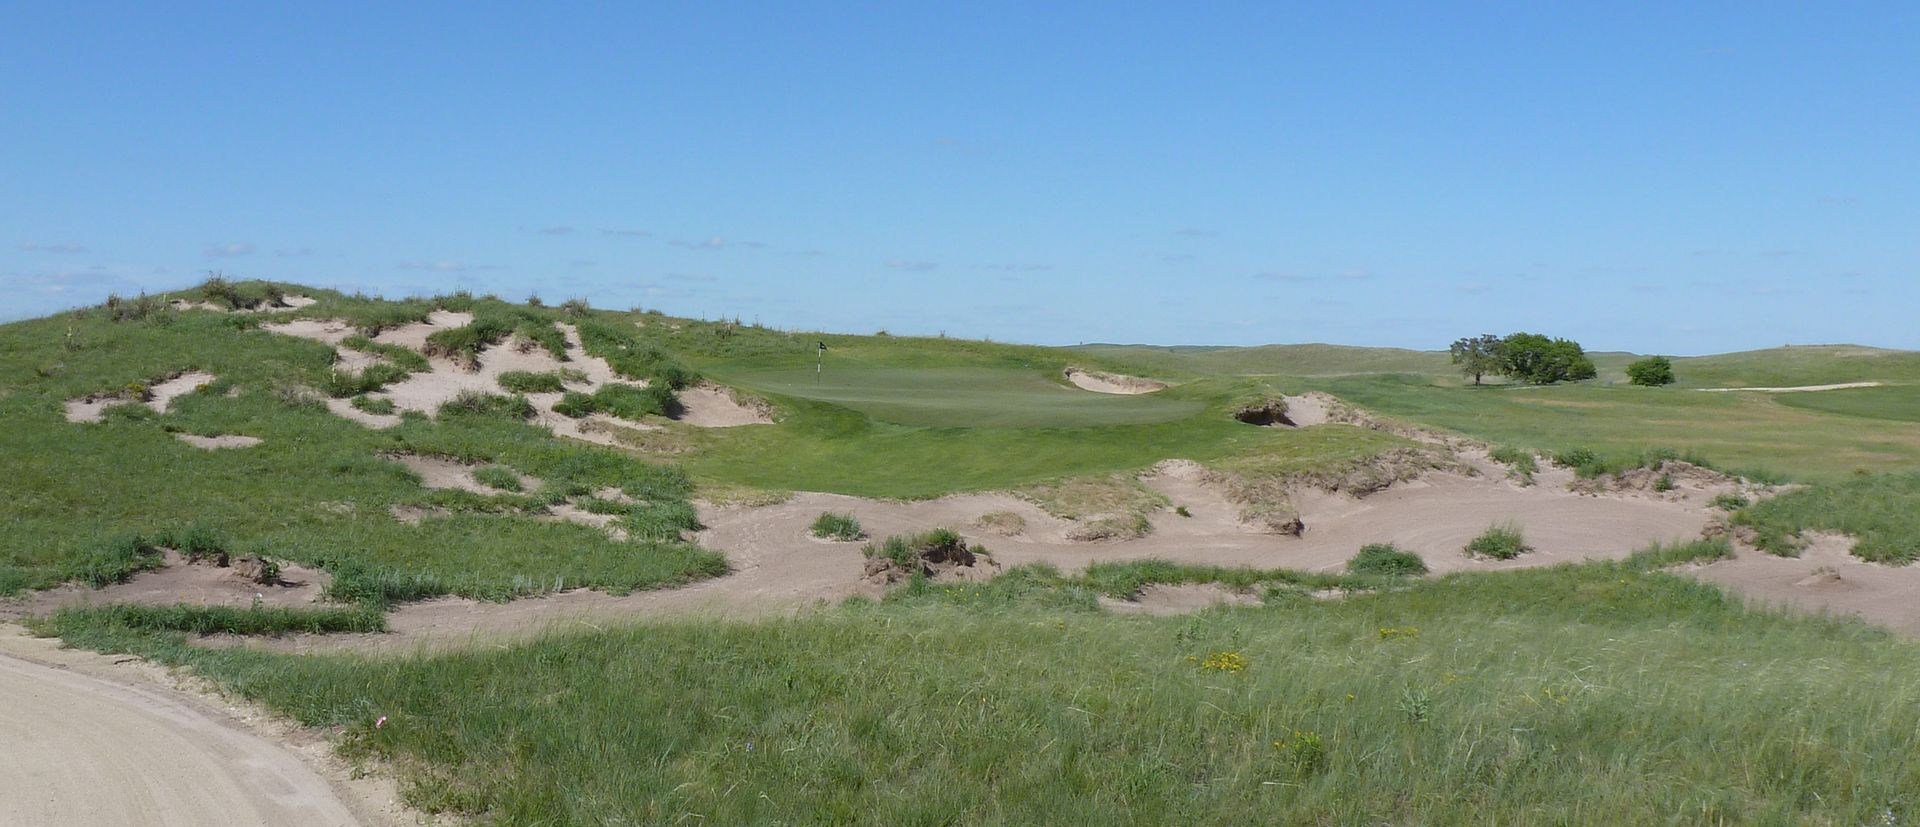
From Back Right
From Back Left
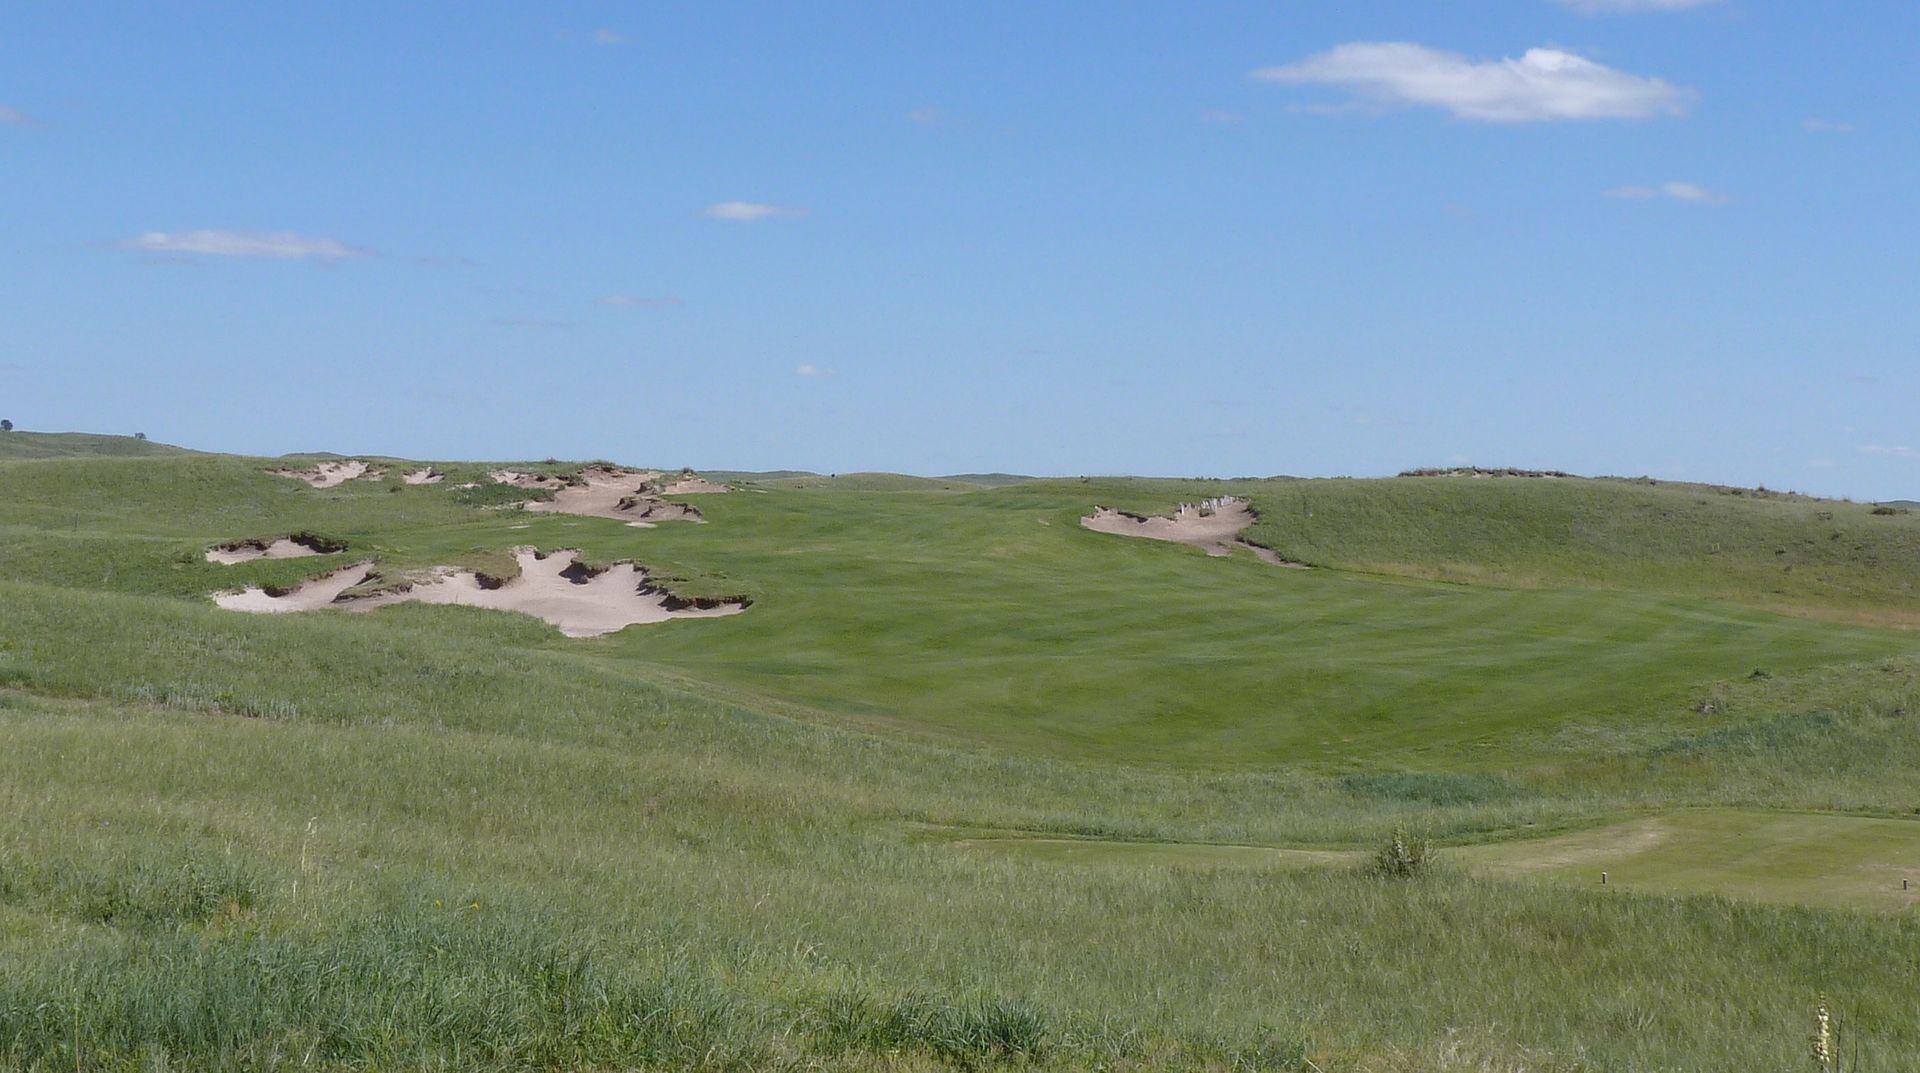
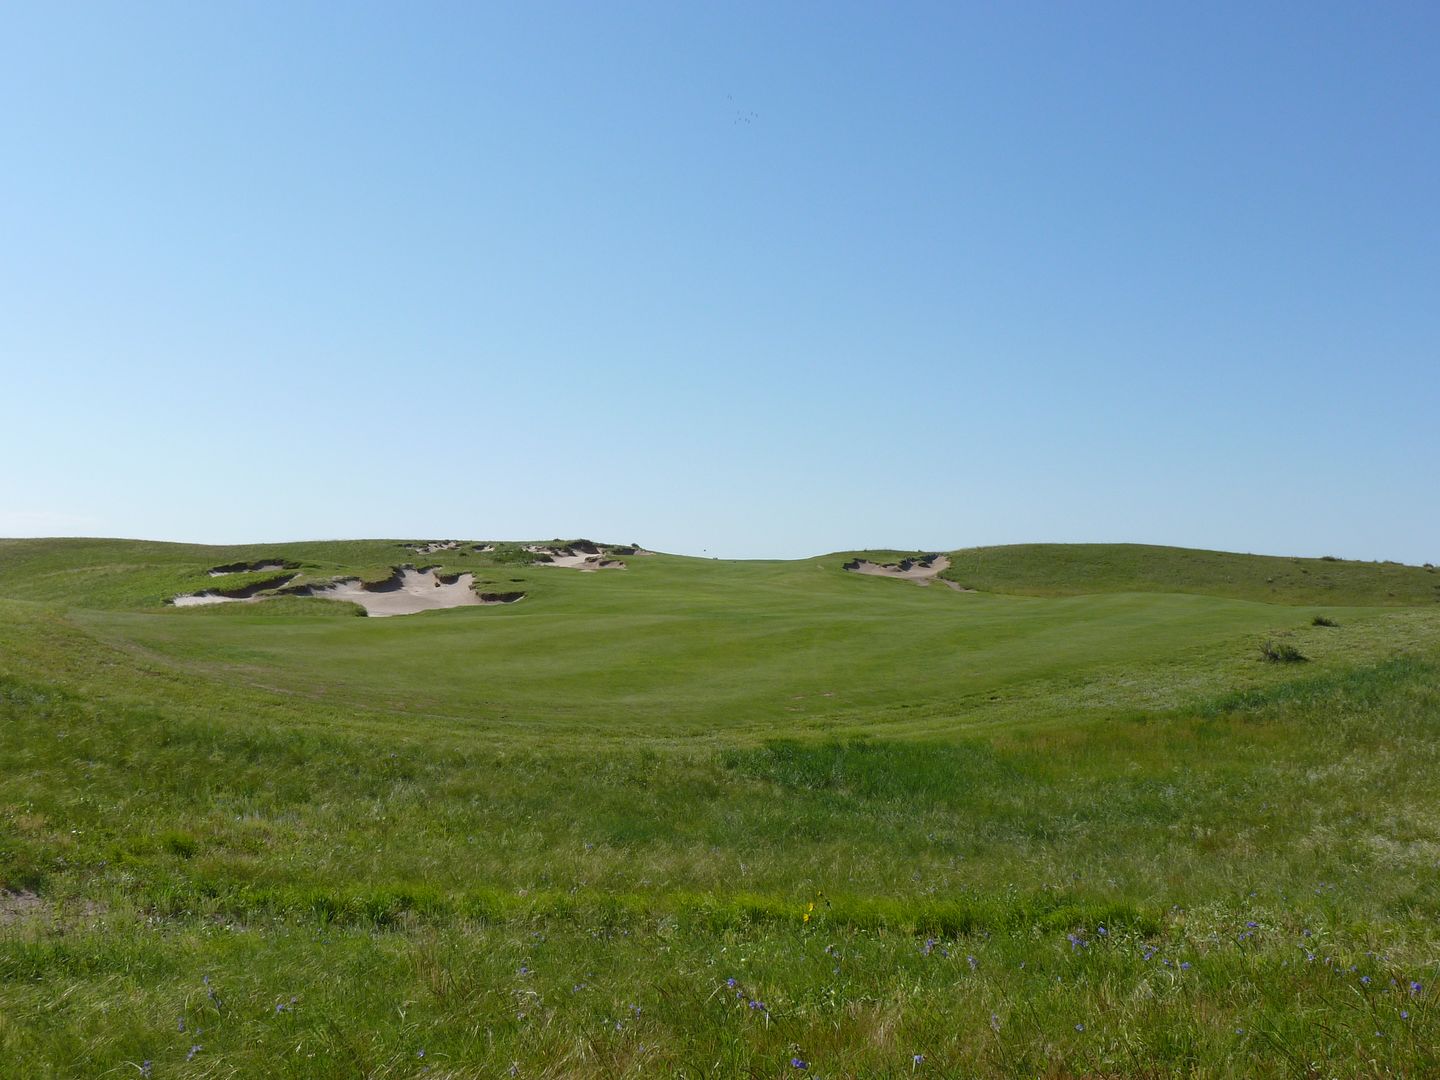
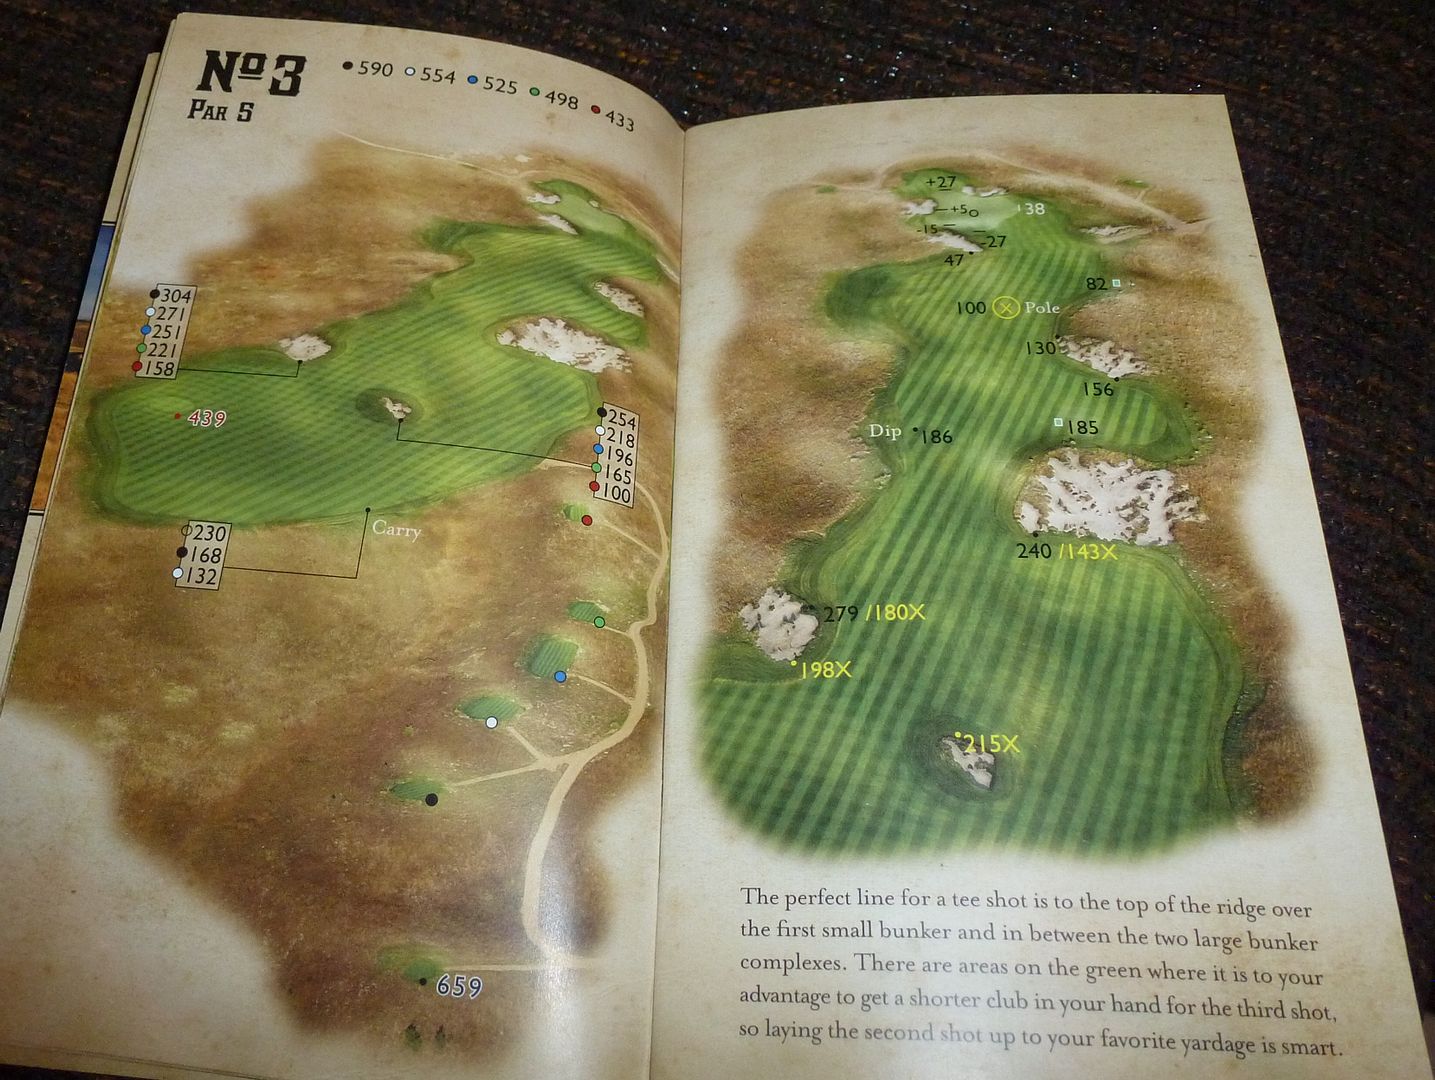
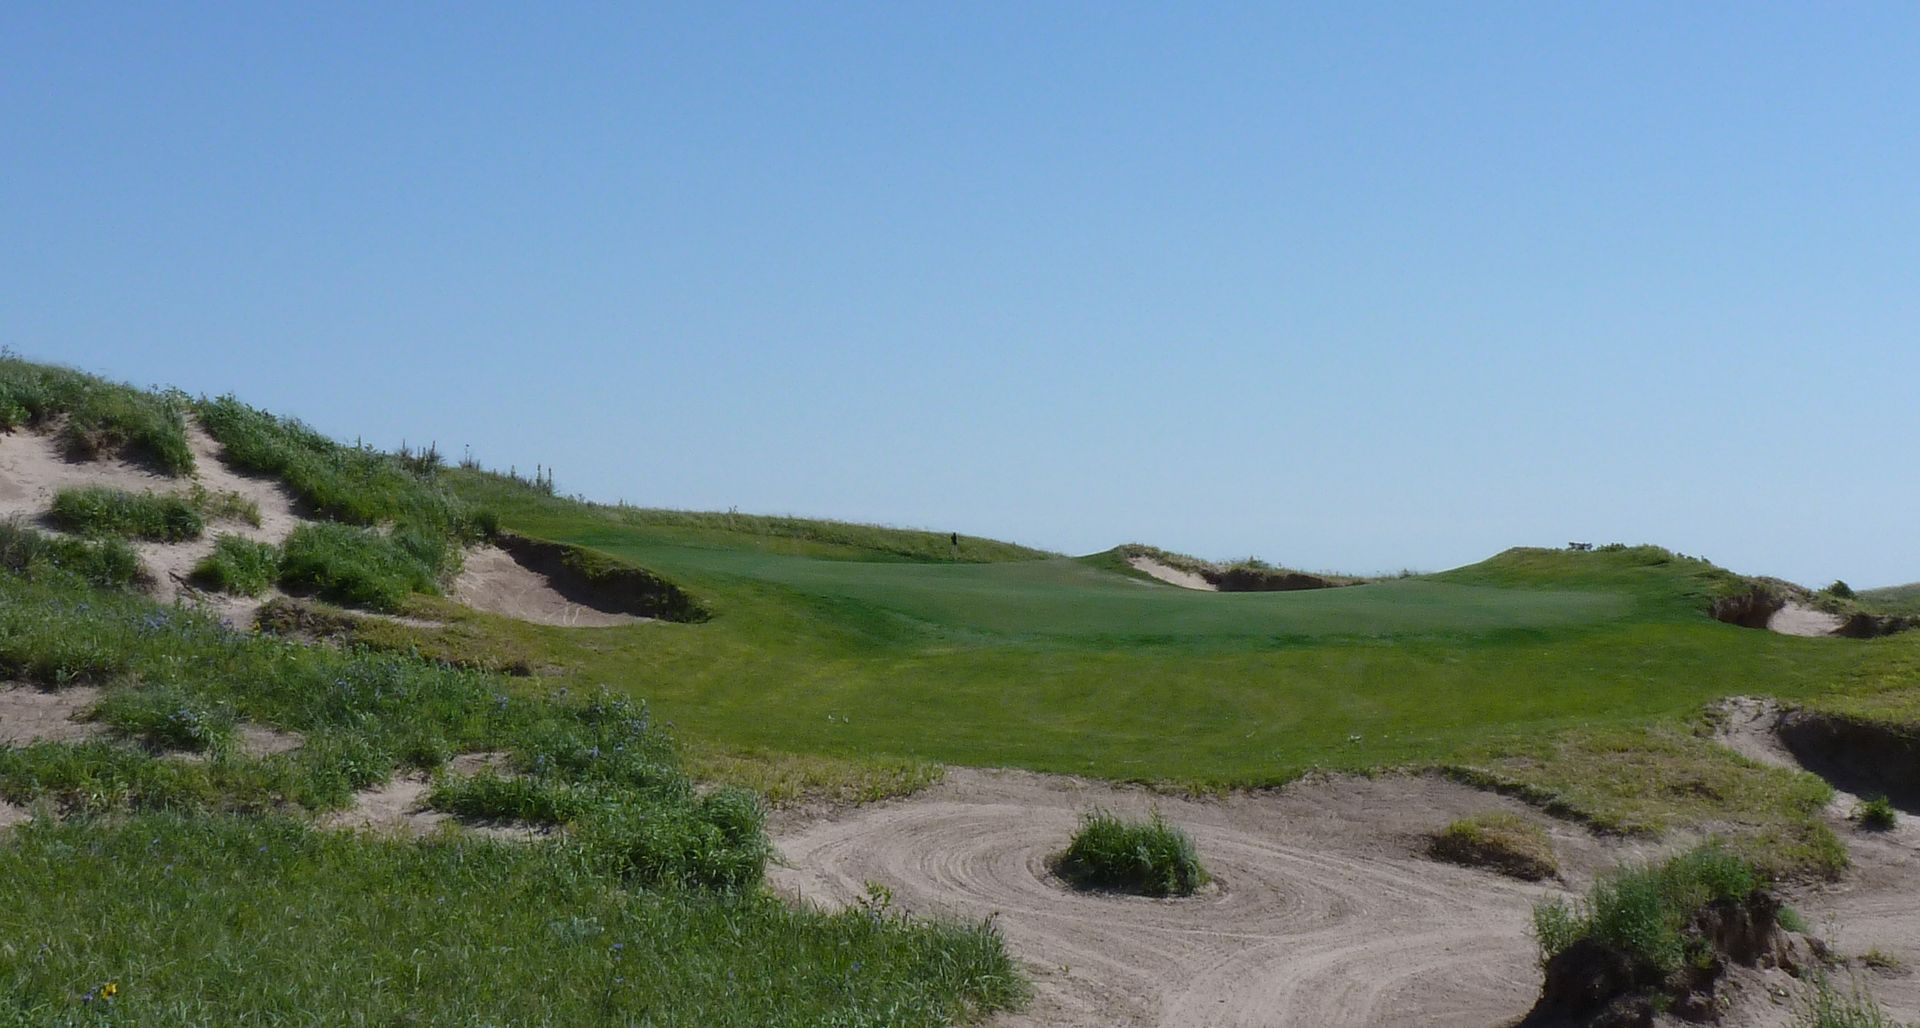
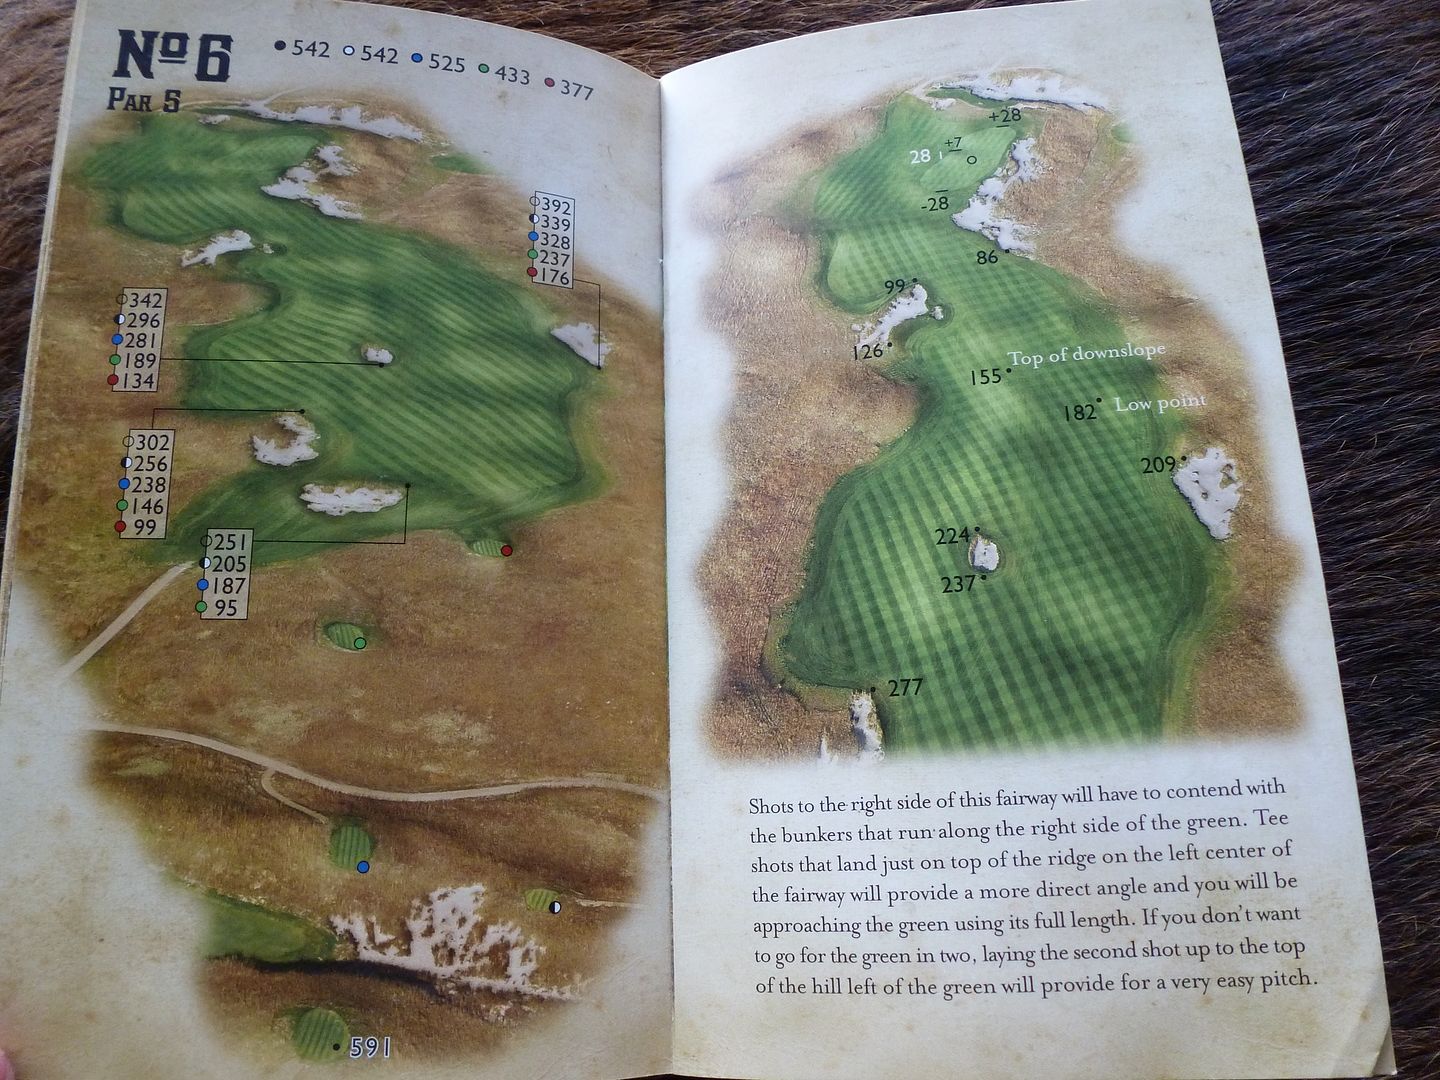
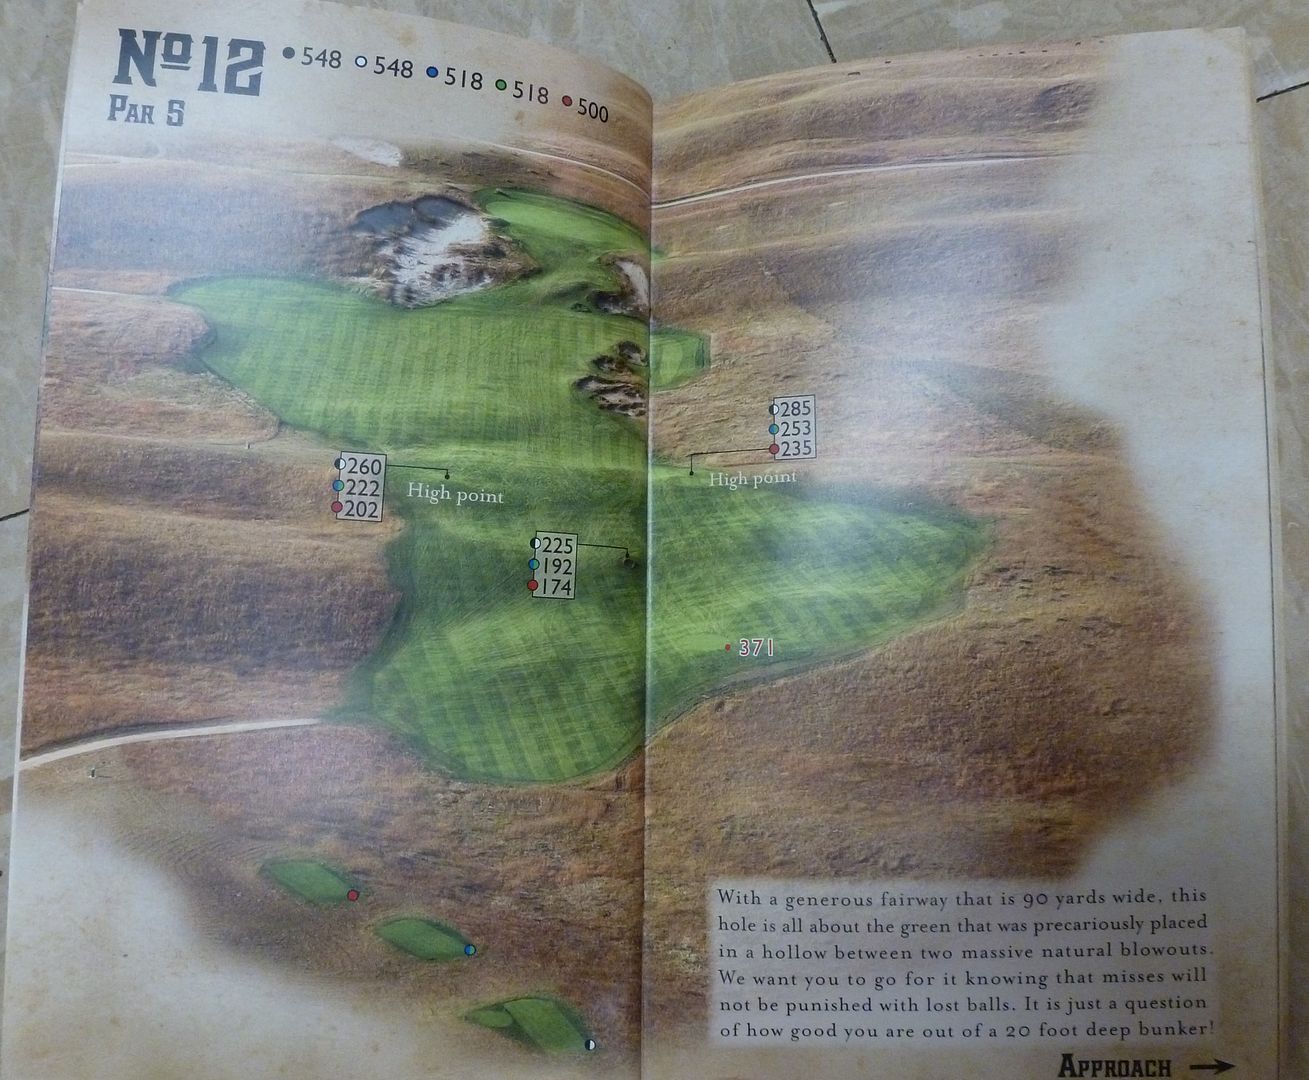
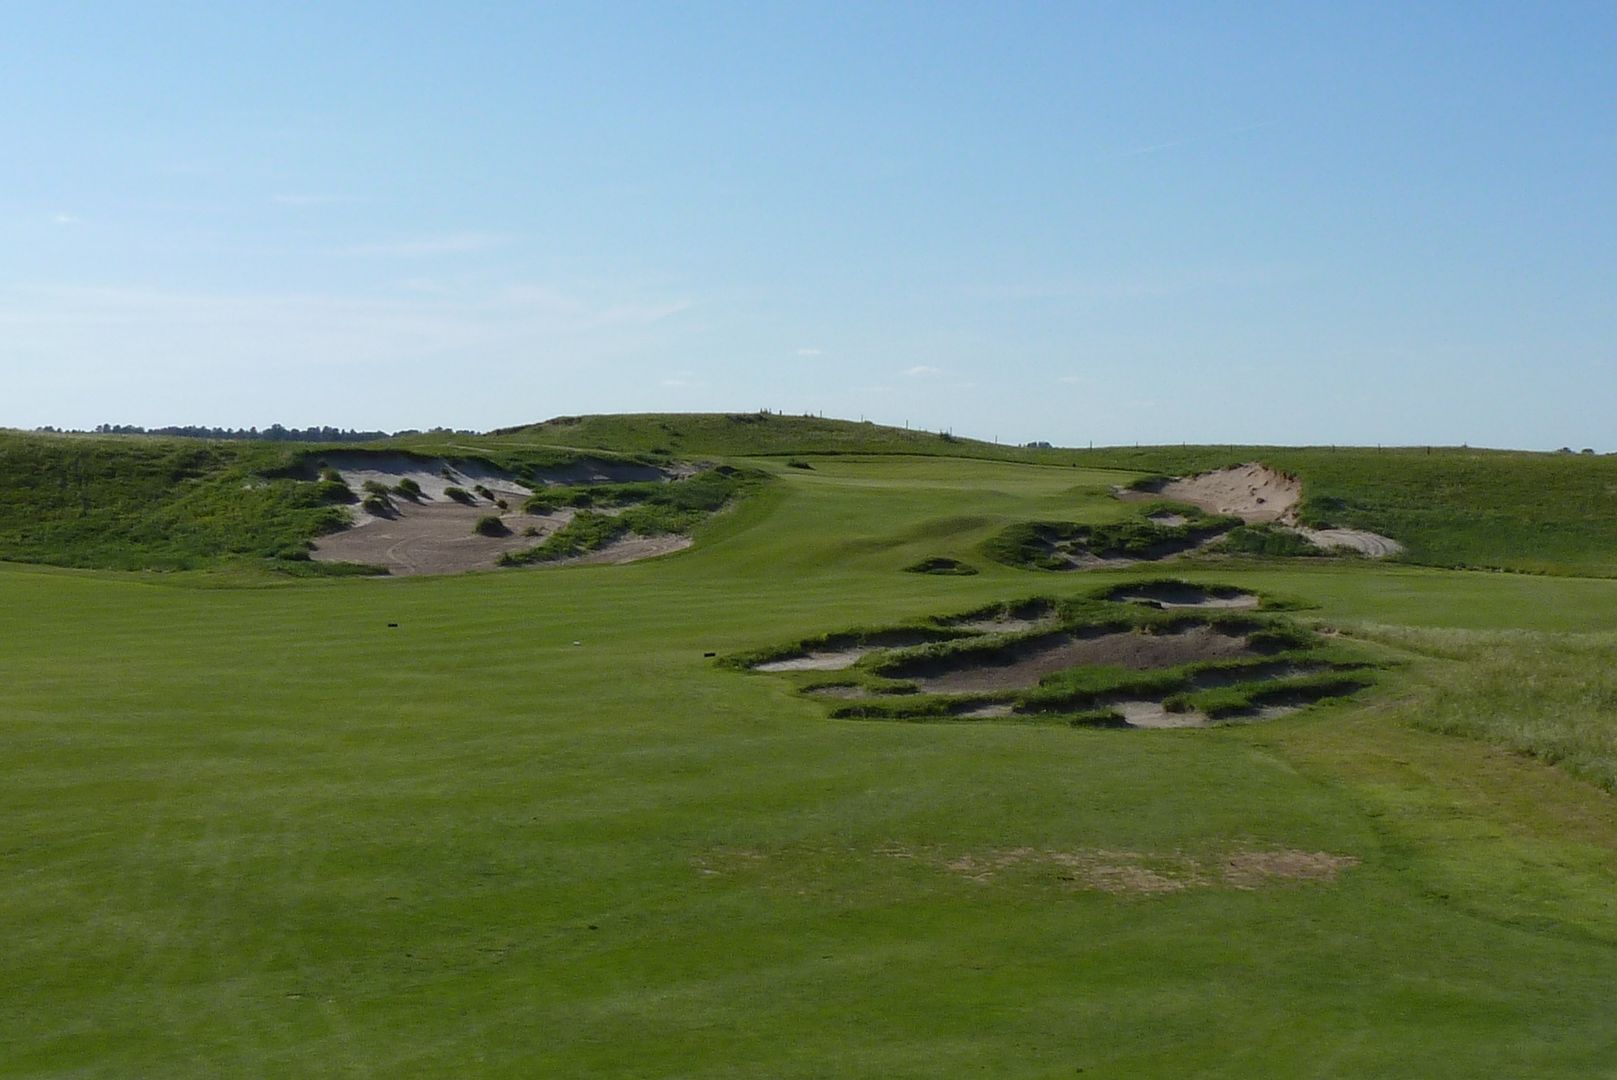
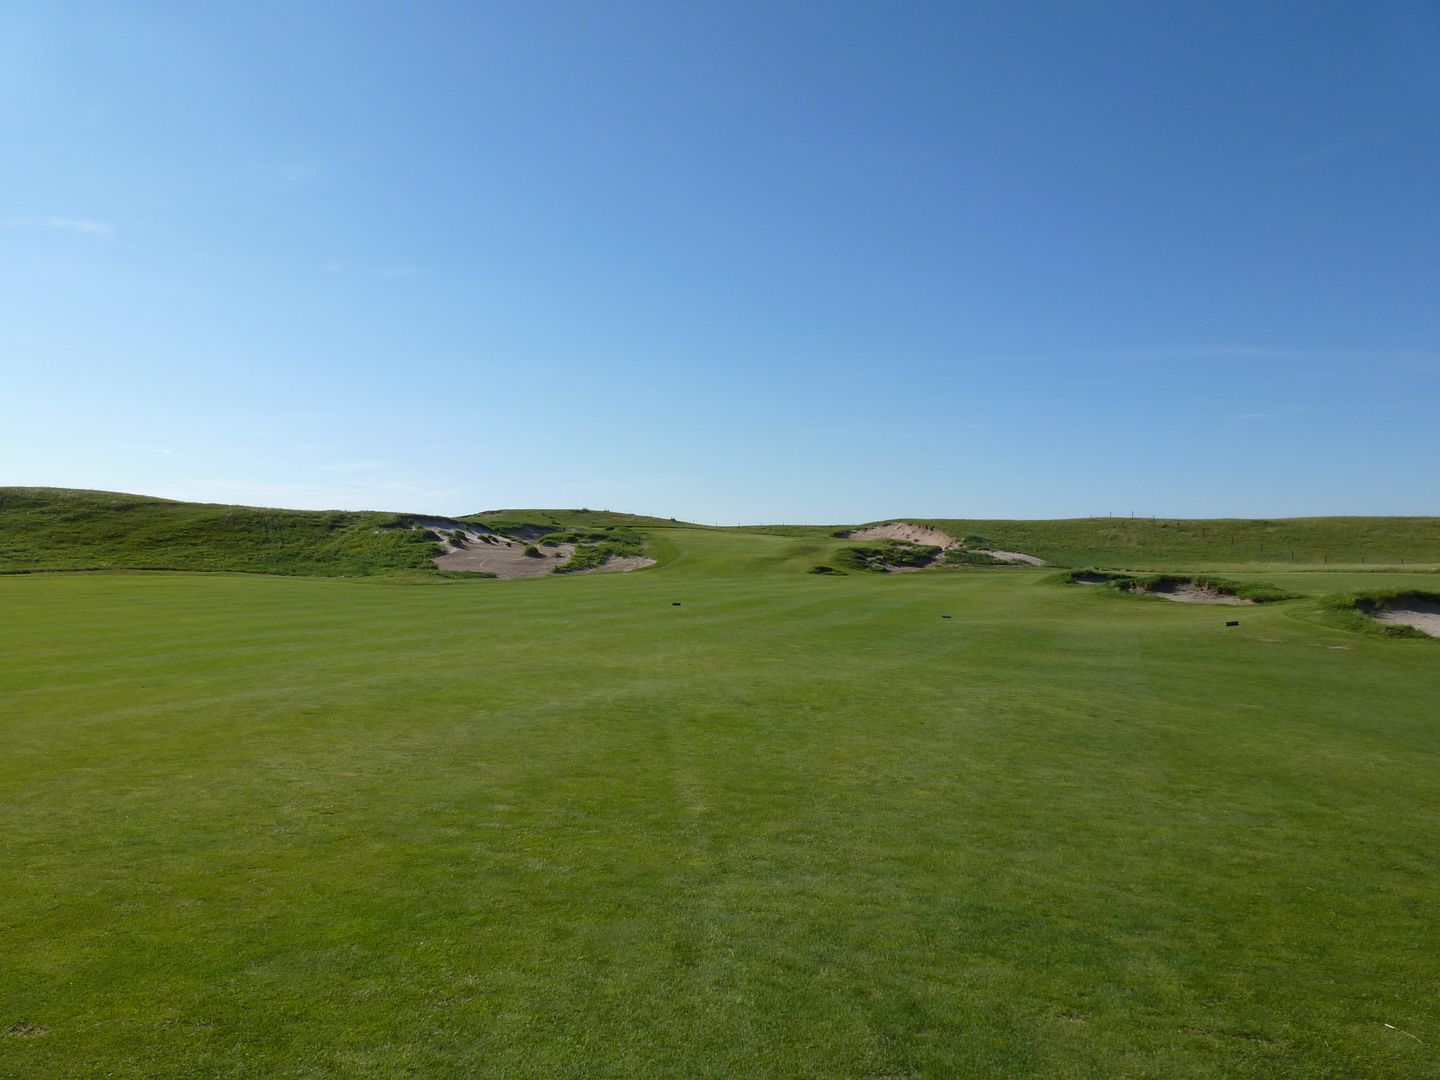
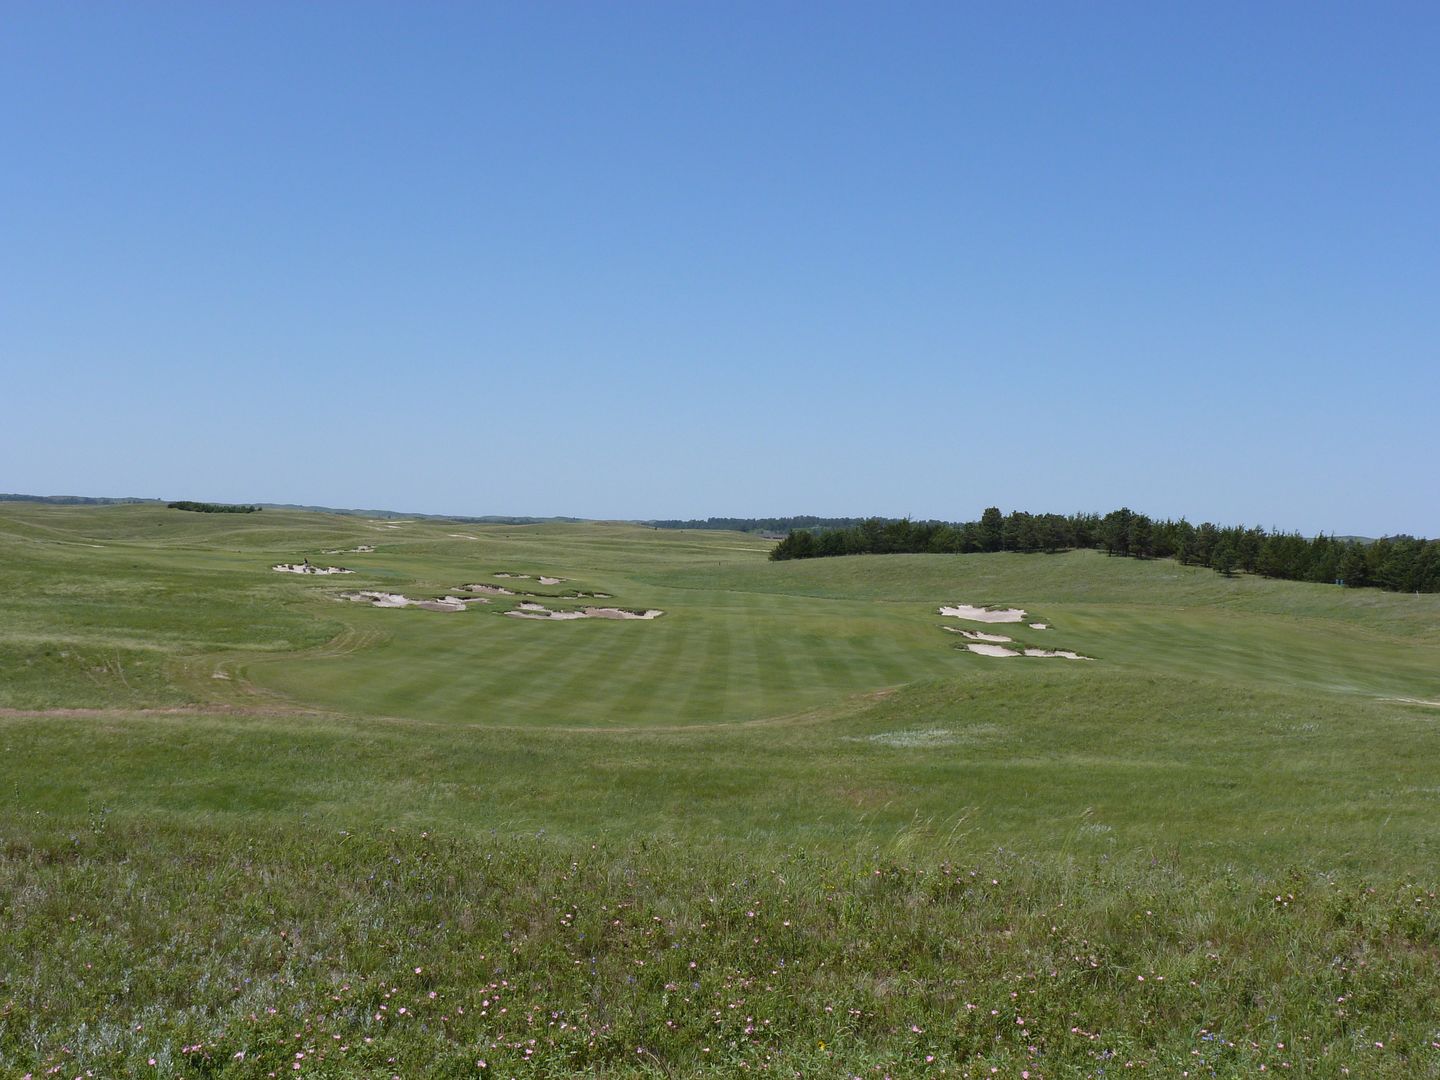
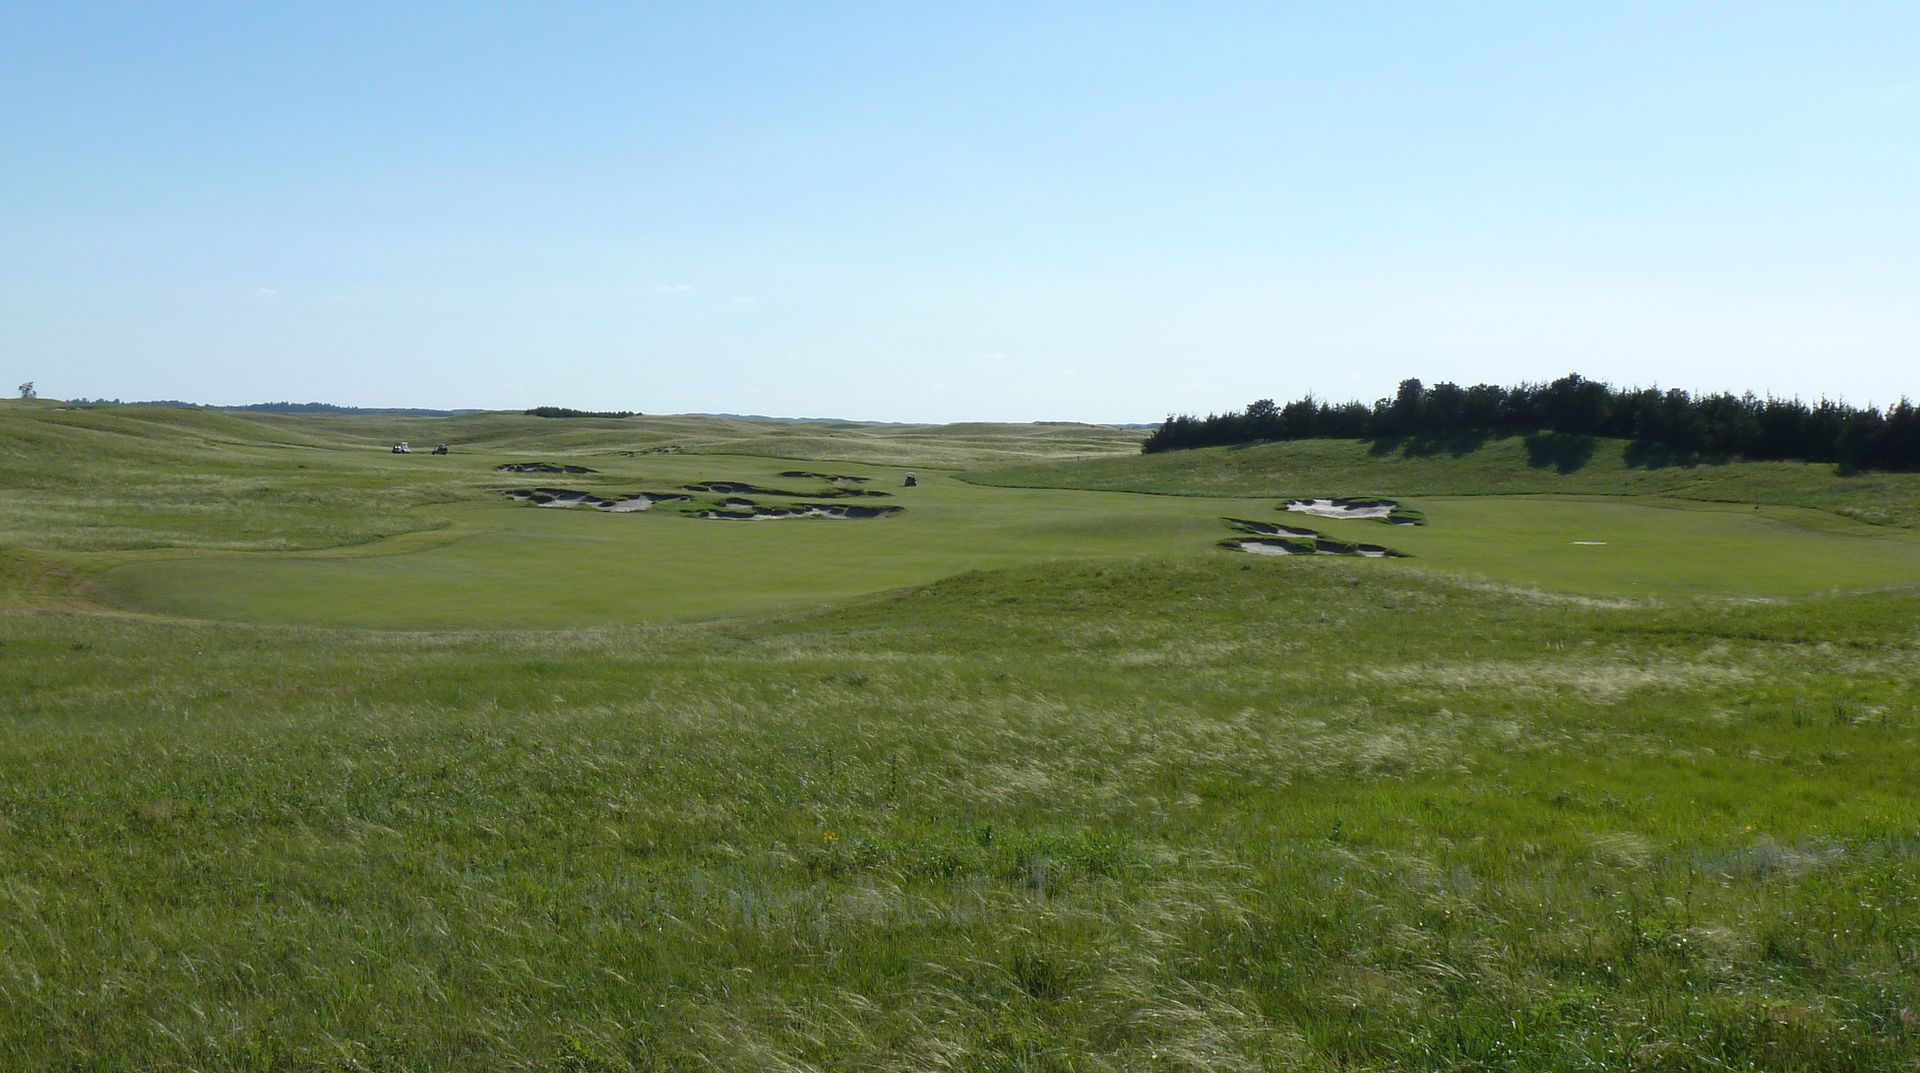
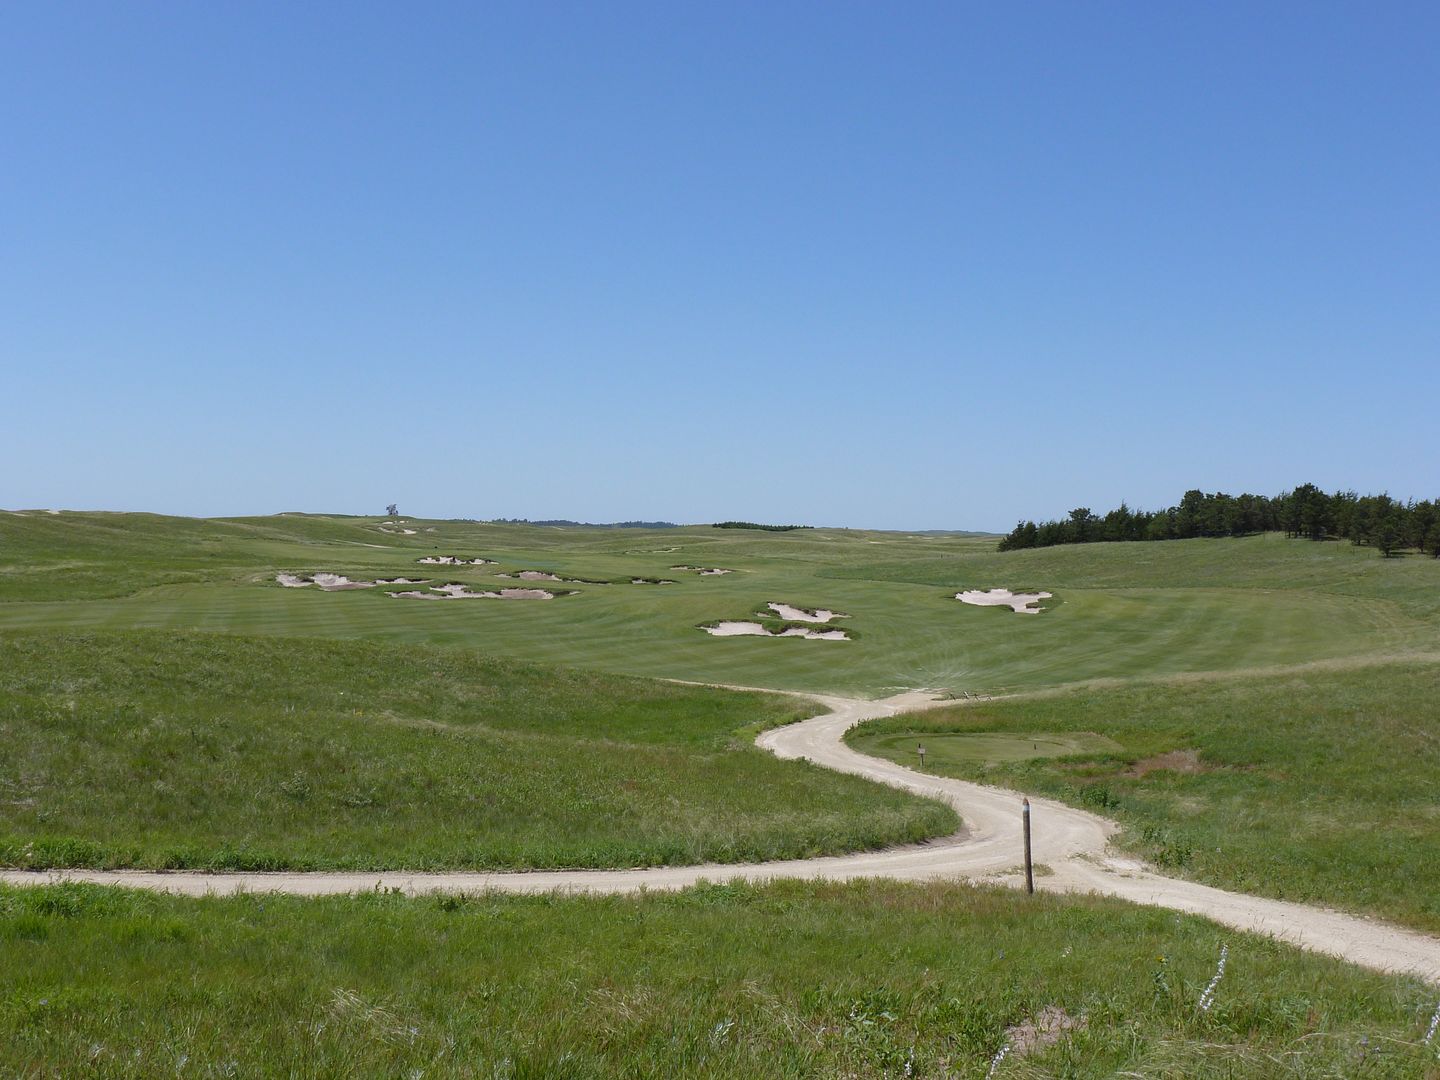
Off the tee, one must choose his line wisely. First priority is to get the ball to the left of the centerline bunker to leave a much easier second shot. Shots hit short/right will funnel down to the bottom of the hill short of the massive bunker on the right.
This hole played really different with different winds. The first day, into the wind, the focus was avoiding the centerline bunker. Downwind, the centerline bunker was easily carryable and I was forced to decide whether or not to challenge the massive bunker on the right as it was now reachable.
View from the Double Blacks (659 Yard Tee):
View from Black Tee (on 559 yard box):
View from White Tee (on the 498 yard box):
Downwind and after successfully finding the upper portion of the fairway, this hole is easily reached in two. This is the view from the upper portion of the fairway:
A drive in the right portion of the fairway leave this view:
Closer look at the bunker
Drives down the right also bring into play a large runoff that is some 50-150 yards short of the green and on the left side of the fairway. From the right side only a shot that challenges the second set of rightside fairway bunkers will avoid the run-off. The view from down in the valley:
Approach from the right side of the fairway:
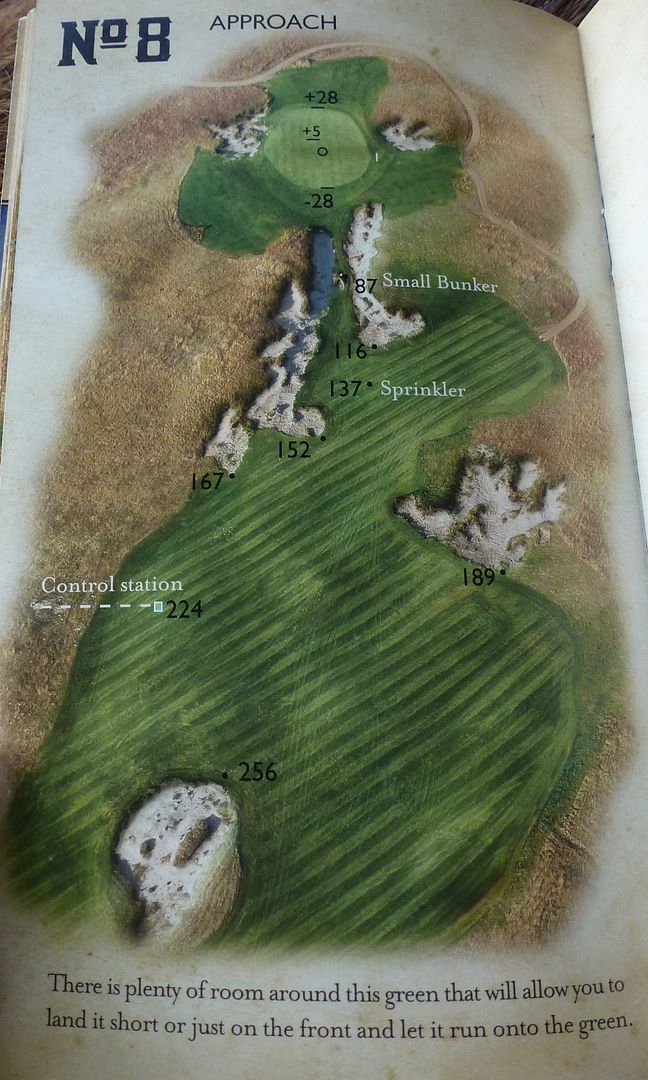
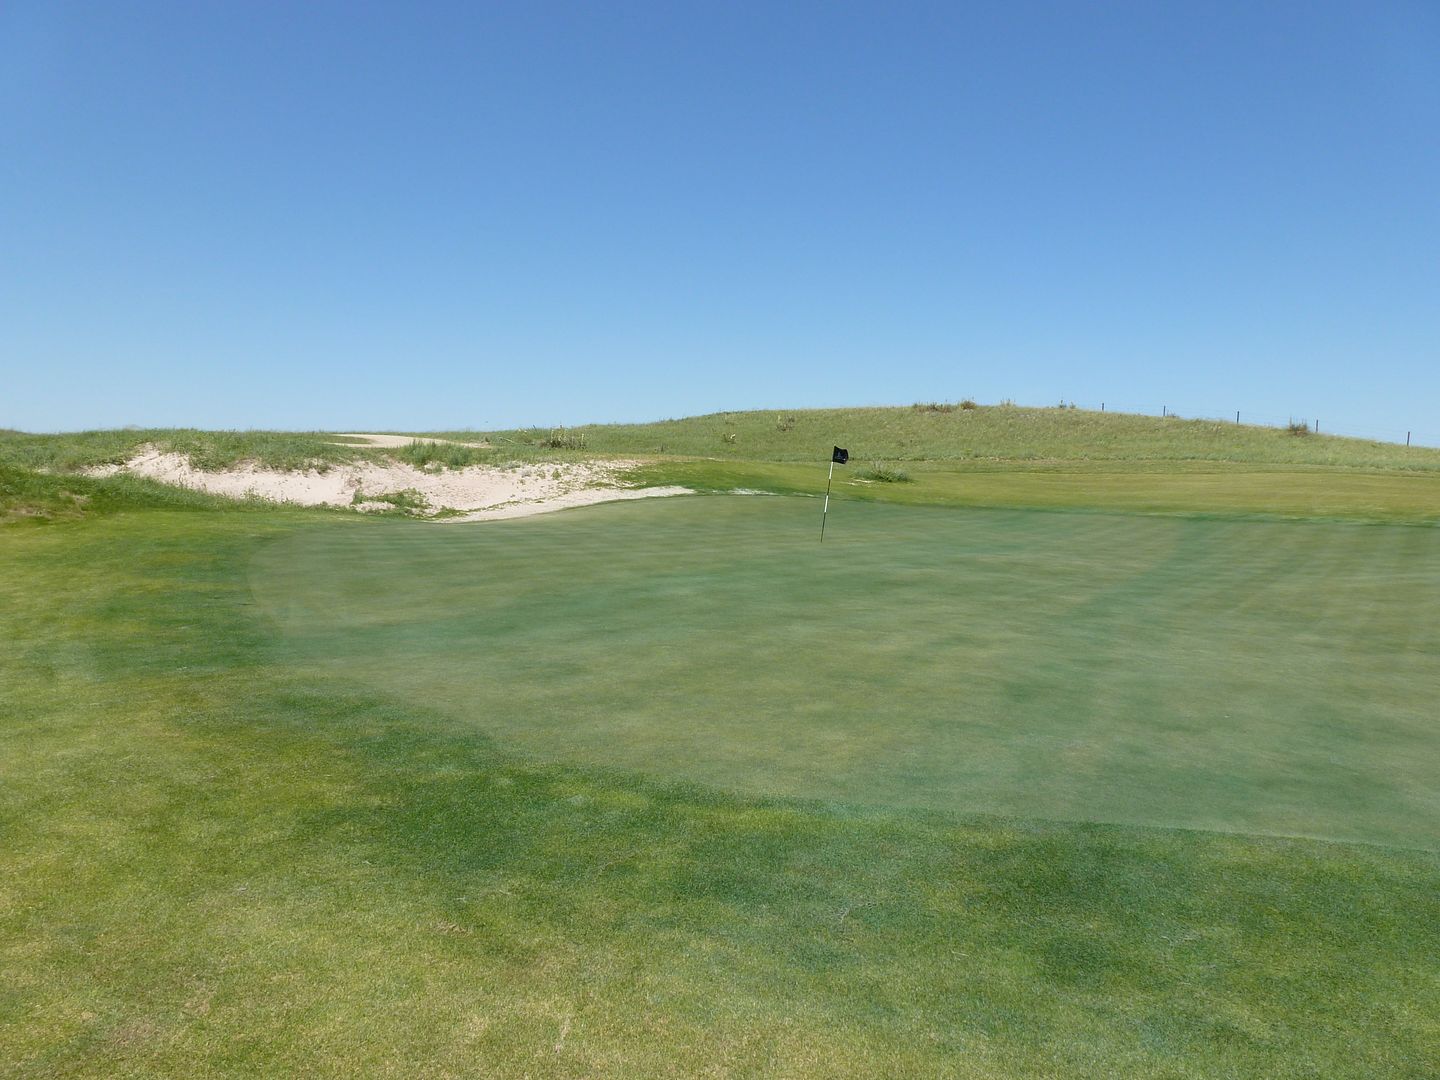
There is a generous area on which a player can run the ball onto the green (also the area short-right of the green slopes toward the green)...
BUT, shots that are long are not tolerated. View just over the green:
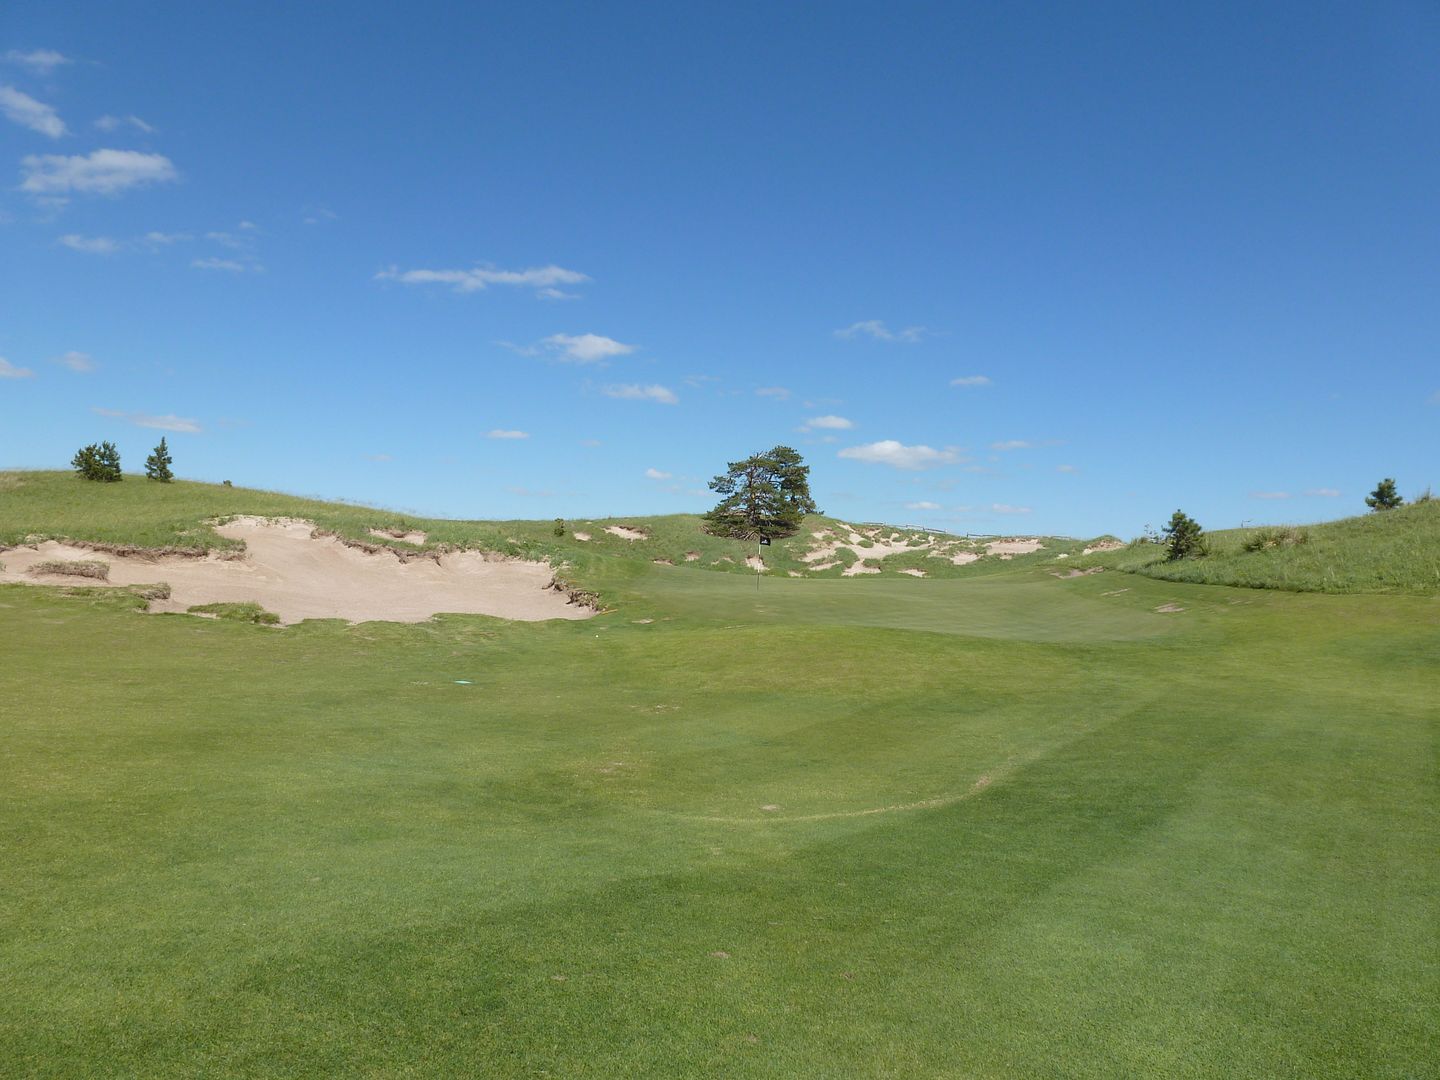
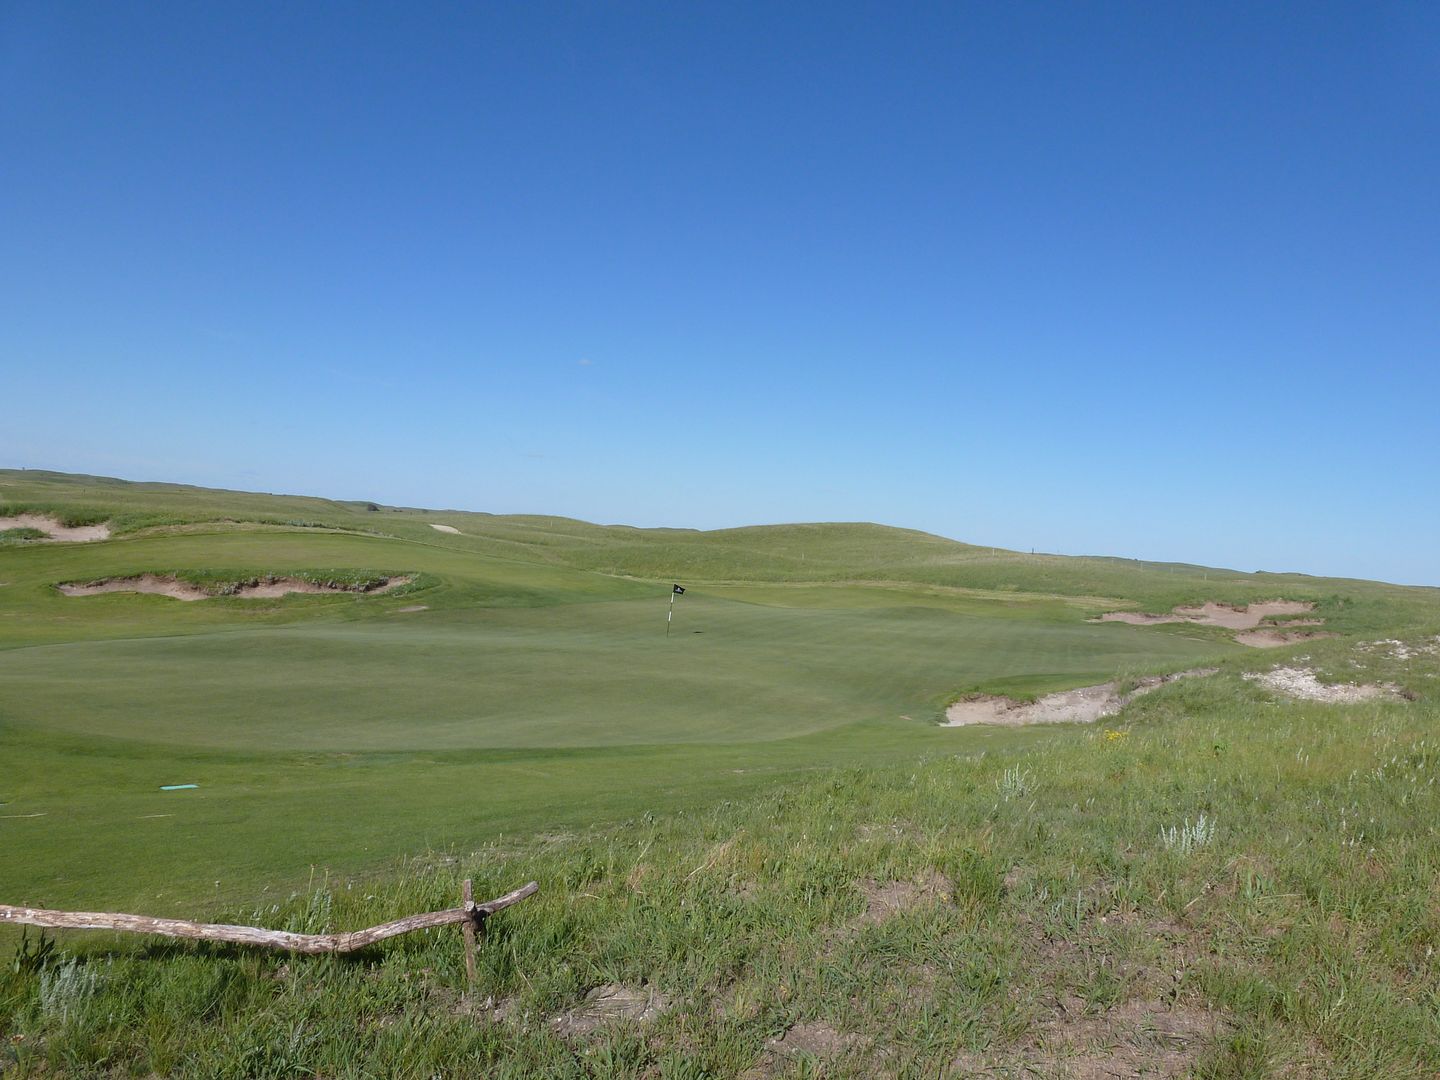
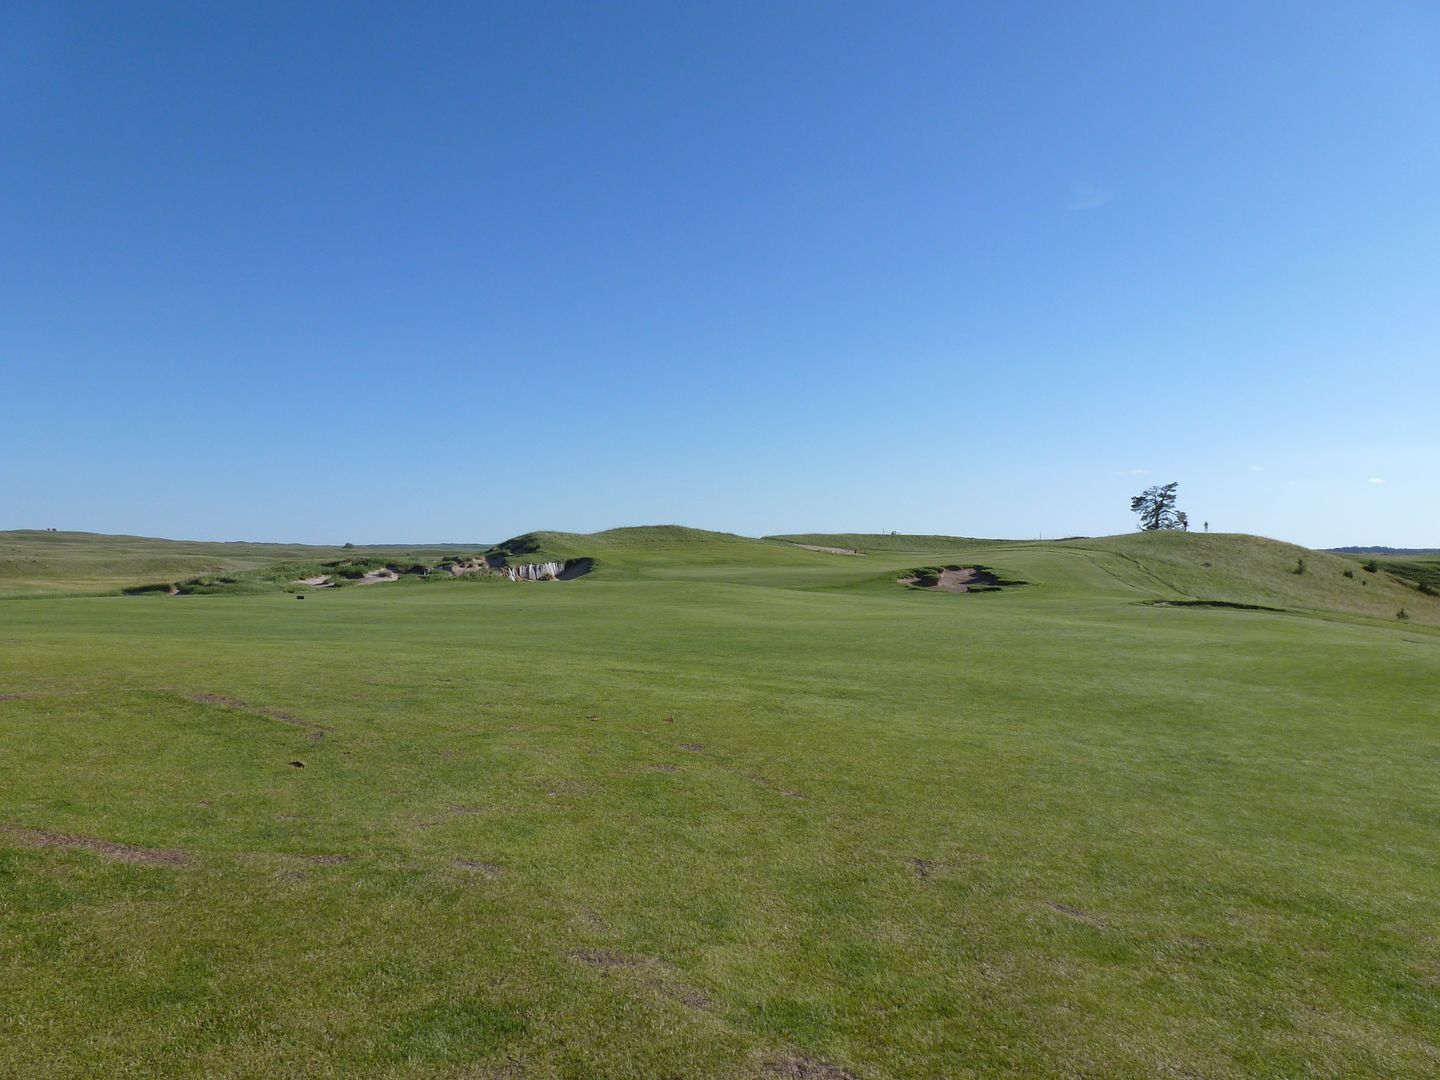
View from back left (notice how close 4th tee is to 3rd green!)
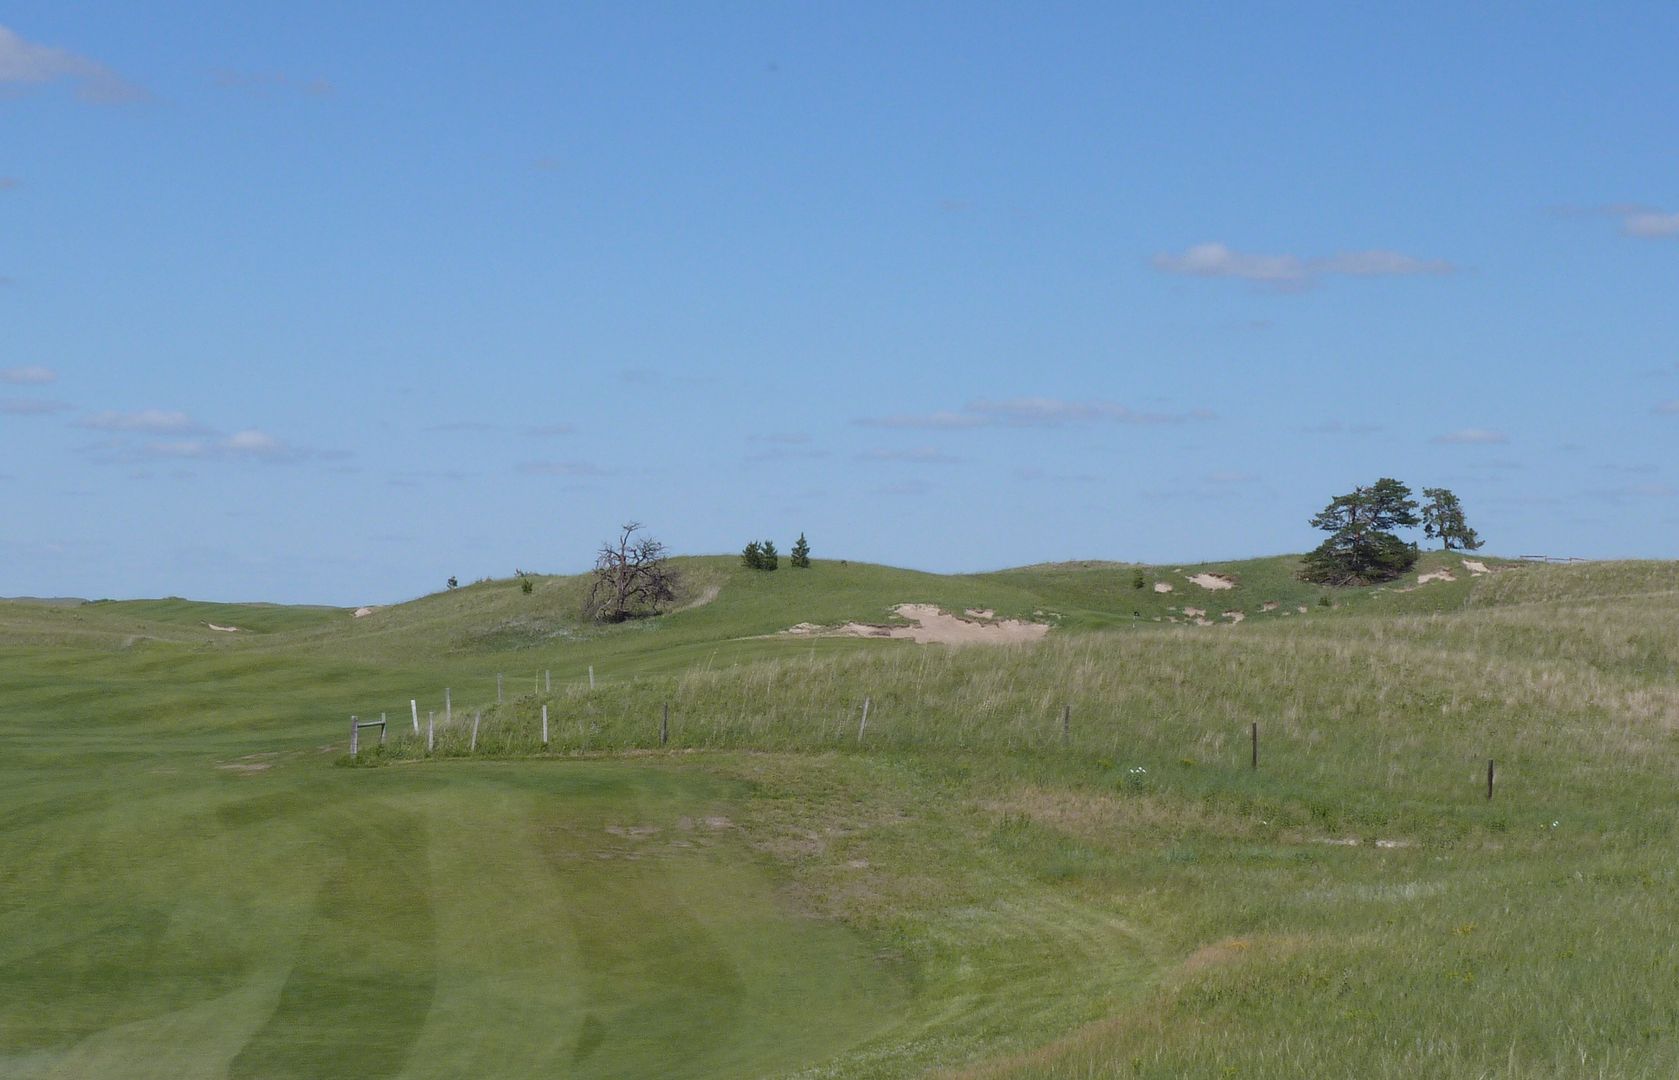
View from the Double Black Tee (214 Yards):
View from Black Tee (145 Yards - playing 125 to a front pin - 5 iron into wind)
View from White Tee (on 138 Blue tee box - playing 169 to a back pin - 8 iron downwind)
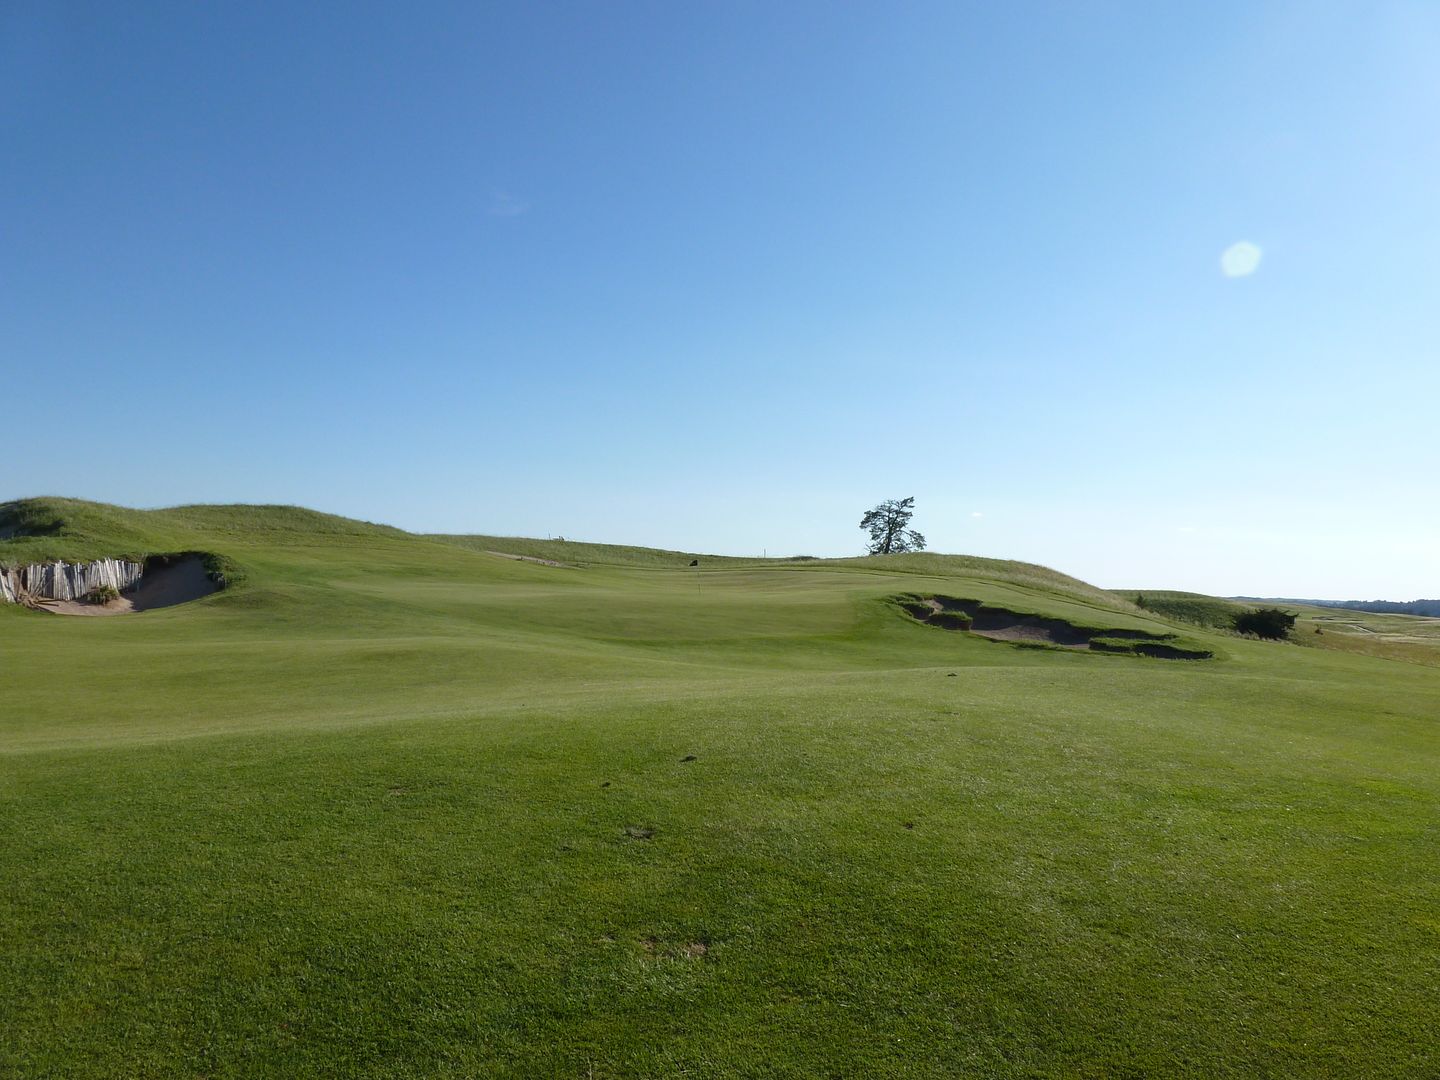
Approaching the green from the front left:
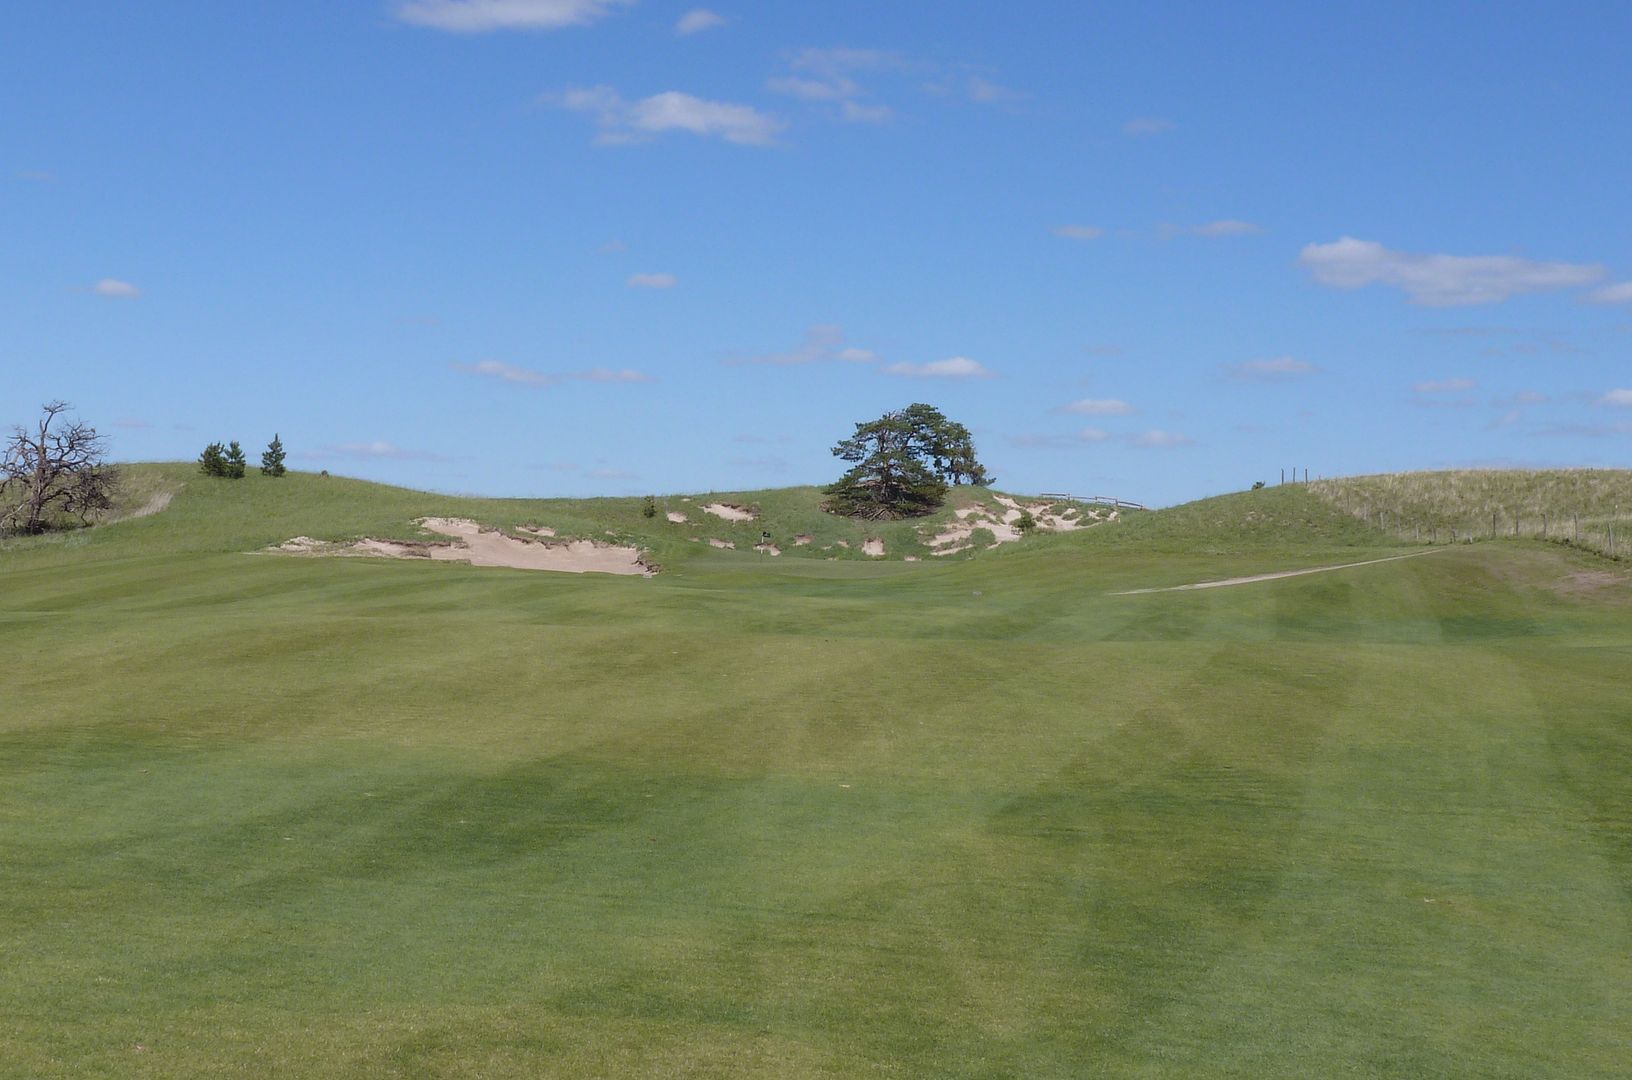
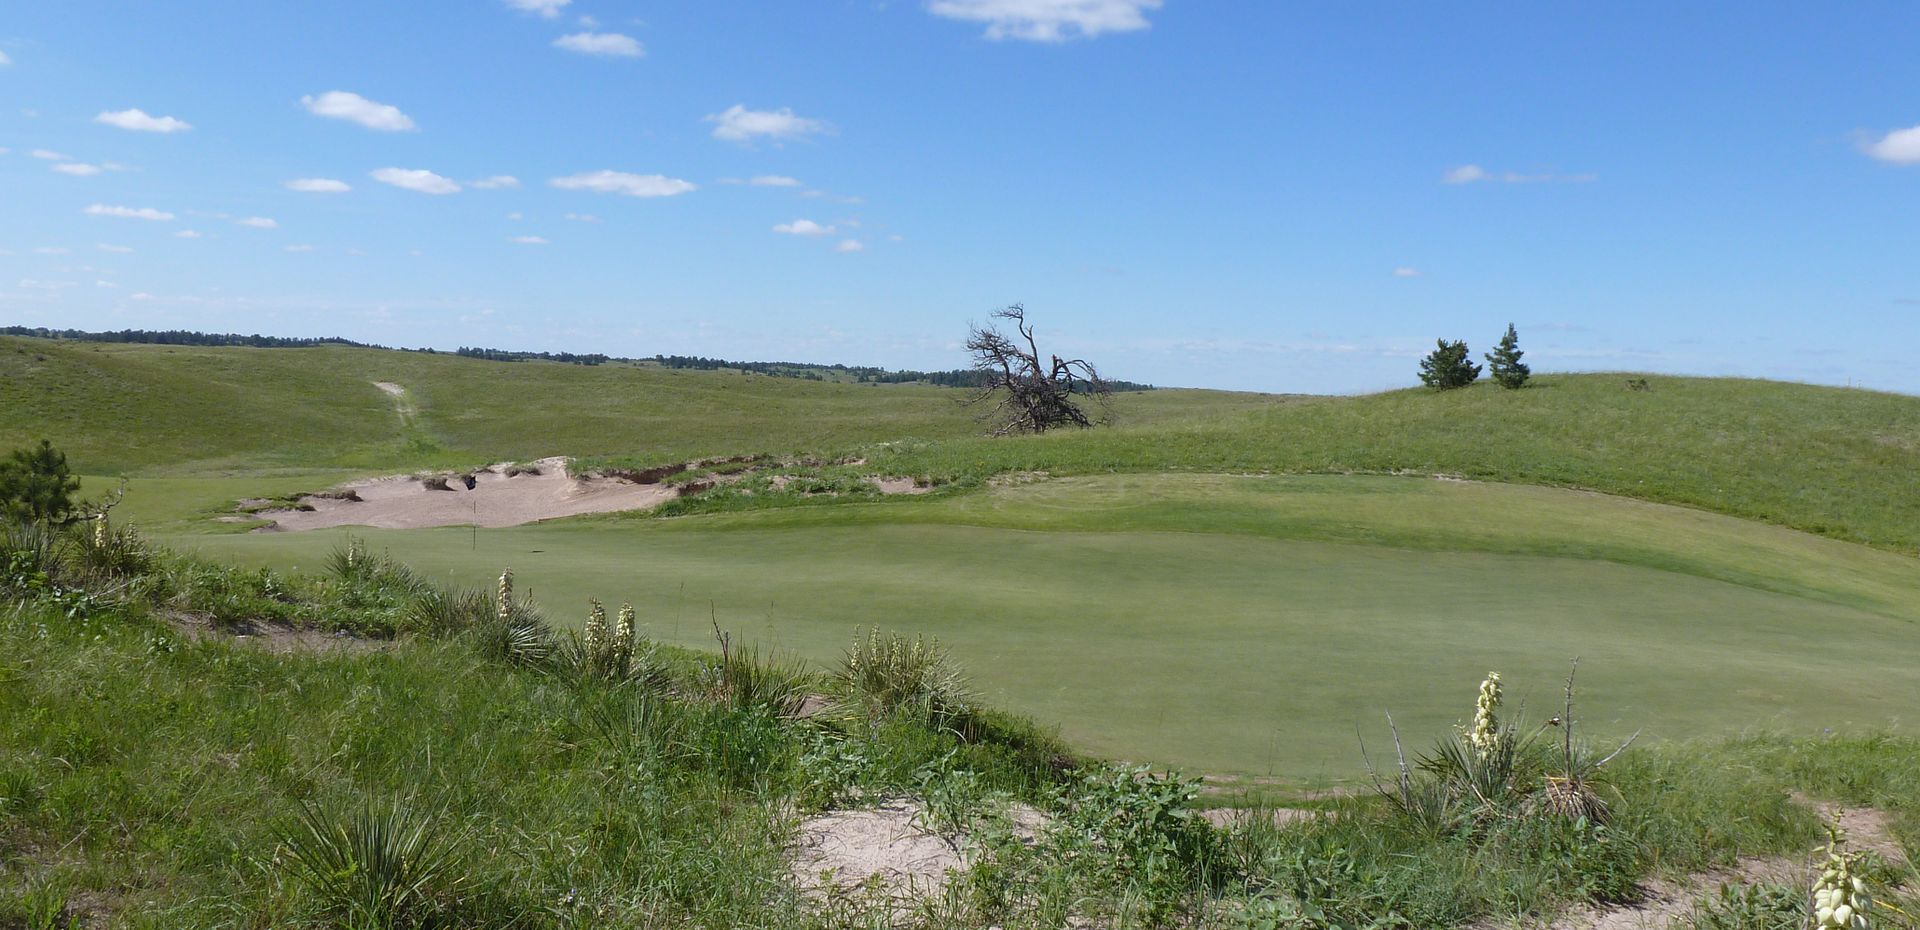
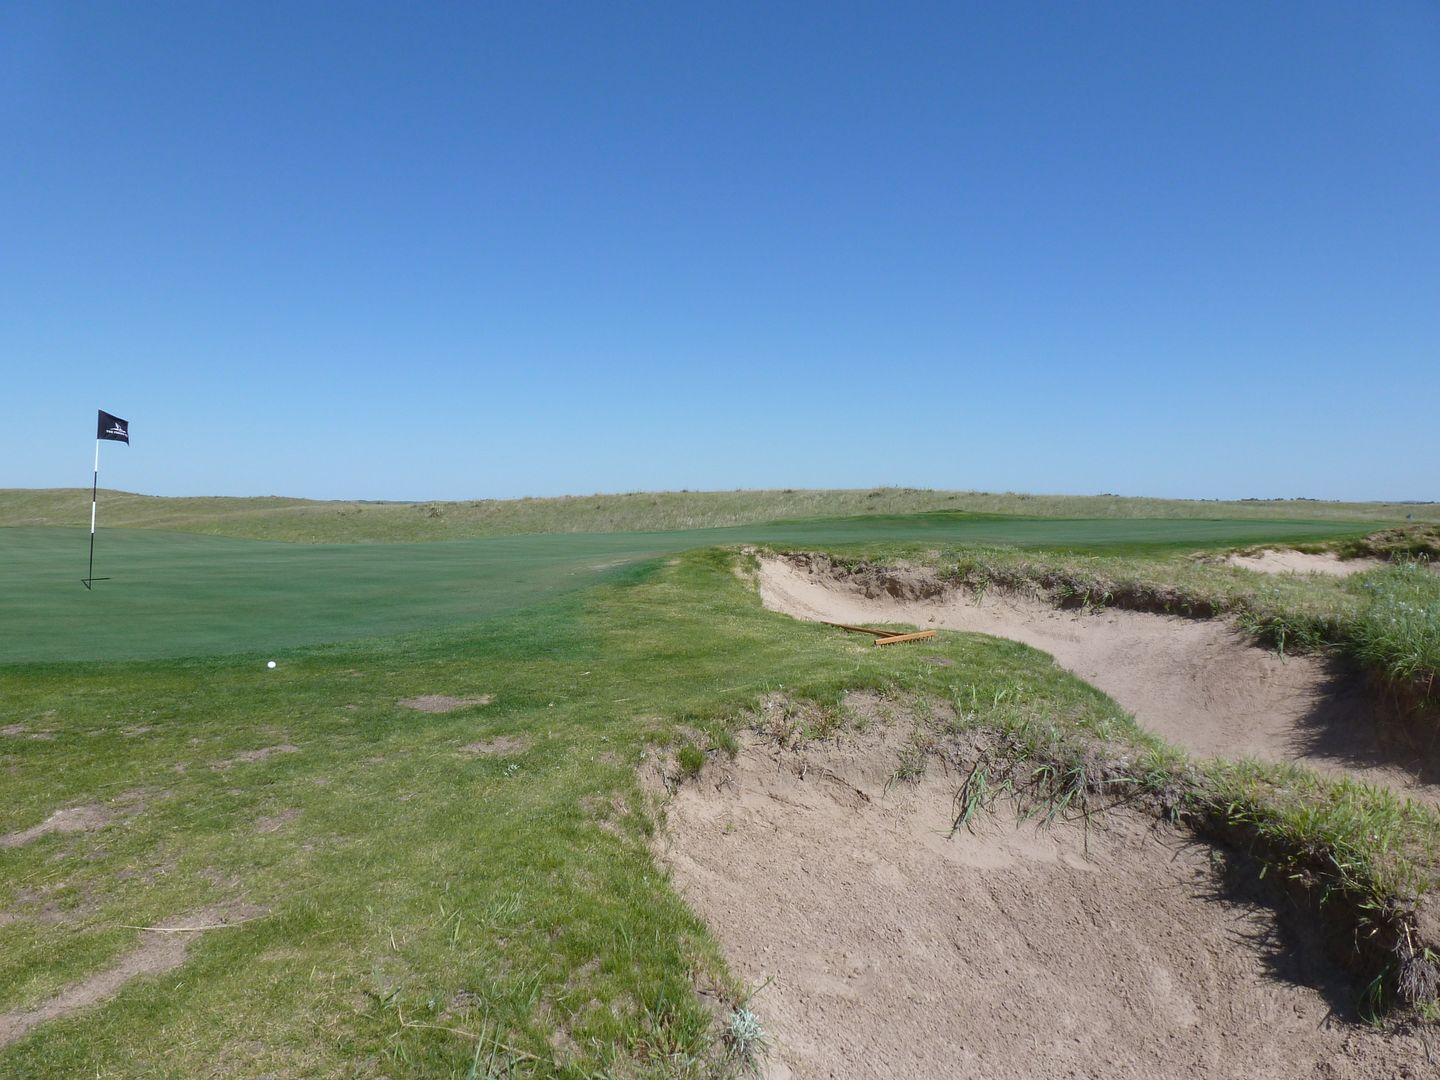
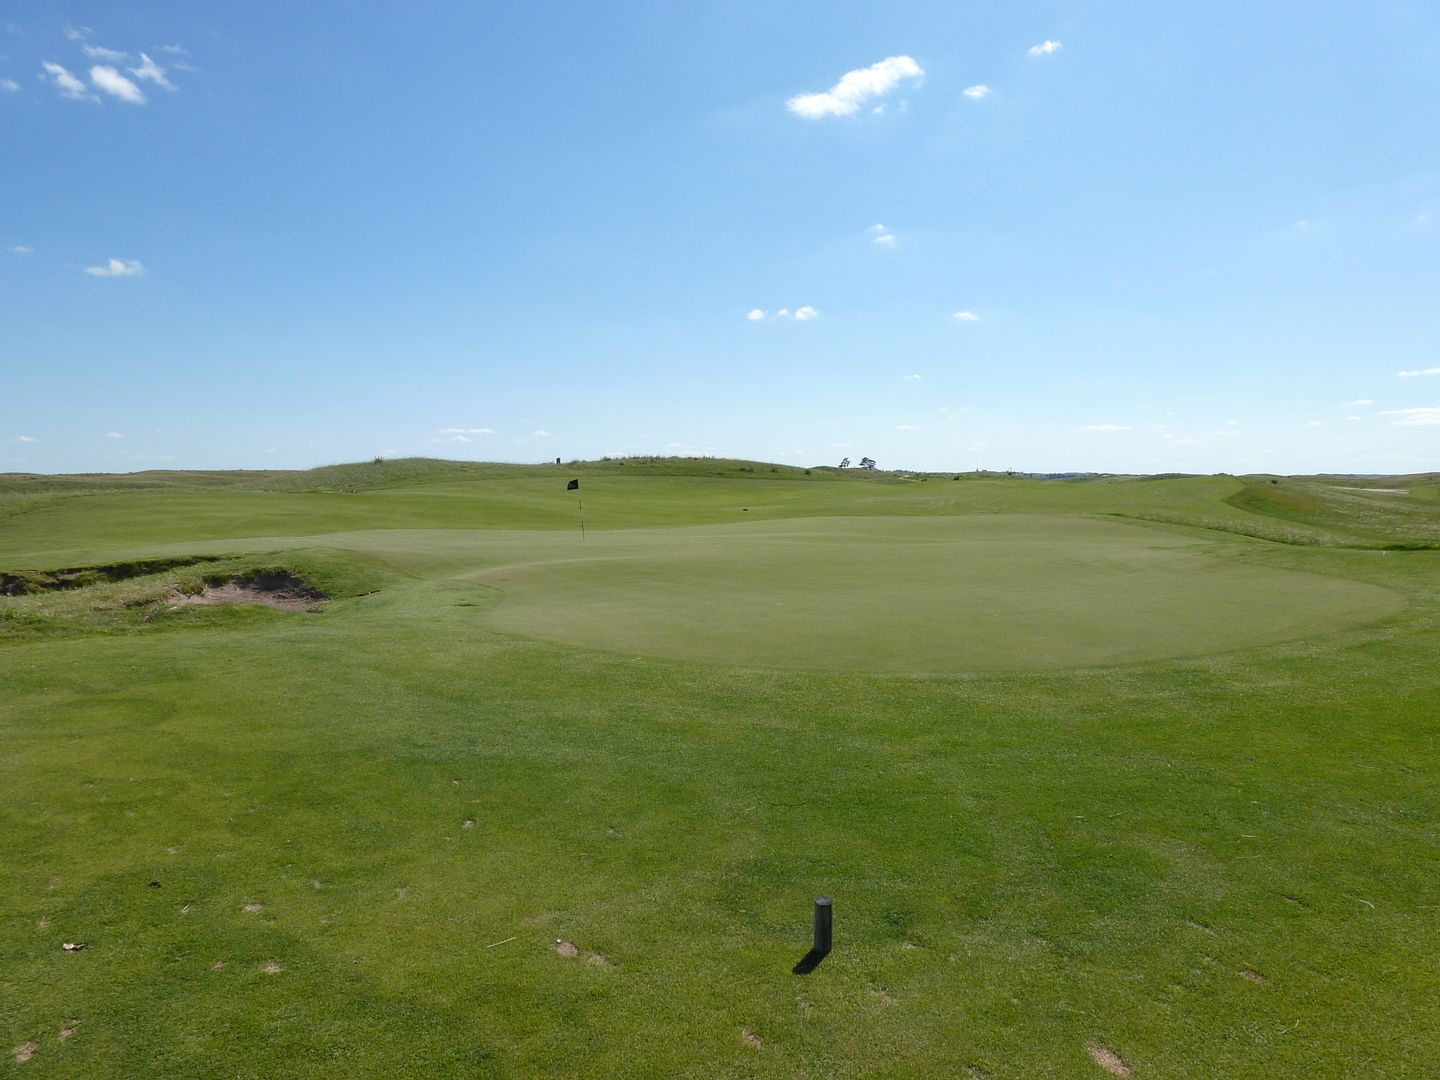
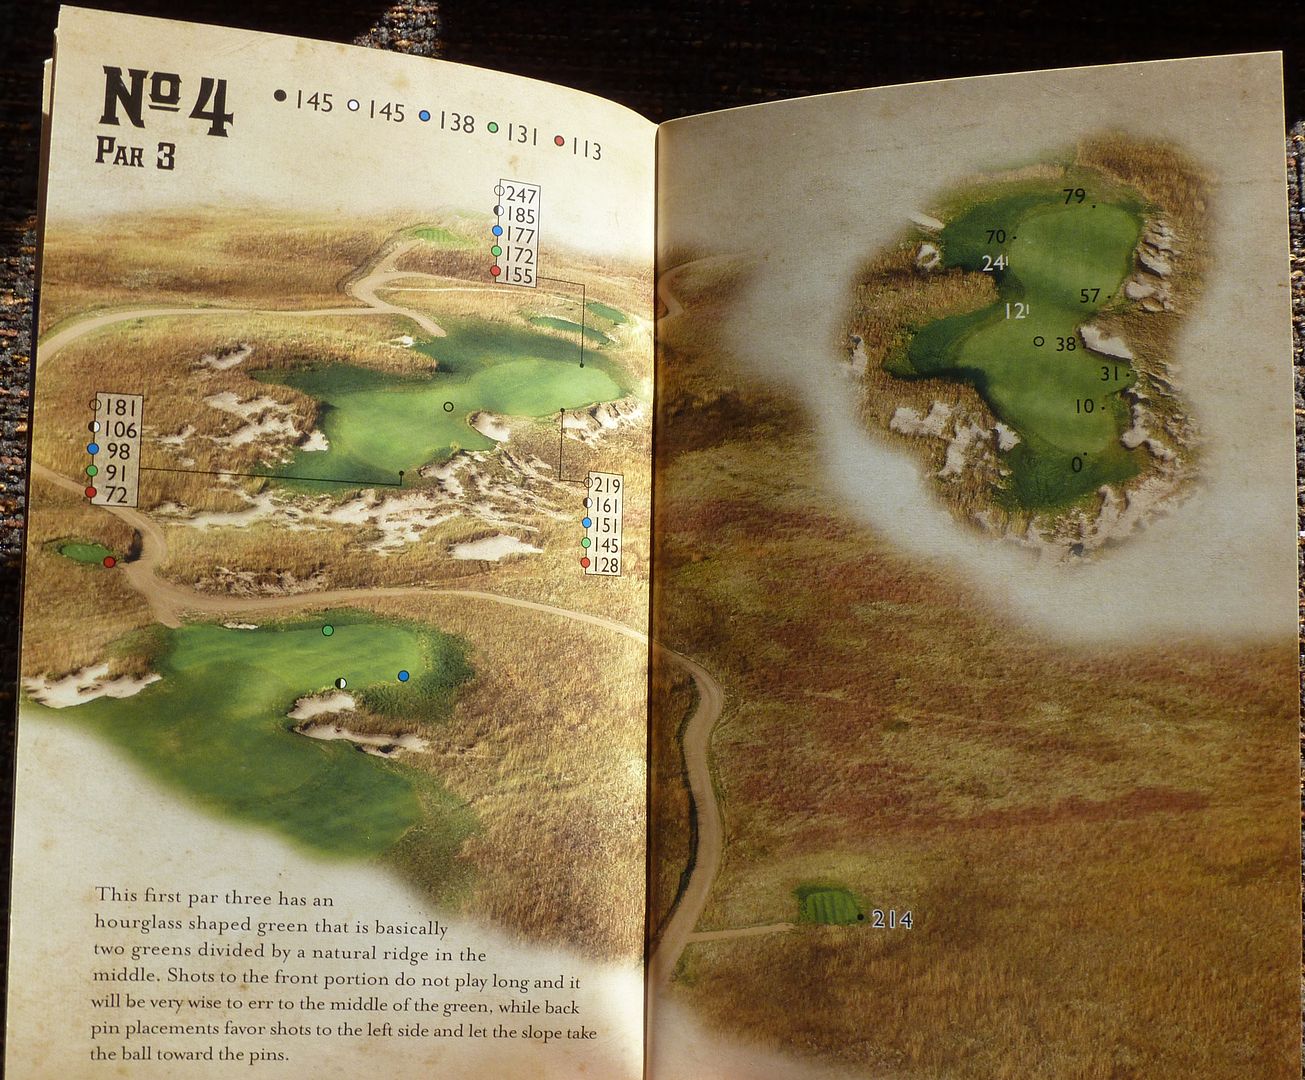
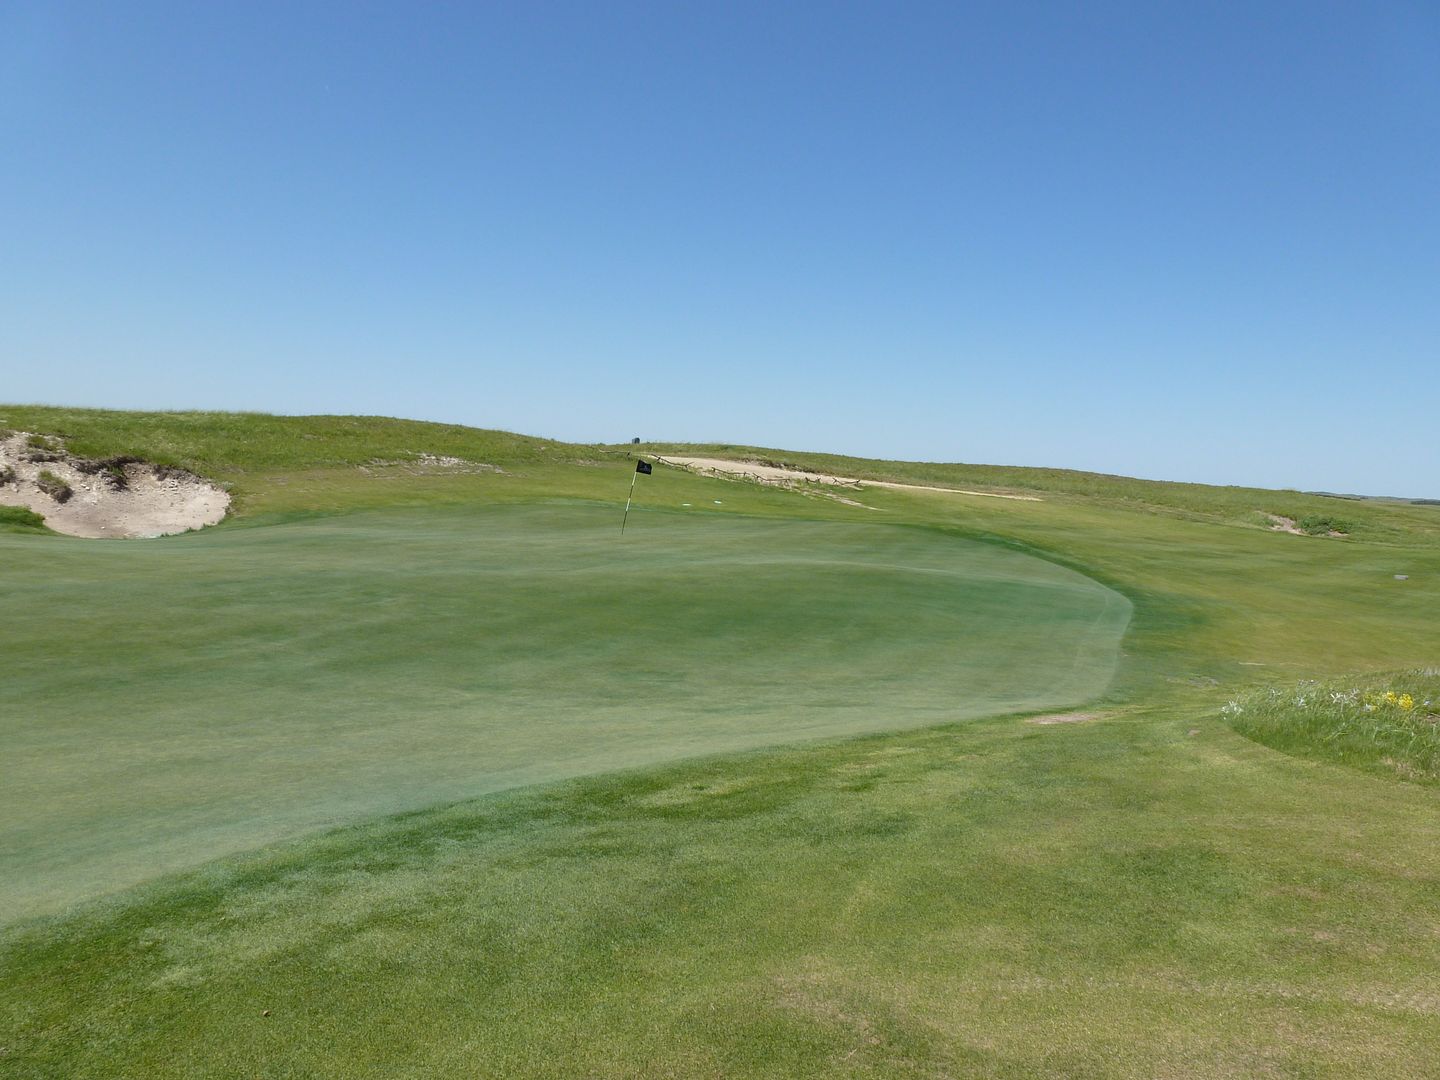
The unbelievable 4th green is split in two by a ridge that is some 4' tall. Pictures of the green are a bit confusing because they were taken on separate days with different pins.
From front left:

From back right to a back pin:
From back right to a front pin:
From center of green to front portion of green:
From center of green to back portion of green:
A look back at the awesome 4th from the 5th fairway:
I thought this was a much better hole from the blacks than form the whites. From the whites, especially into a headwind, there is very little strategy off the tee - you are basically forced into playing right of the centerline bunker and, if the pin is on the right, having a blind approach. From the black tees, one has the option of playing either right or left of the centerline bunker.
Black Tee
White Tee
My biggest issue with the hole is that I couldn't see any benefit to playing to the right side of the centerline bunker. The view of the green from the right is always more difficult than from the left.
View from the right side of the fairway:
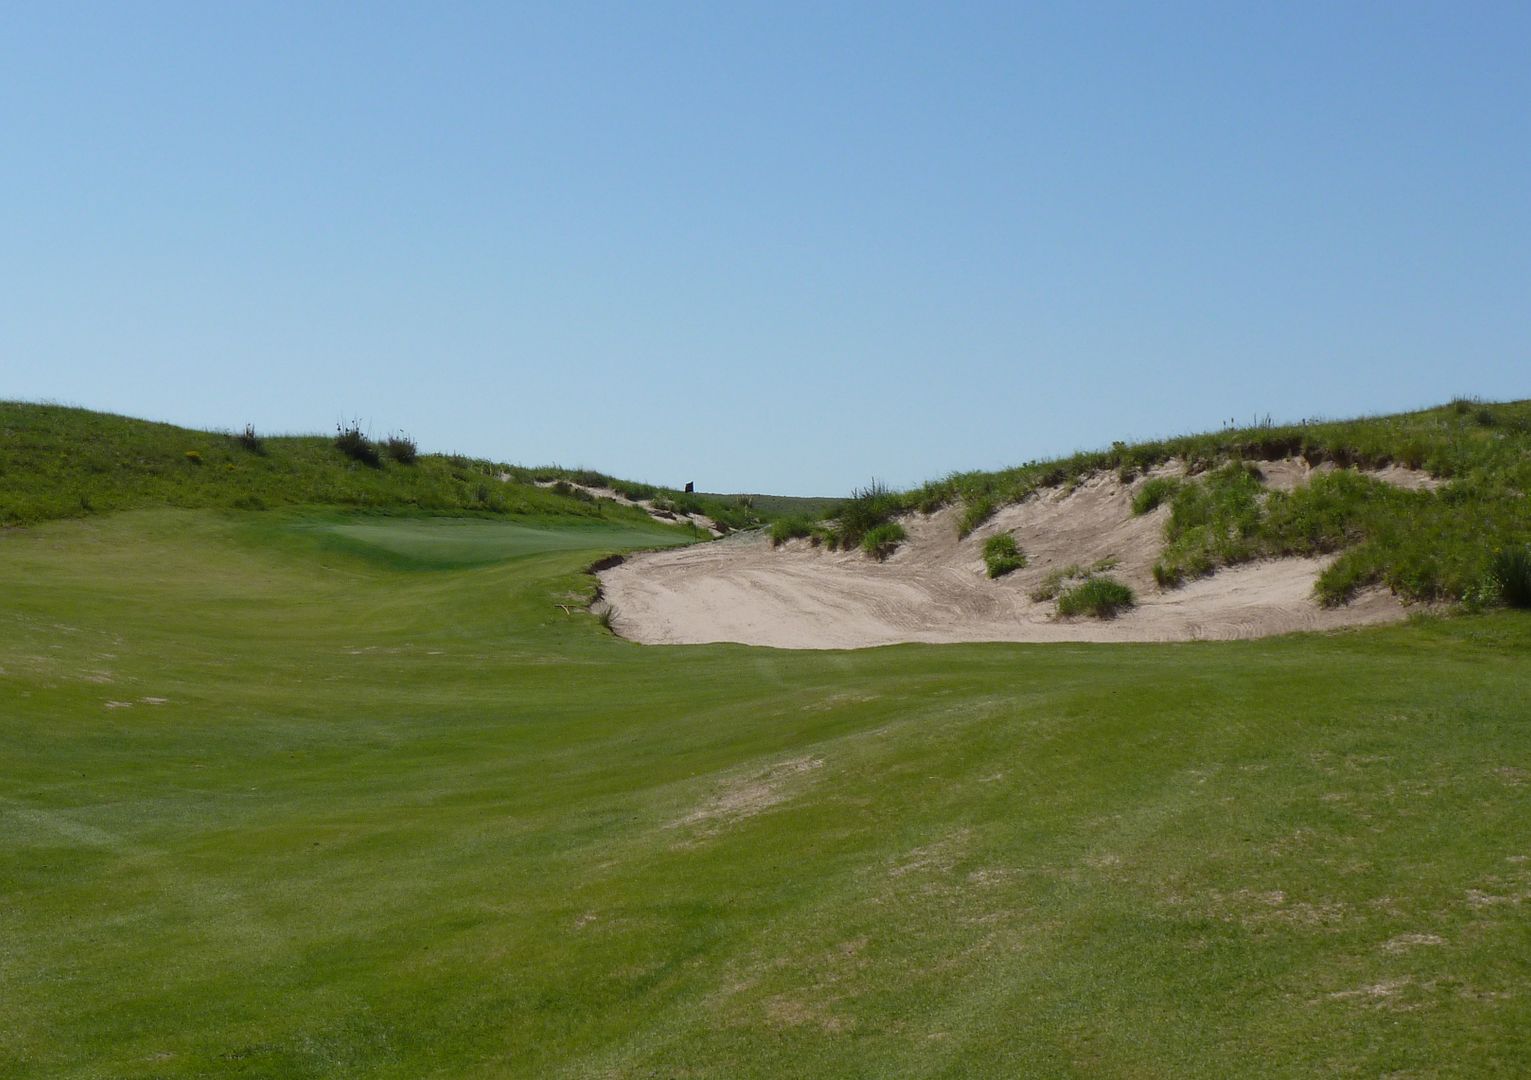
View from the Left:
The green has a very severe false-front. Again, notice how the green opens op from the left:
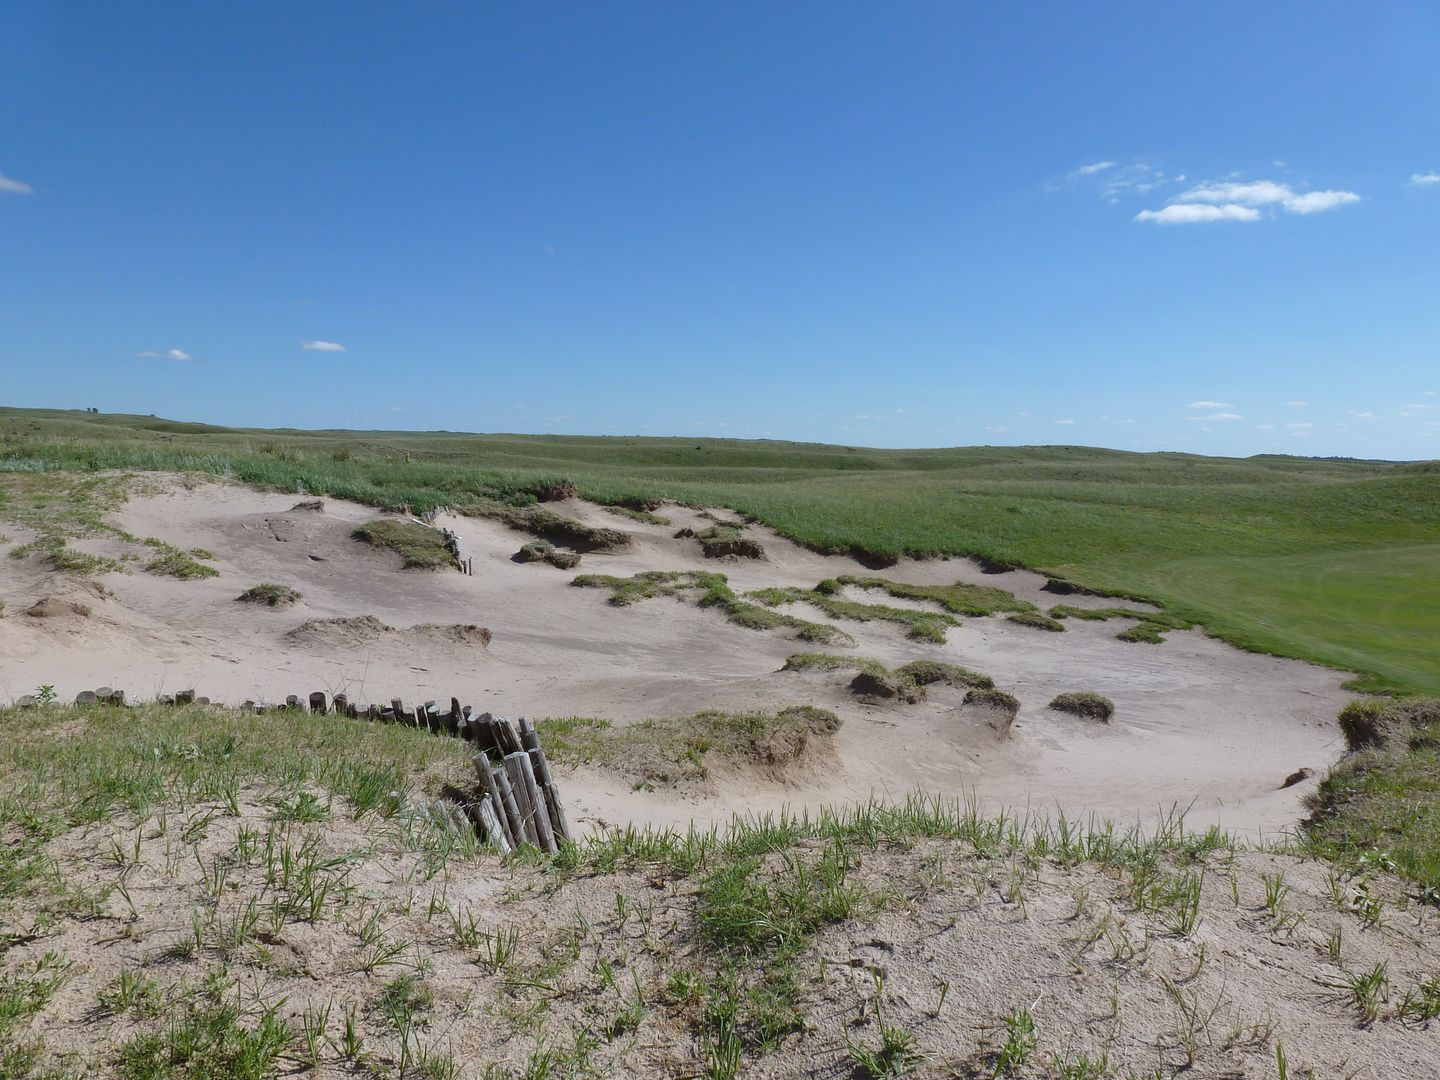
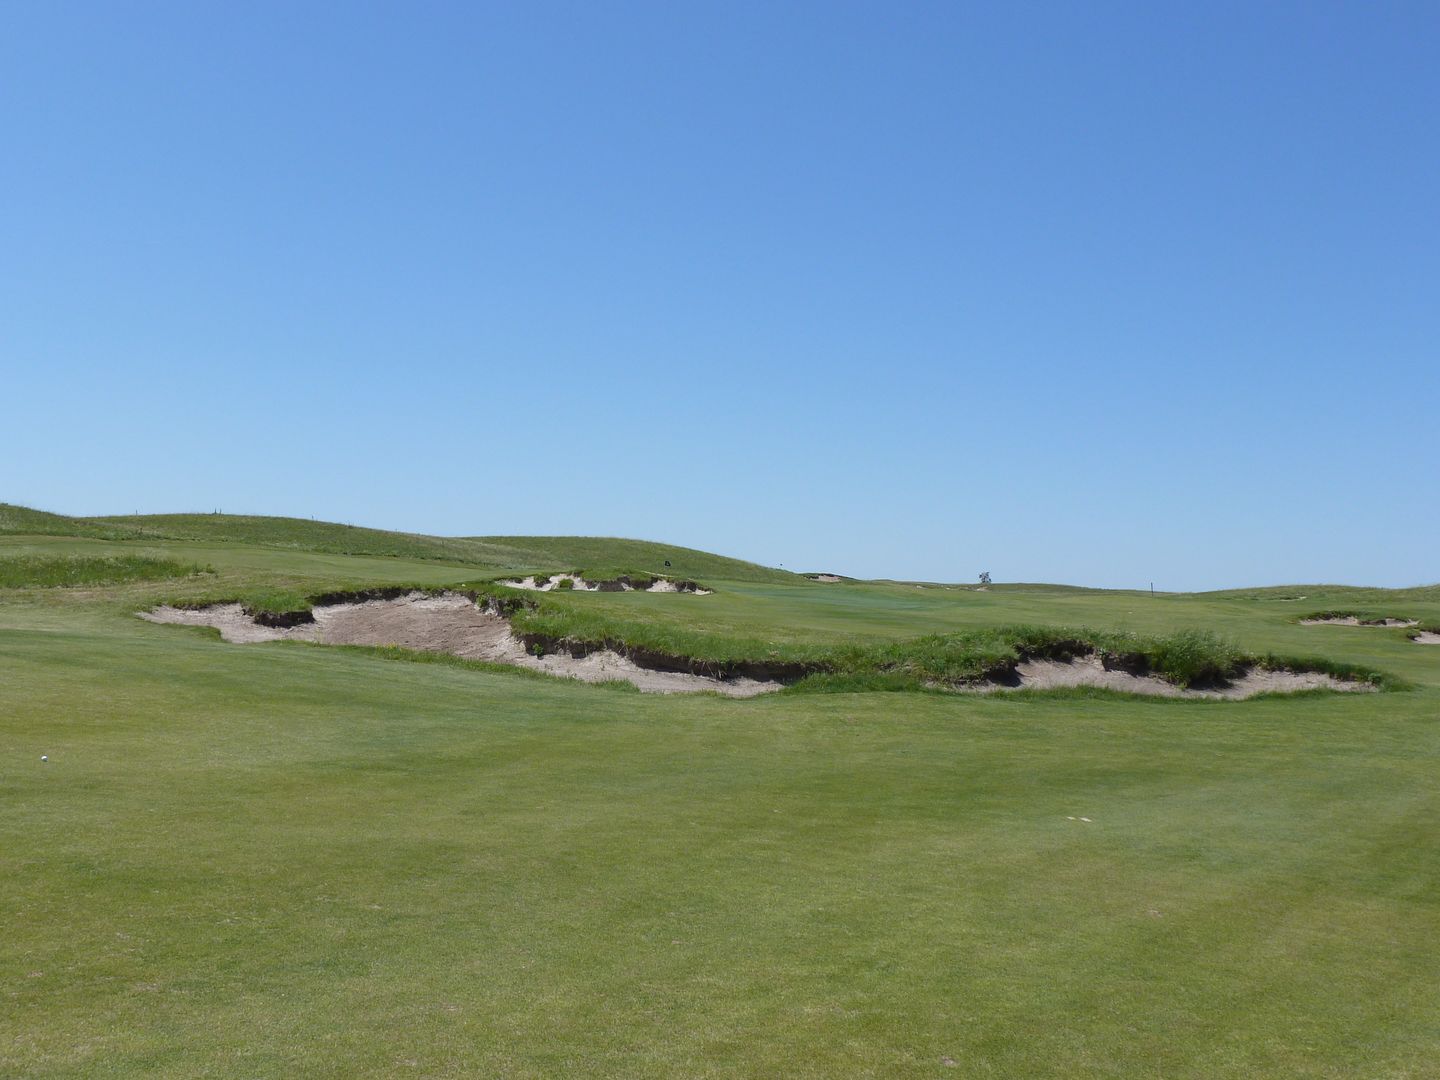
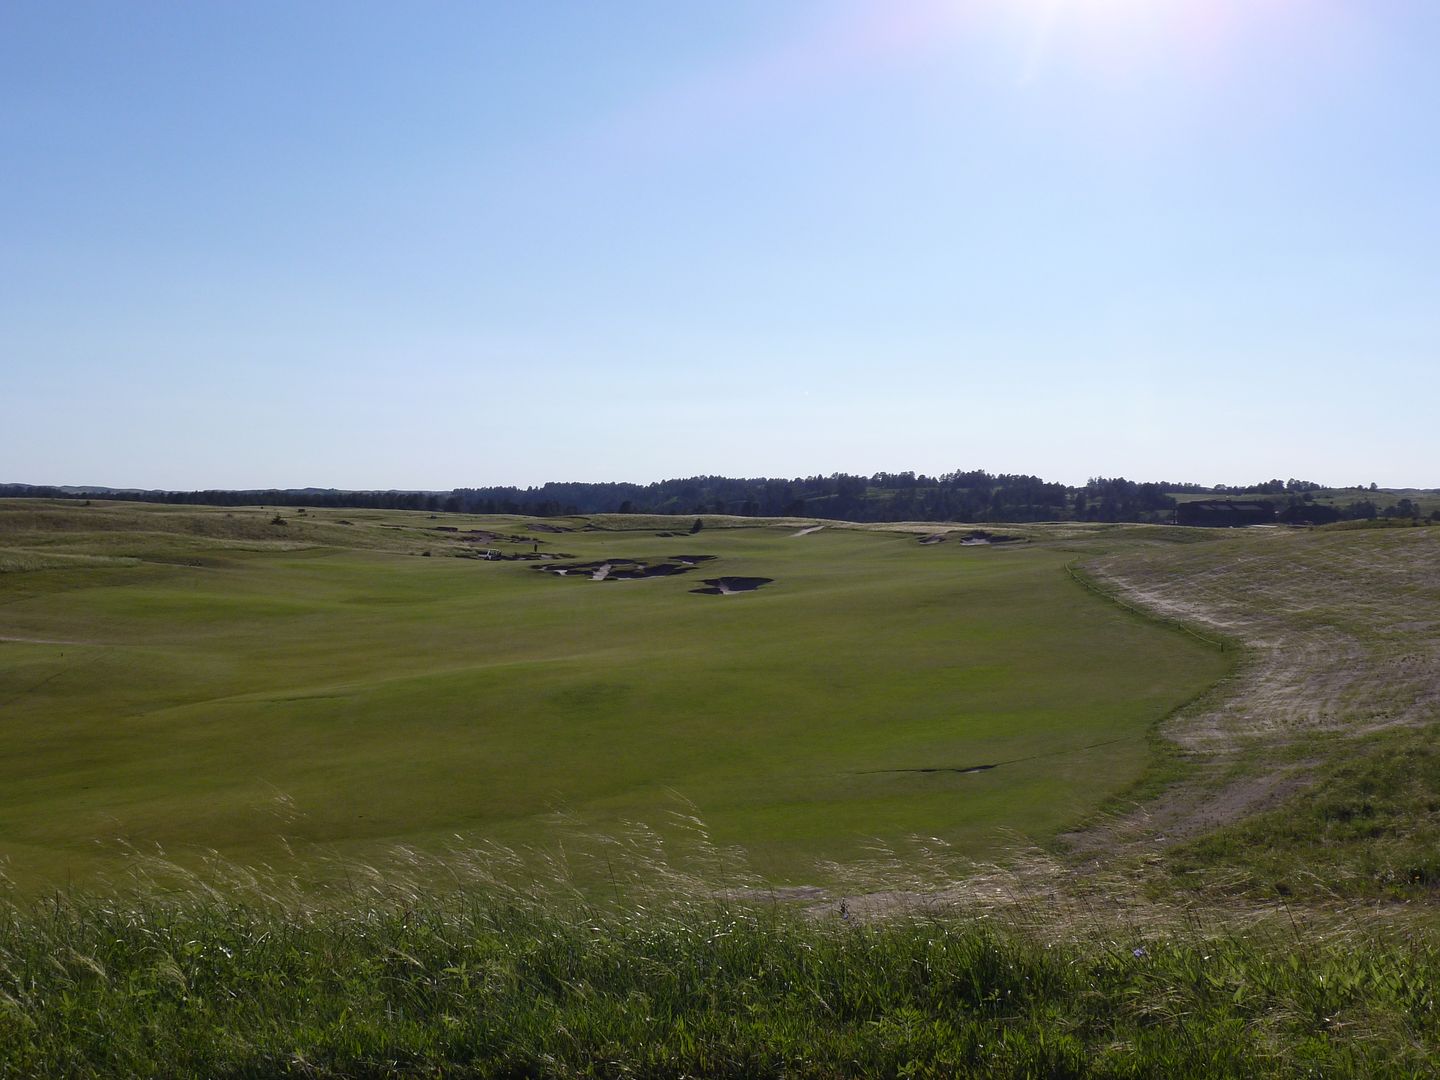
Just right of the green, and blind from the fairway, is a massive, deep collection area. Notice the contouring just over the bunker. A shot at the right edge of the green will kick towards the green, rewarding a brave approach. However, a shot just right of the right edge of the green will kick towards the collection area and end up a very long way from the pin - penalizing the brave player who does not quite pull-off his shot.
View from the back of the green:
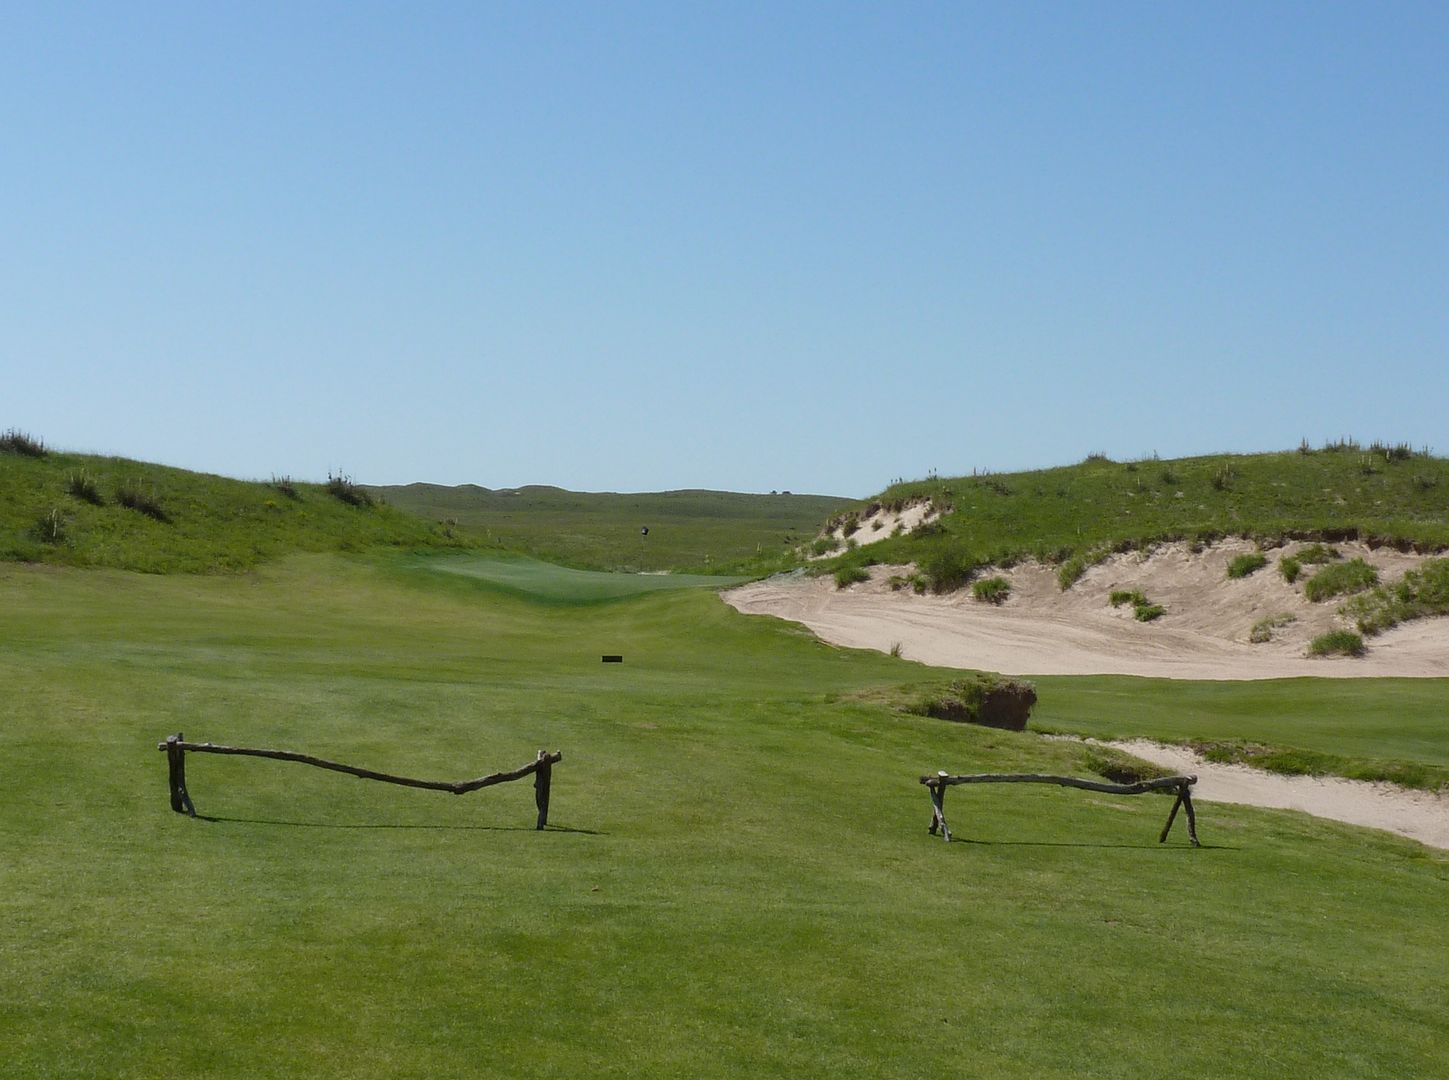
This hole plays very different depending on the wind. Into the wind, one really wants to take as short a line to the hole (over the bunker) as possible as a tee shot to the right will leave a very long second. Downwind, the hole is very reachable and the primary concern is avoiding the centerline bunker some 280 yards from the tee.
Black Tee (On 525 Yard Blue Tee)
White Tee (On 433 Yard Green Tee)
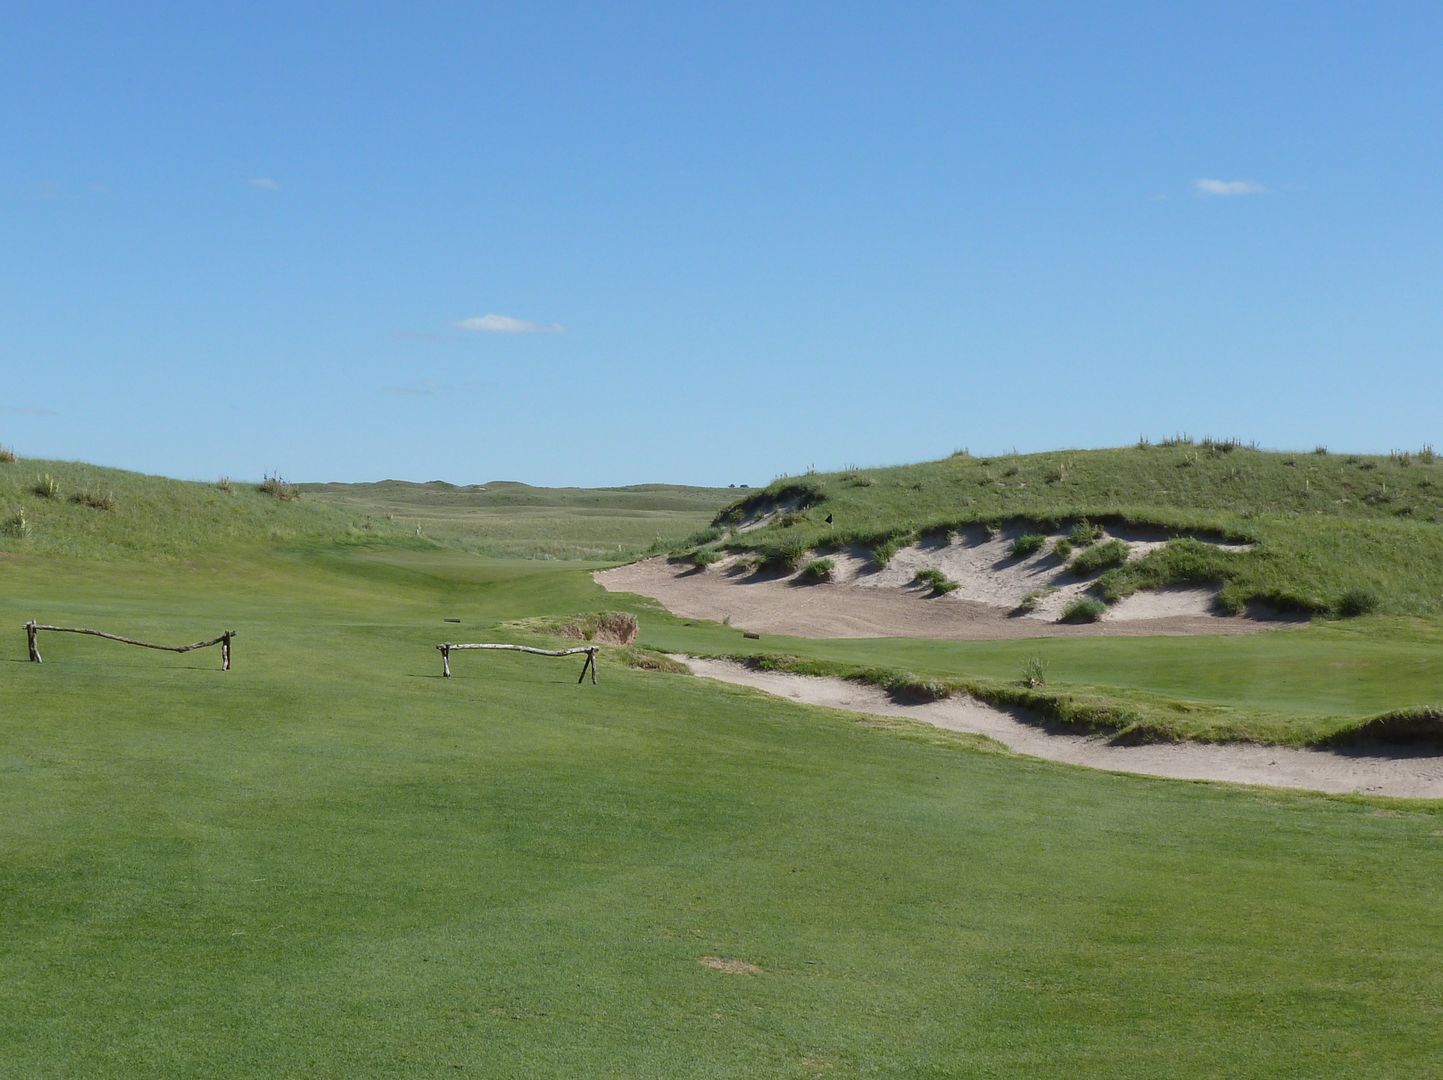
Playing short and left of the centerline bunker leaves this view. From the left, there is a forced carry over the bunker 100 yards short of the green if one wants to have a short third. A second shot from the left, unlike from the right, gives the player a glimpse of the flag.
From just left of the centerline bunker; about 230 yards out:
If you are lucky enough to catch this hole playing hard downwind (as I did on one of my plays), the hole plays nothing more than a short par 4. If you manage to avoid the centerline bunker, the tee shot will take the slope of the fairway to the left and will settle in to a low spot leaving a blind, 140 yard shot into the par 5! Here's what the approach will look like from there:
Approach from about 75 Yards from the left:
Approach from about 100 yards from the right:
Once again, there is a very clever use of the collection area. Left of the green there is a massive, pretty severely sloped and deep collection area. Shots that trickle off the left edge will not collect down, but anything with some speed will. Shots hit from the left side of the fairway will only find the collection area with a very poor shot, hence rewarding the brave play to carry the bunker 100 yards short of the green.
From the right, however, the collection area is very much in play. With the green playing diagonal to the line of play from the right, one must get both the line and the yardage spot-on or they will have to deal with the deep bunkers short/right or the collection area long/left. This golf course rewards aggressive play.
View from long-left. Notice the massive collection area:
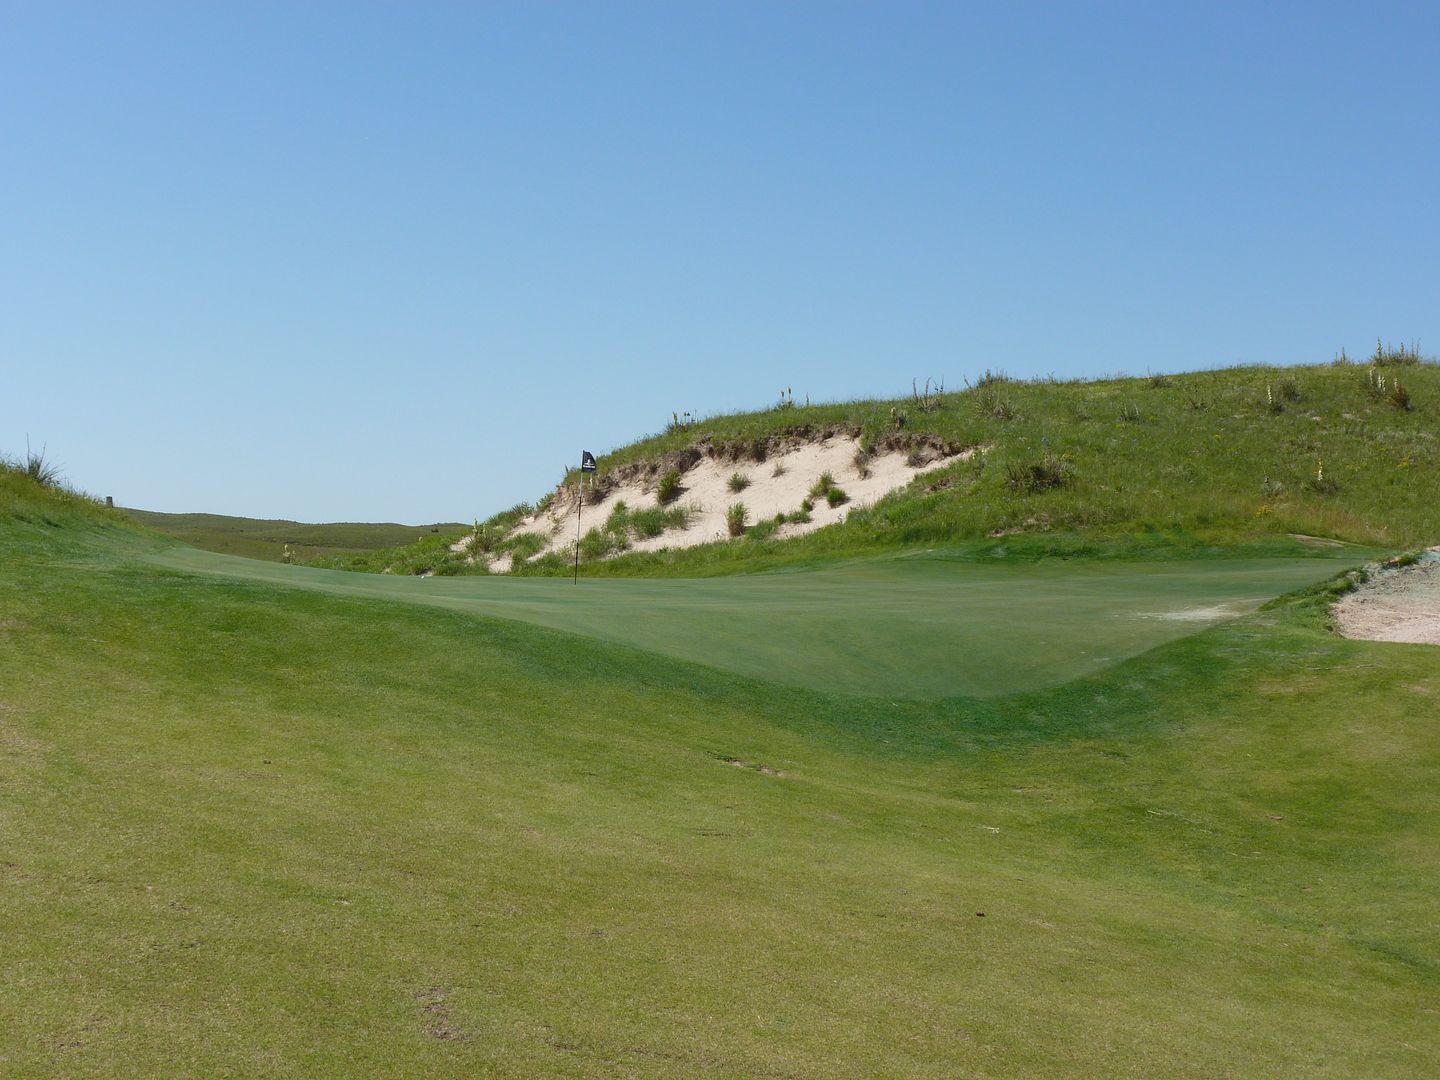
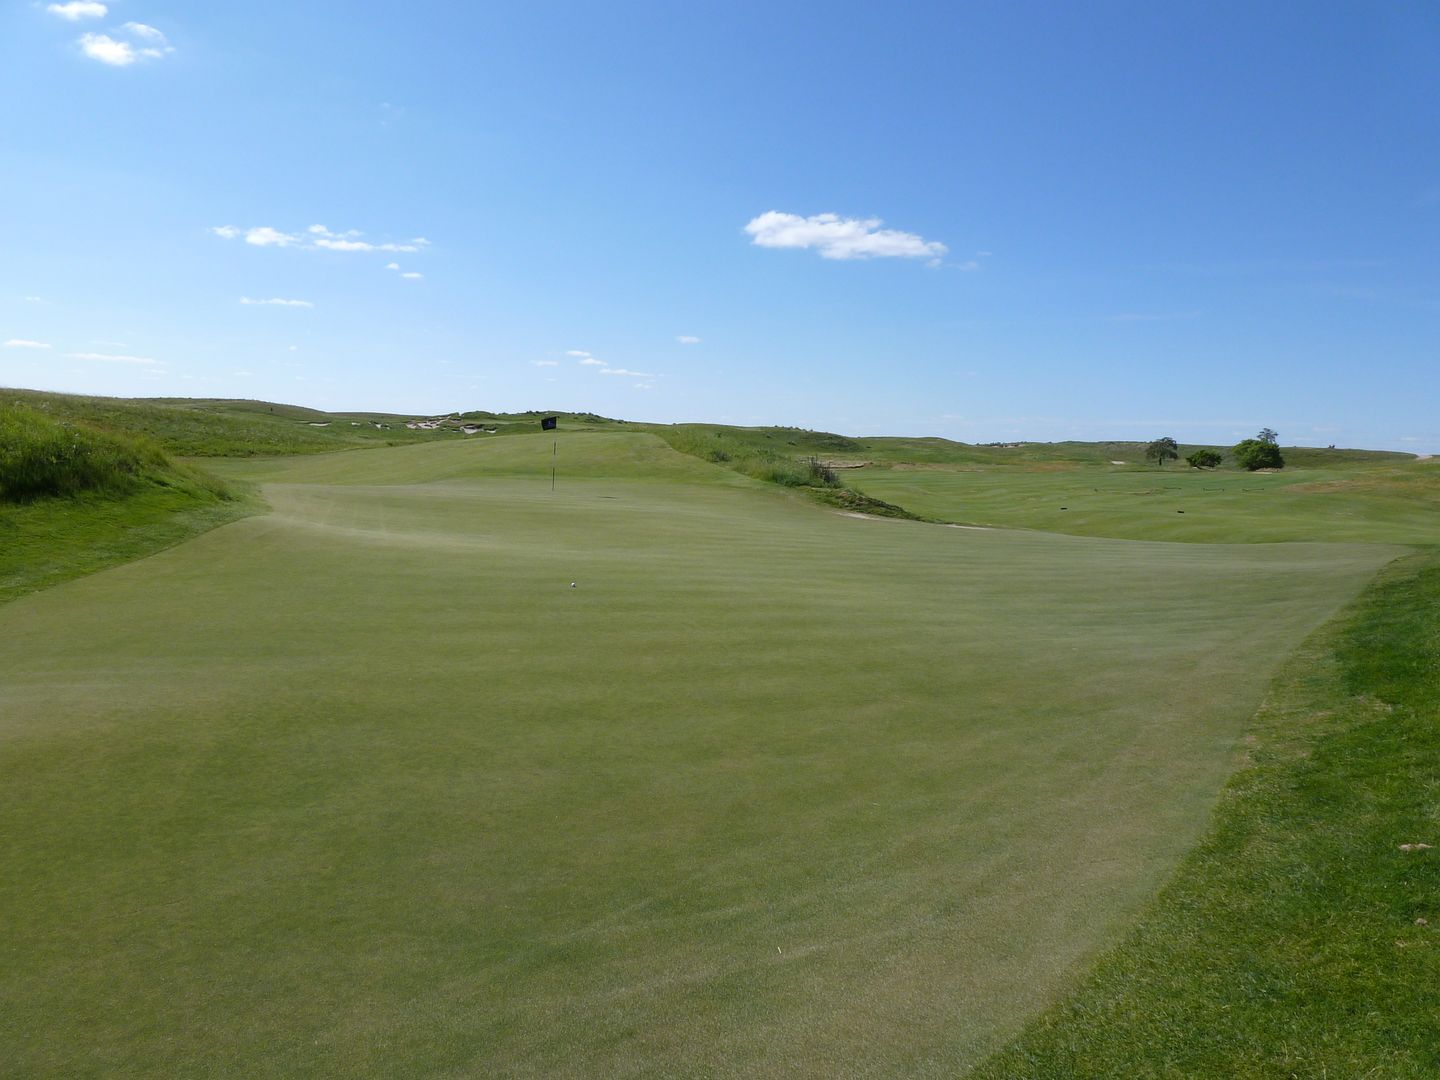
A look back at number 6:
View from the Black Tee:

View from White Tee:
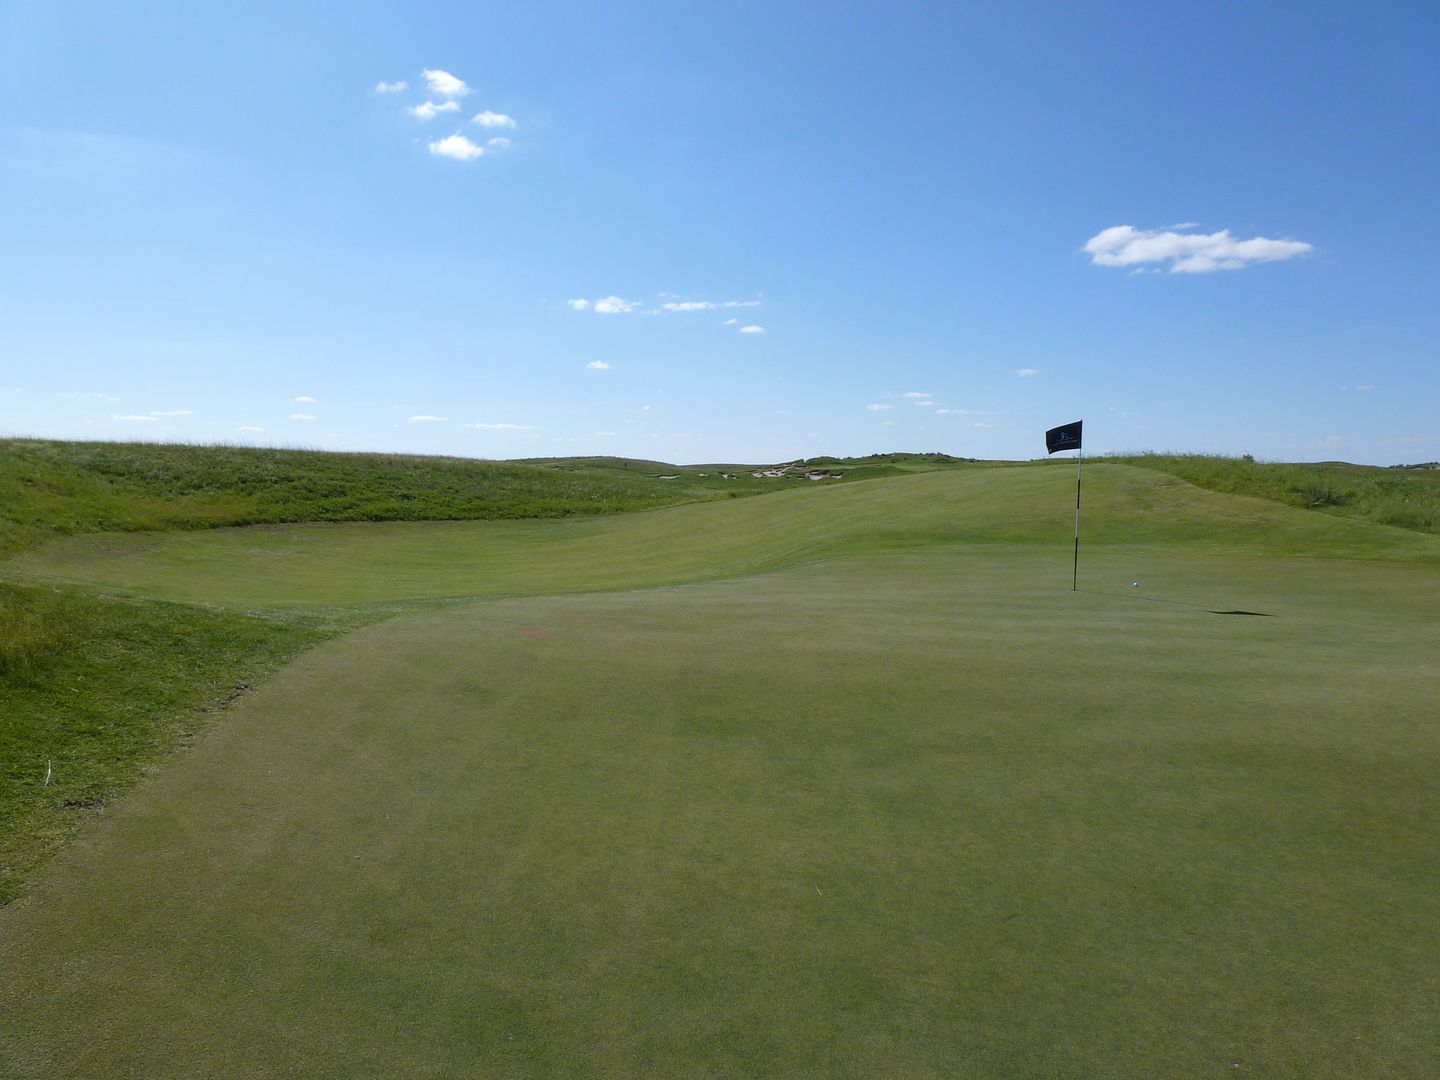
From just short right of green:
From back of green:
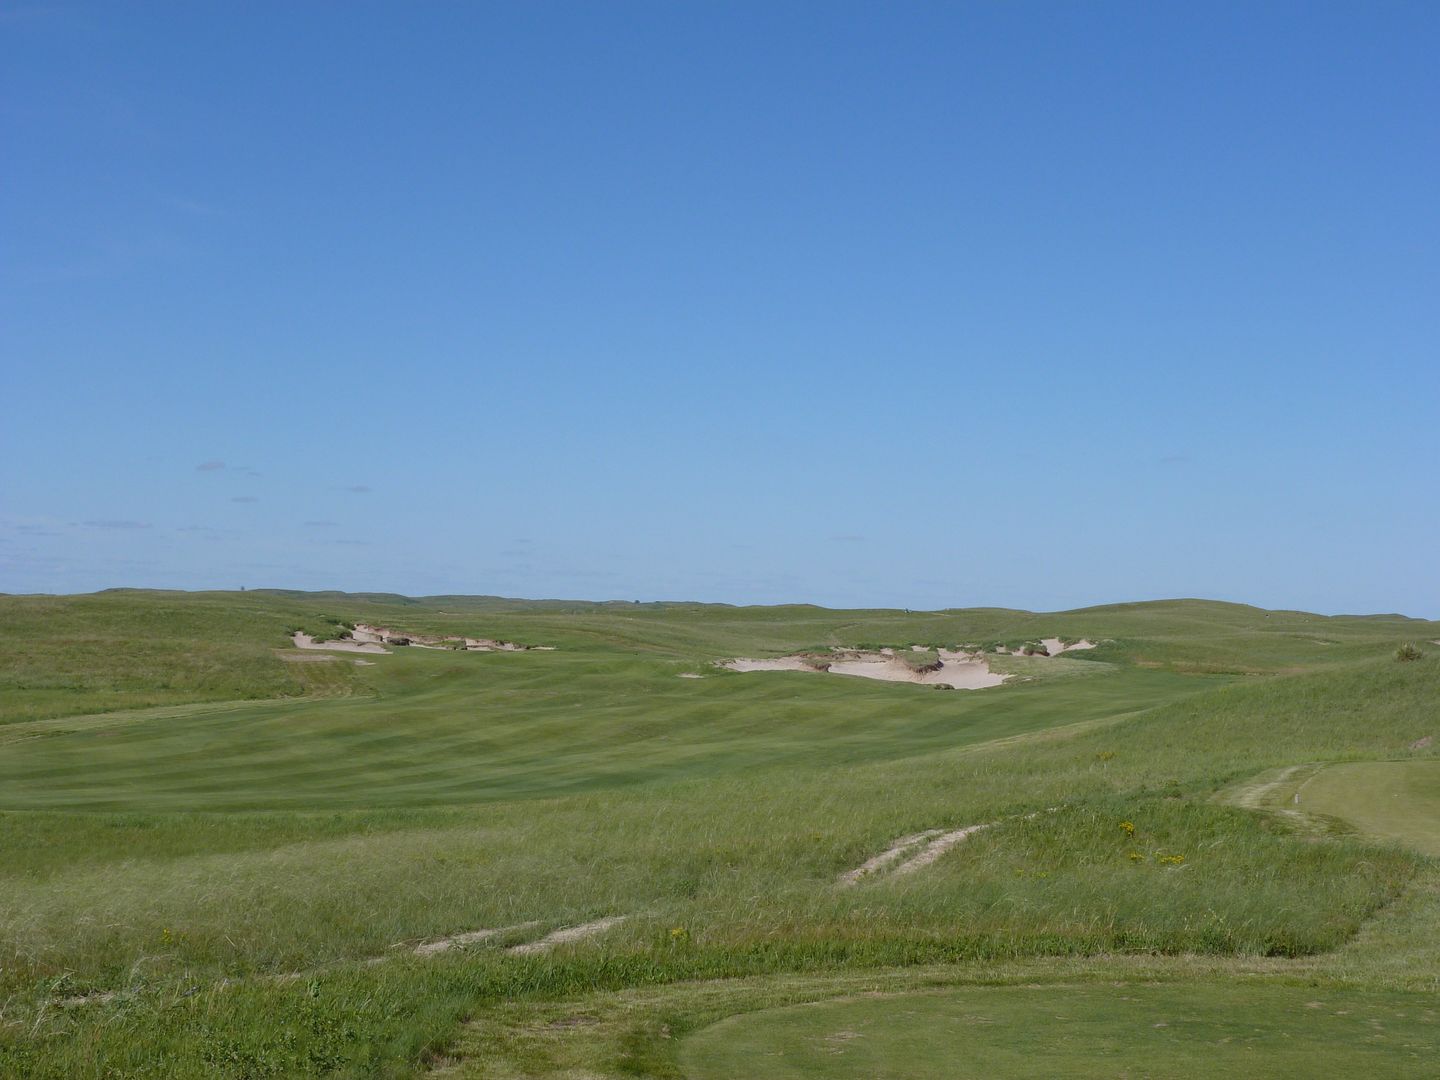
The decision off the tee is largely dictated by wind. The tee shot has a centerline bunker that is some 240 yards to carry from the tee. The approach is less intimidating from the right, but much, much longer. If into the wind, and given the length of the hole, I think one has no choice but to bite the bullet, play left of the bunker and leave a VERY intimidating approach into the green. Downwind, there are many more choices. Driver is probably not the play as it brings the right bunker into play. However, a really aggressive tee shot directly over the centerline bunker can leave a very short approach.
Black Tee
Approach from left of centerline bunker:
Approach from right of centerline bunker:
Approach from downwind drive short of dunes:
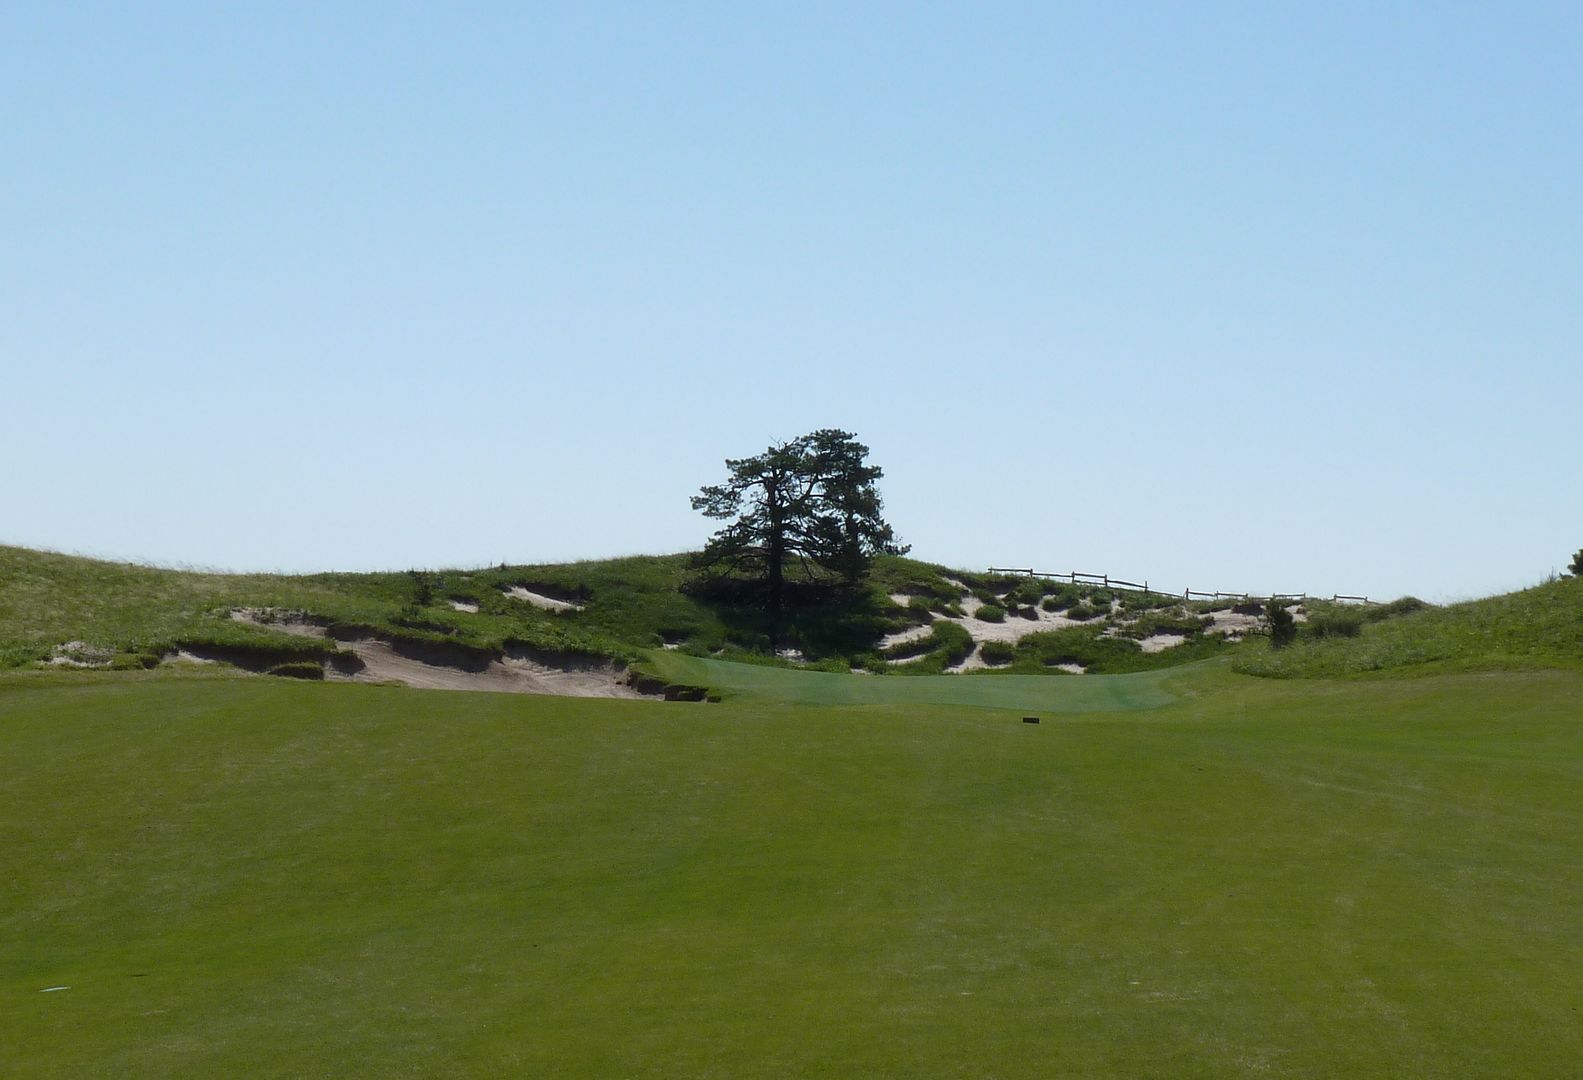
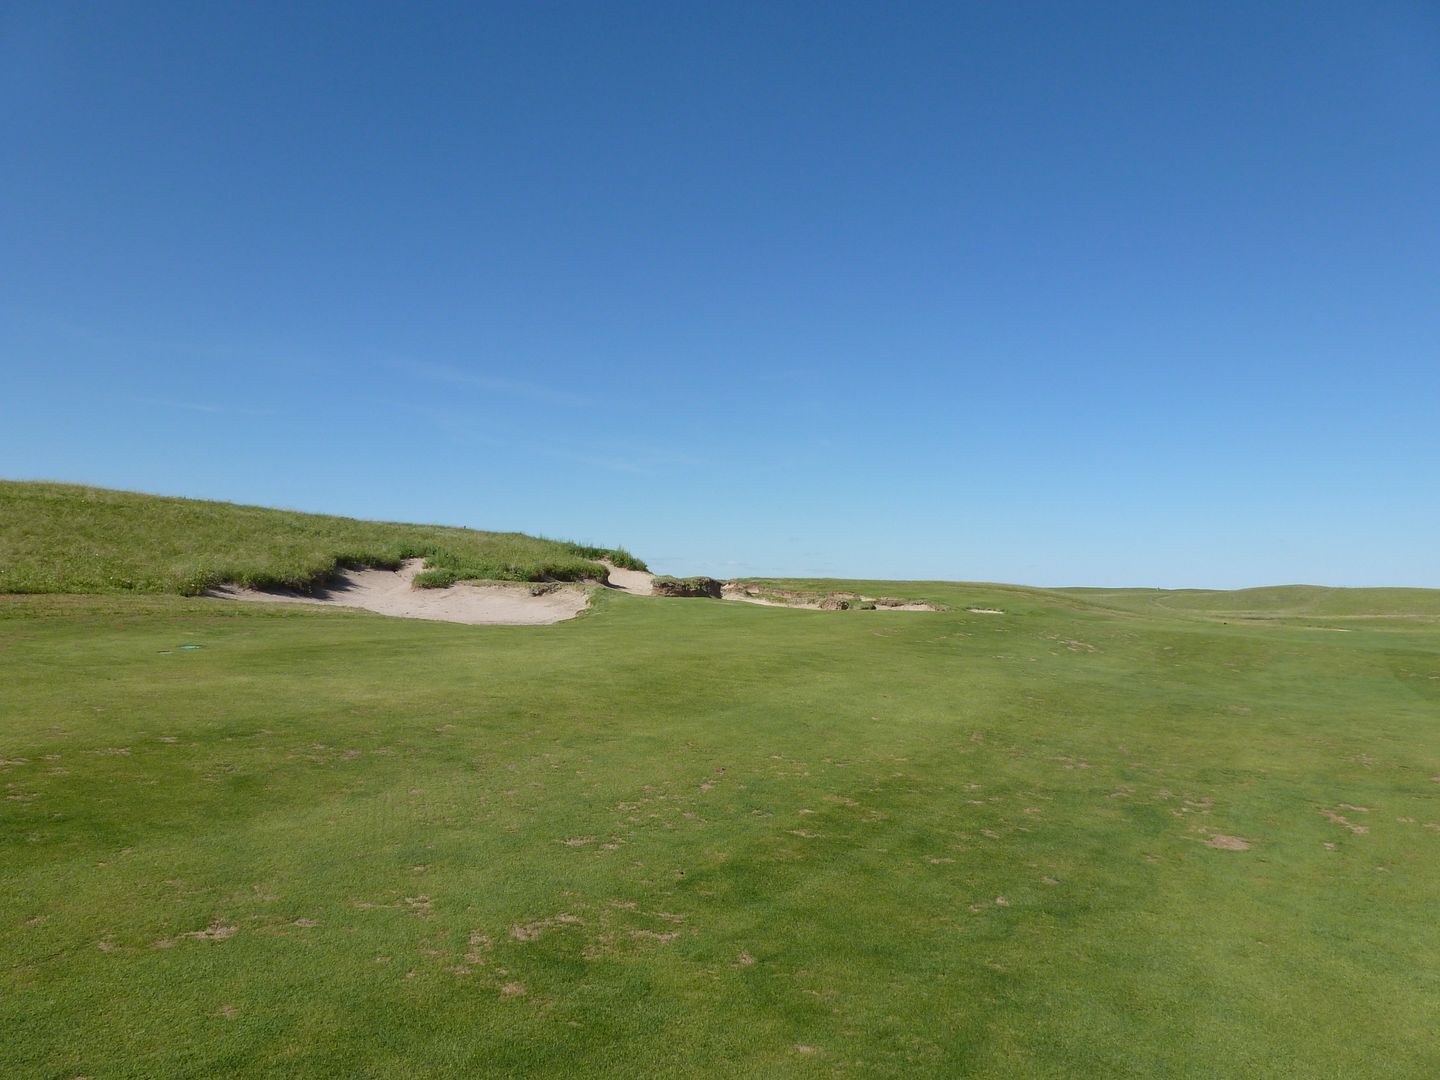
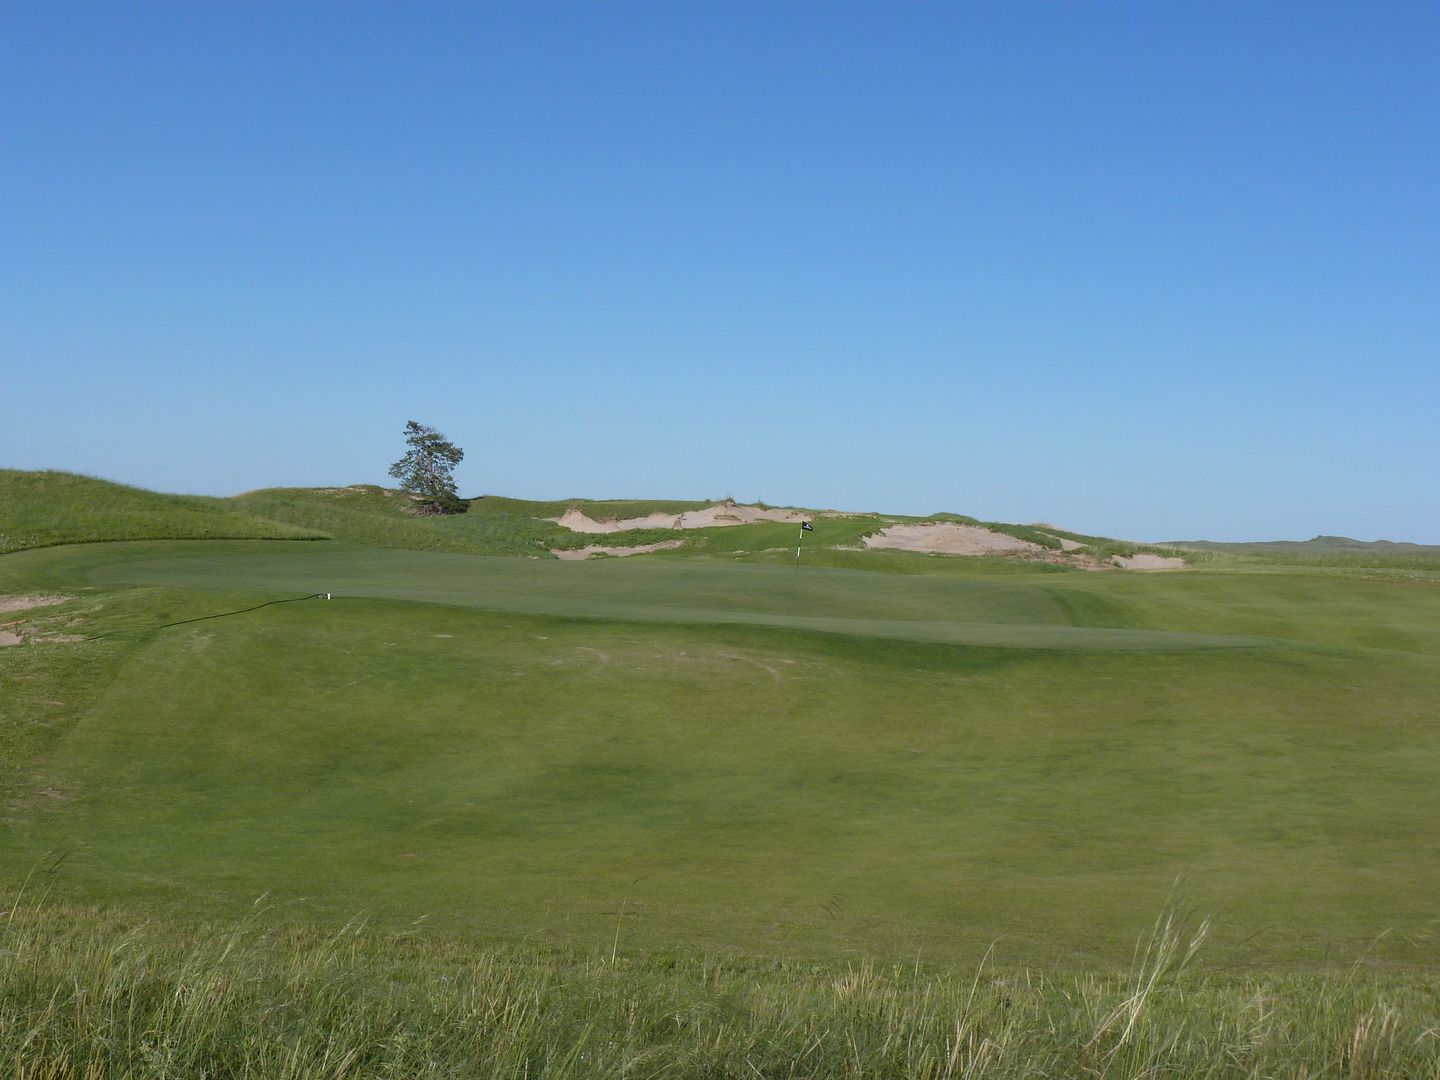
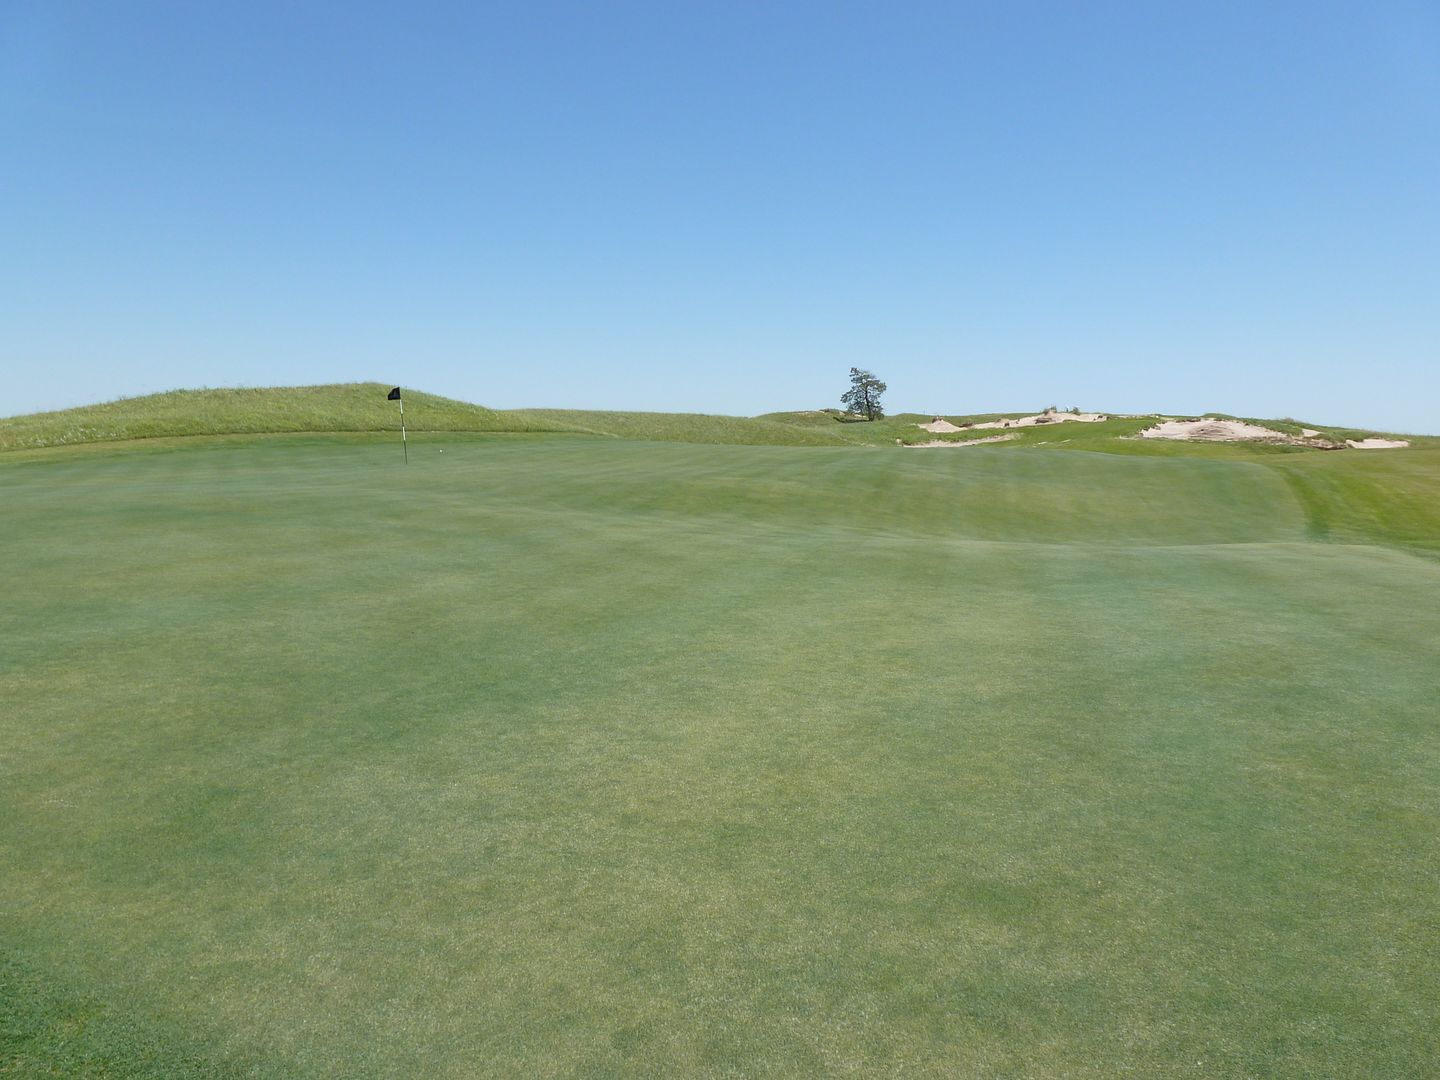
A closer look at the dunes protecting the green:

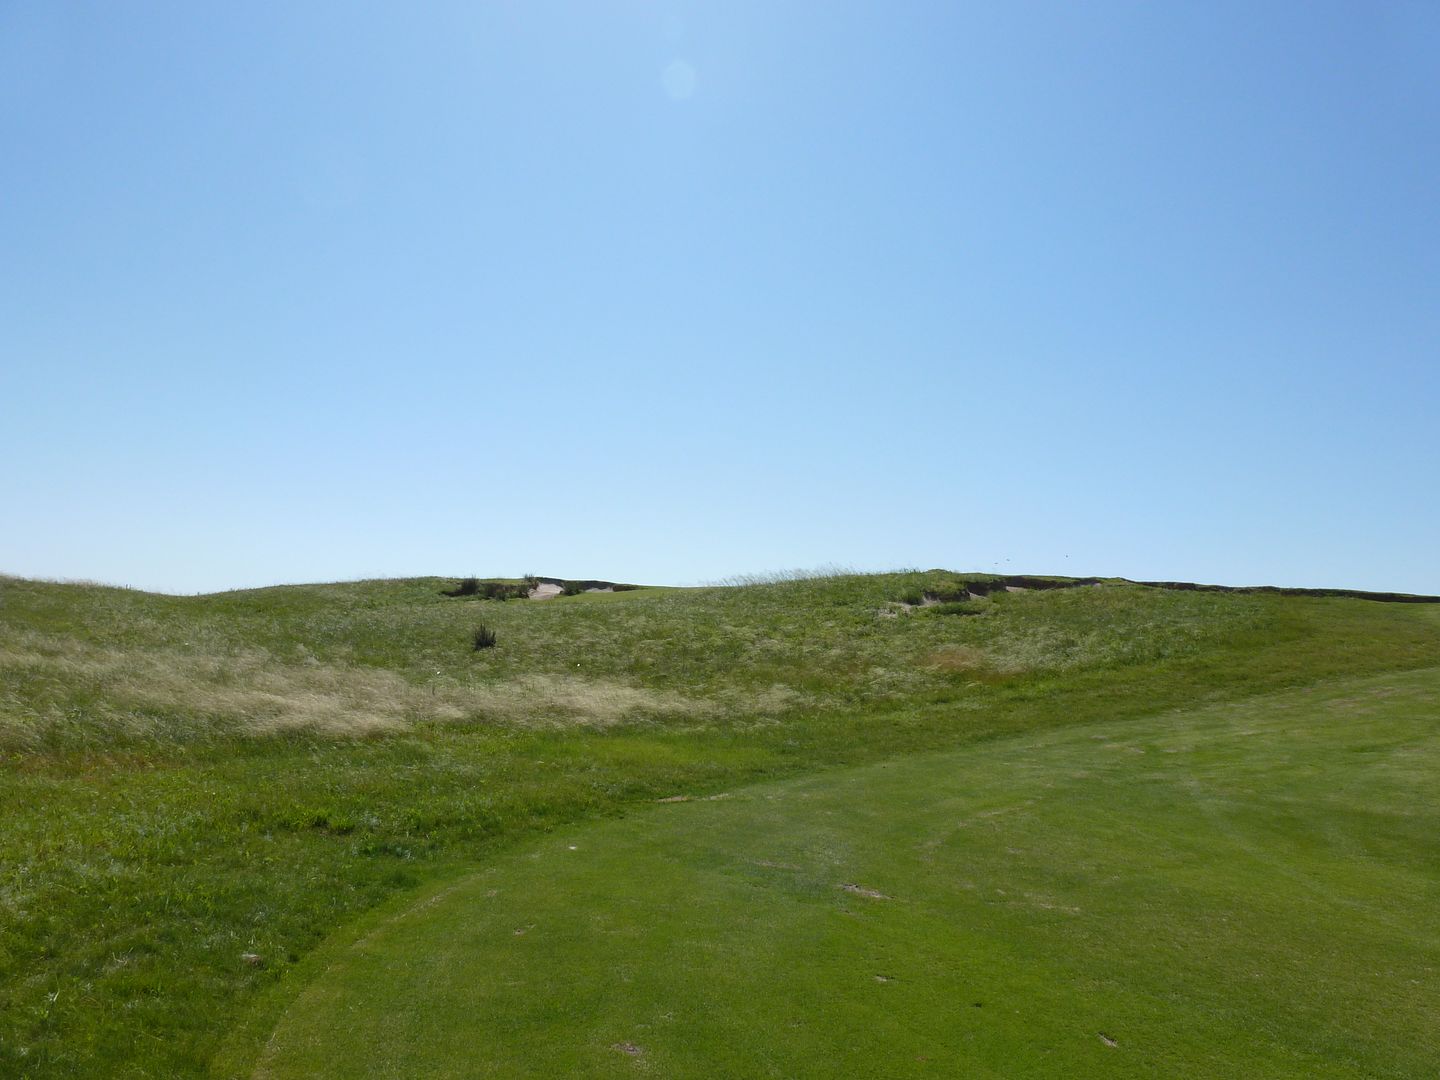
It wasn't until I walked over all of the trouble and the view of the whole green opened up did it even occur to me that this is an Alps. It really reminded me of the Alps at RSG.
The area just over the dunes:
View of green from just over dunes. A shot can land well short of the green and still be safe.
Green from behind:
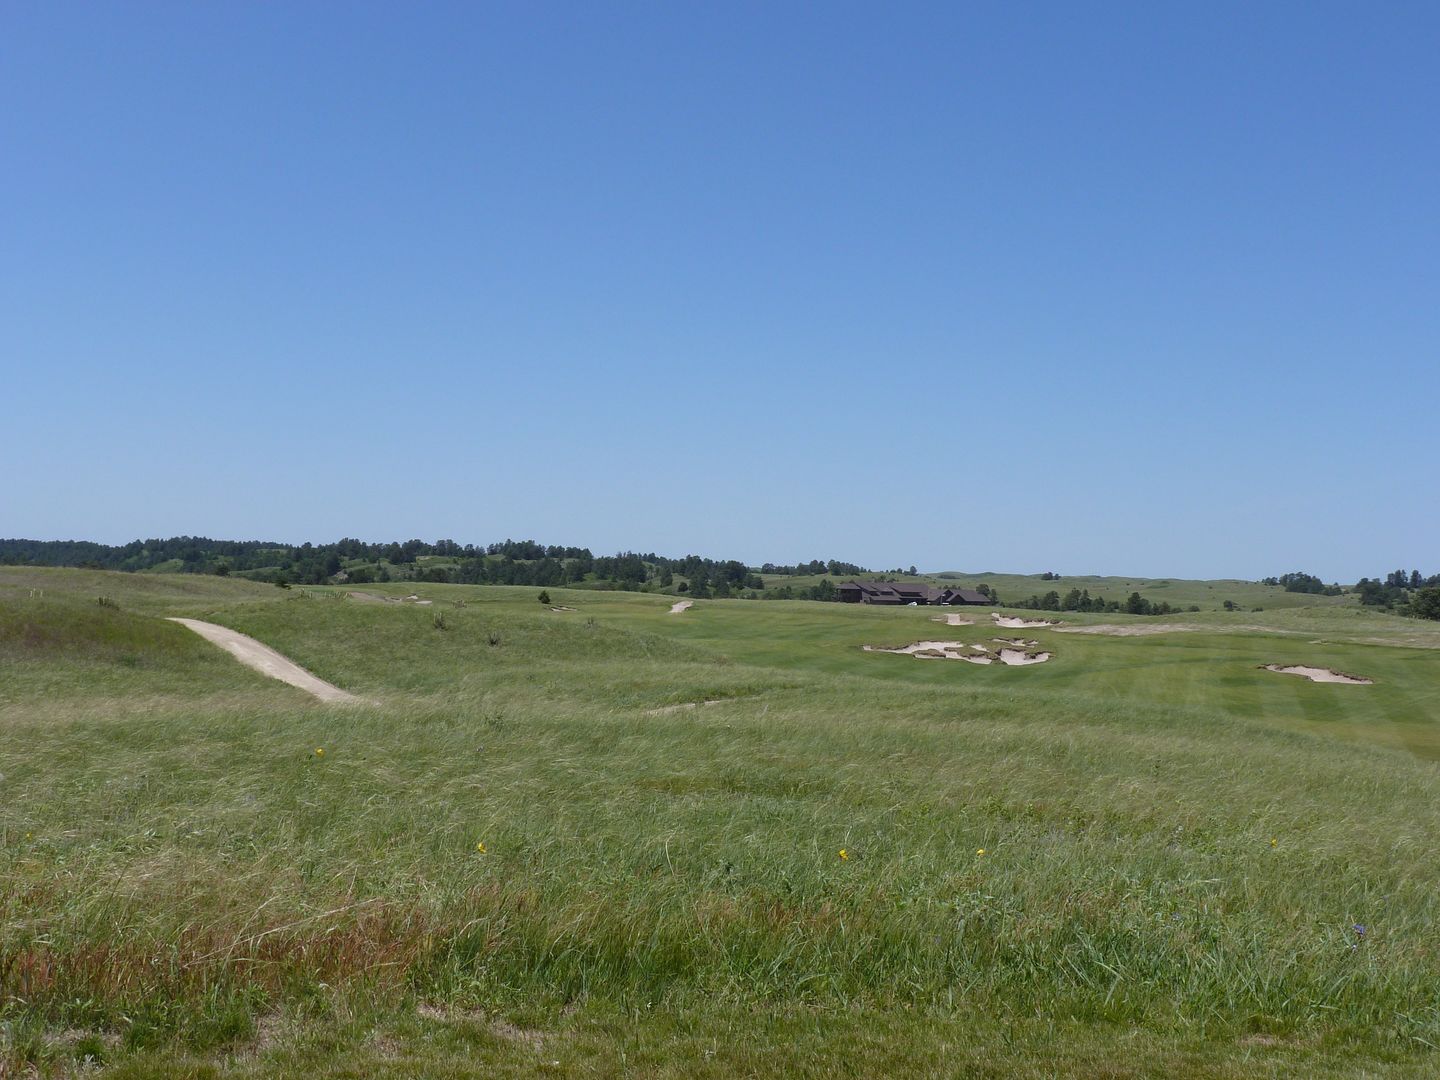
A look back at 8 green from 9 tee. Also notice the massive collection area long of the green.
Black Tee:
Approach from 175:
Approach from 100:
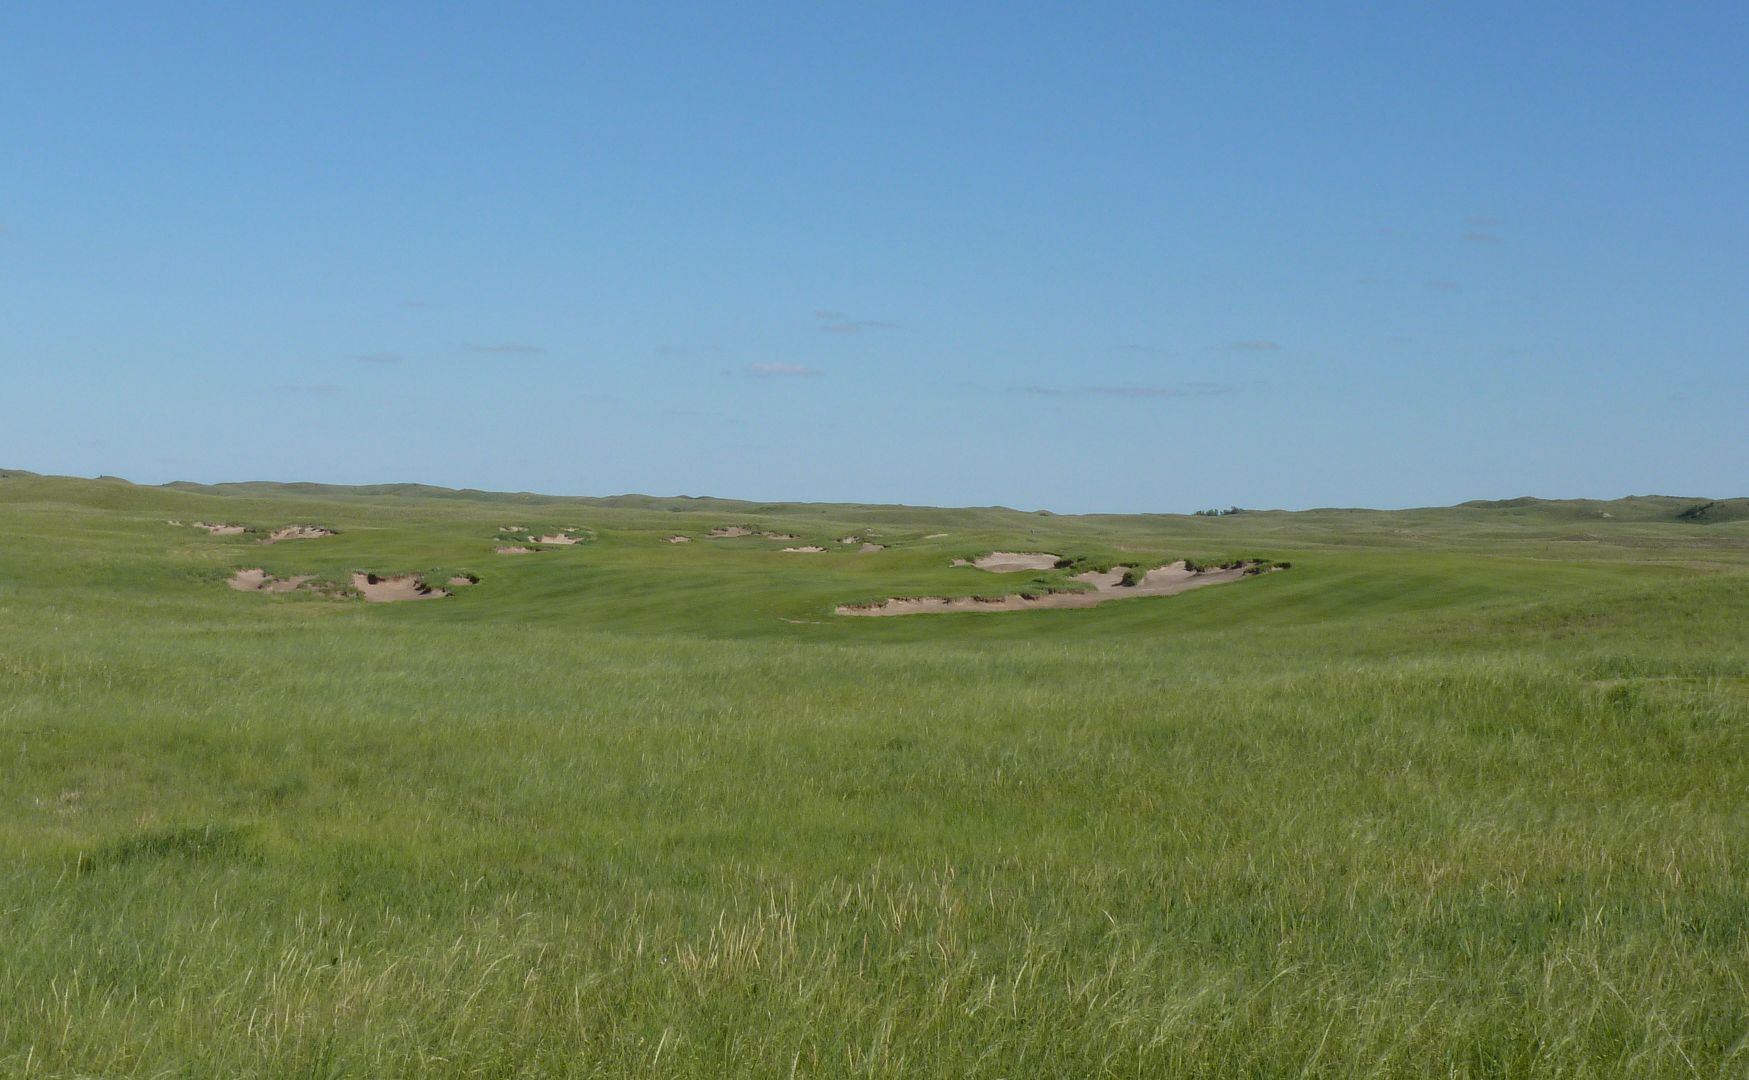
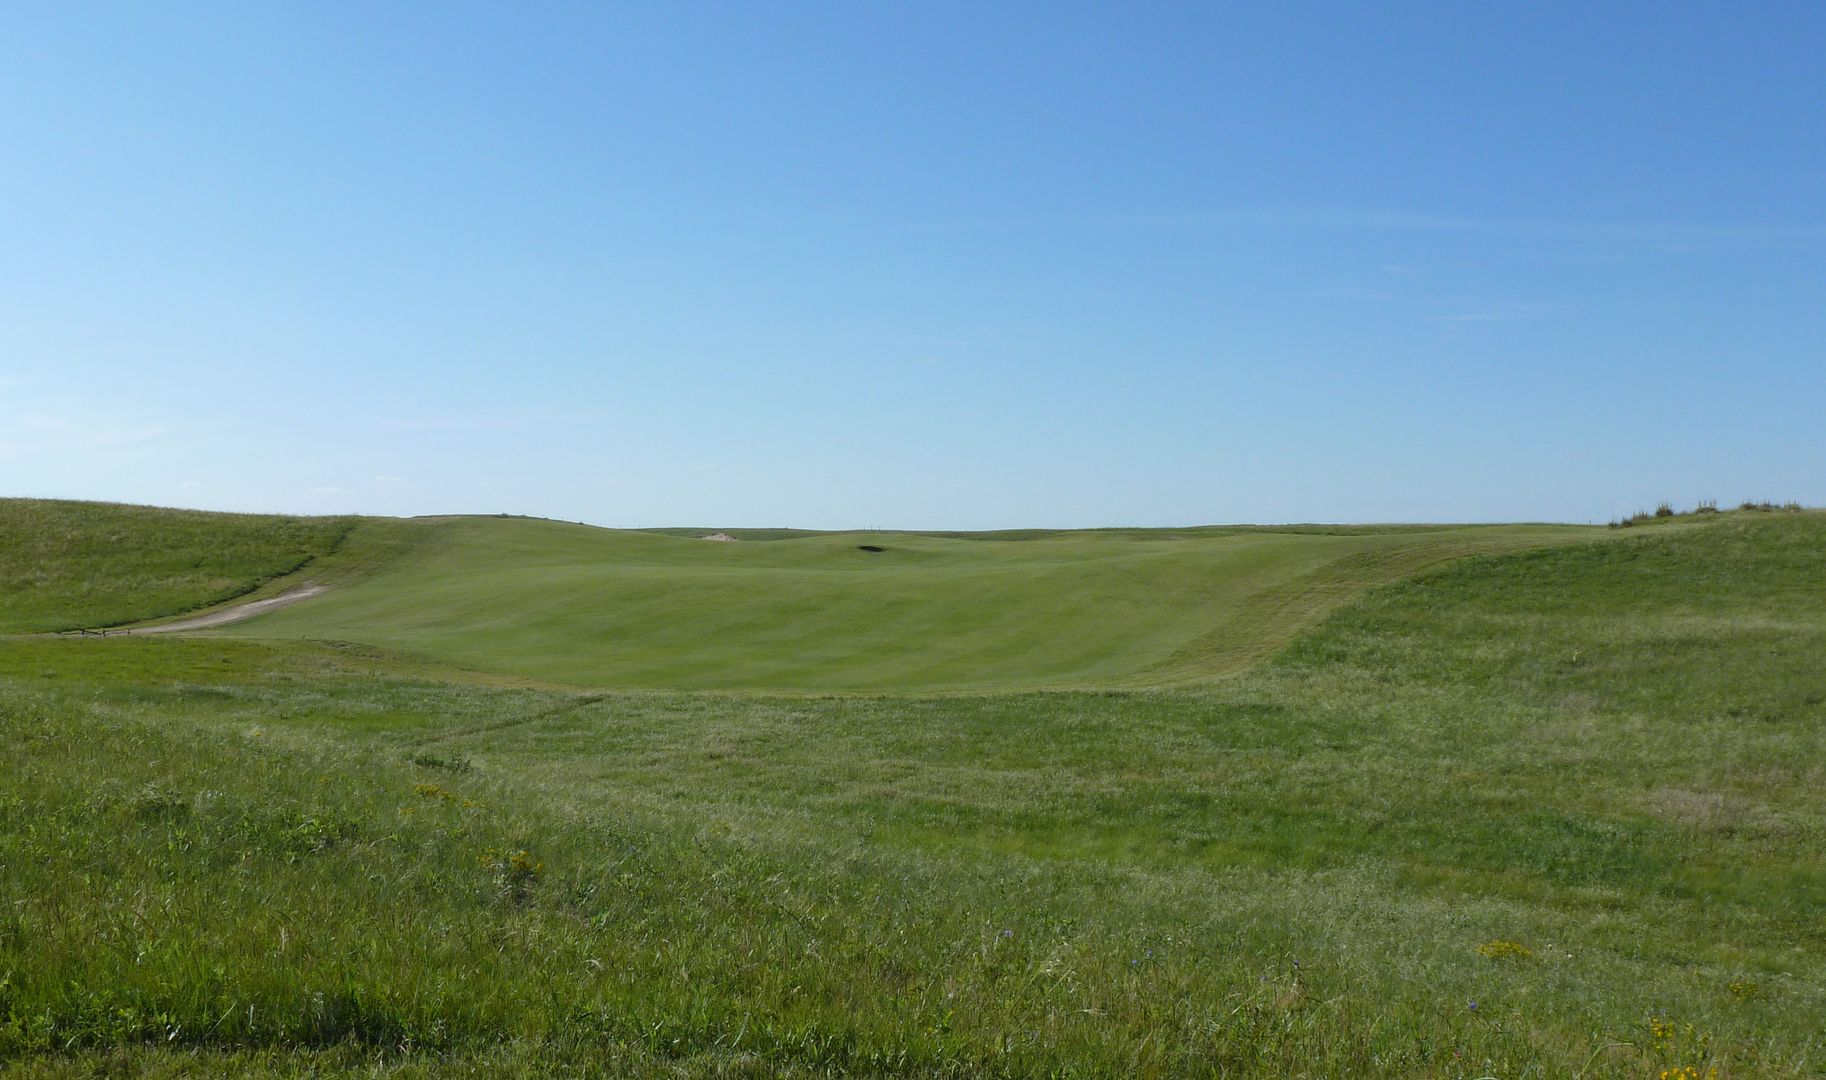
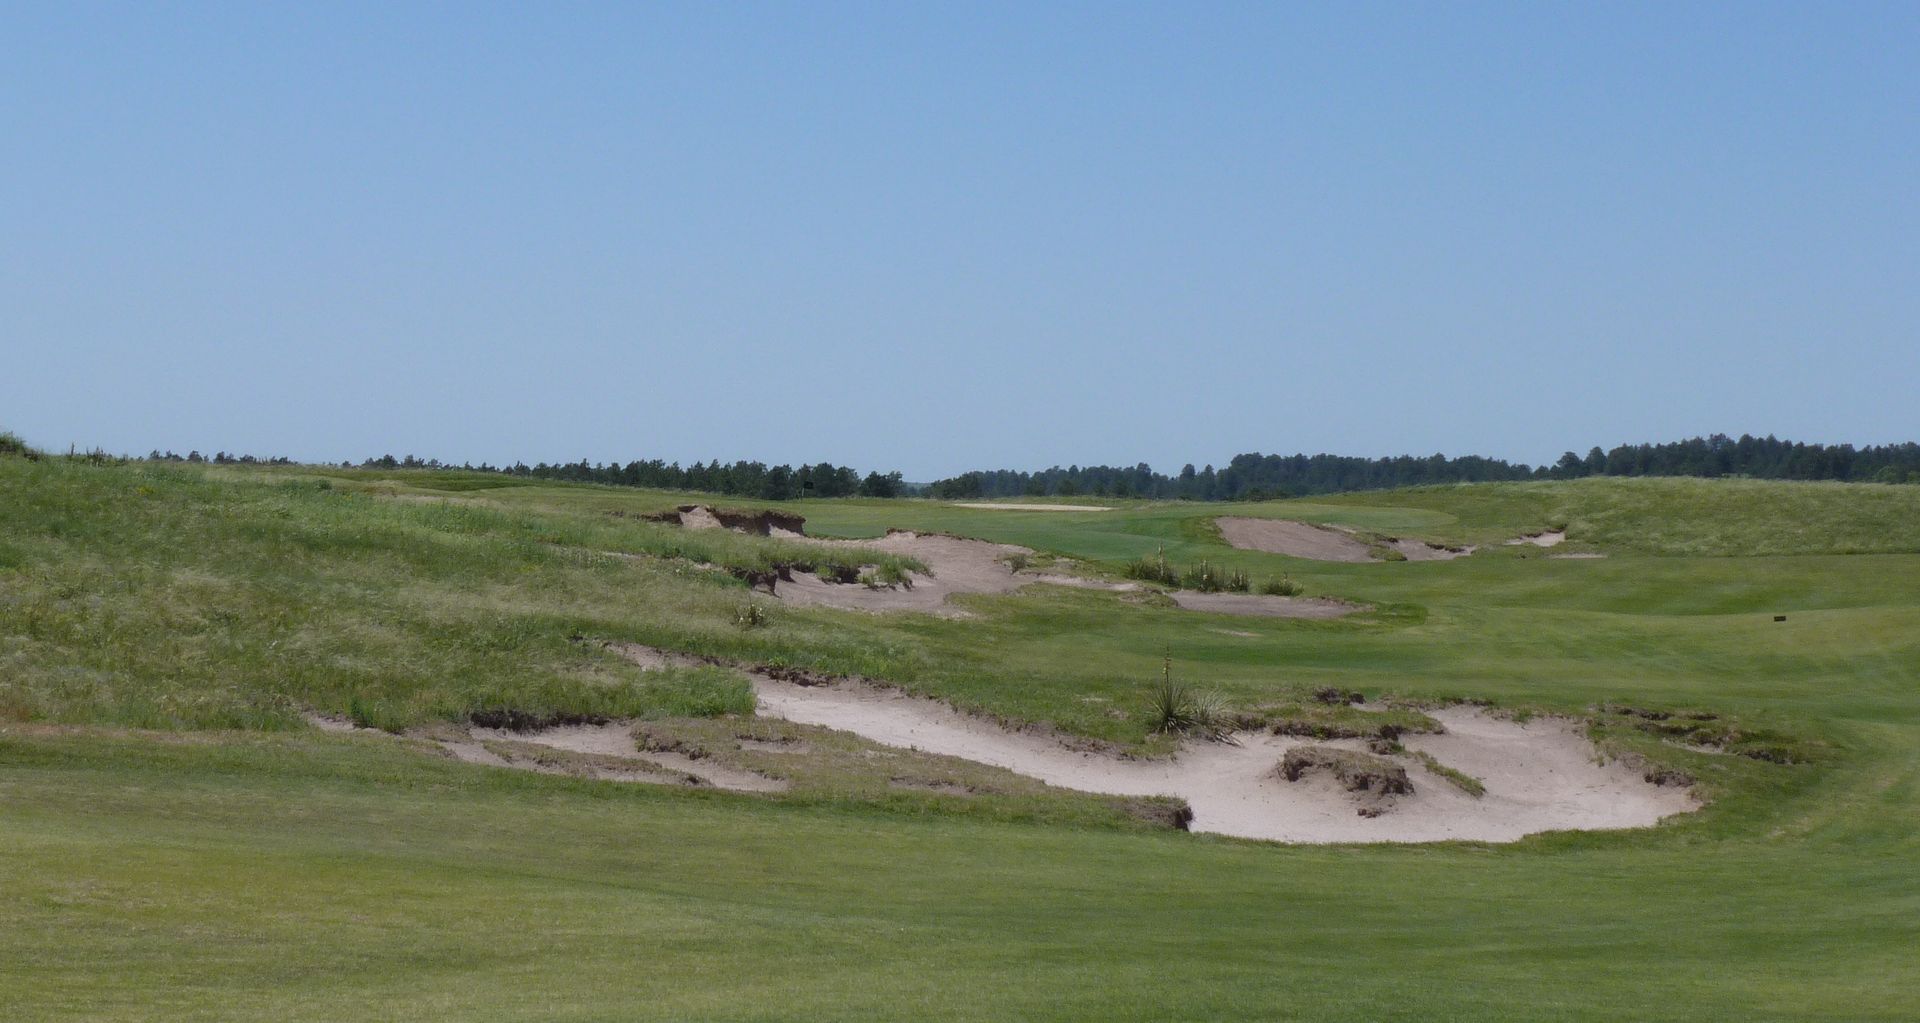
These three humps short of the green turn this from a ho-hum approach to a very difficult one. The player must be very precise with his approach in judging these humps to get the ball anywhere near the hole.
From behind:
Black Tee
Approaching Fairway - Notice significant width to right of centerline bunkers, BUT there is plenty of width between bunkers on left and centerline. Only a very cautious player would every play to the right.
View from right side of fairway:
View from left side of fairway:
Approach from 150:
Approach from 100:
From right of green:

From left of green:
From next tee:
This is a really good hole either downwind or into the wind.
Into the wind, the real focus is placing one's tee shot in the fairway, avoiding the centerline bunker.
Downwind, it is possible to carry the blowout on the left. If successful, there is lots of room left and even a speed-slot down to the green.
Black Tee
Blue Tee
From the back tee reaching the centerline bunker into the wind is a very long way. One will likely be left with the following approach:
From right of centerline:

The speed-slot over the blowout:
The only think I didn't like was the lack of collection area over the green. Playing downwind, it seemed that shots that carried the blowout ran a lot, right through the green and into the tall grass. A little bit of extra room behind the green would further encourage a player to attempt to drive the green. The following picture is taken from the edge of the long grass:
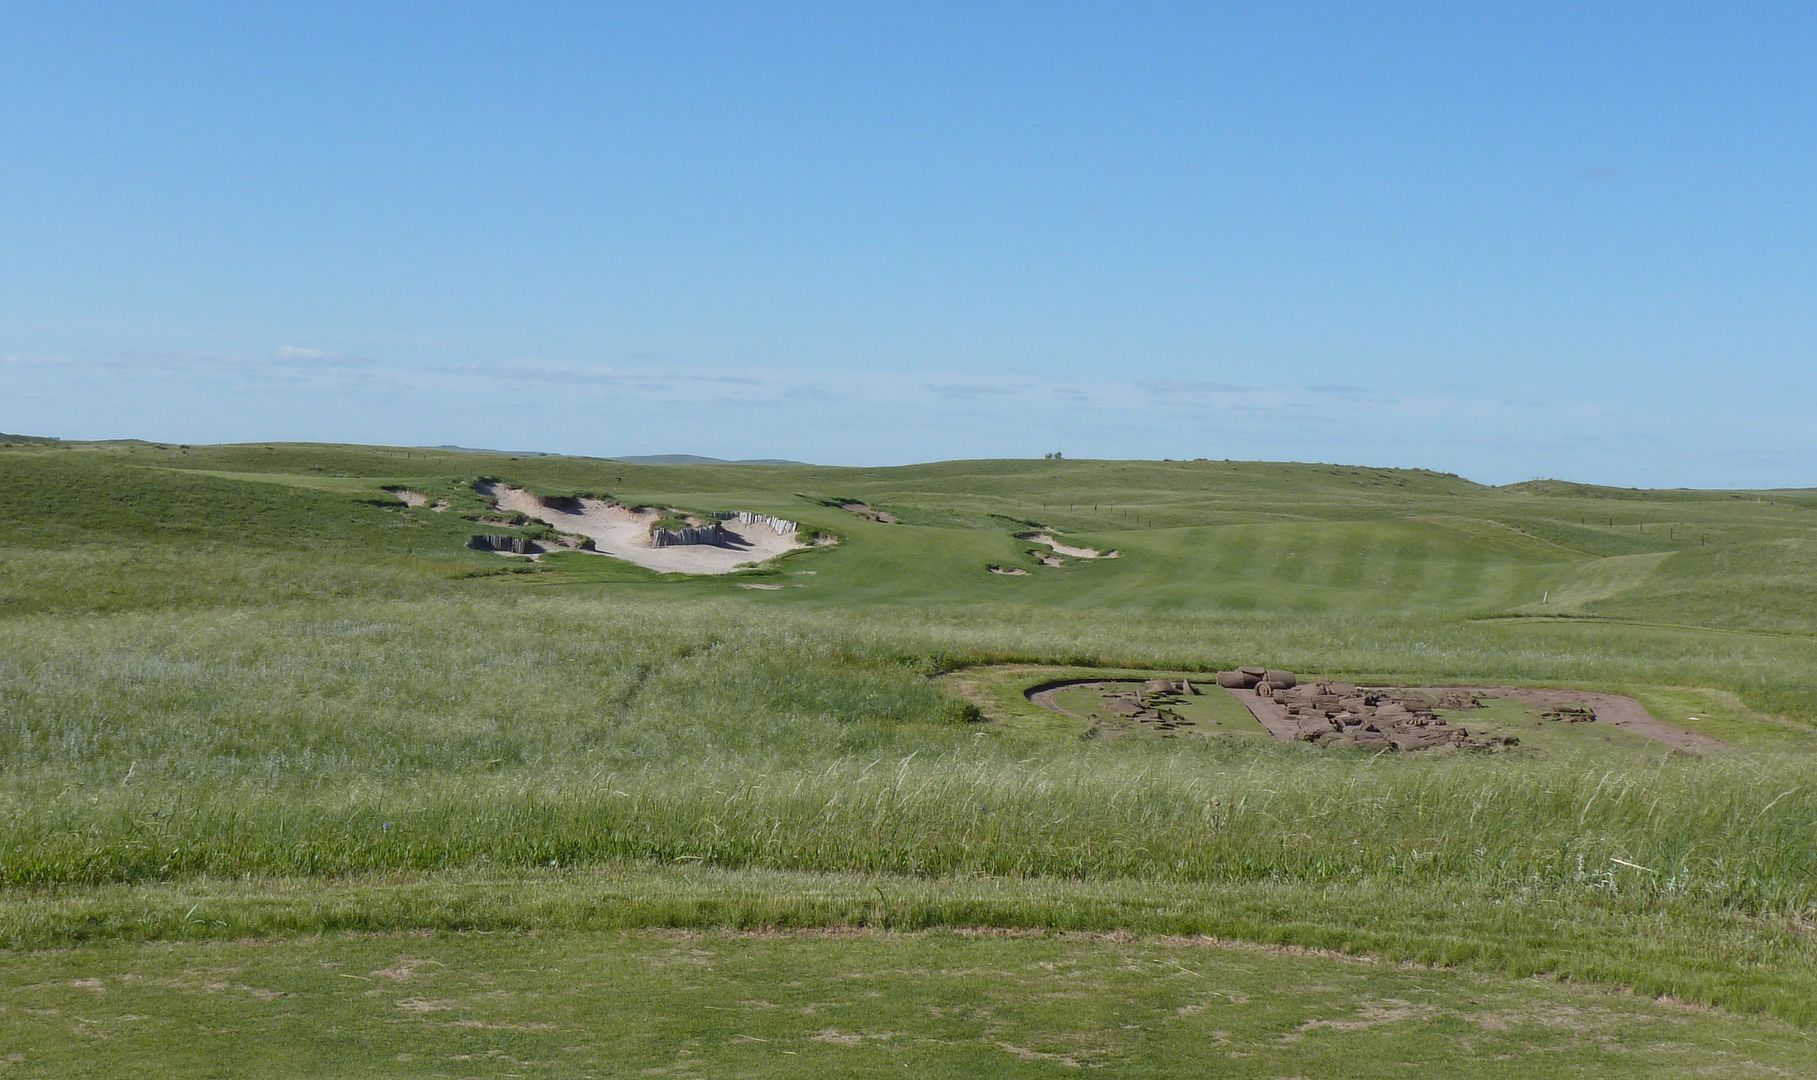
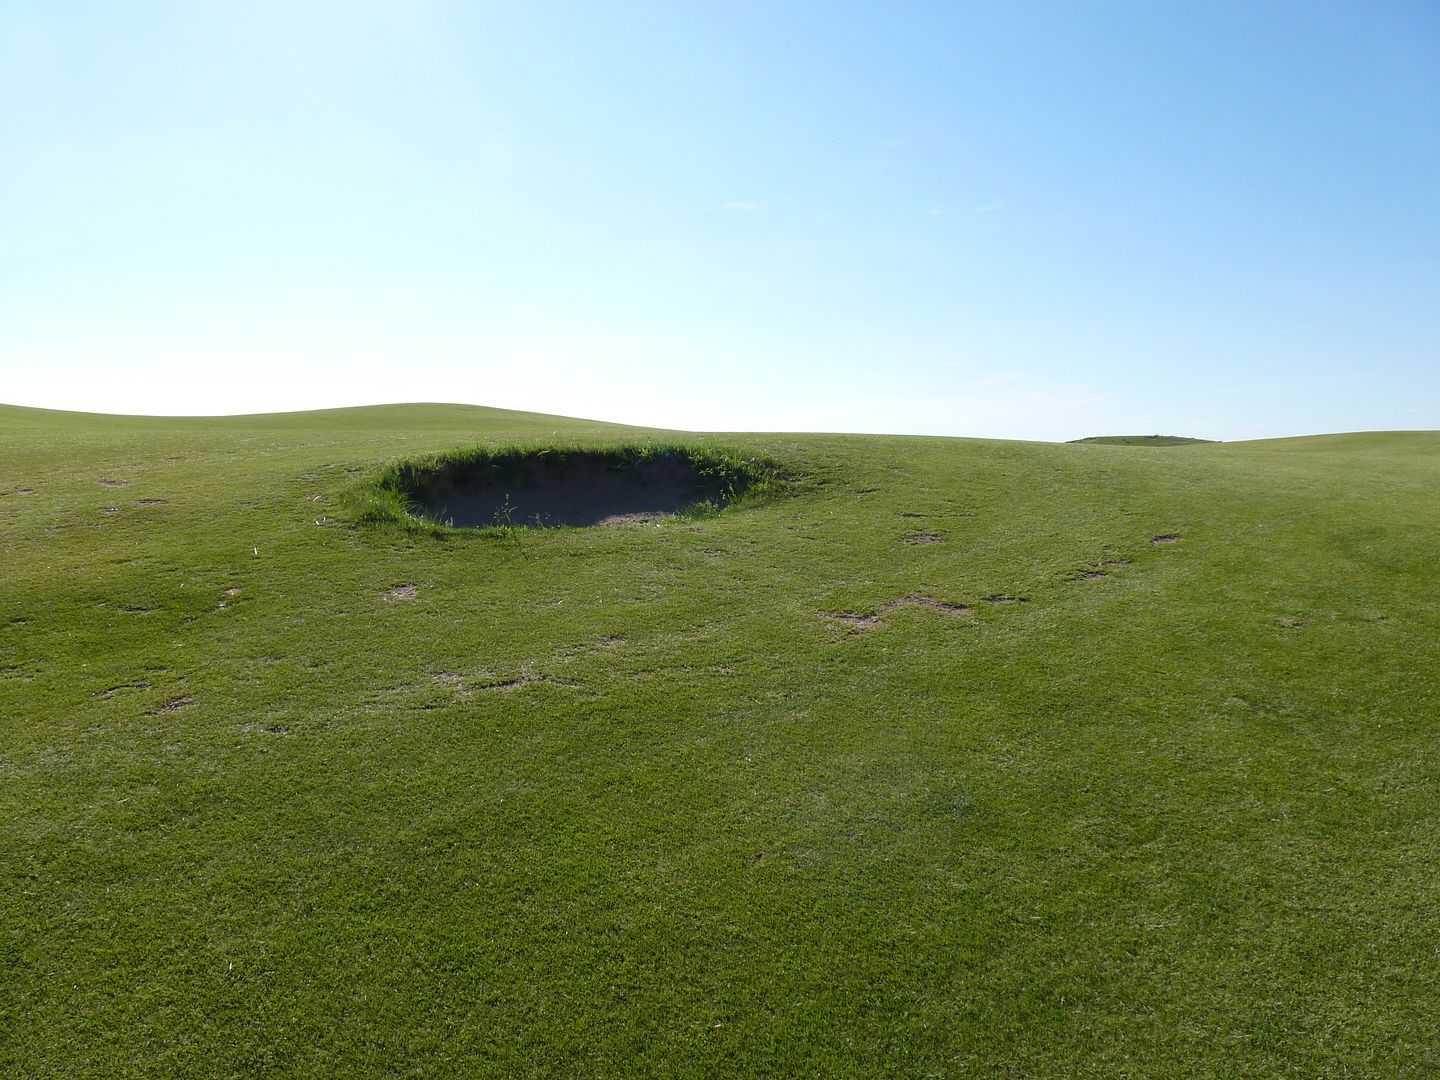
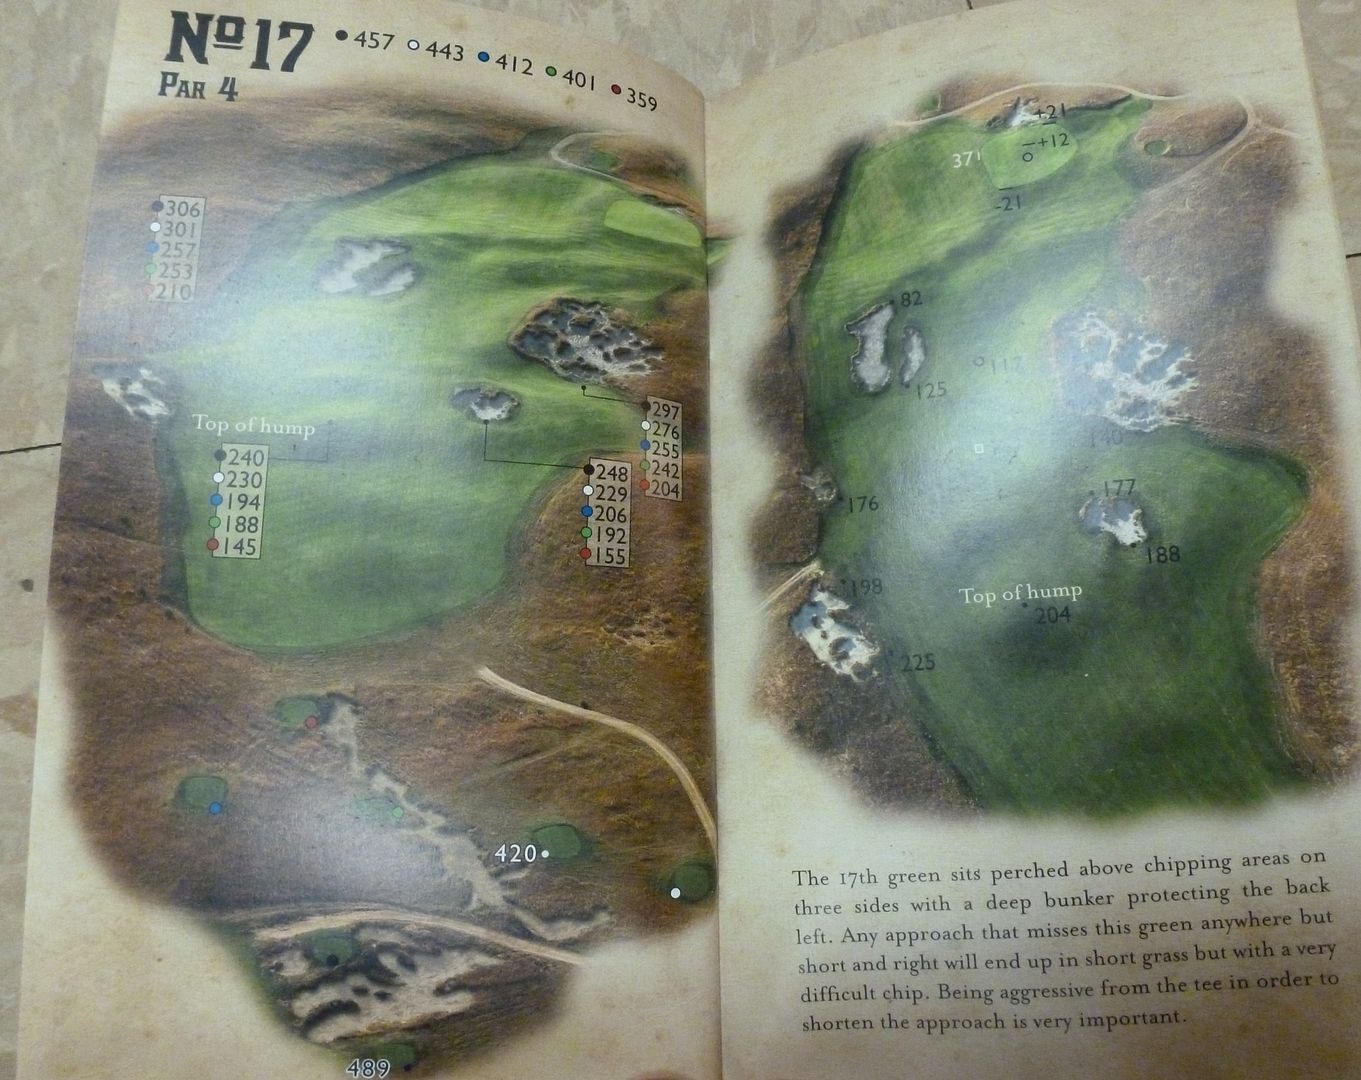
The hole with the biggest little bunker in the world. It's amazing what goes through your head when you have 100 yards of fairway to hit at and exactly 2 yards dead in the middle of it that you can't. I think the tiny centerline bunker will cause many more awful tee shots than would a series of bunkers pinching the fairway from each side.
Black Tee
The Centerline Bunker

Approach from Top of Hill (about 250 out)
Approach from 150
Approach from 100
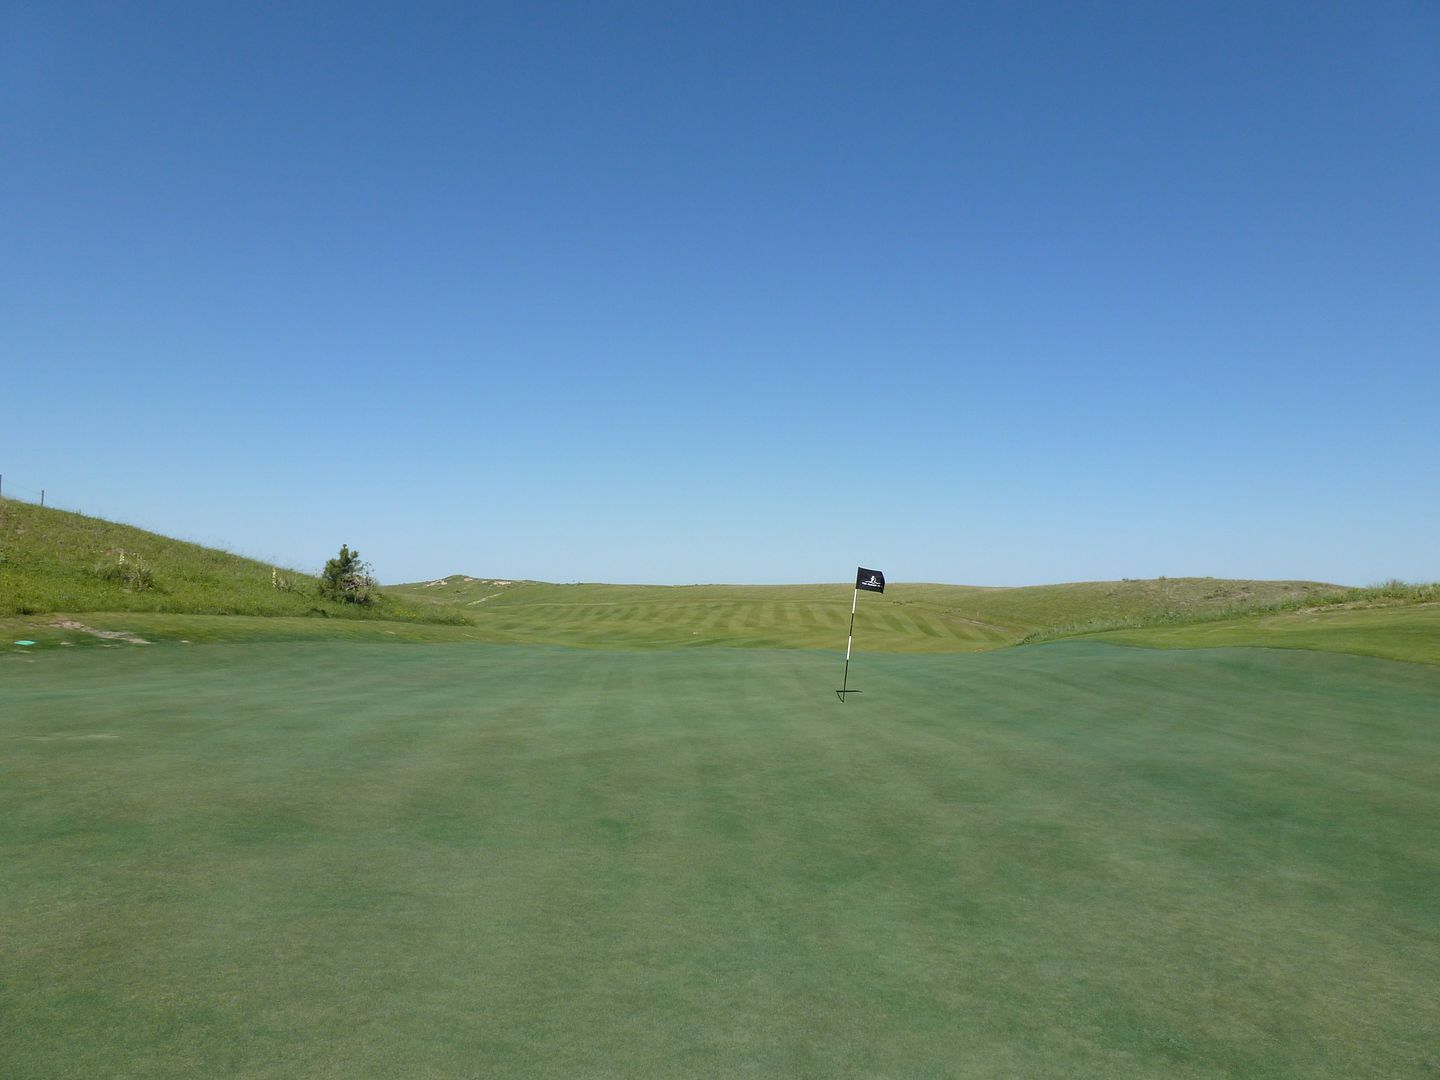
Short of Green
Back of Green
From Behind
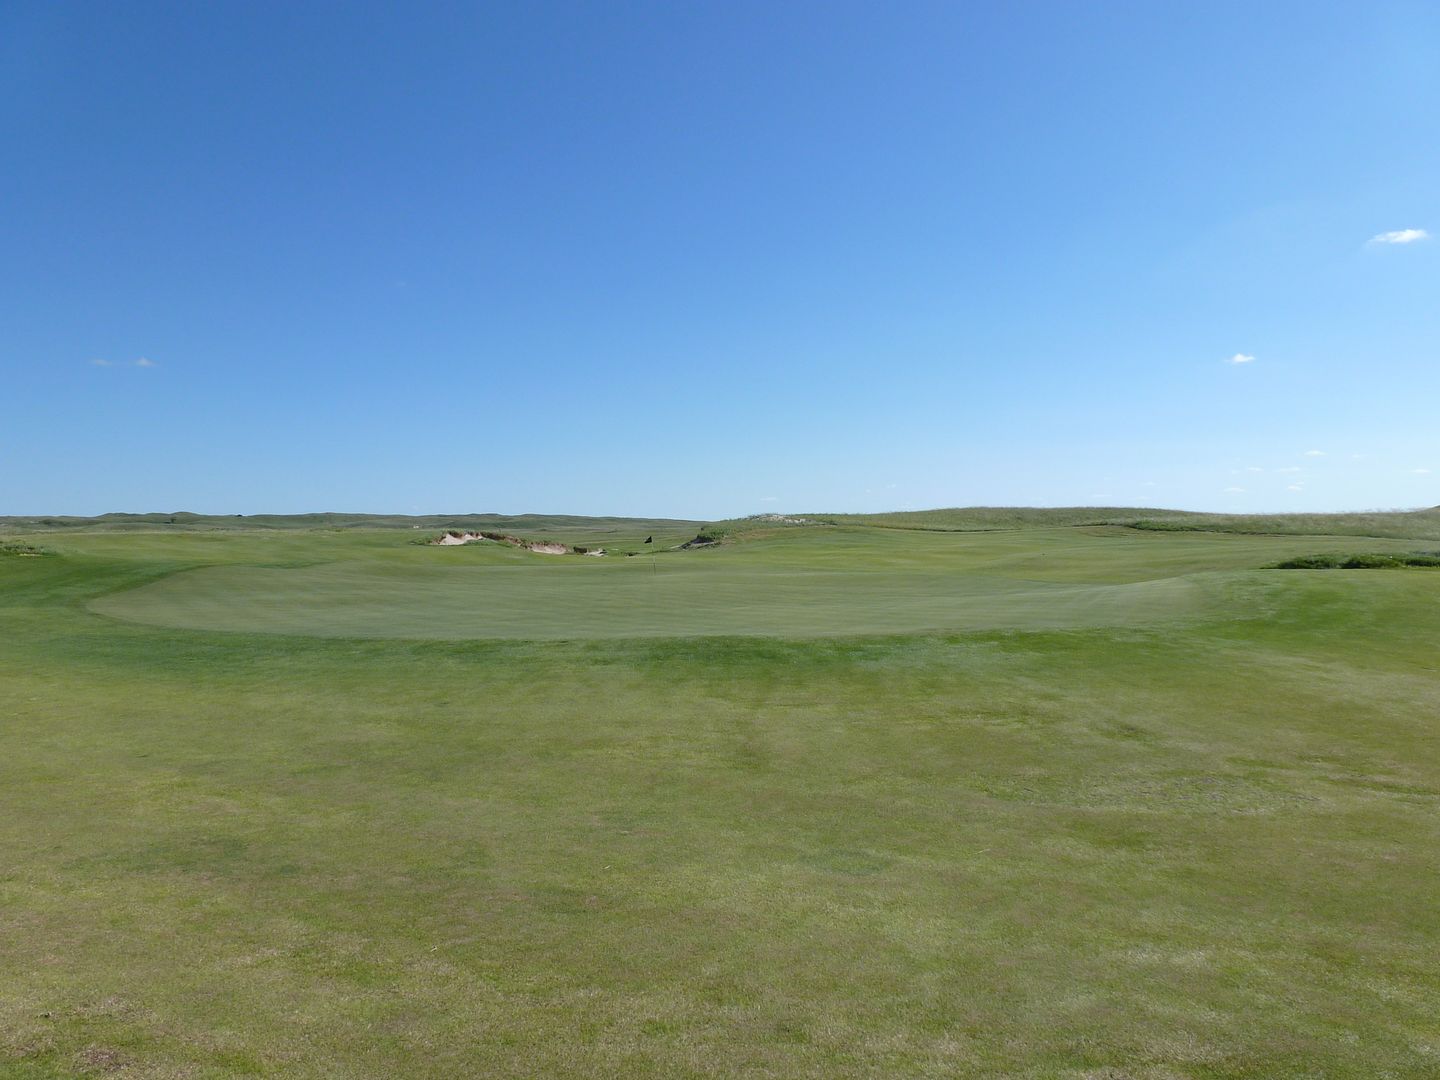
As the yardage guide states, pin position dictates line off the tee. I never actually ventured over to the right side of the fairway so don't know what it looks like from over there and am not sure what pin that side is best for. Front right, perhaps?
Interesting to note how the angle and not just the yardage changes from the different tee boxes. This is part of what makes one want to return to the course as it can play so different.
Black Tee
White Tee
Red Tee (actually seemed like a more difficult tee shot than further back because lack of elevation made it difficult to see the distance to the bunkers and choose a line - not the only hole on the course where this was the case for the forward tees)
Approach from left
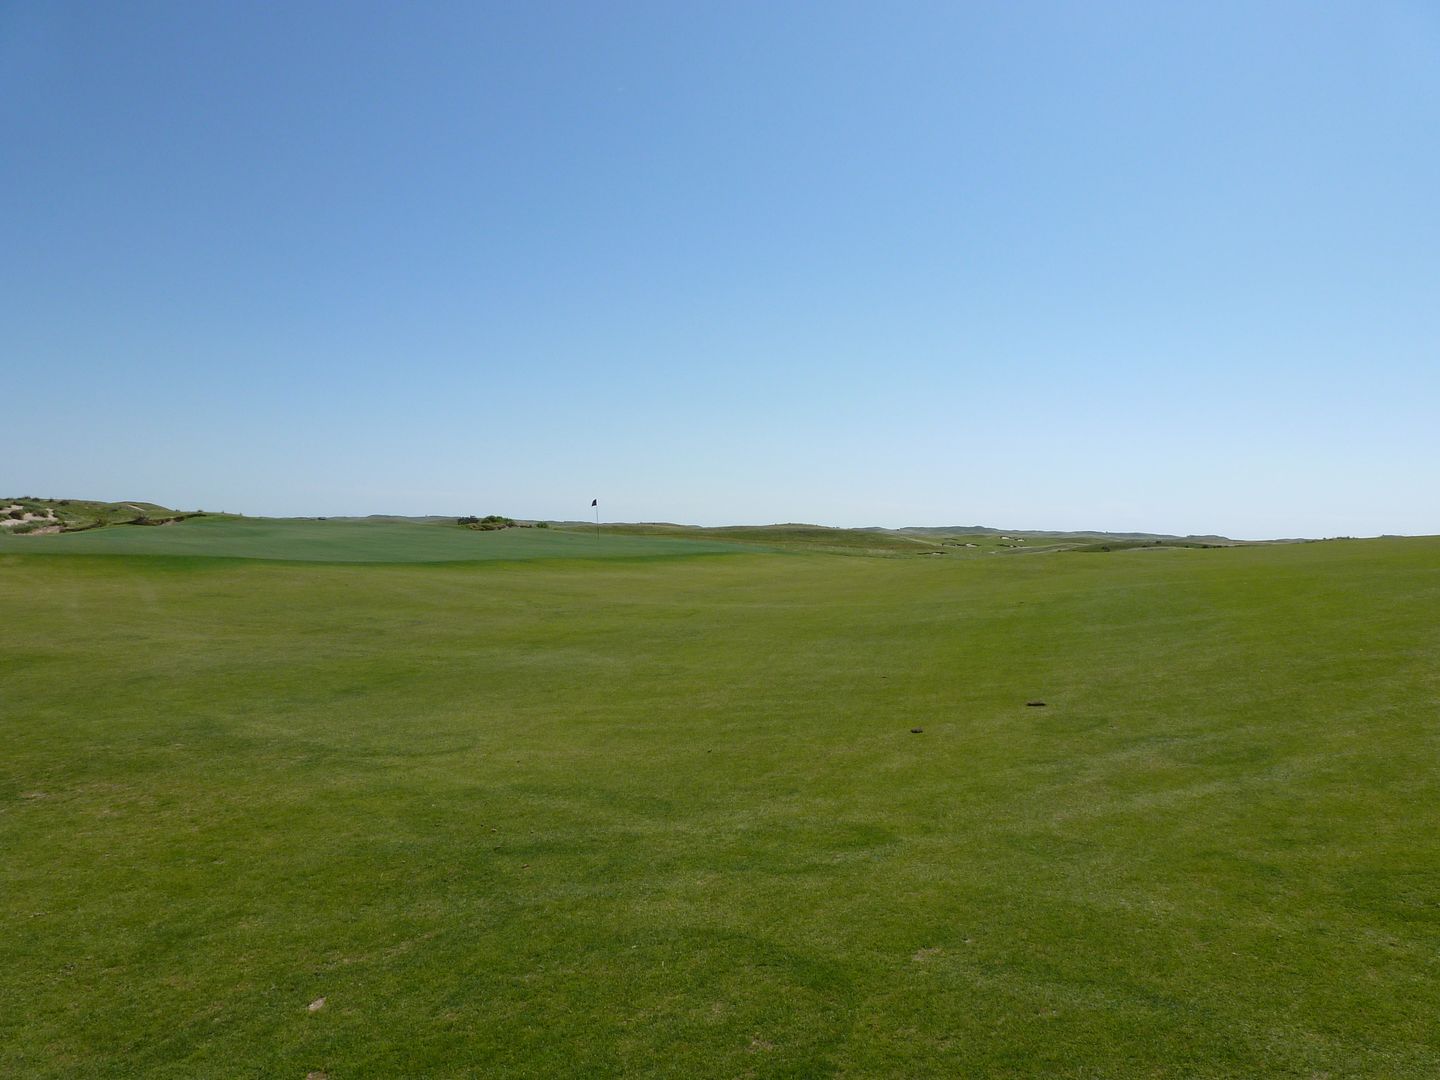
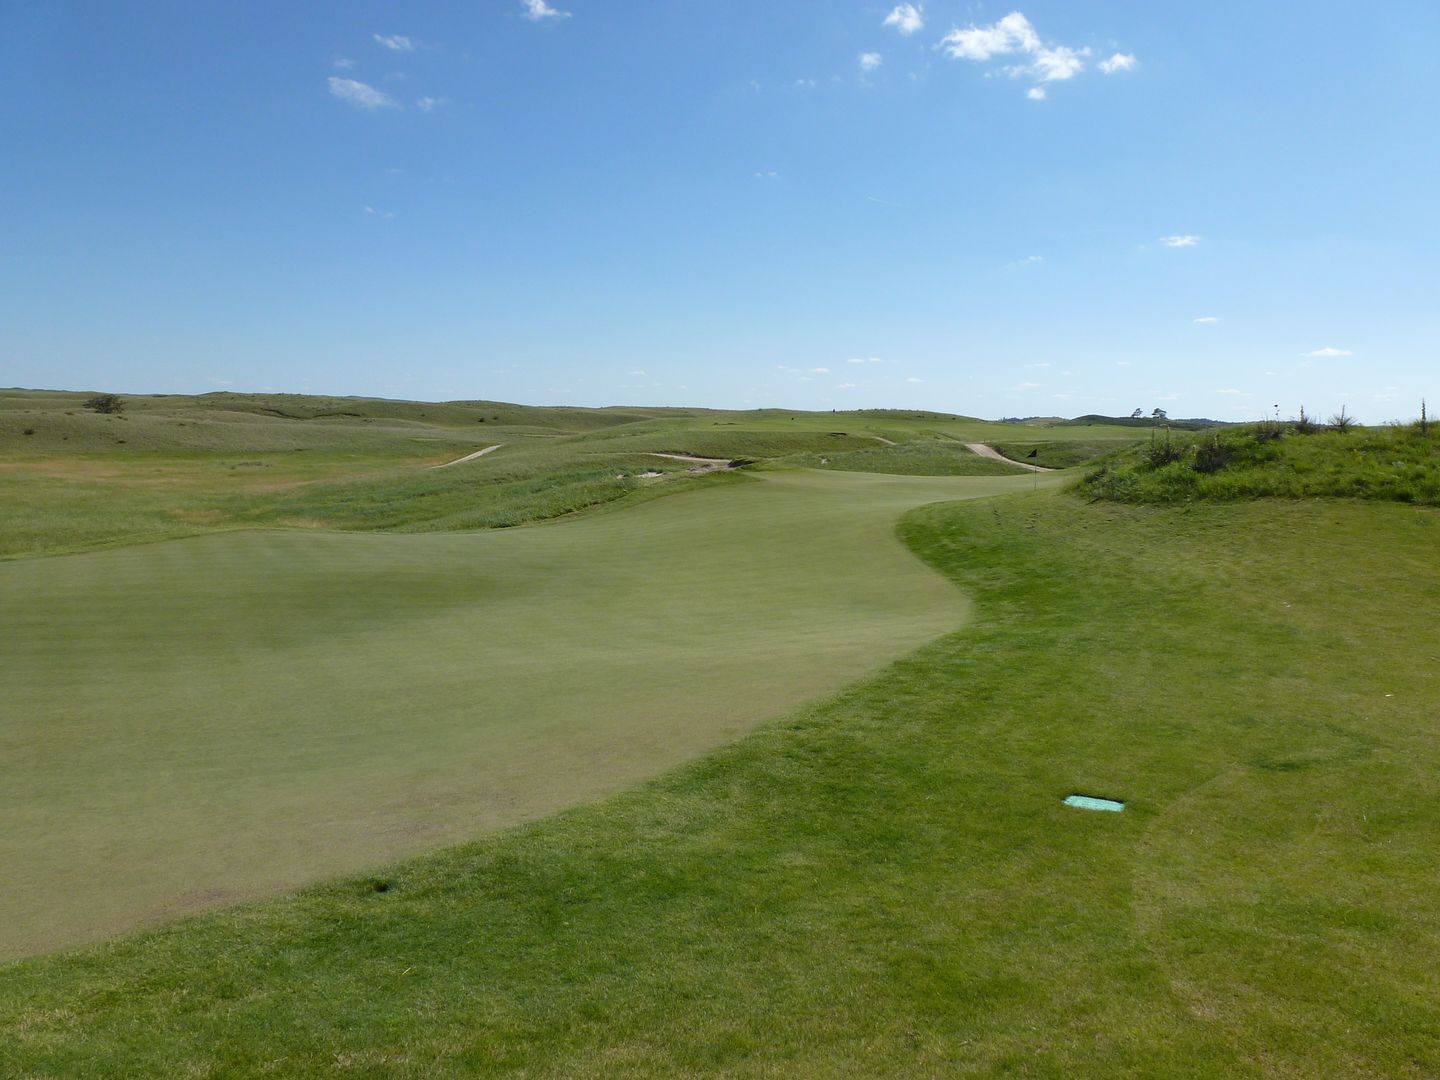
One of the simpler greens on the golf course. From behind the green:
An absolutely massive difference between the whites and blacks on this one. From the tips this is one of the most intimidating approaches on the golf course. From the whites, the approach is fairly simple.
This is one of the more interesting green shapes on the golf course.
From the back tees, the farther right the pin is (and thus the more bunker one must carry), the shallower the green becomes. I'm not sure this makes for a great risk/reward proposition when the pin is on the right (as it is in the photos) and few players will attempt the hero shot at the pin. The shot will almost always be to the left/centre of the green and if the pin is on the right, then try to two-putt and get out with 3.
From the white tees I think the green shape works really well. To a back pin, the green starts to get really narrow (especially if the wind is blowing, and it should be a cross-wind from the whites). One must choose, play 30 feet short of the pin and have lots of room to work with, or play all the way to the pin and you better be accurate. The risk/reward proposition makes more sense from the whites.
Black Tee
White Tee
Short of green (from white tee perspective)
Massive collection area over green
From Over Green
From Behind
Double Black Tees (662 box)
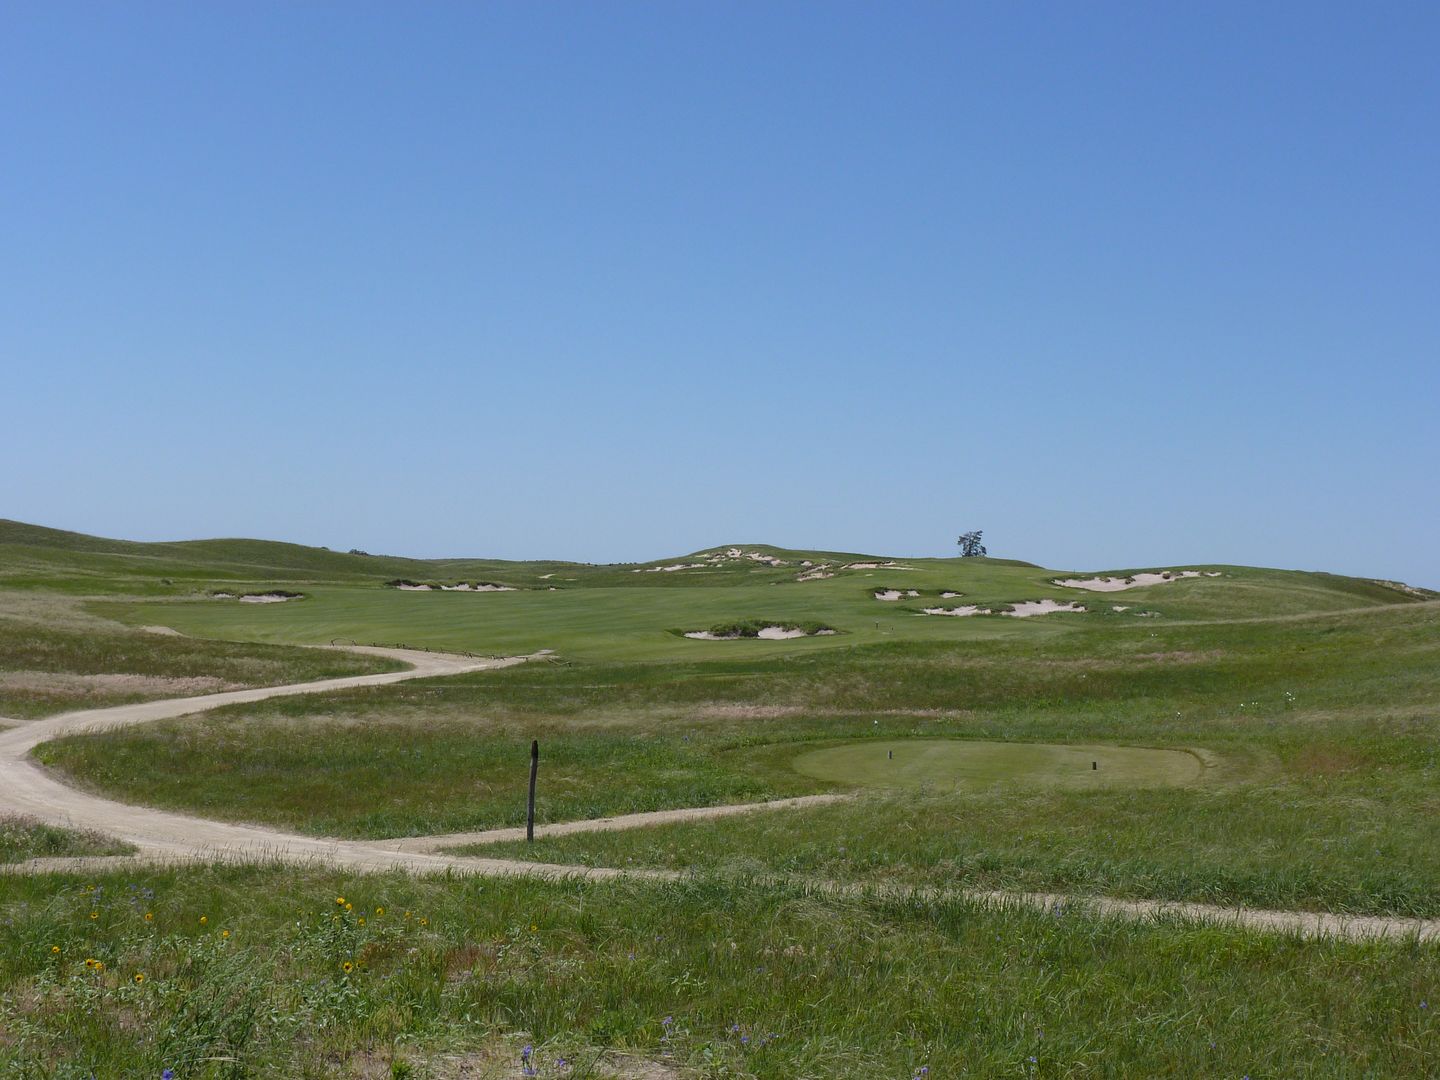
Black Tees

White Tees
2nd from left side of fairway
2nd from left of centerline bunker
2nd from right of centerline bunker (best angle, but you would never be here on purpose)
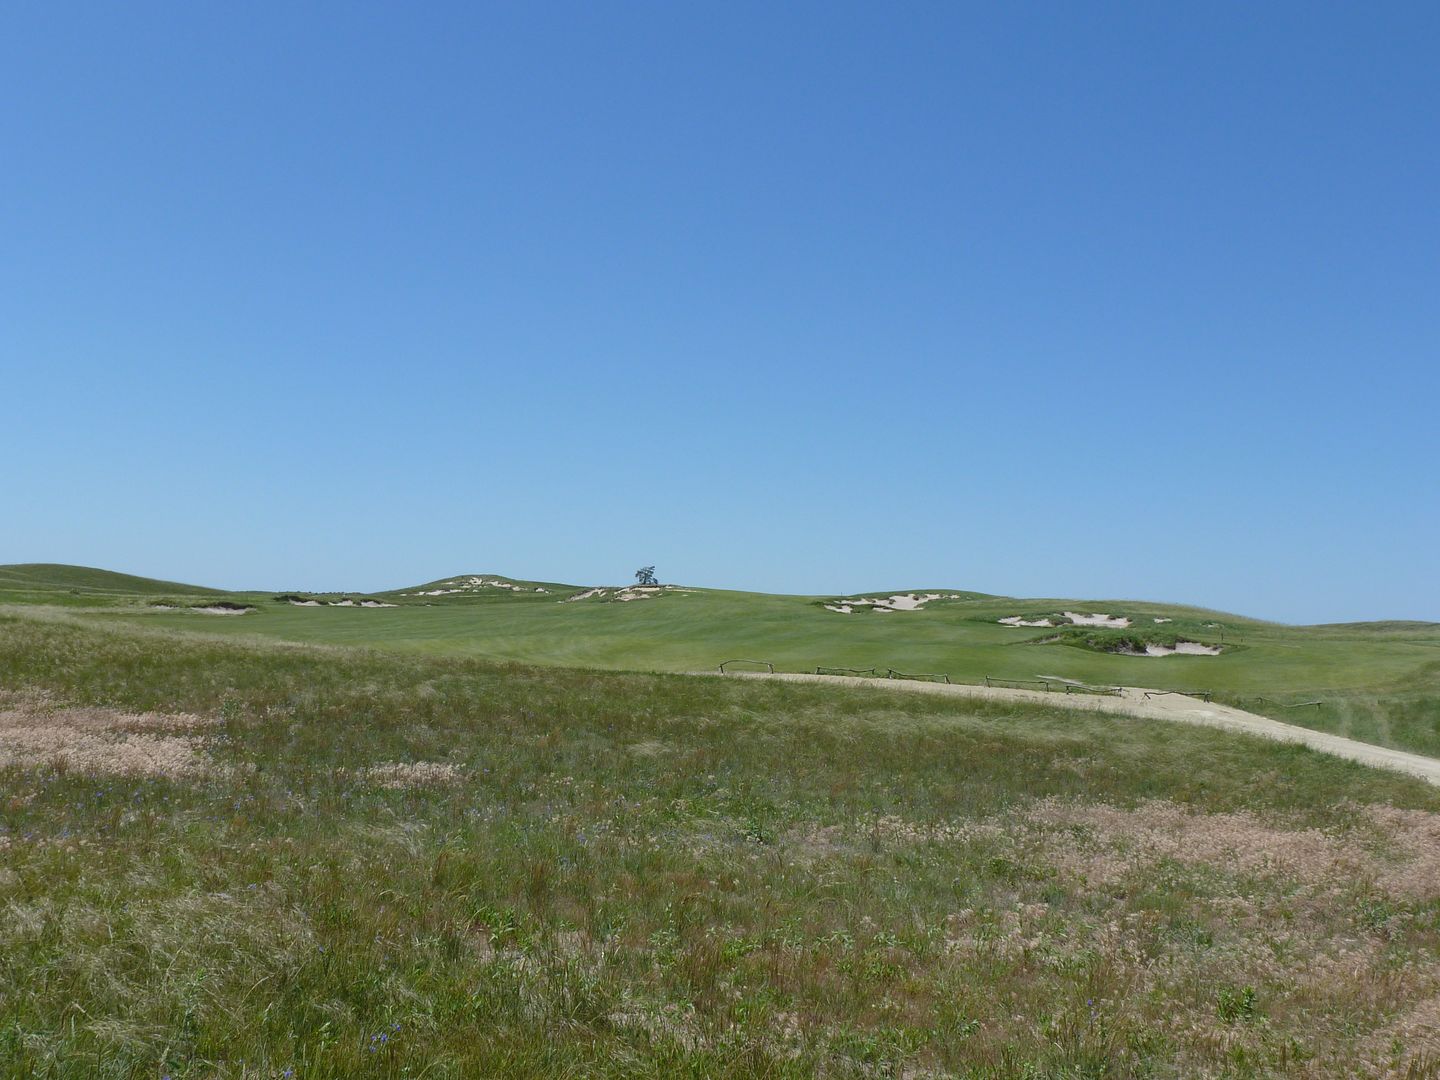
First look at green from top of hill
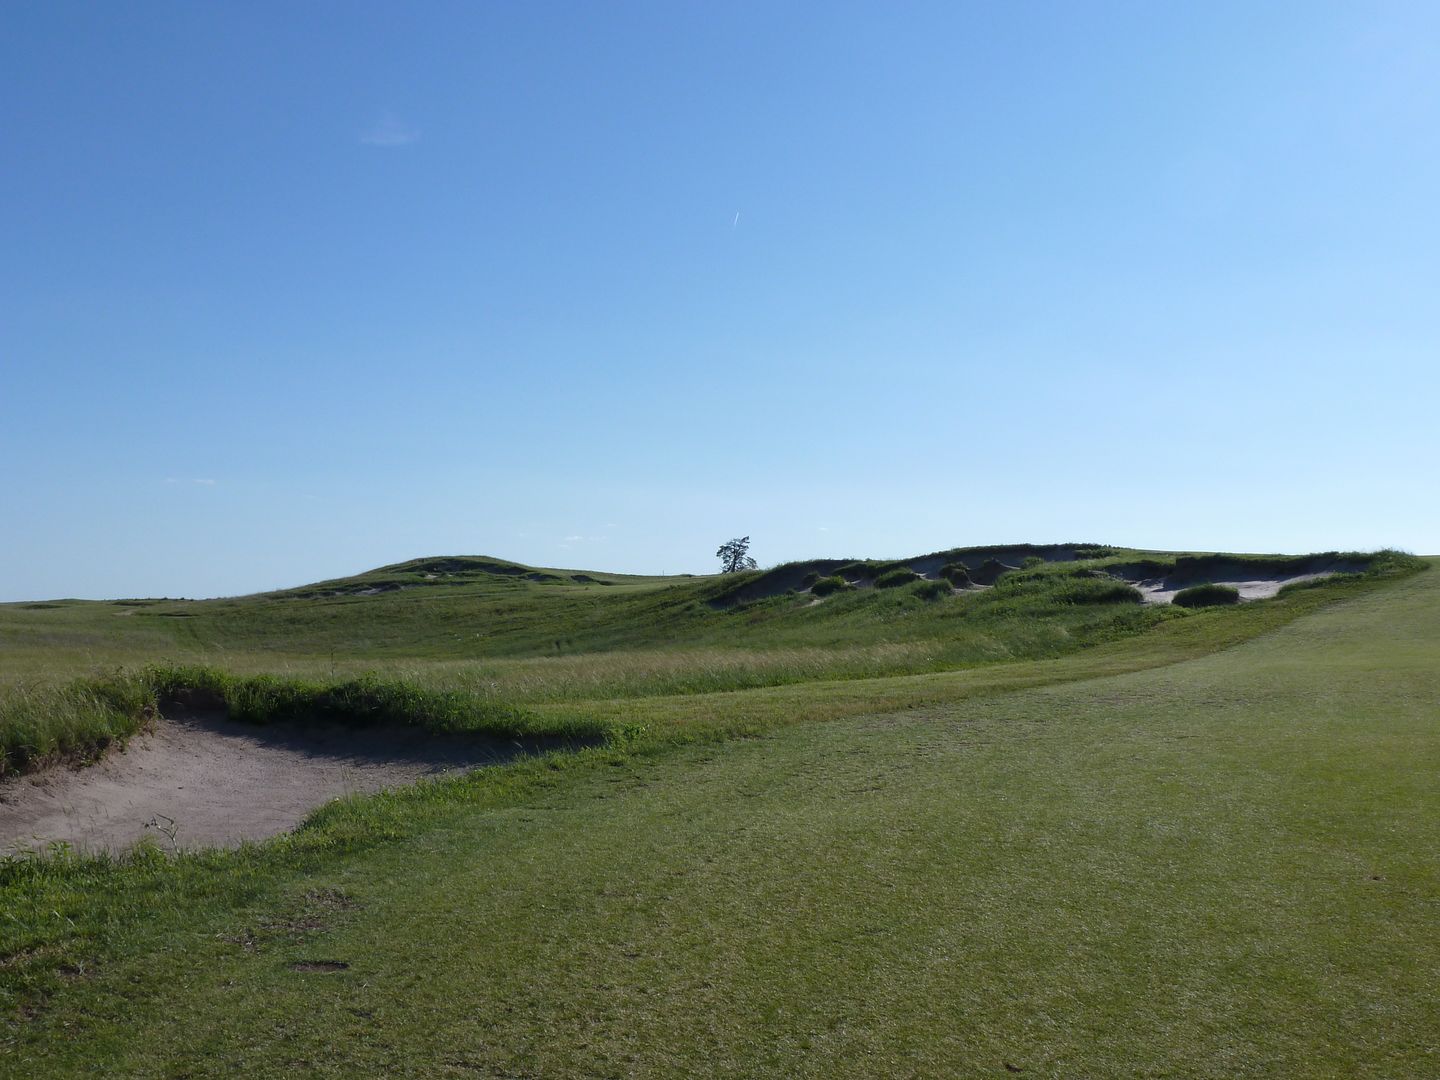
Approach from left side of fairway (can actually see green from here and is shortest line in, but it is darn intimidating hitting over all that blowout)
Approach from centre

The green has a very cool/fun backboard
From Behind
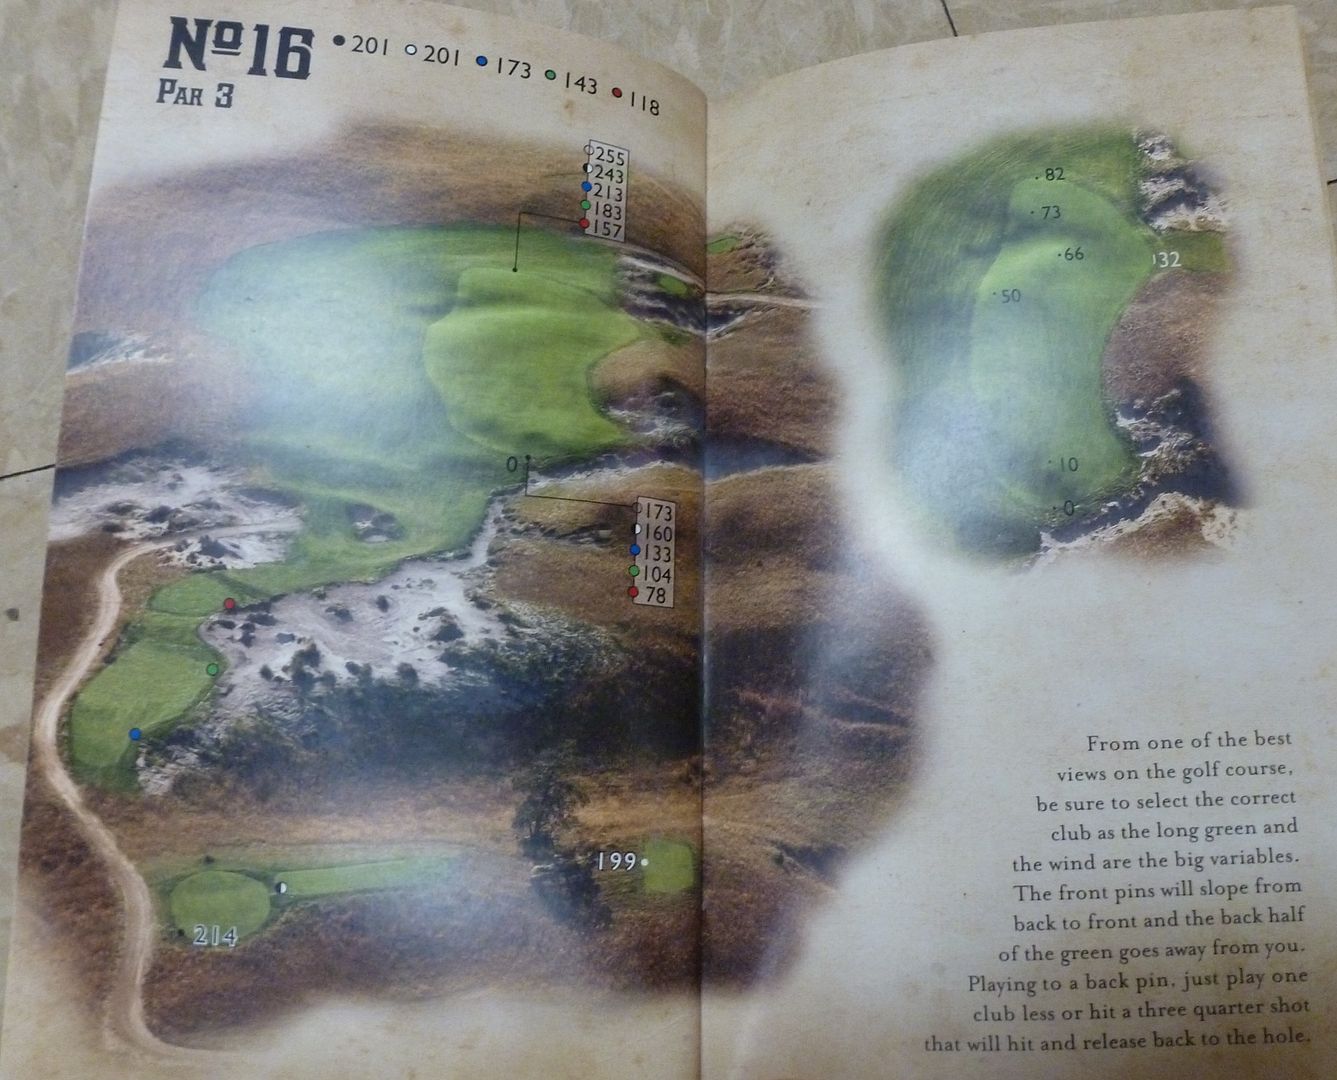
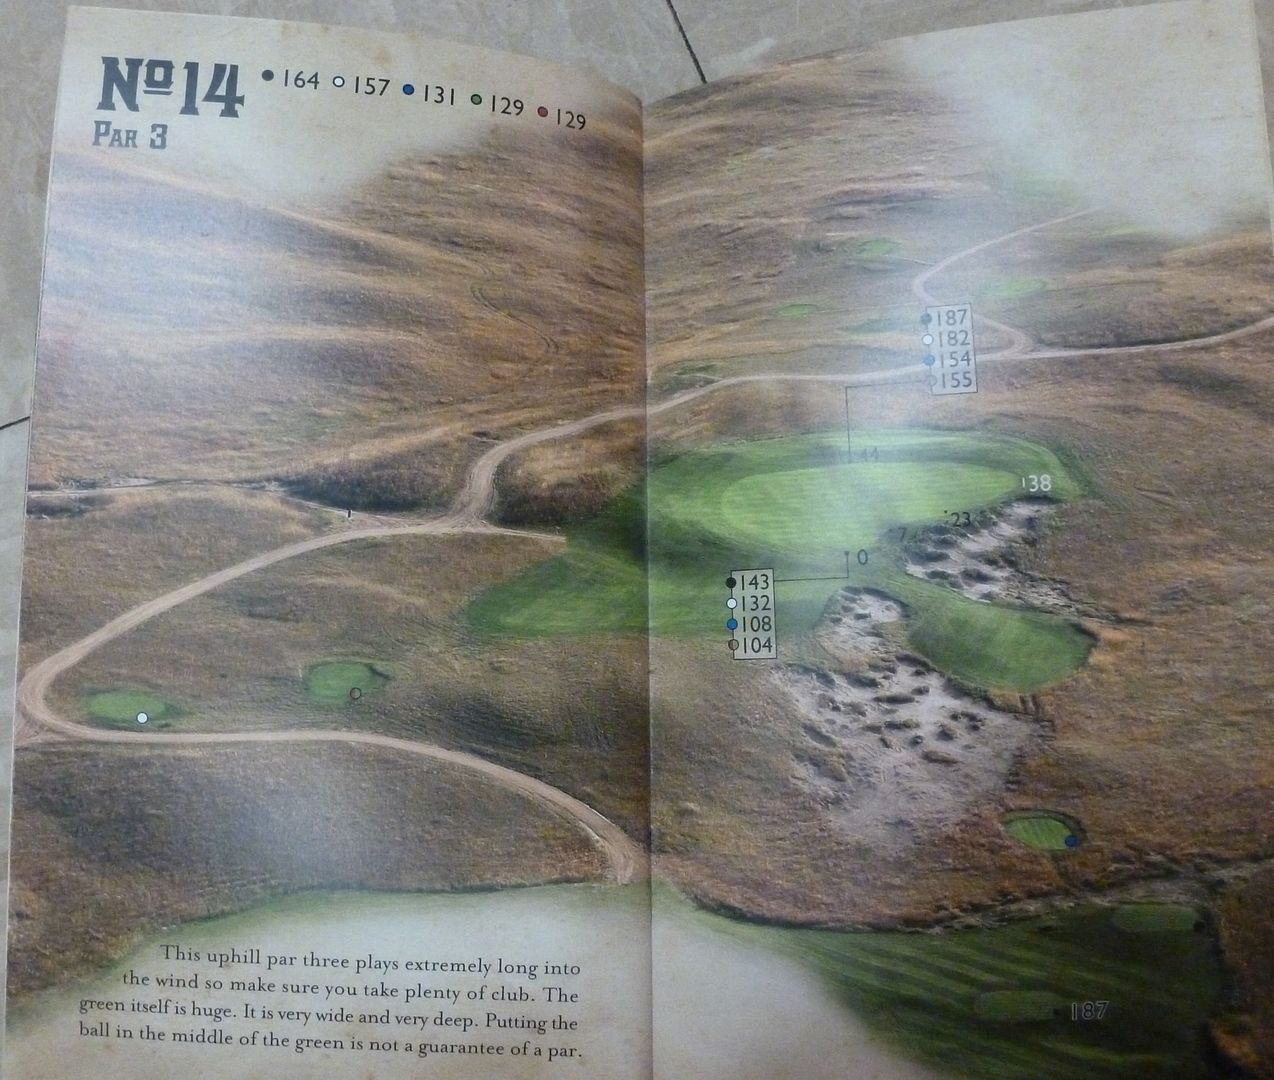
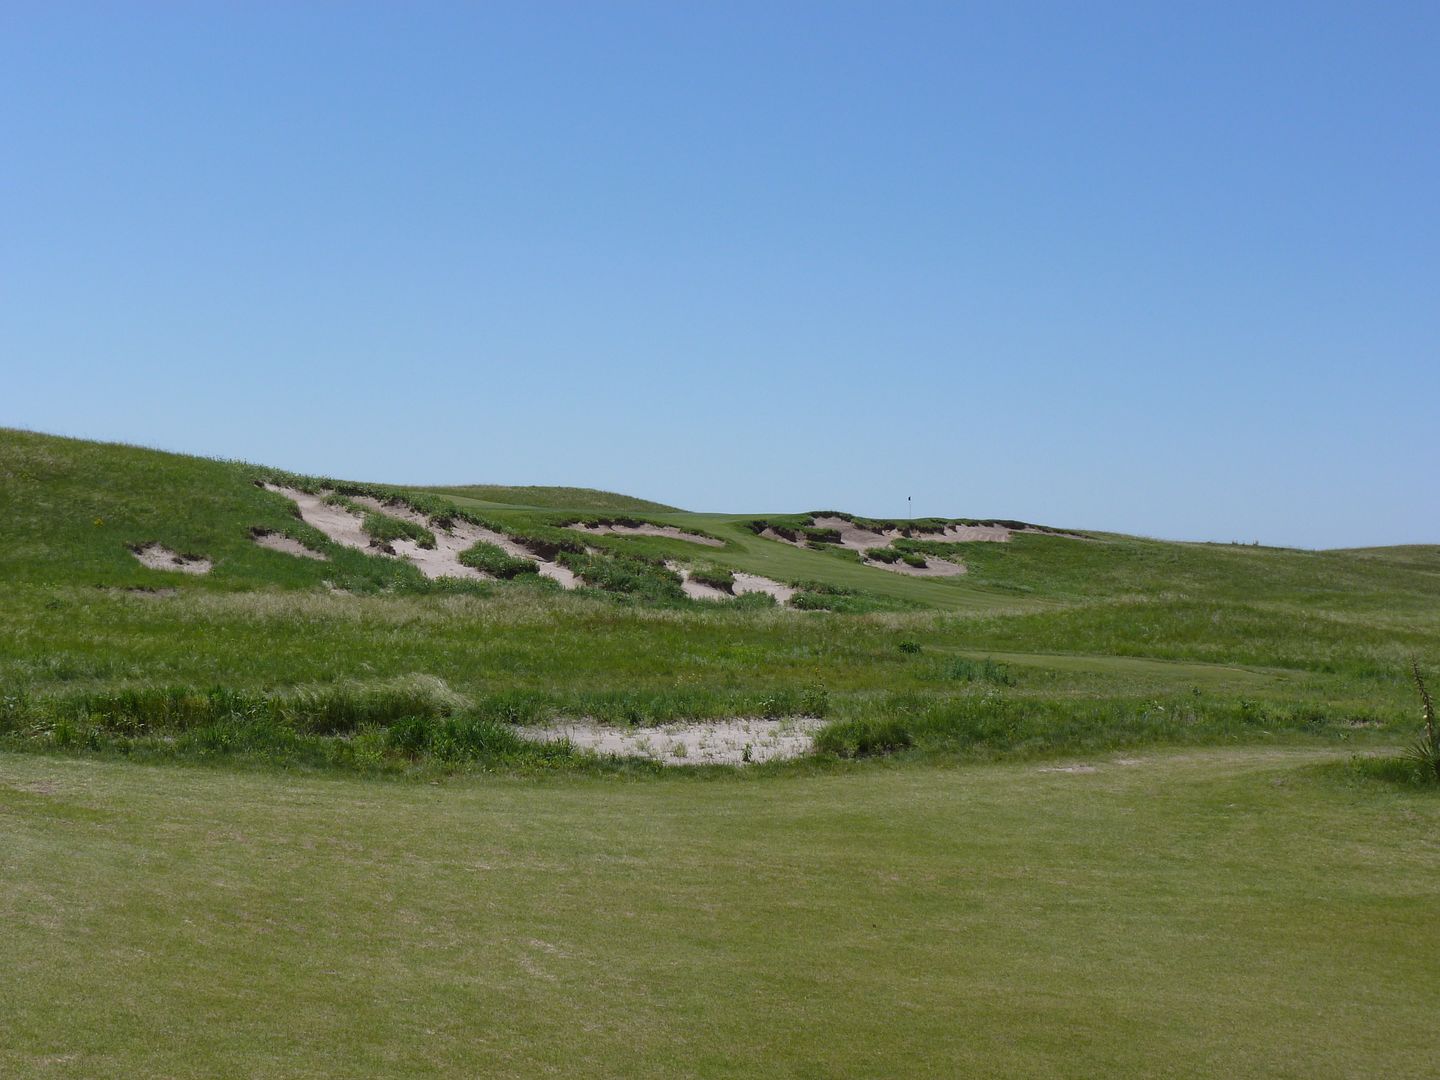
From 214 Yard Black Tee
From 201 Yard Black Tee
From 199 Yard White Tee - this is by far a more difficult tee shot than the slightly longer black tees
Red Tee
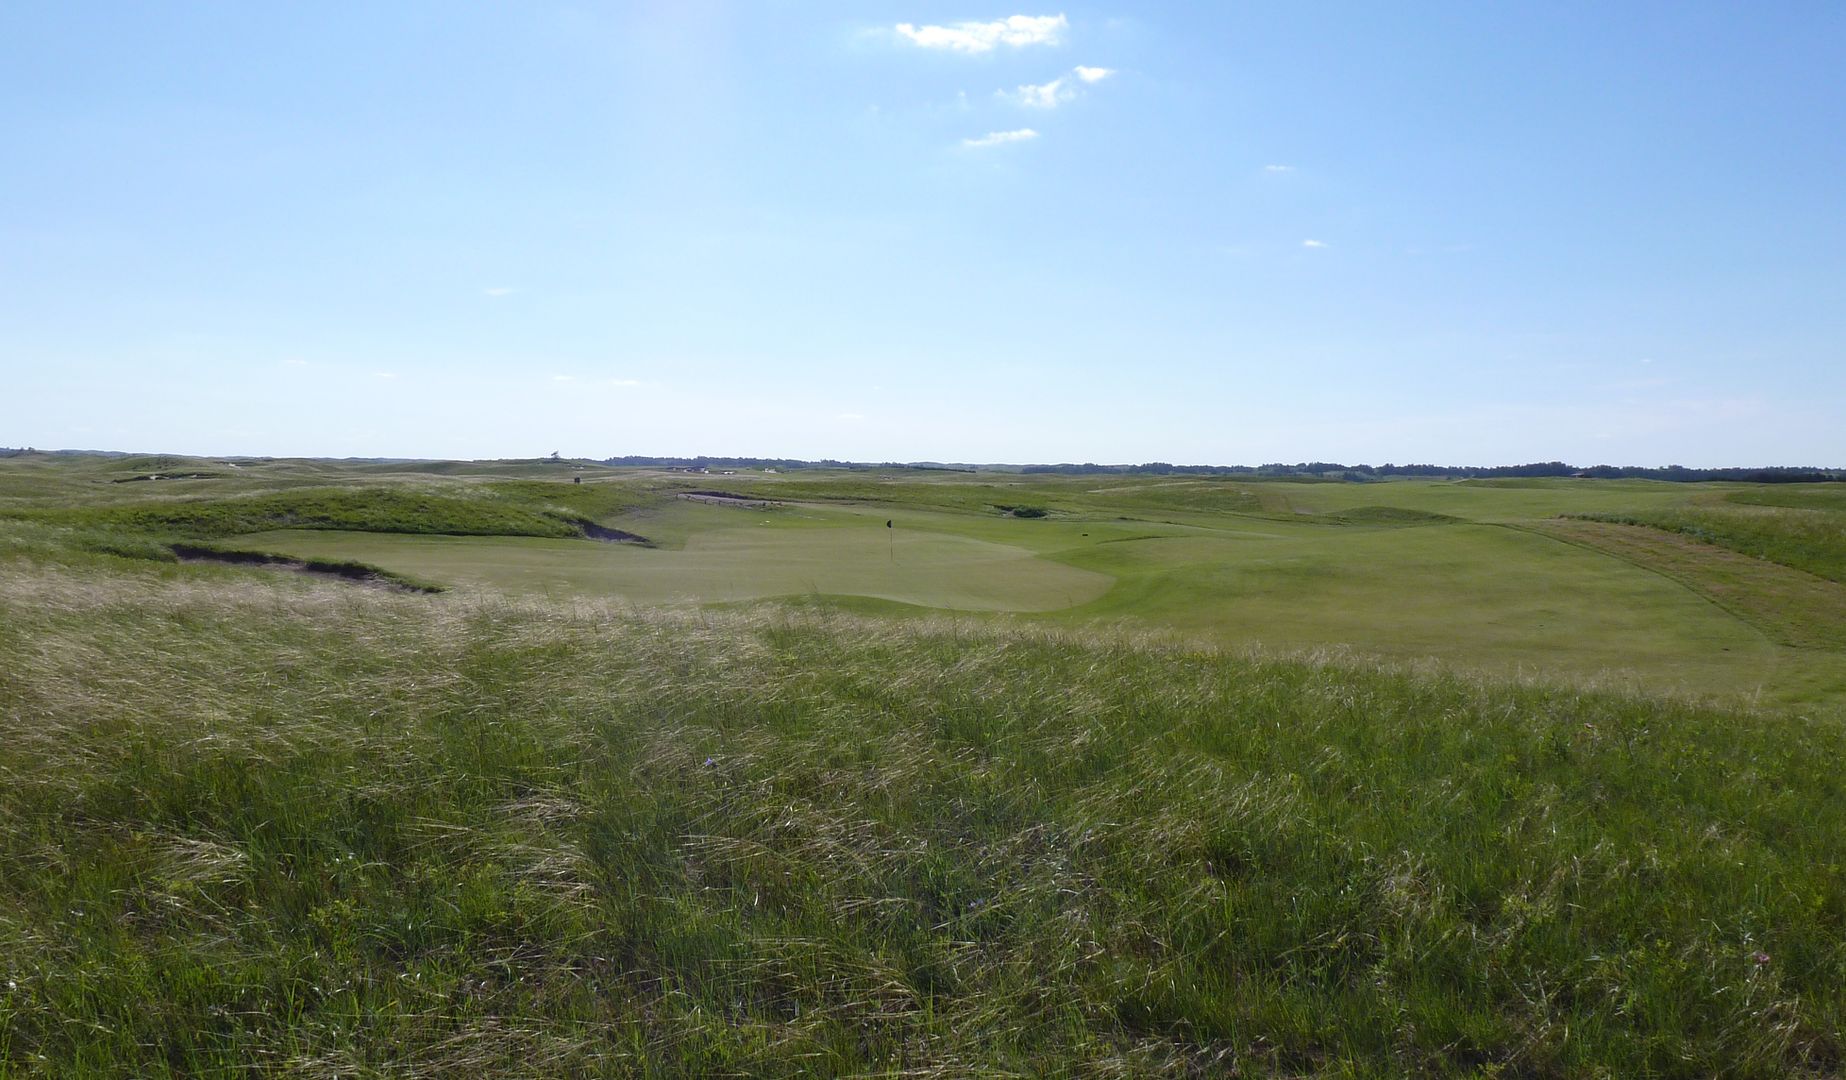
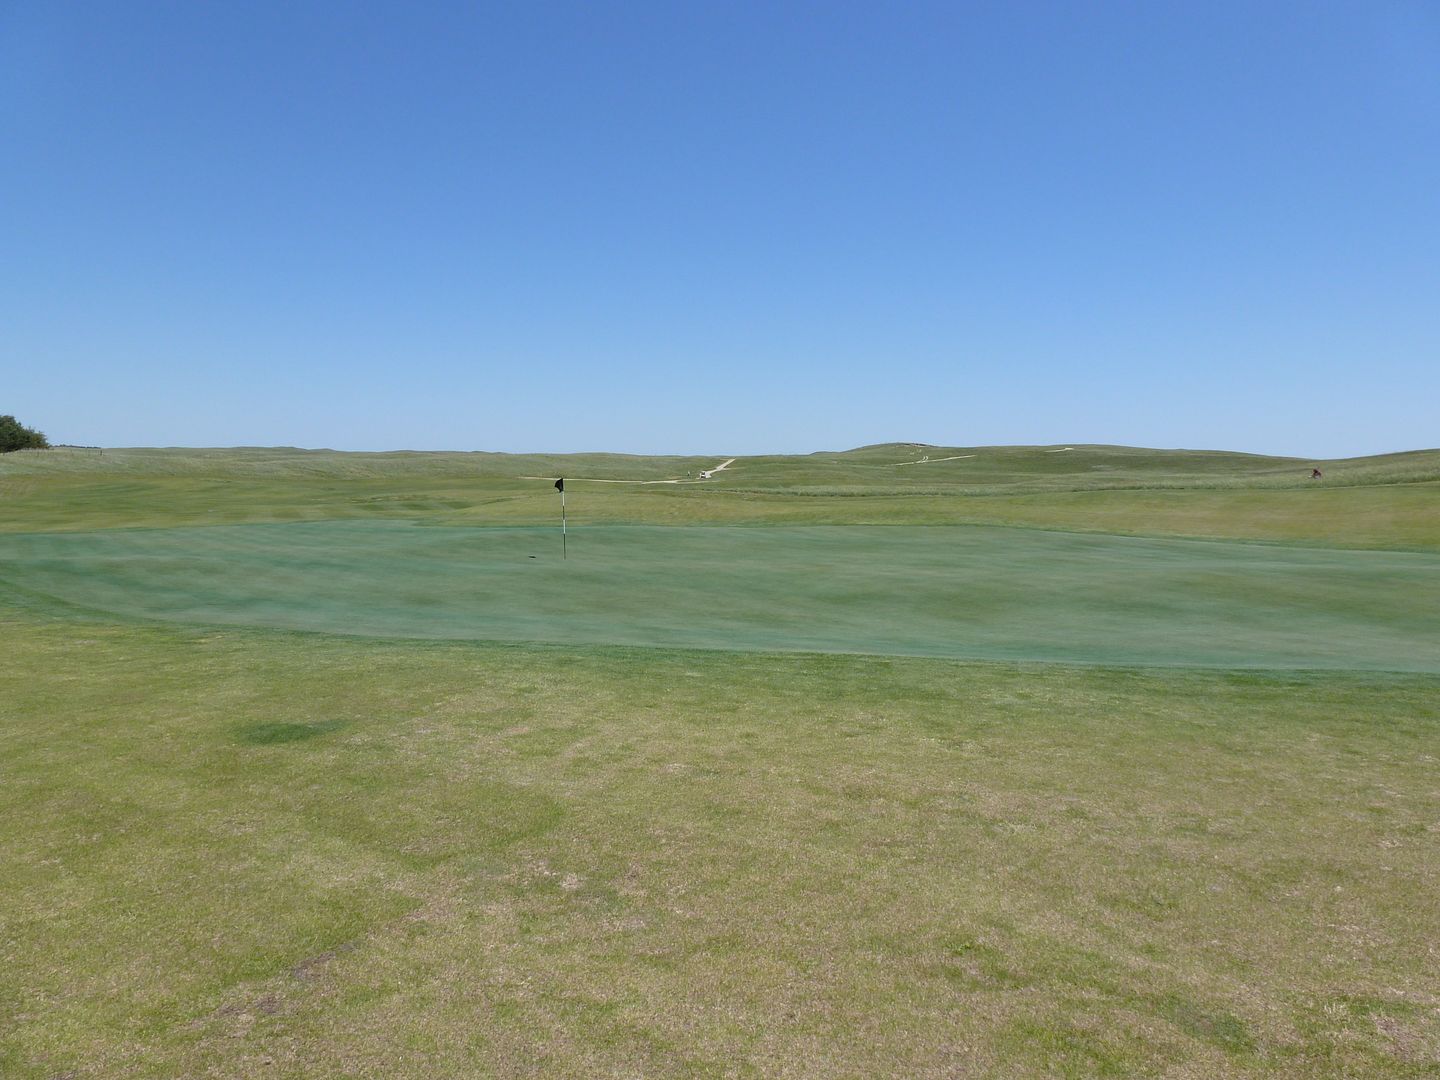
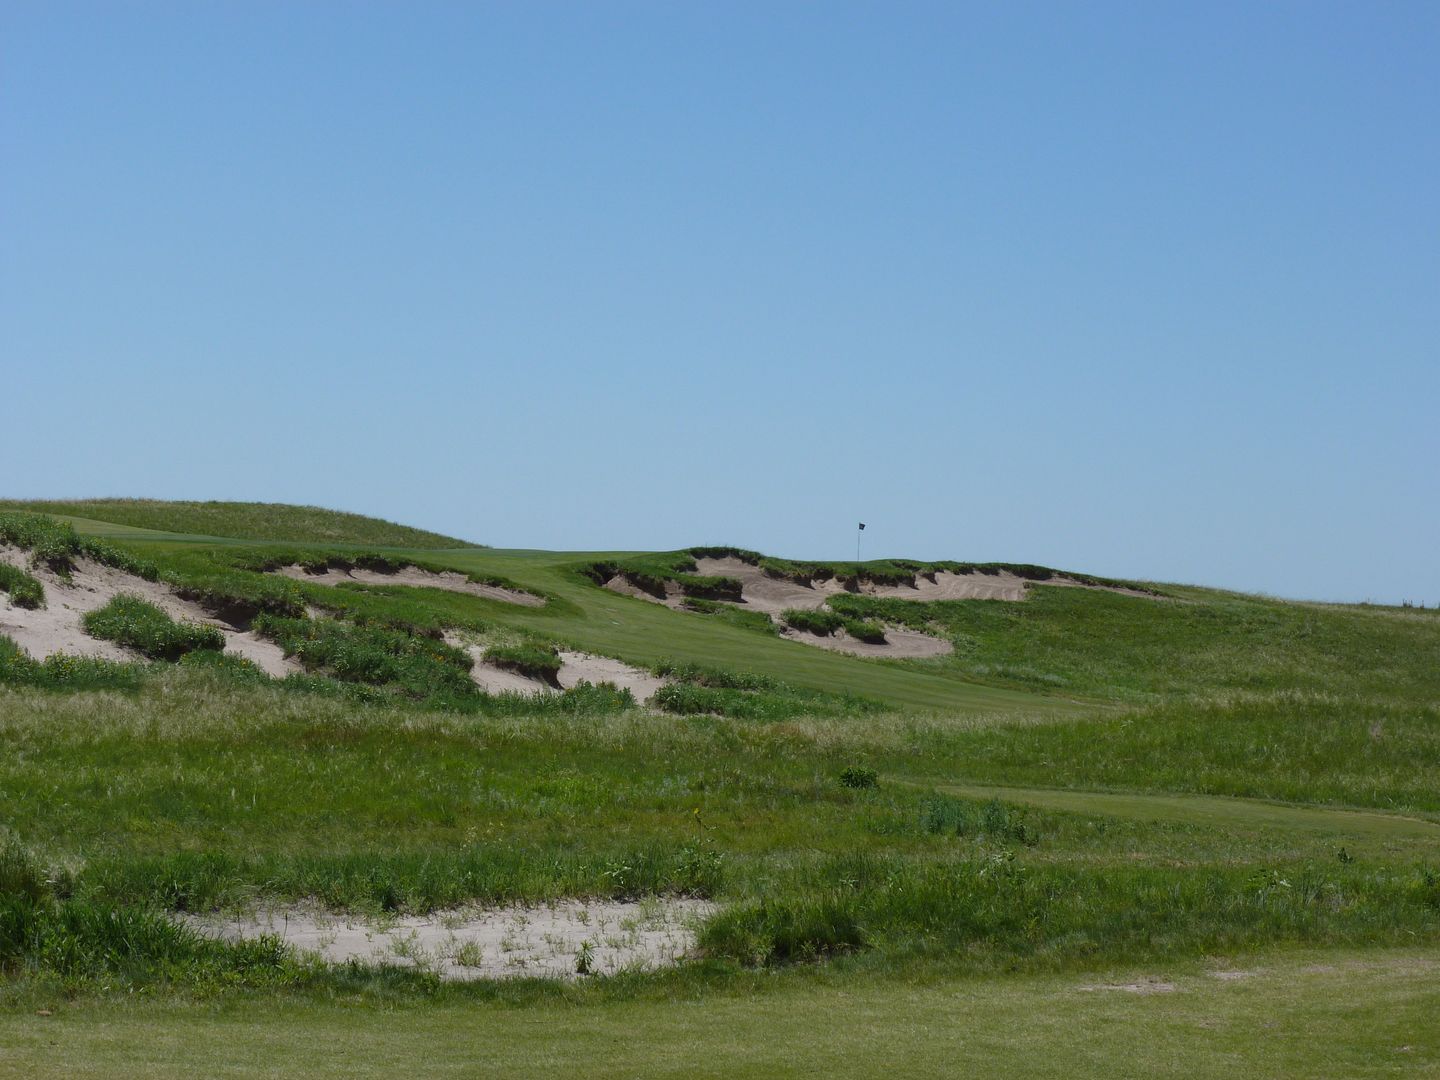
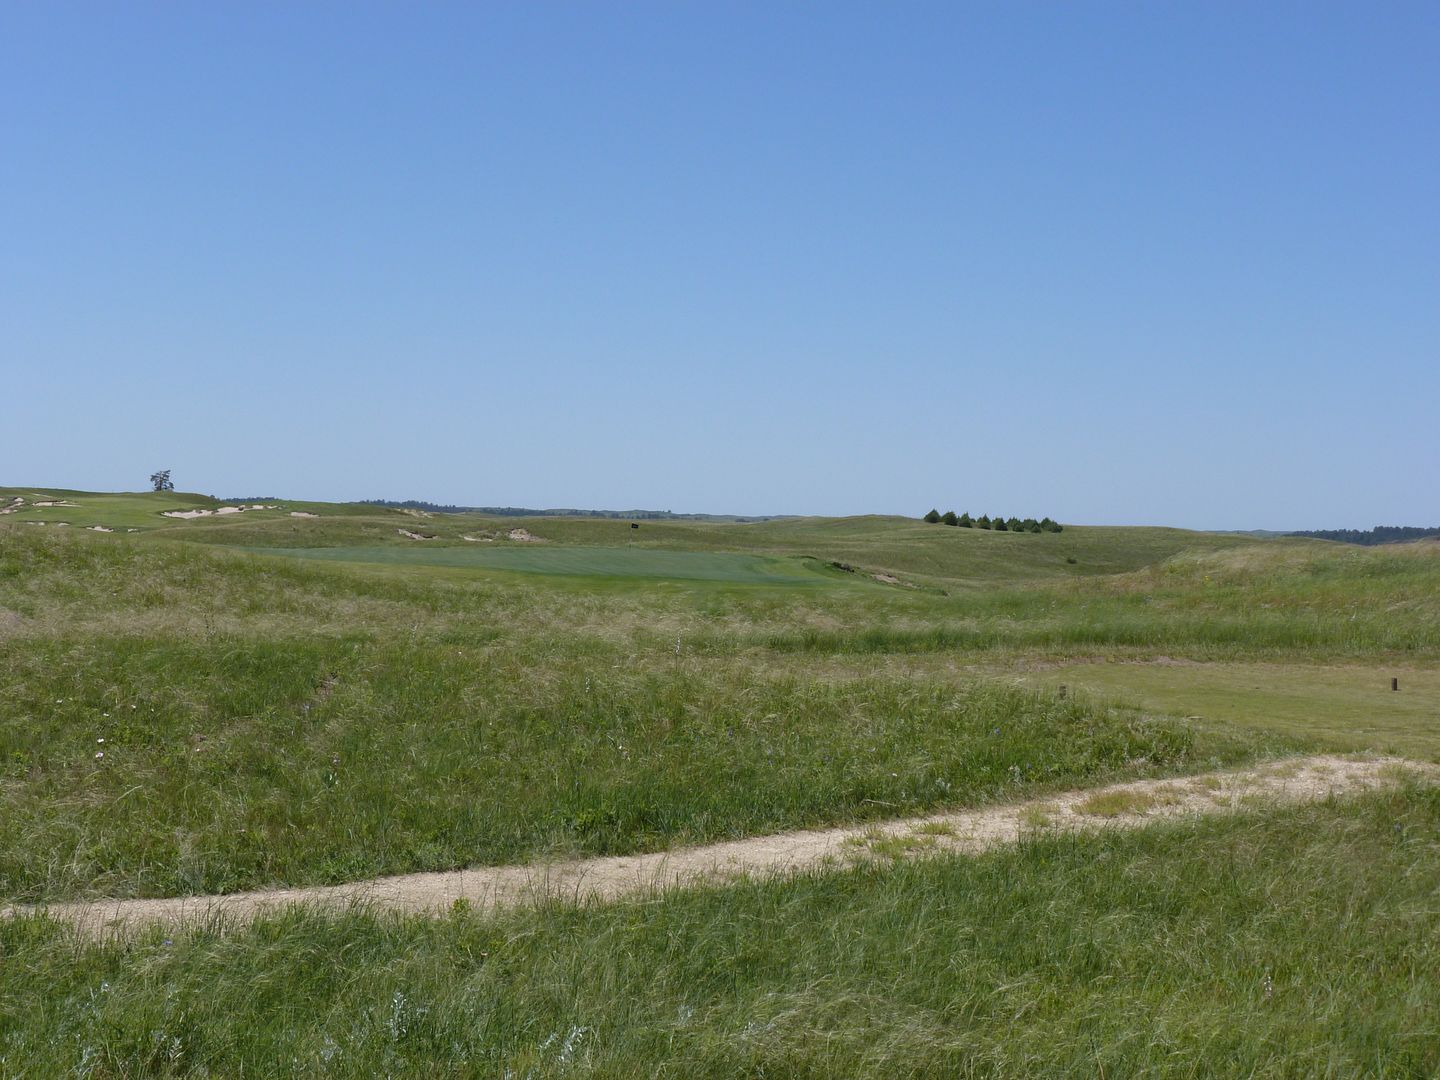
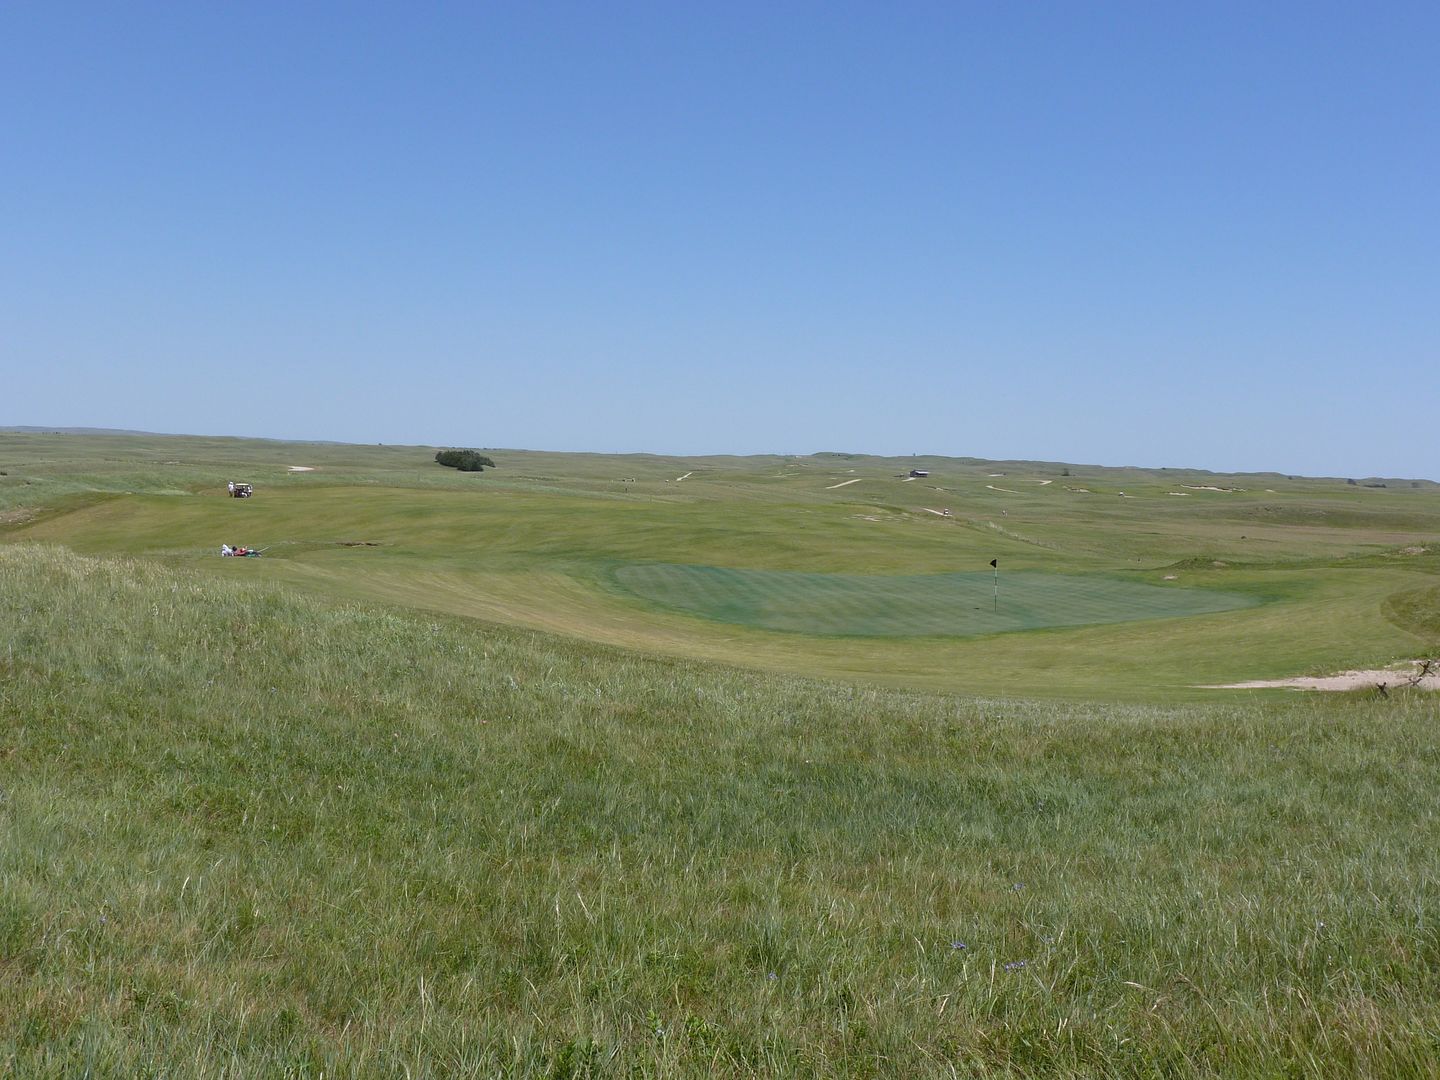
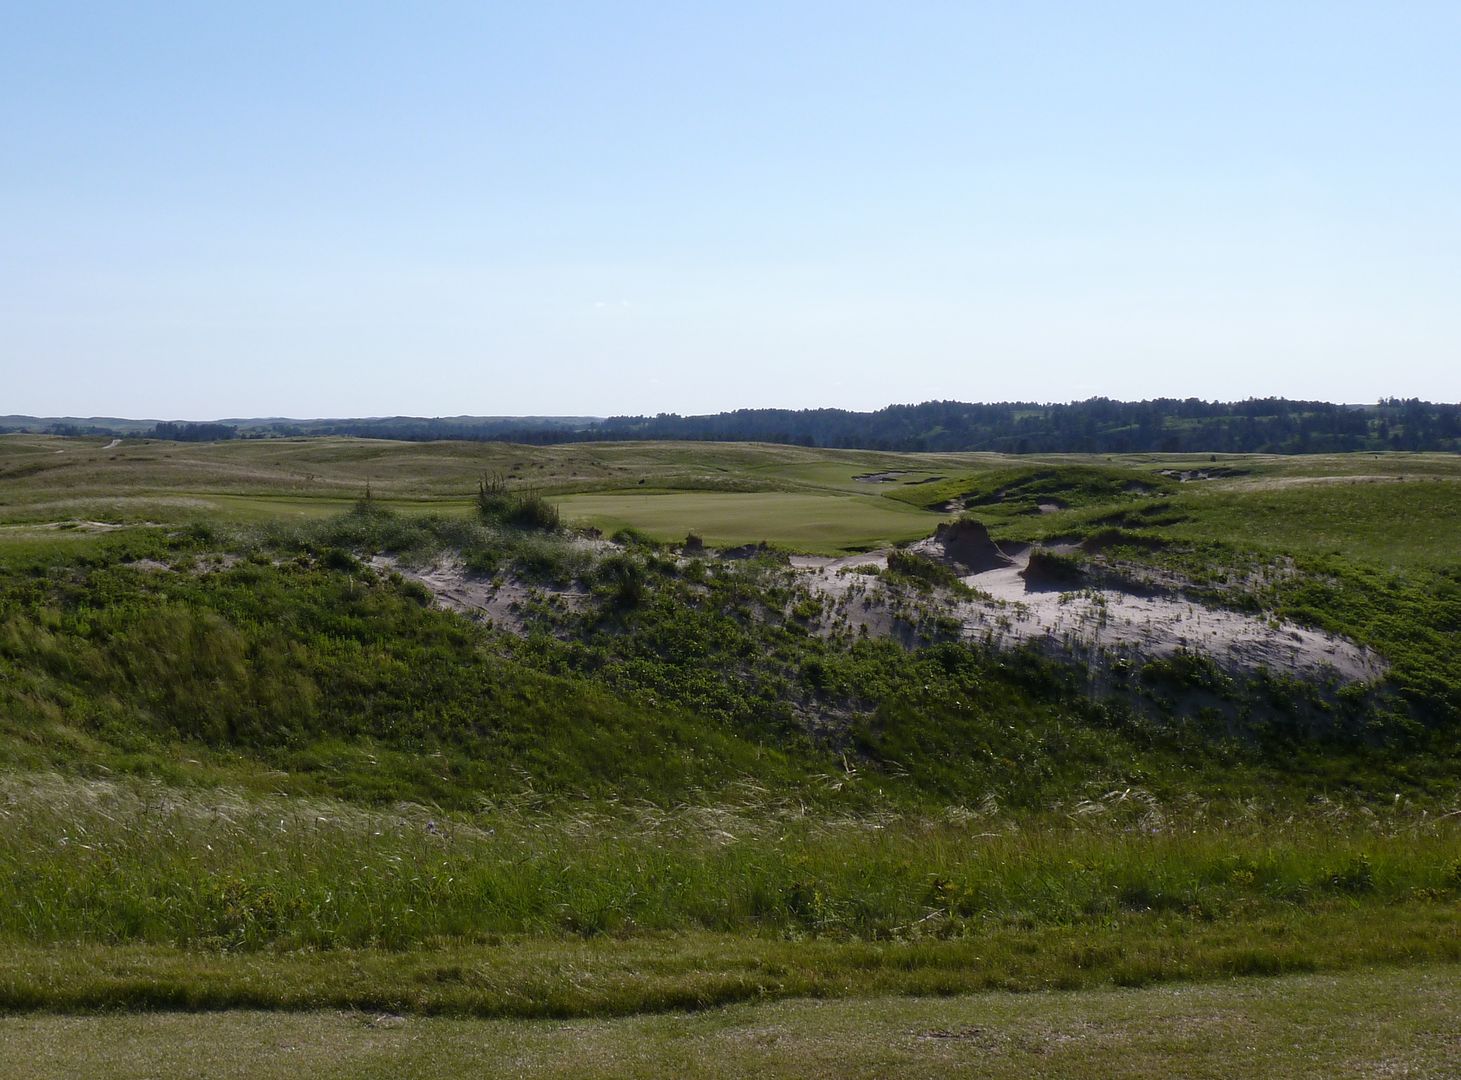
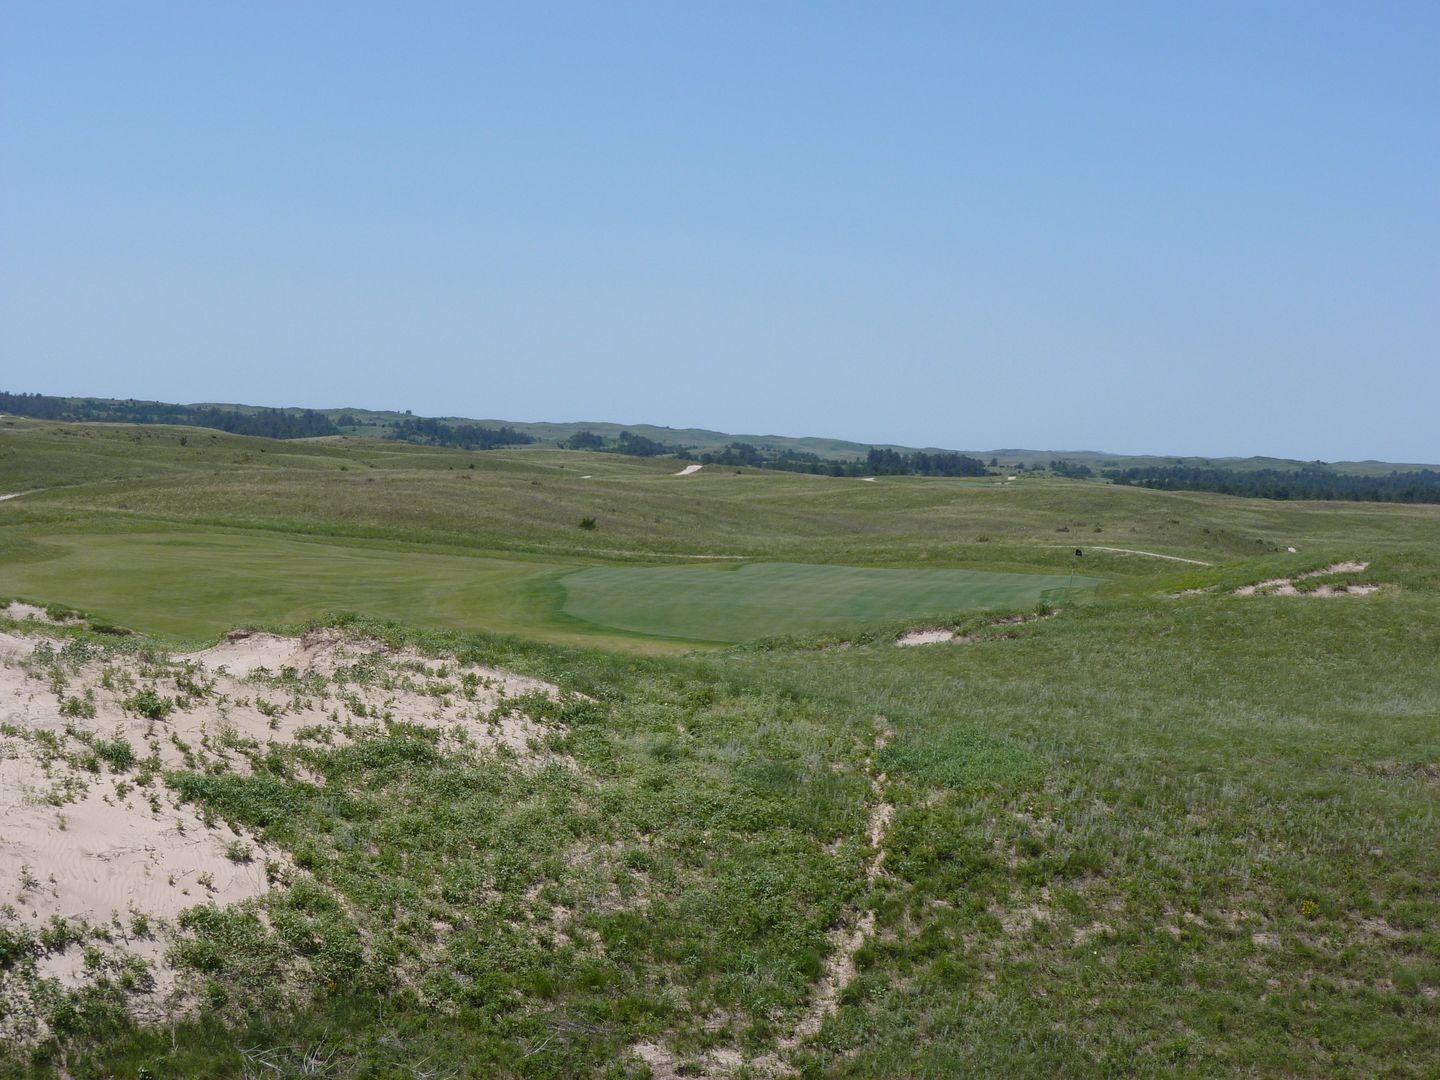
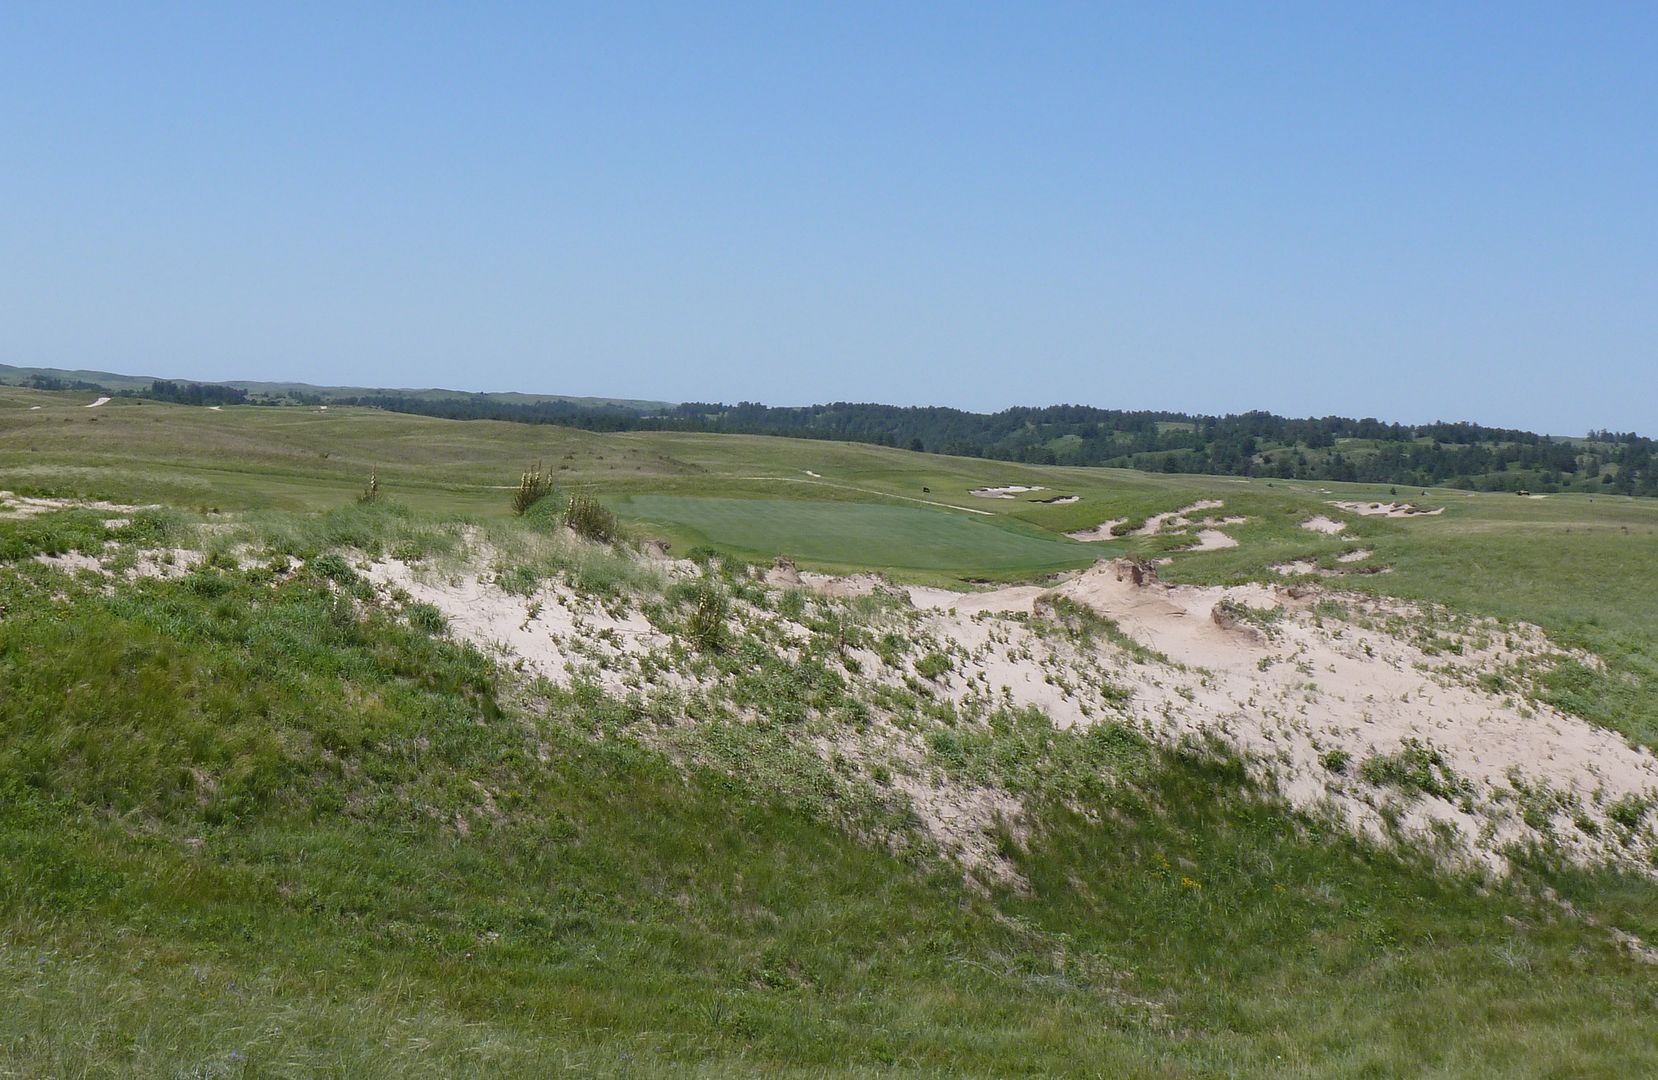
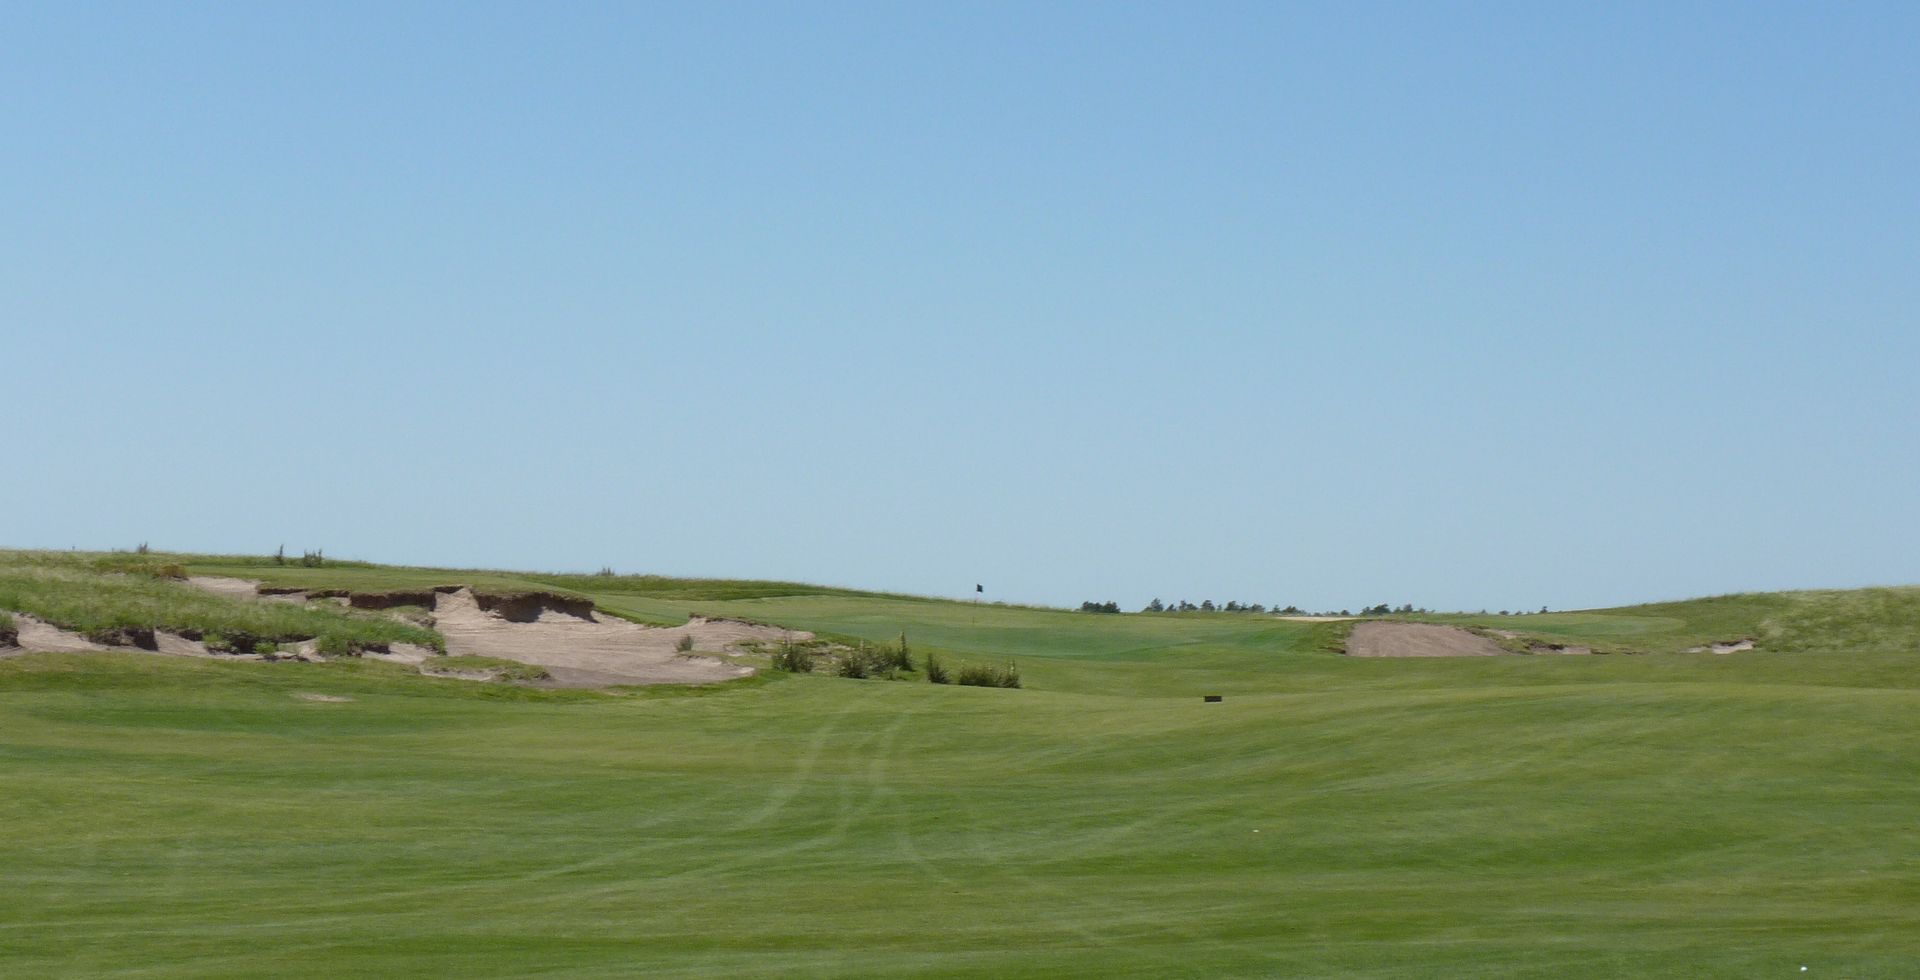
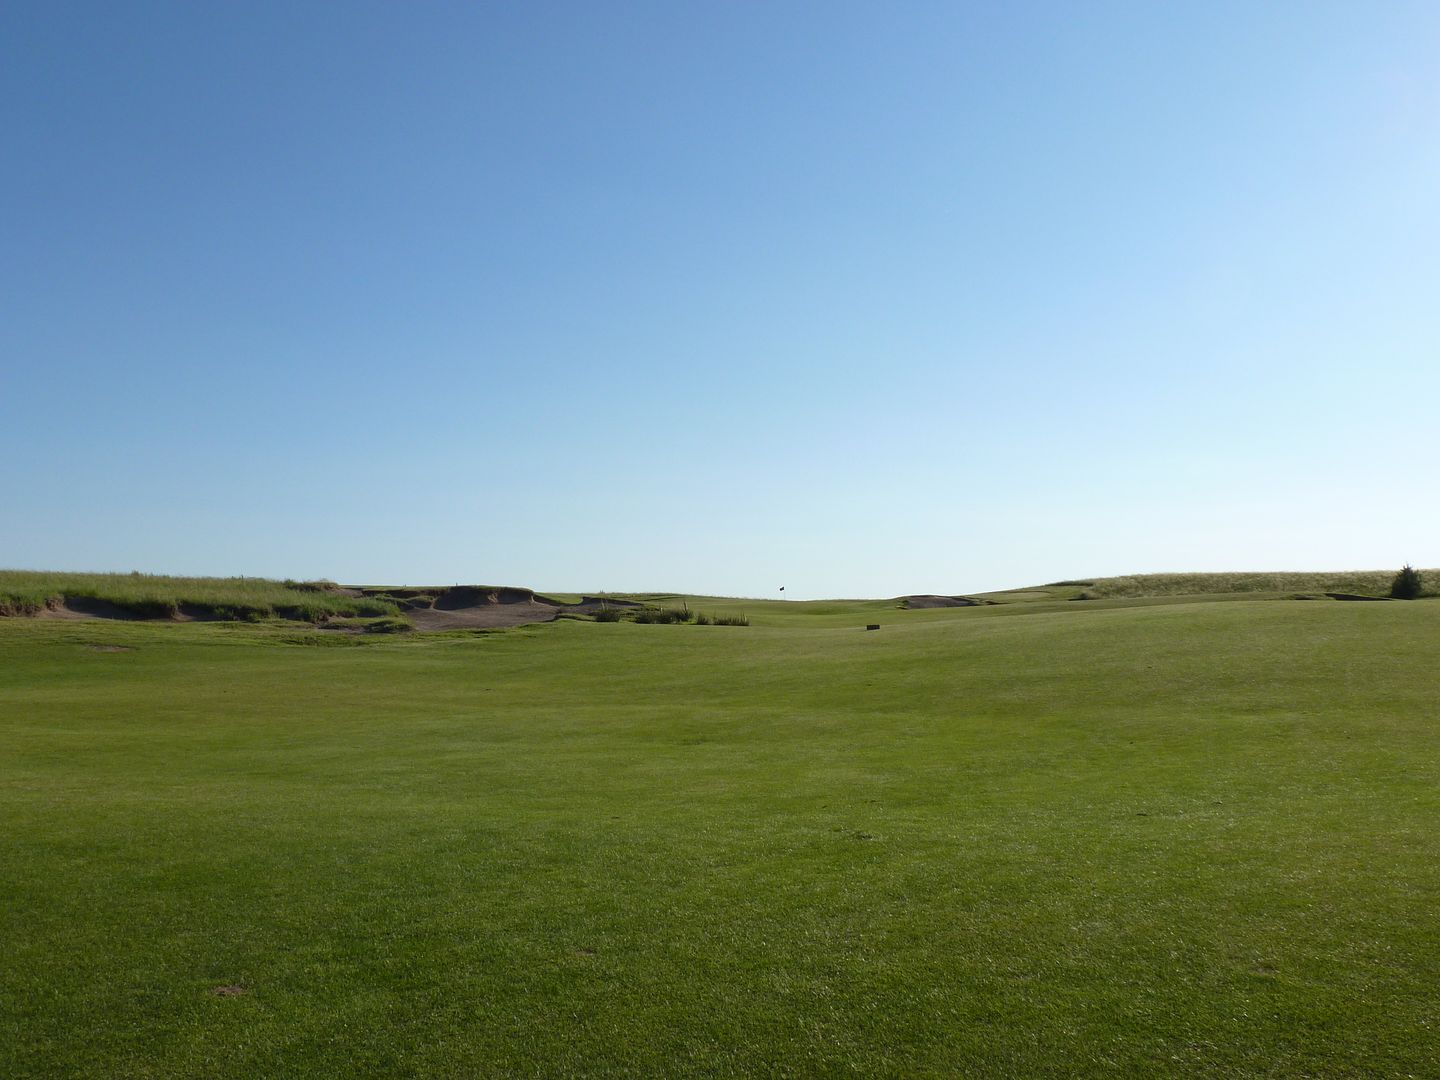
Even the though the green is as big you will ever see (some 20,000 square feet), with a strong wind (in any direction) hitting the green is no bargain. As a result, a massive bailout area to the left awaits the cautious player, afraid of finding the long grass right.
Hitting the green, however, is only the beginning of the fun here. There is a large false front and in the middle of the green there is as severe an undulation as one will ever see. This makes putts from one portion of the green to another very difficult.
Large false front
From left of green
From behind green
Double Black Tee (489 yard box - only steps from 16 green)
Black Tee
White Tee
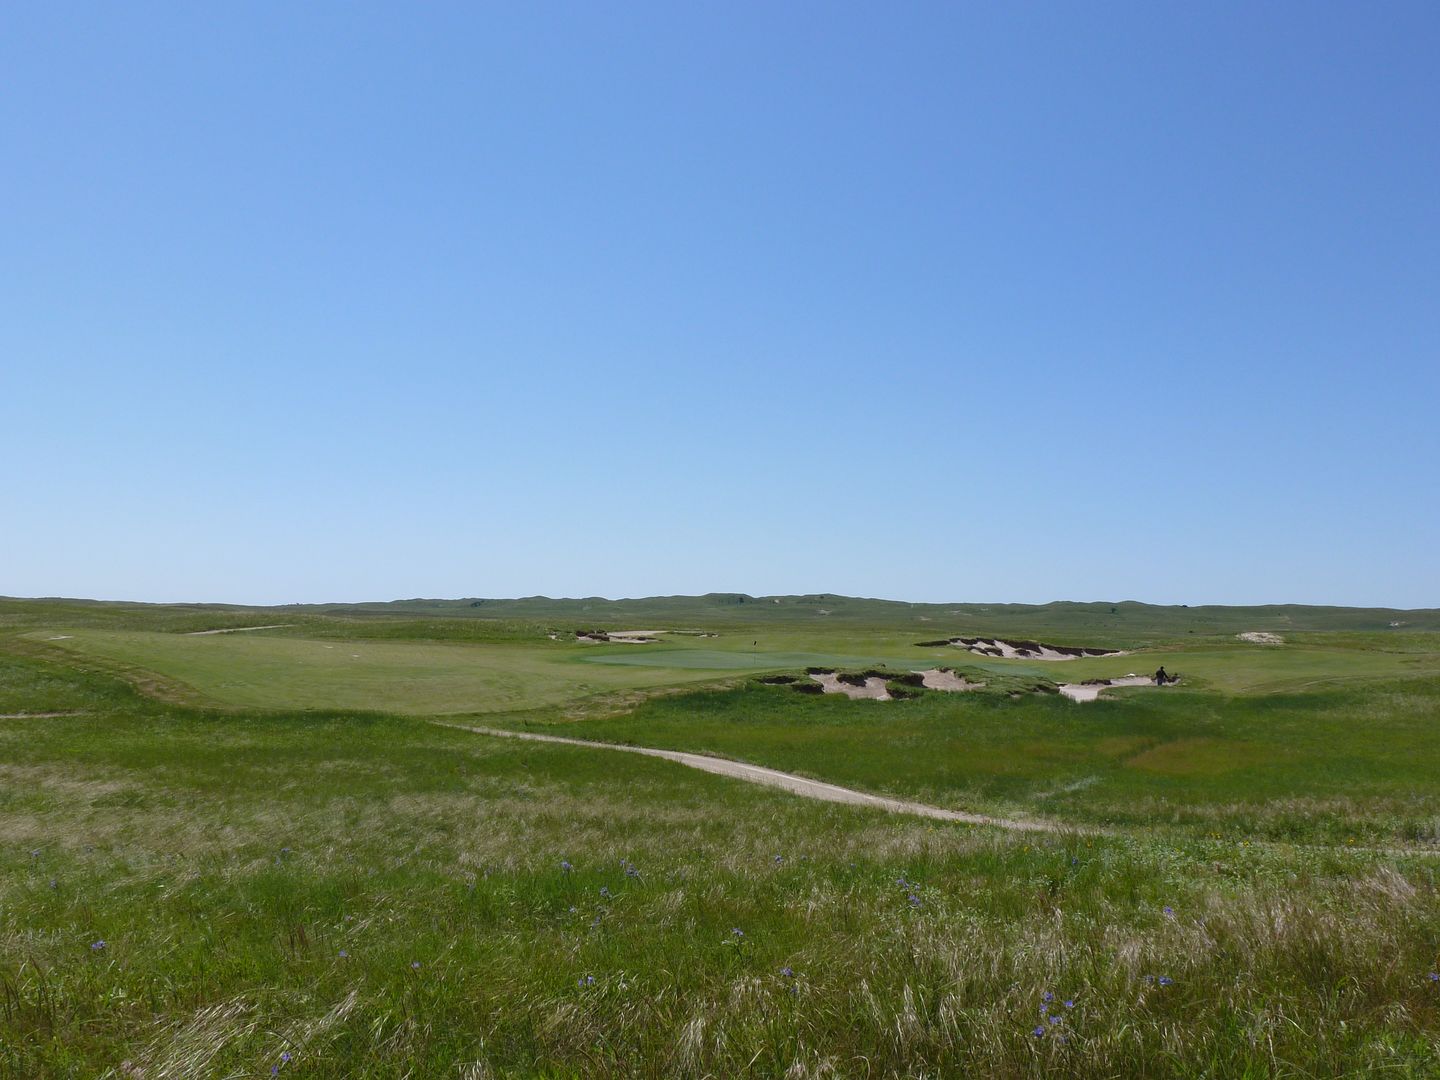
Another tee shot with a lot of options. Of course, wind dictates which set of options are in play for the day. Into the wind the goal was simply getting past the hump 230 yards from the tee to give a view of the green.
Generally, the best views are from the left but the shortest approaches from the right.
View from a tee shot played too aggressively (meaning missed to the right):
From right of the centerline bunker
From over centerline (online possible downwind)
From left side of fairway
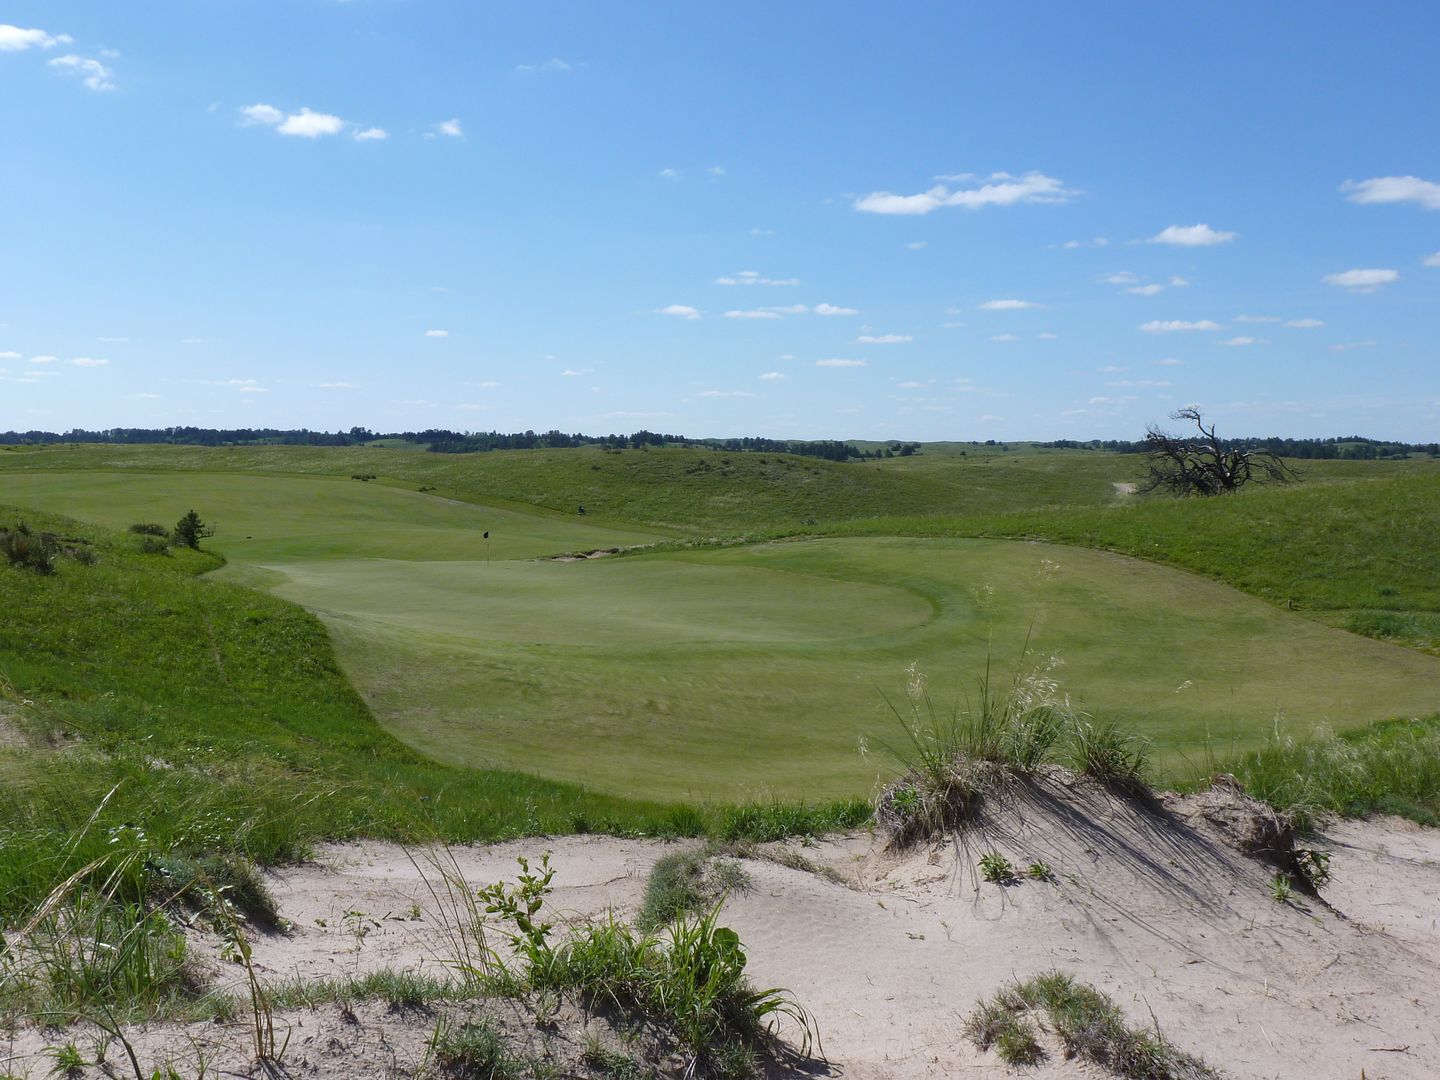
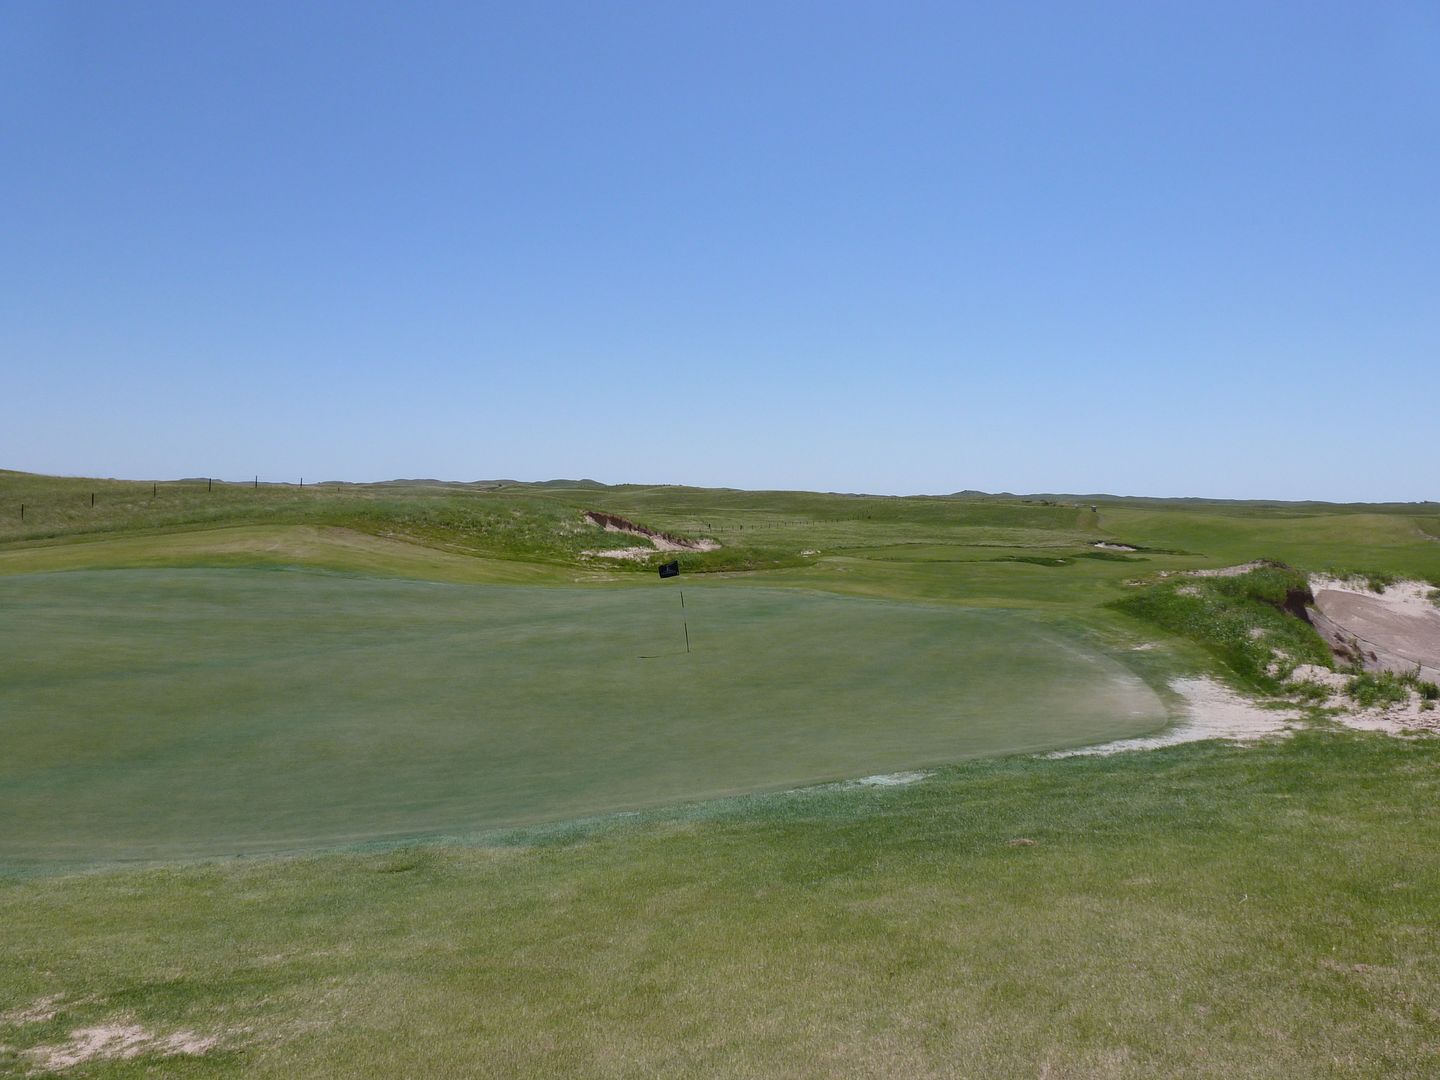
Short of green
Behind green
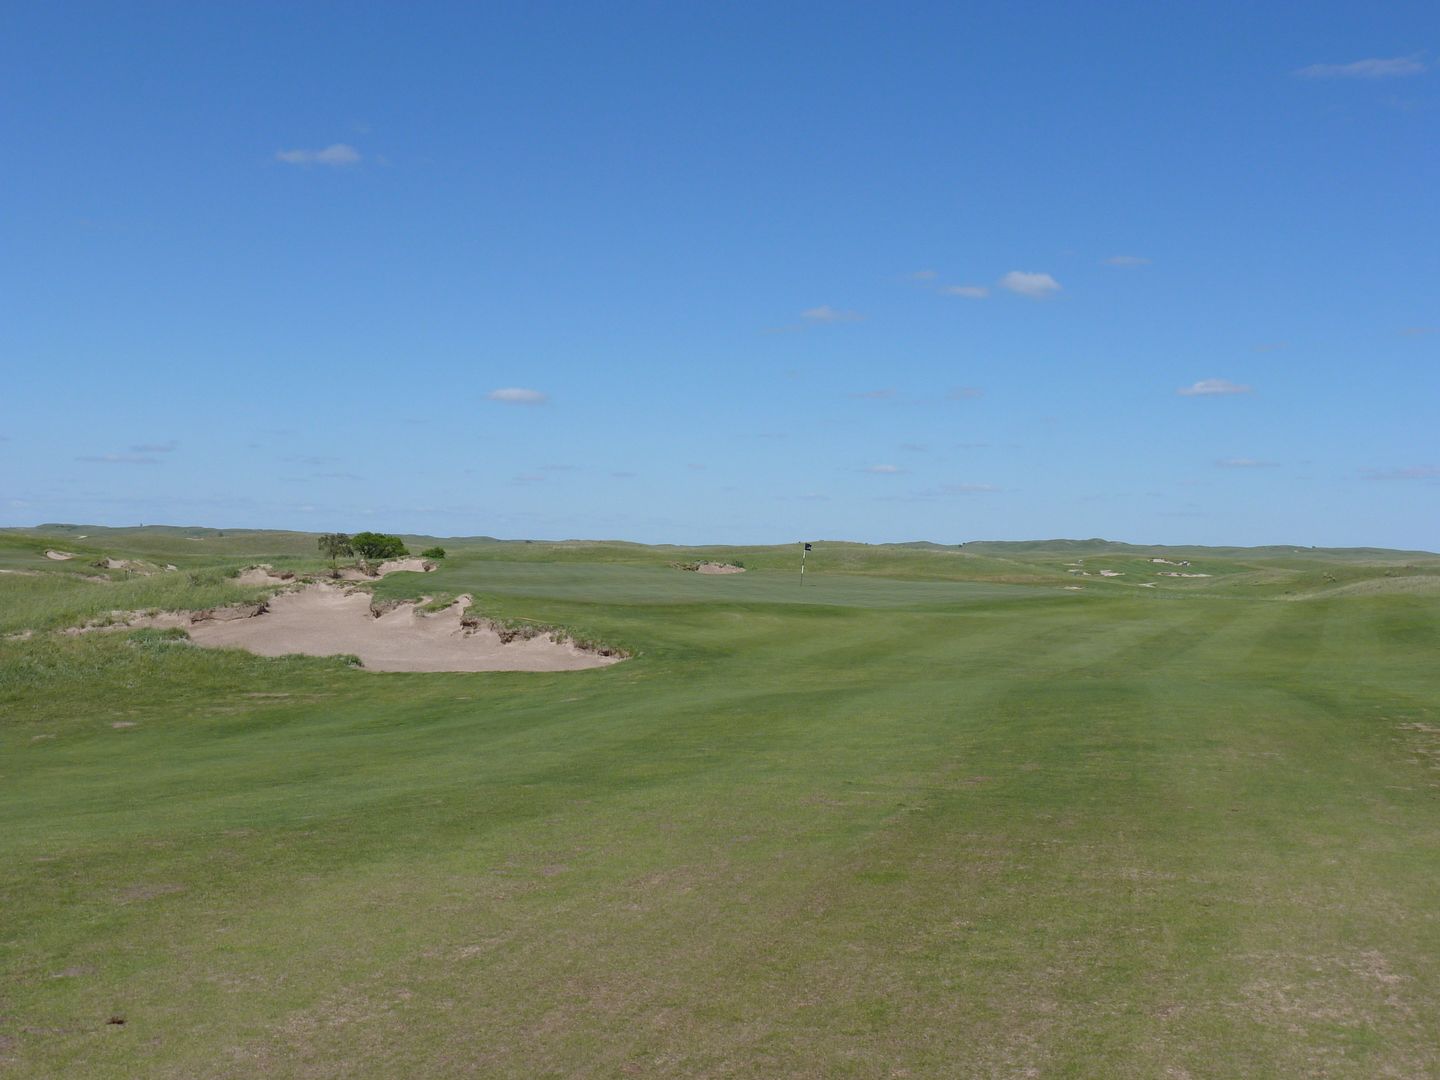
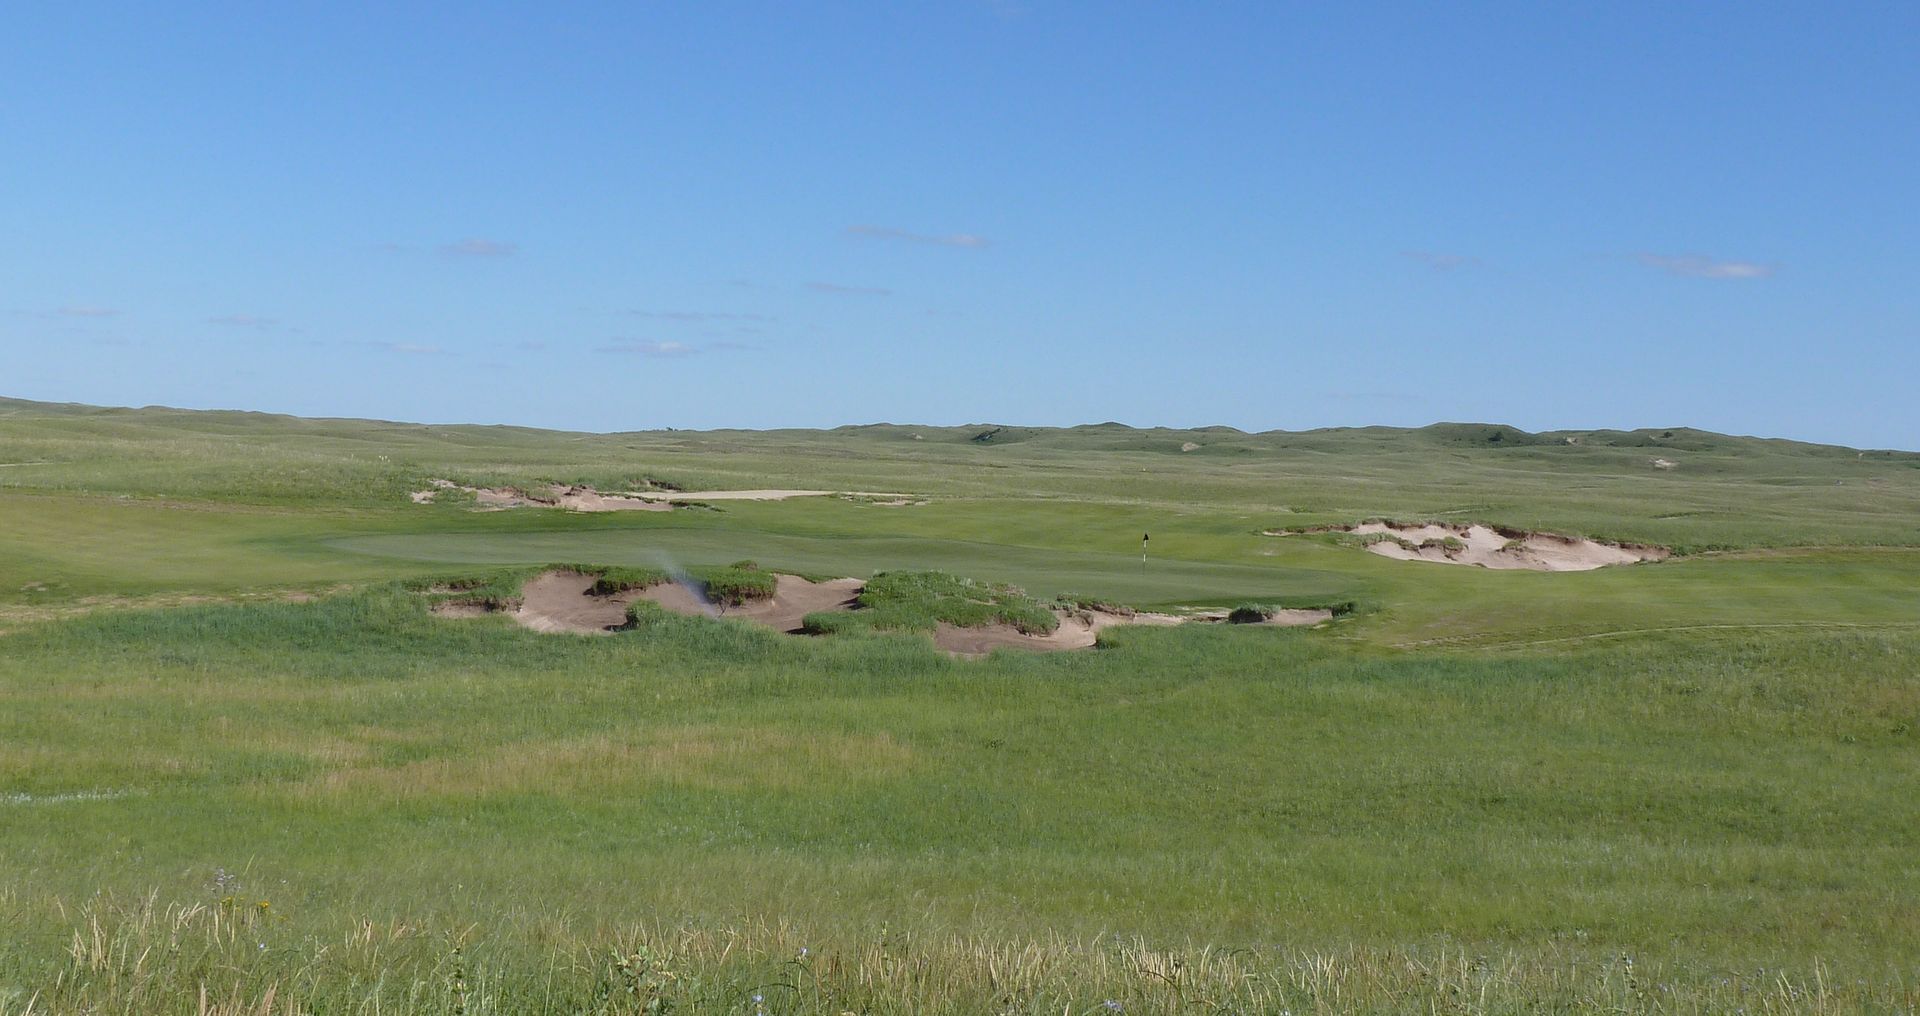
Shots missed short/left kick down some 40 yards from the green into this massive collection area
Similarly, shots long will kick 40 yards away into this collection area
Black Tee
White Tee
Red Tee
Approach from right
Approach from centre
Approach from left
From short right of green

From short left

From Behind
No comments:
Post a Comment