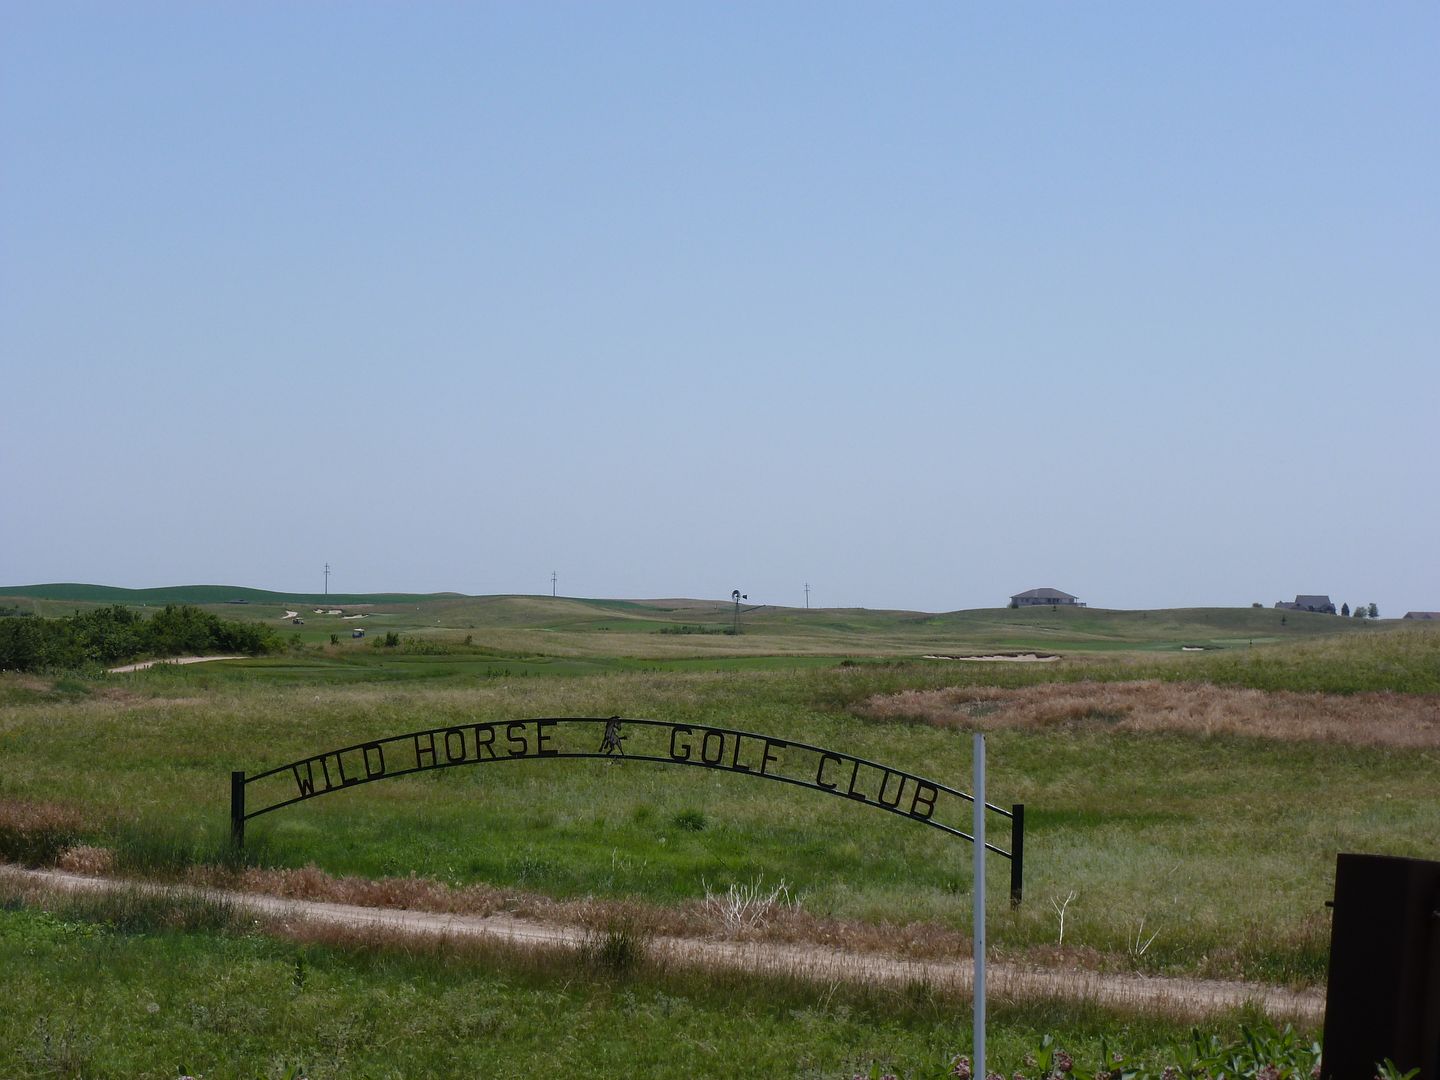
 Wild Horse Golf Club
 Gothenburg, Nebraska, United States
Architects: Dave Axland and Dan Proctor (1998)
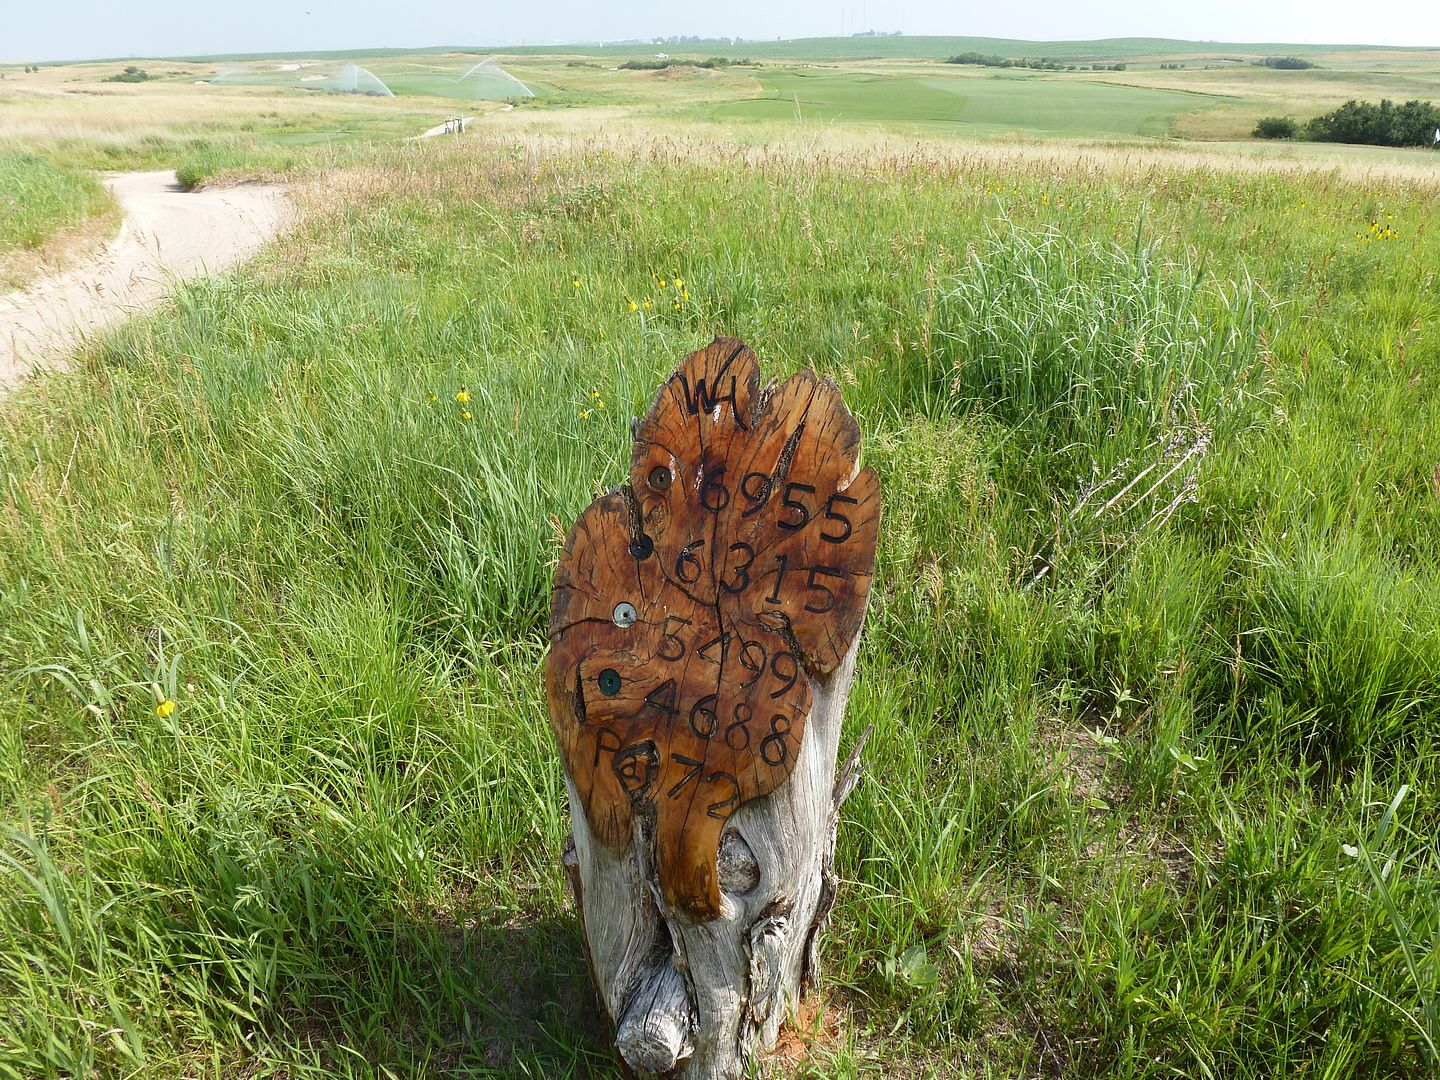
Par 72, 6,955 Yards
Rating/Slope: 73.6/134
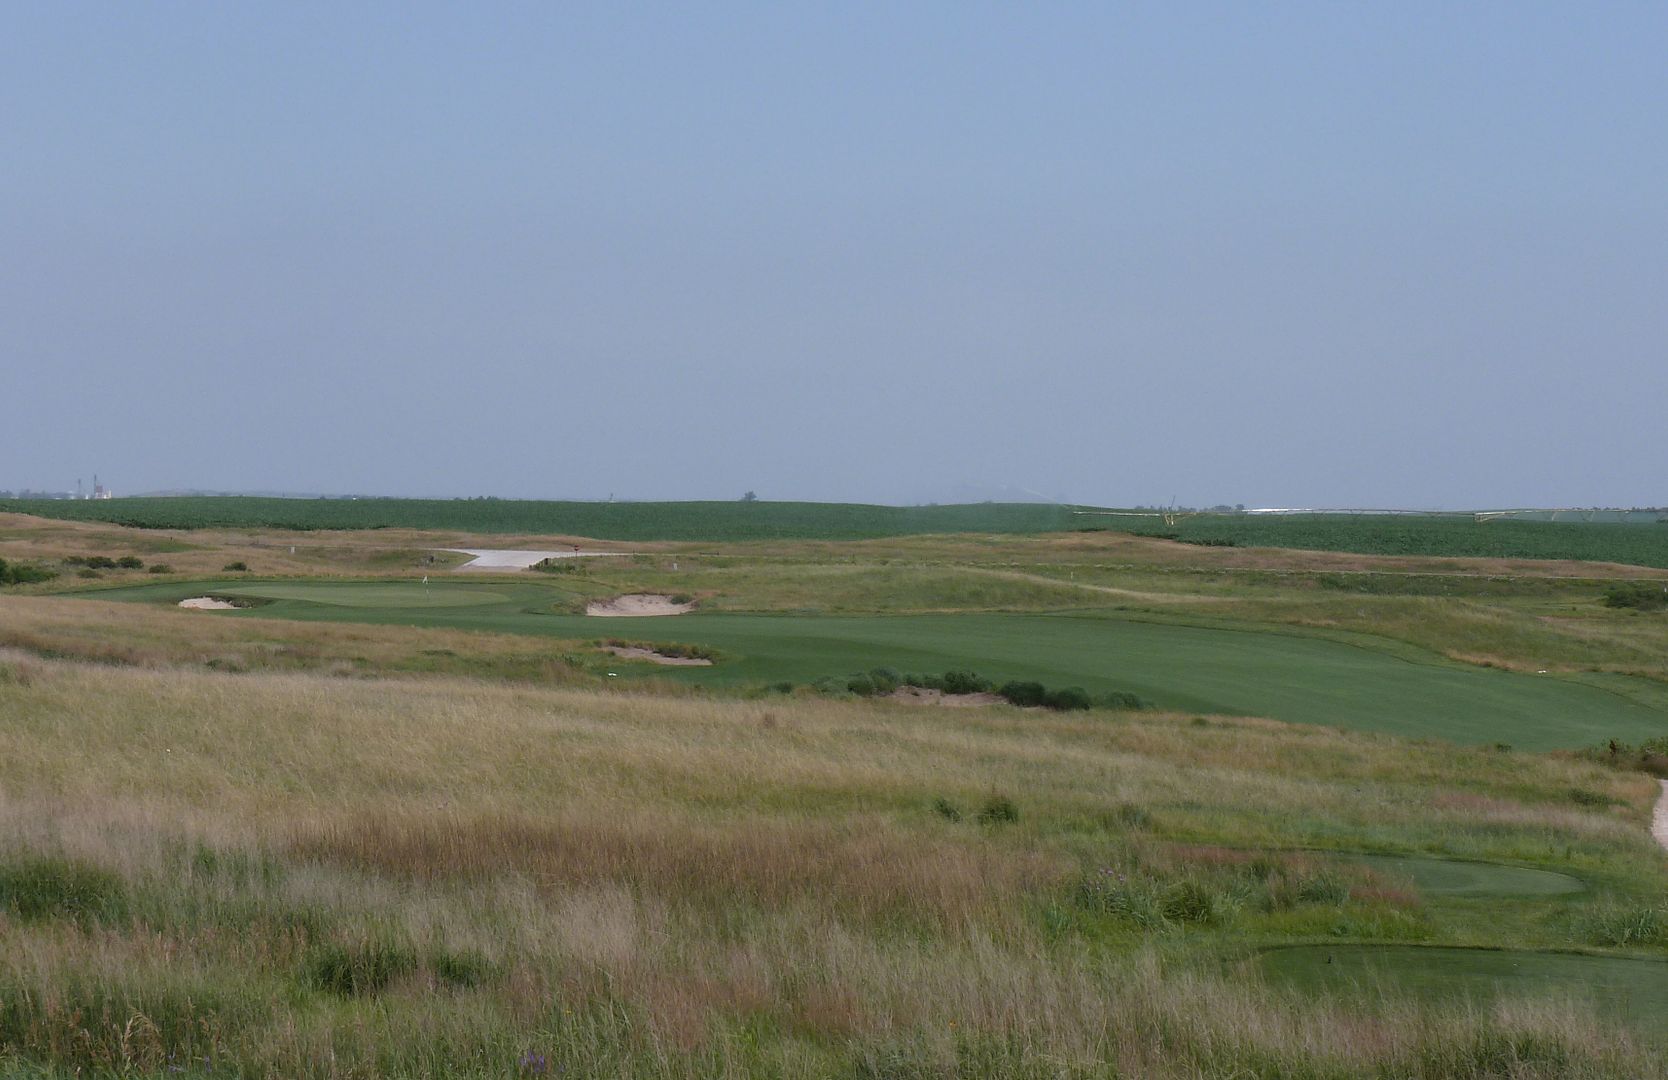
My Quick Review: Dave and Dan learned well from their work on the famed Sand Hills Golf Club. Wild Horse is a tremendous golf course built in minimalist fashion over perfect sand hills terrain.
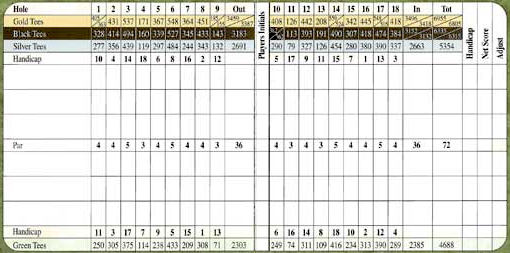
Scorecard
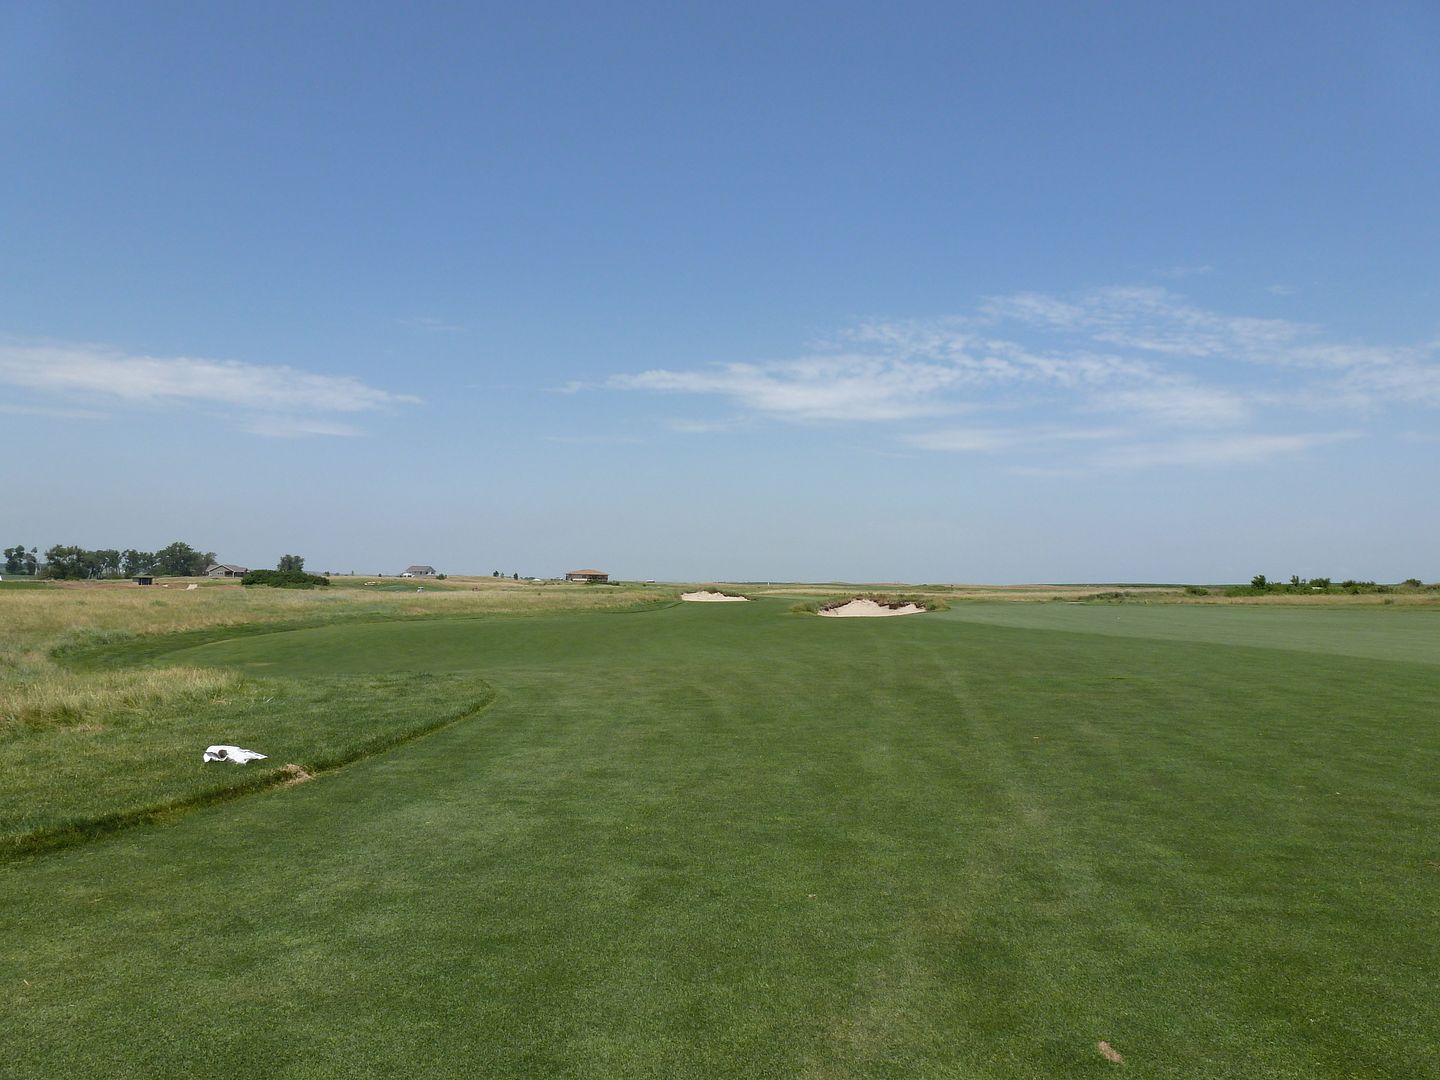
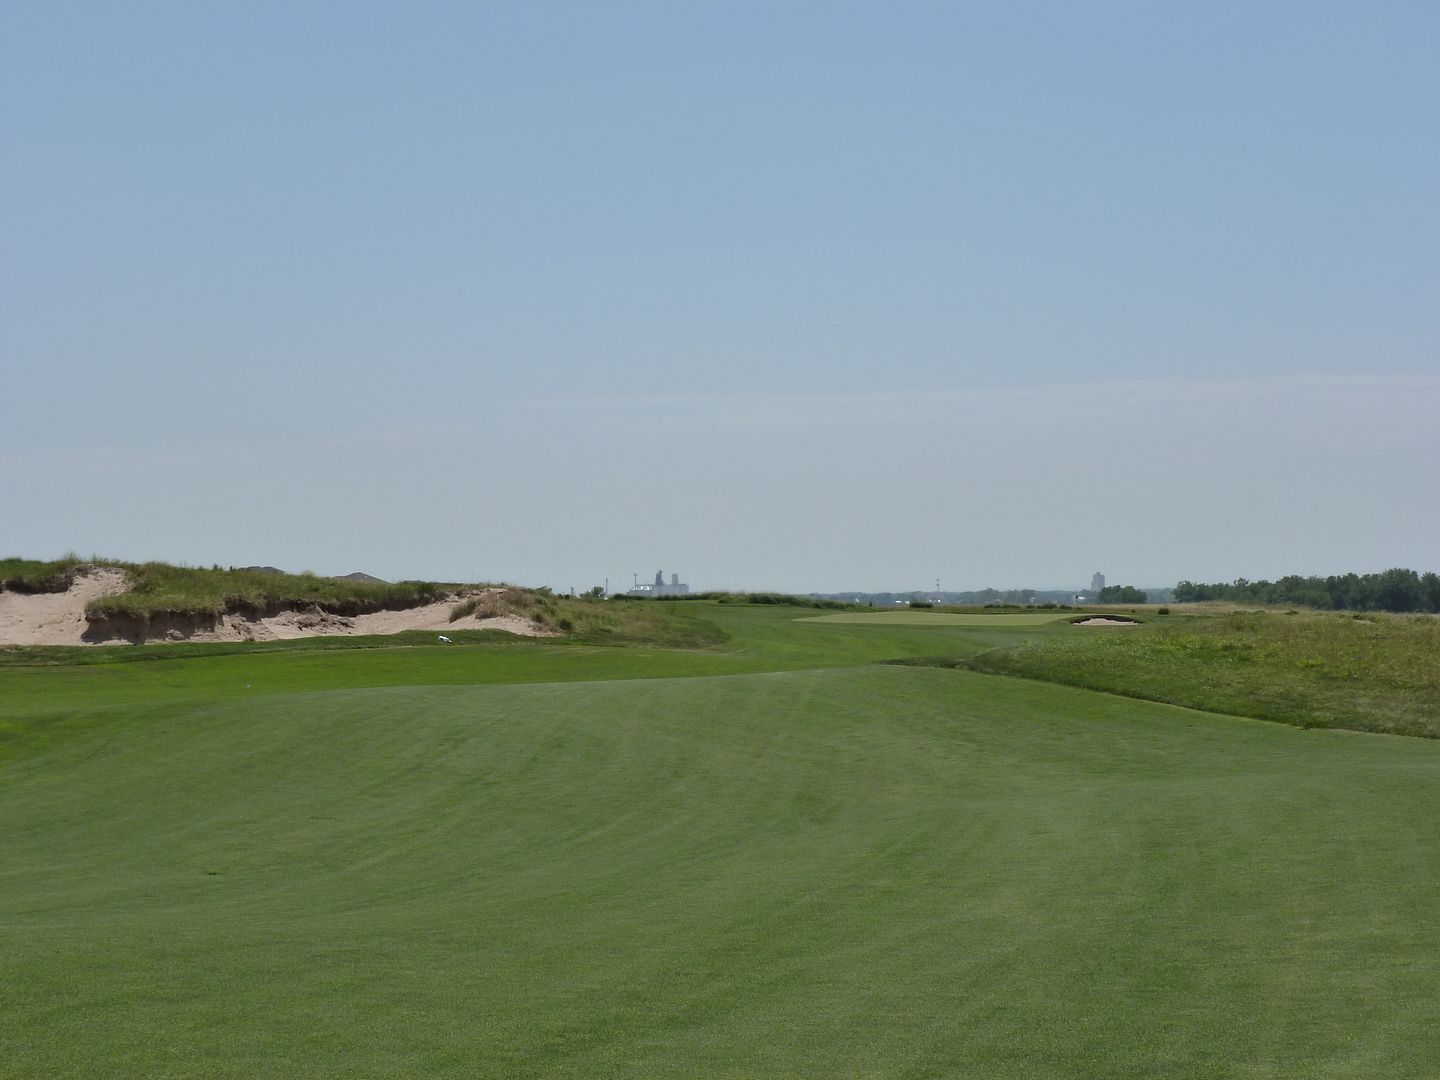
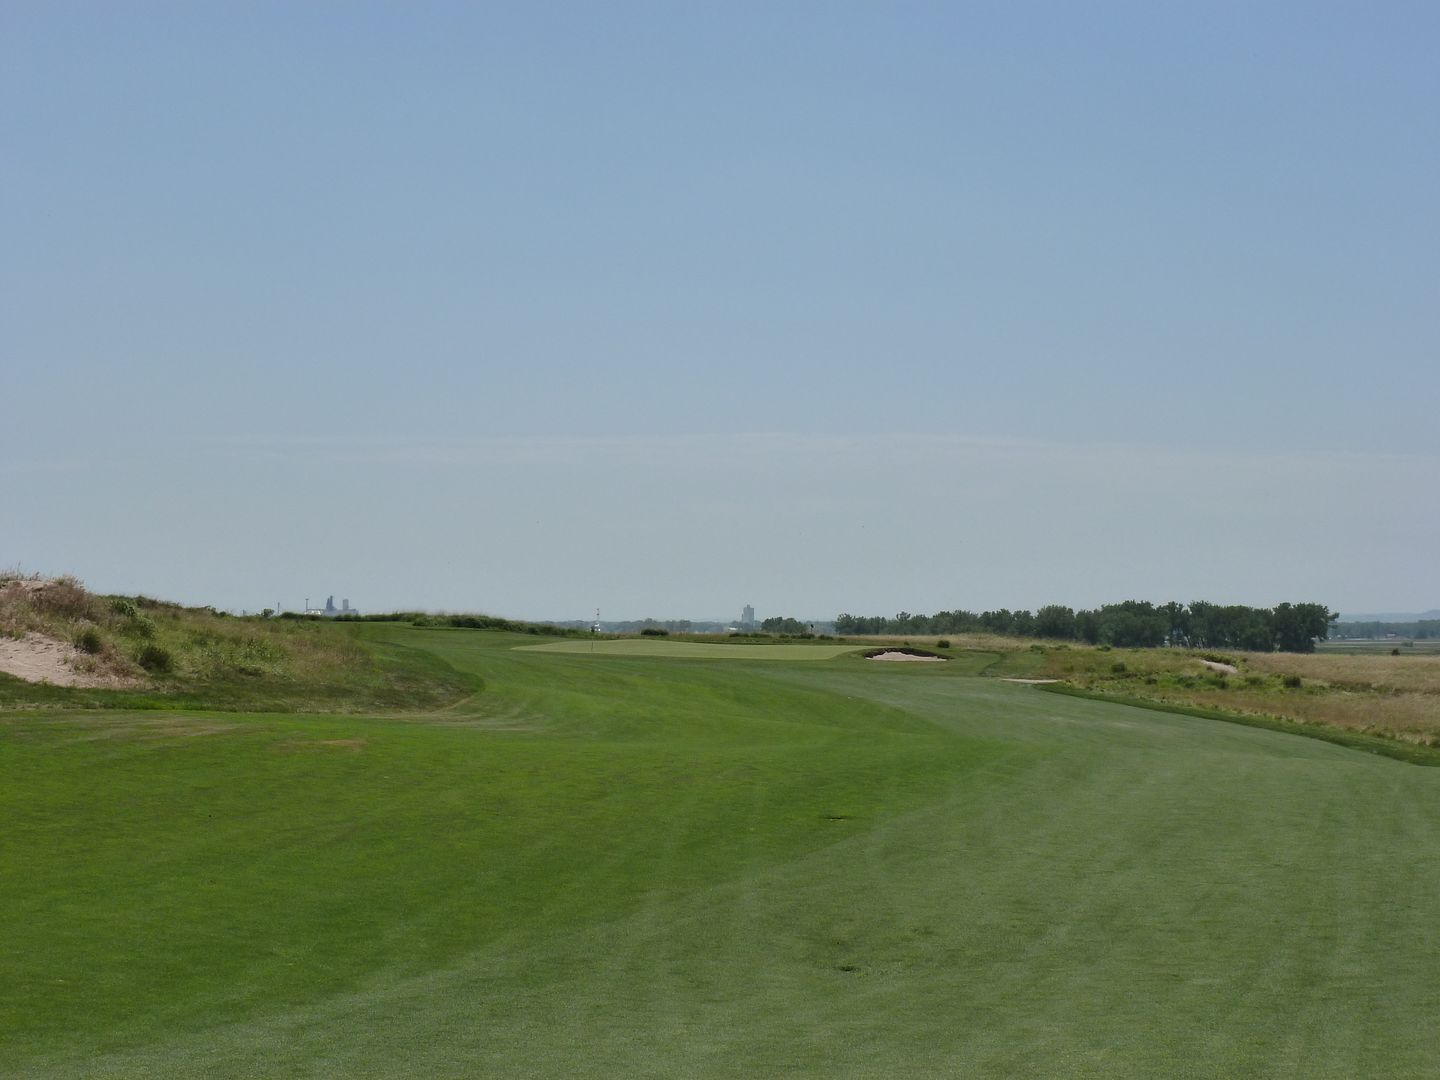
Hole 1: Par 4, 405 Yards
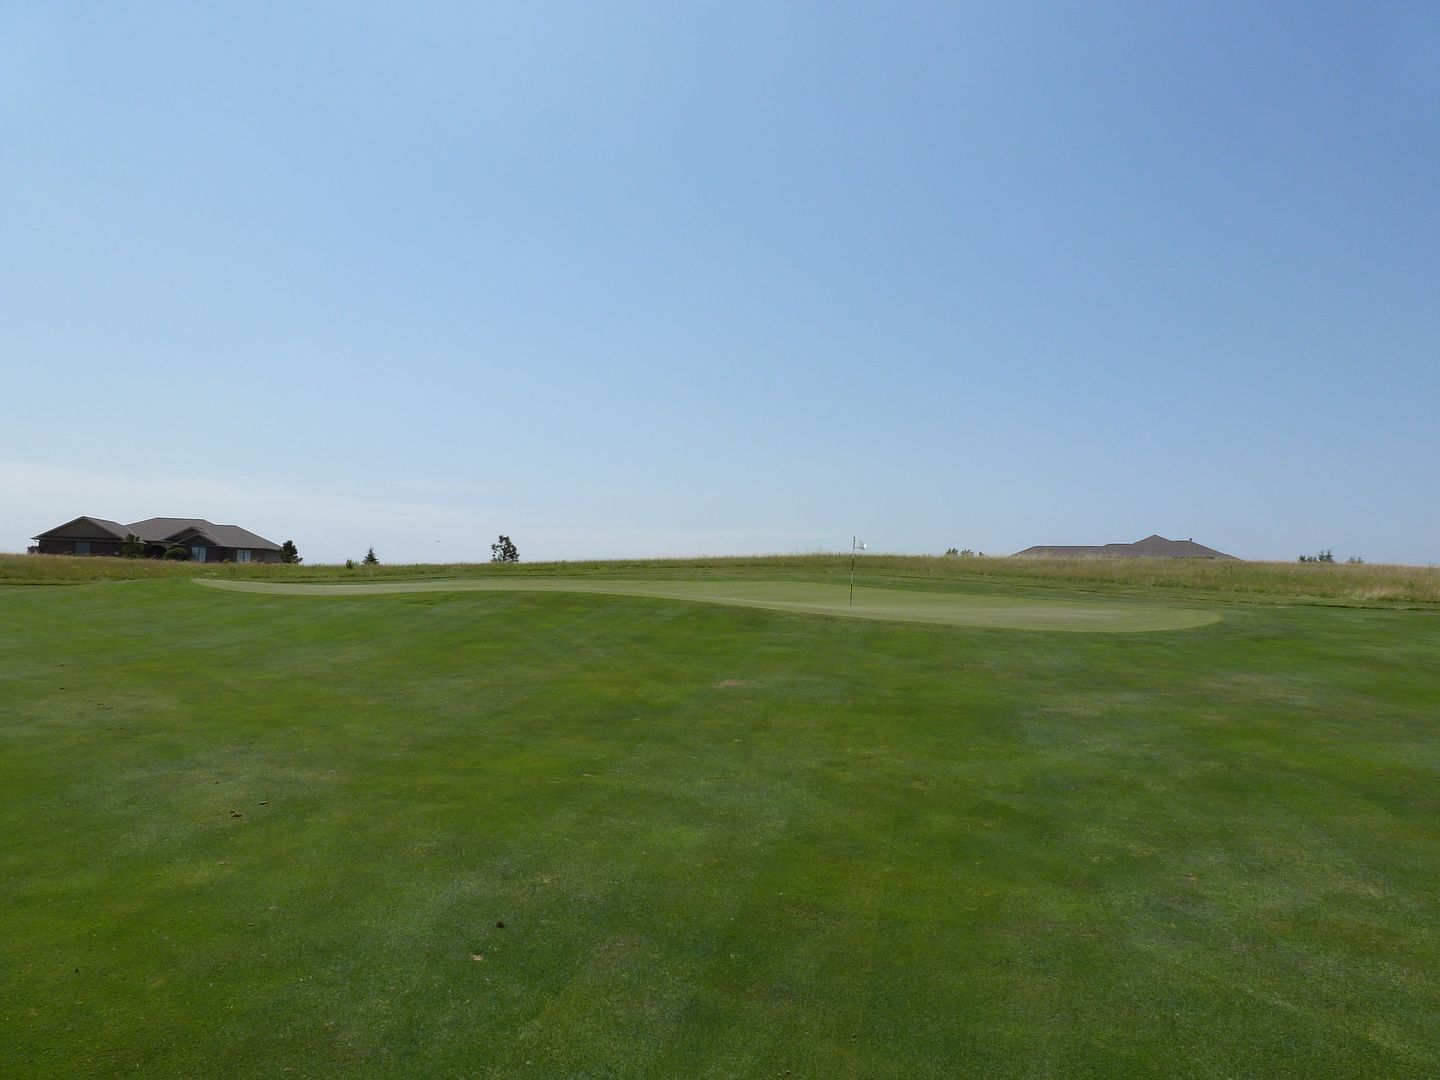
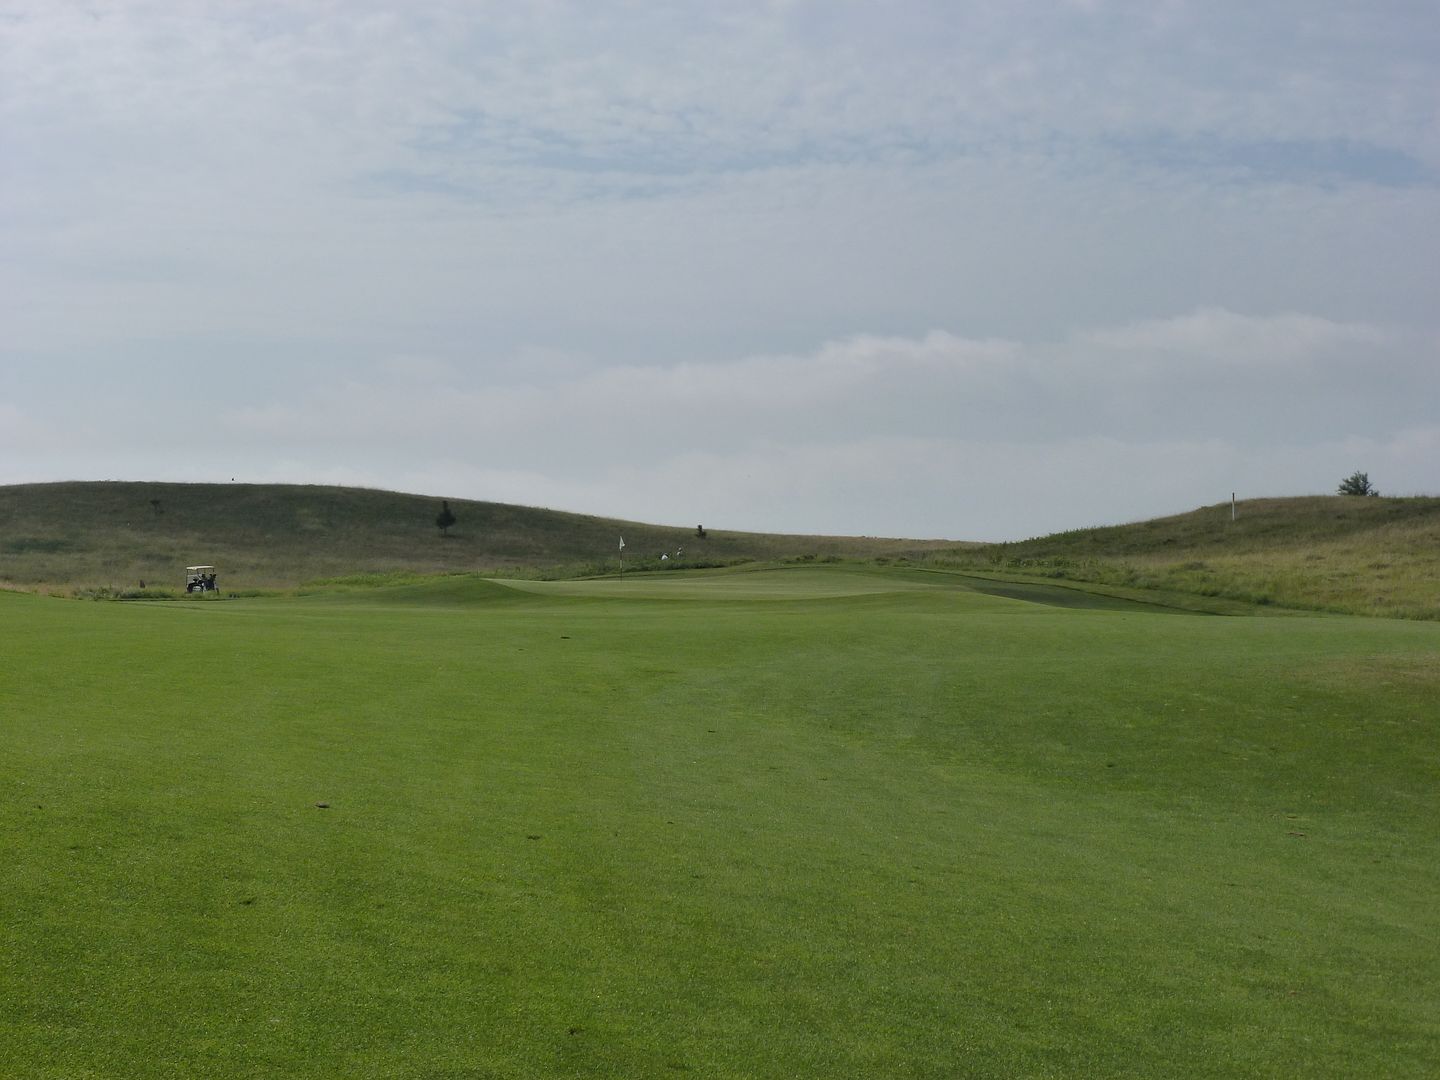
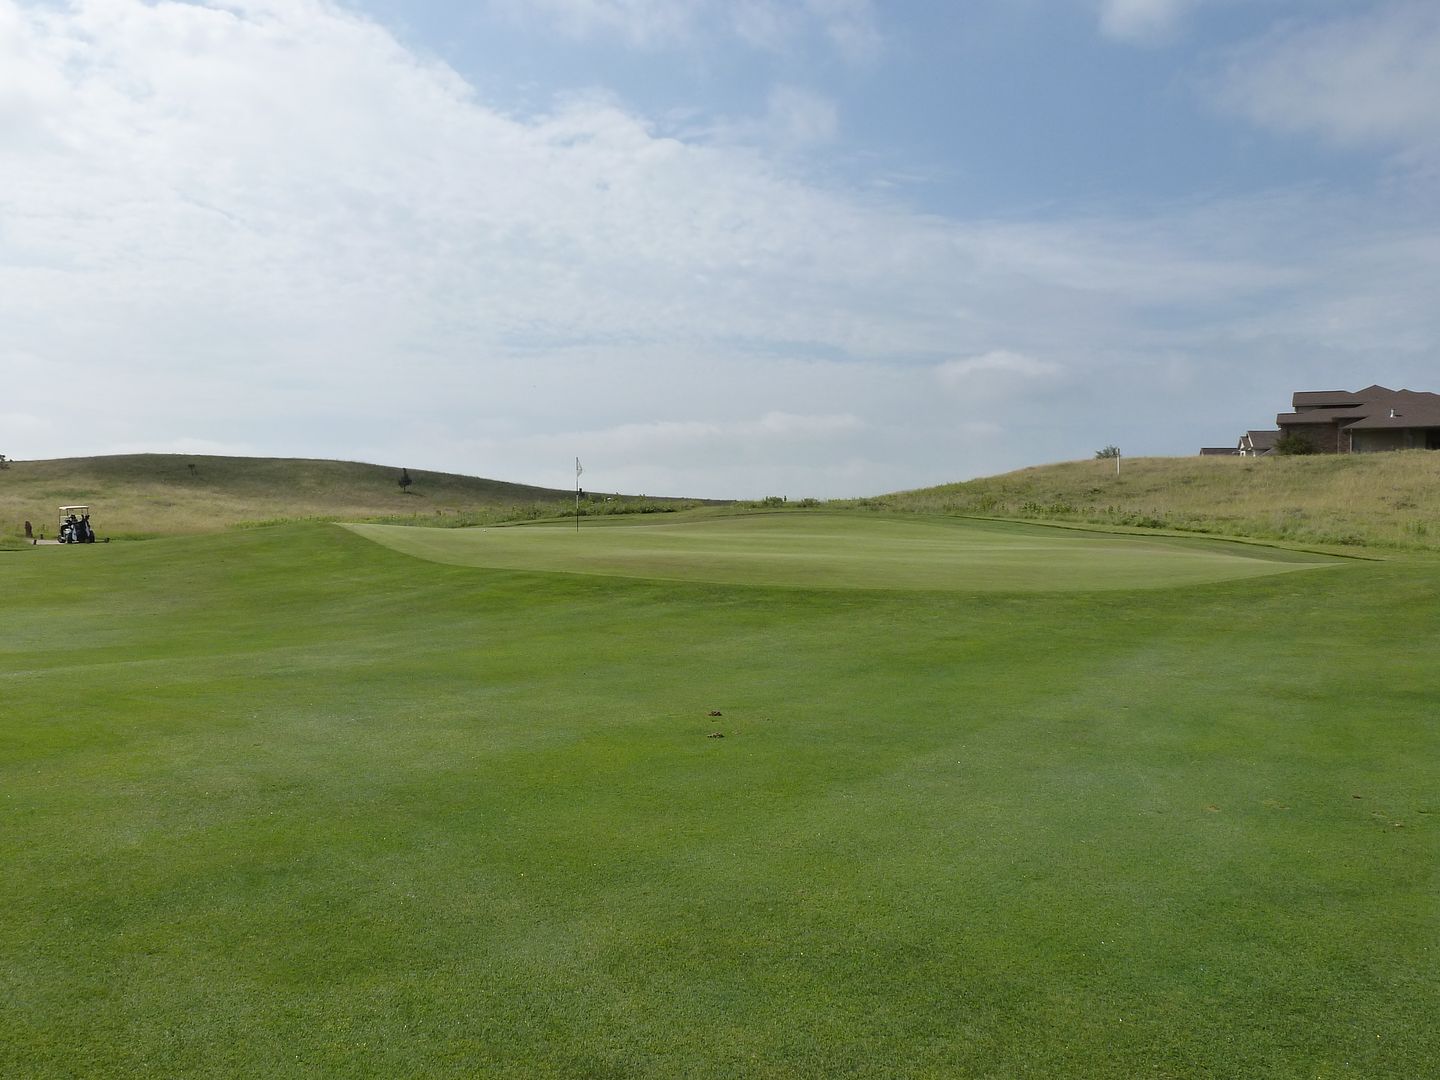
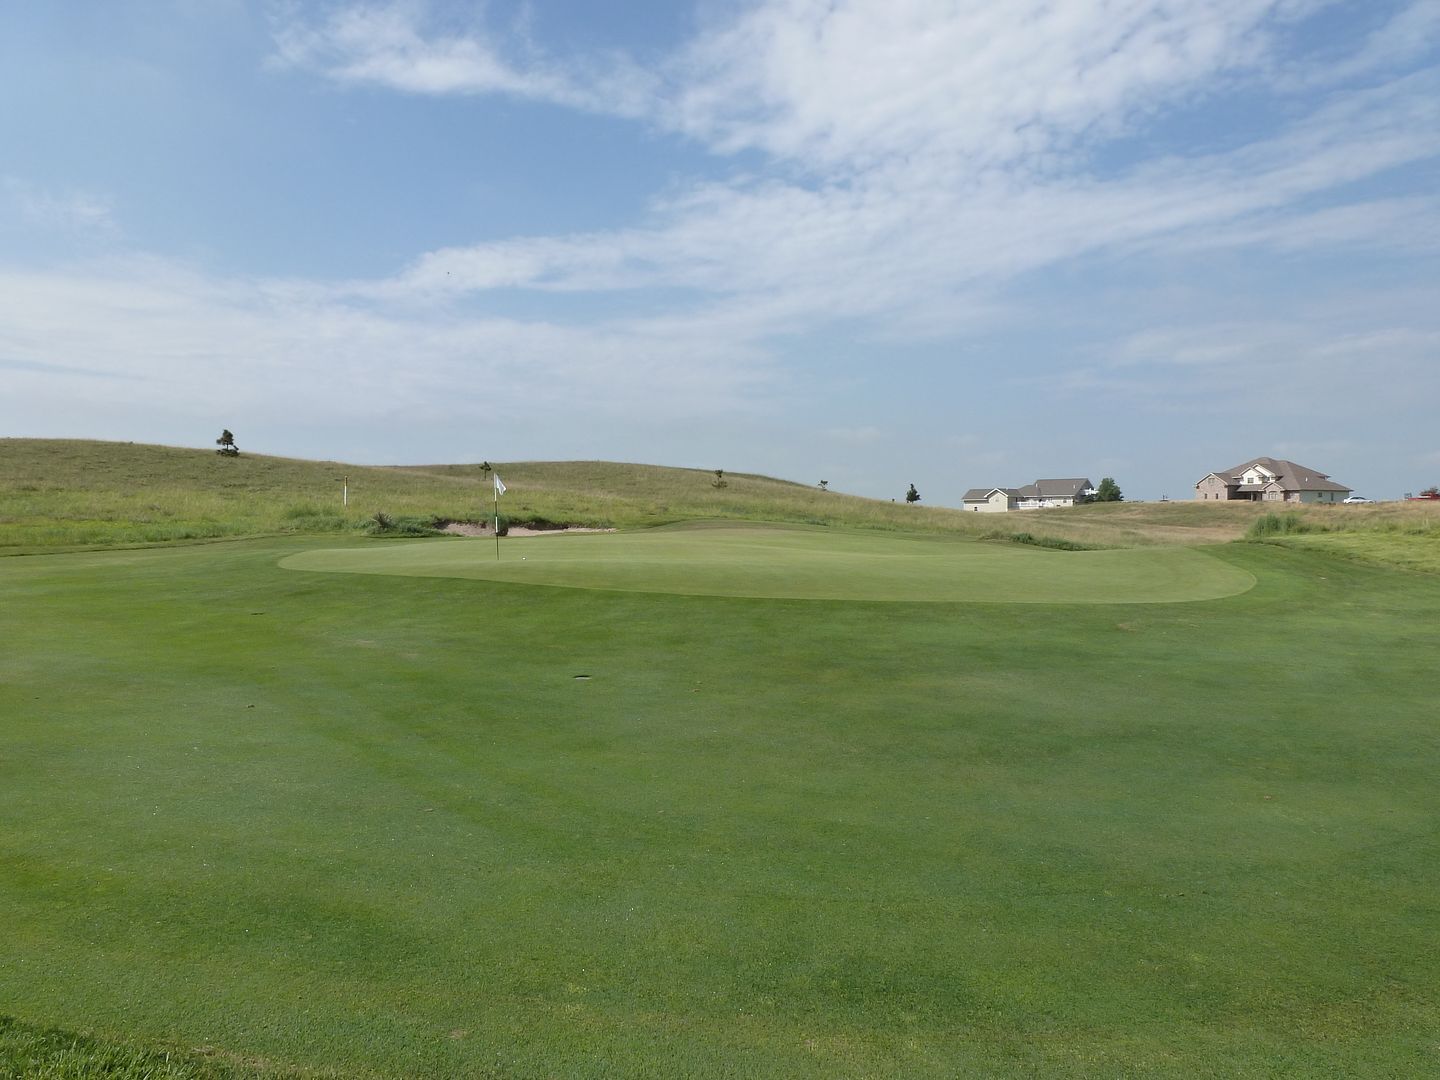
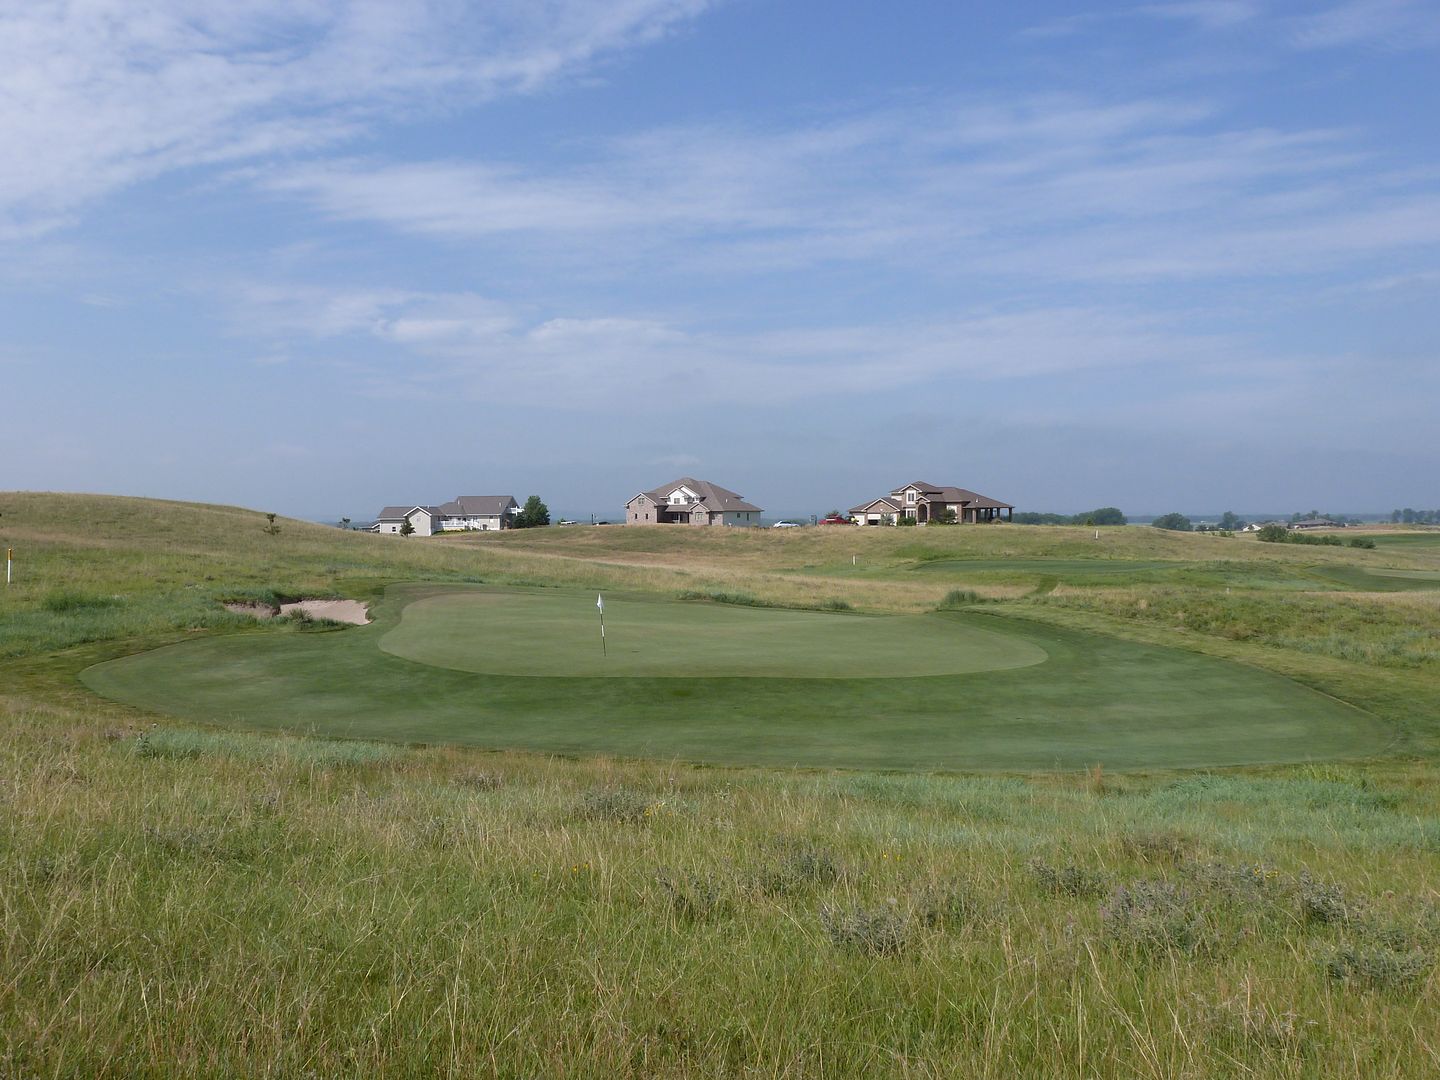
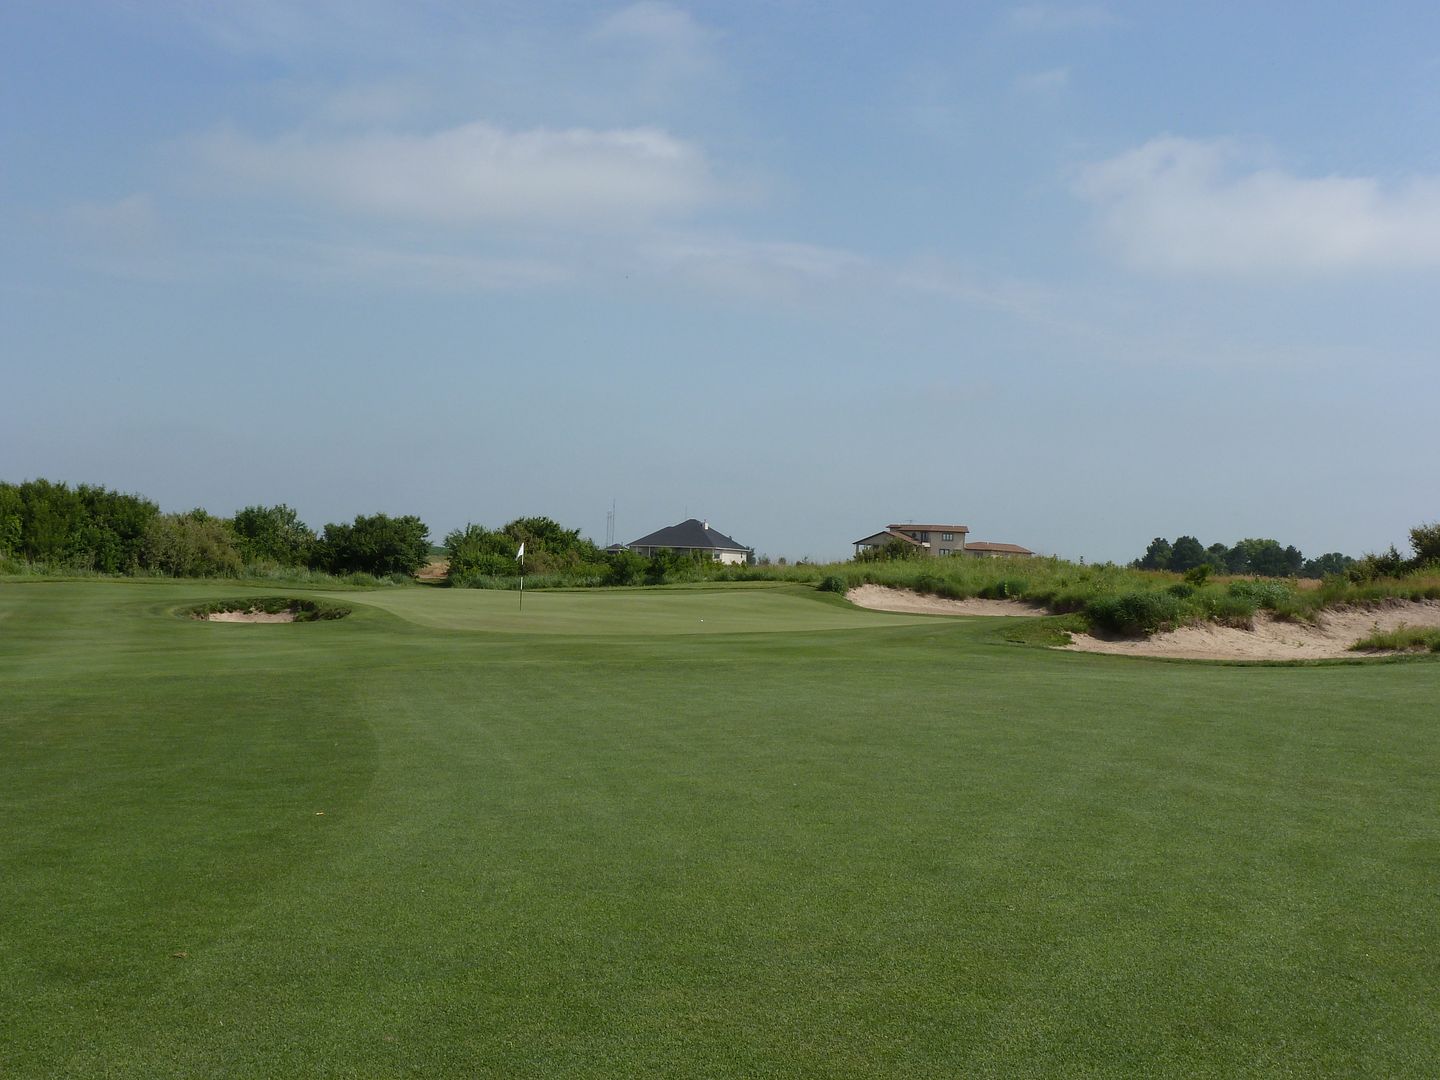
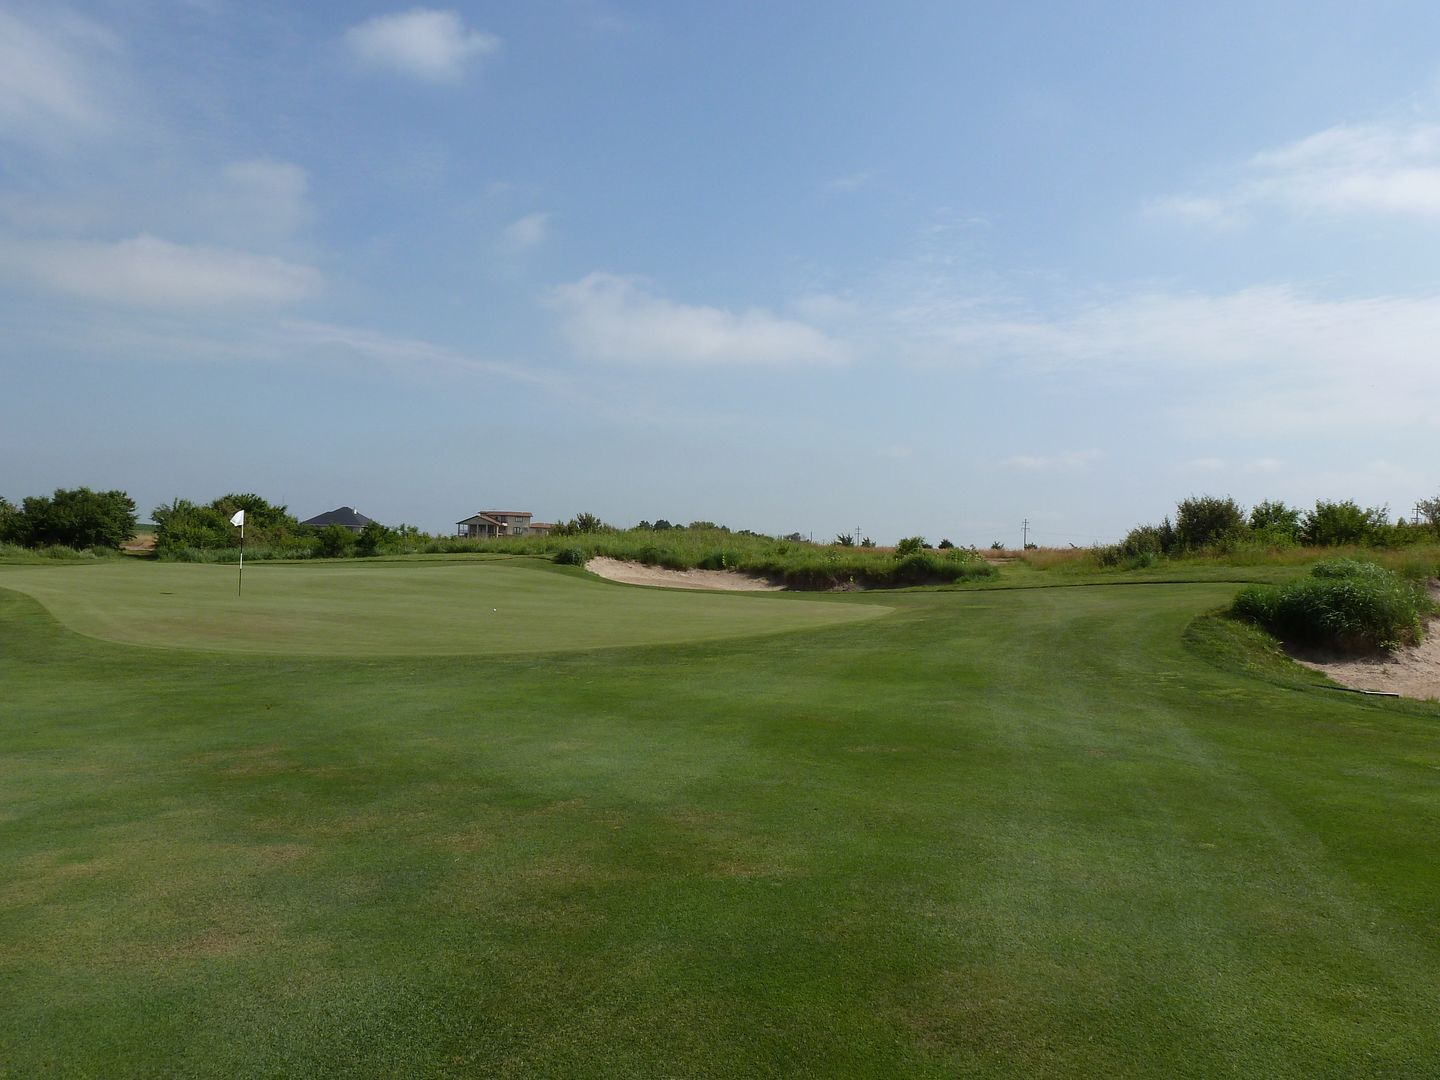
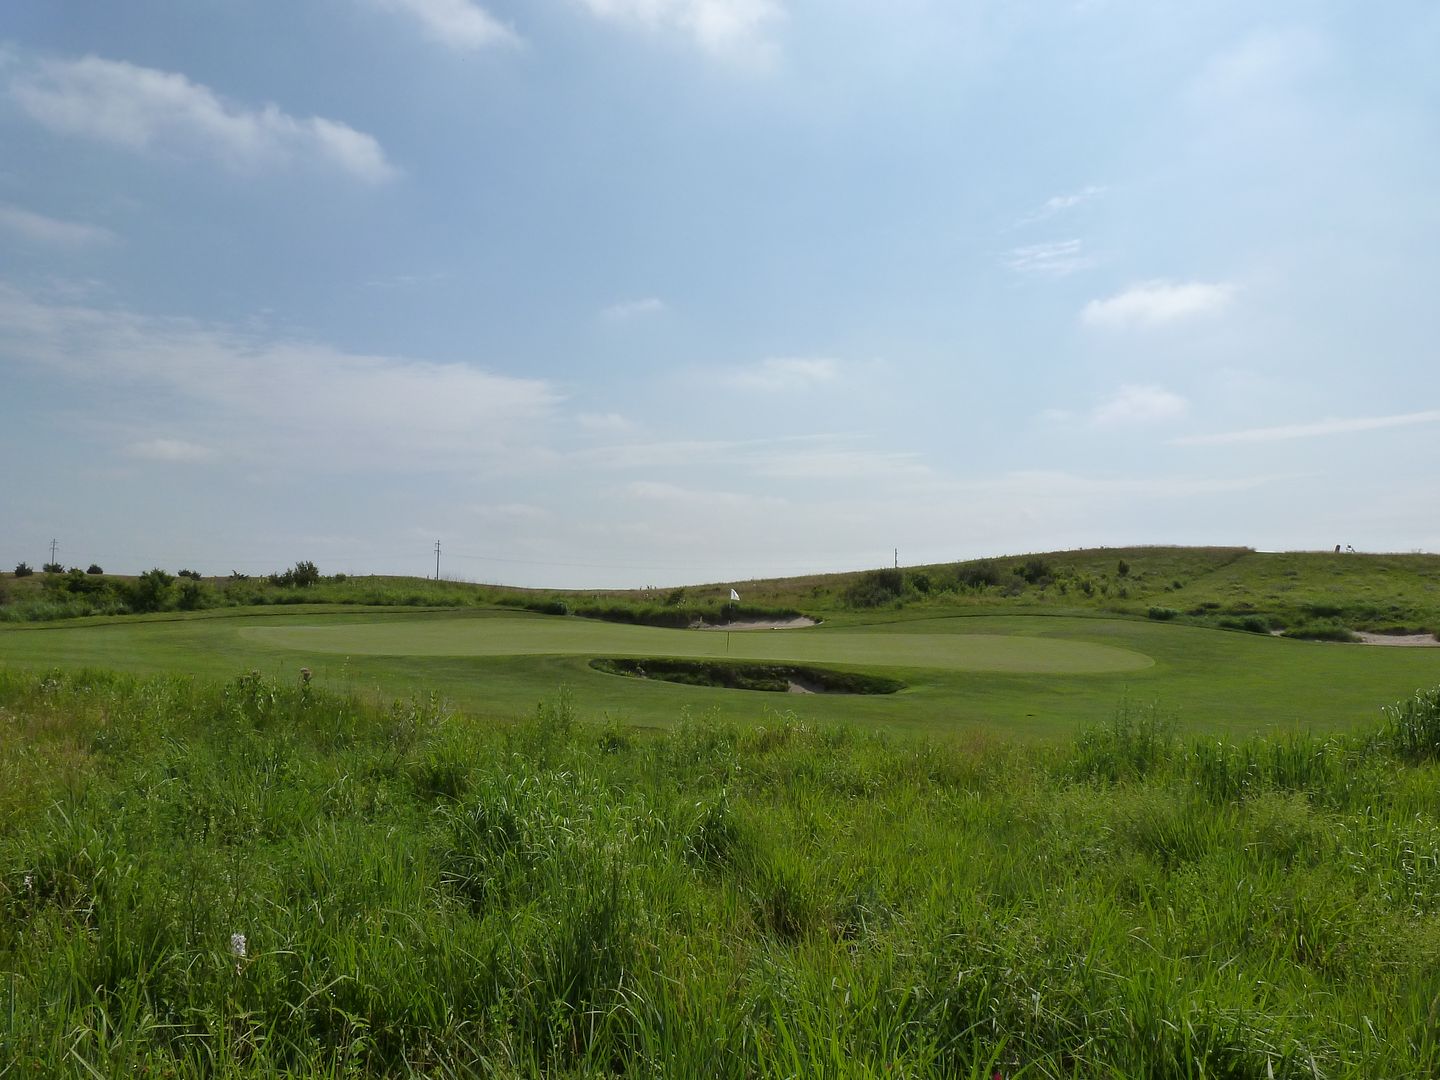
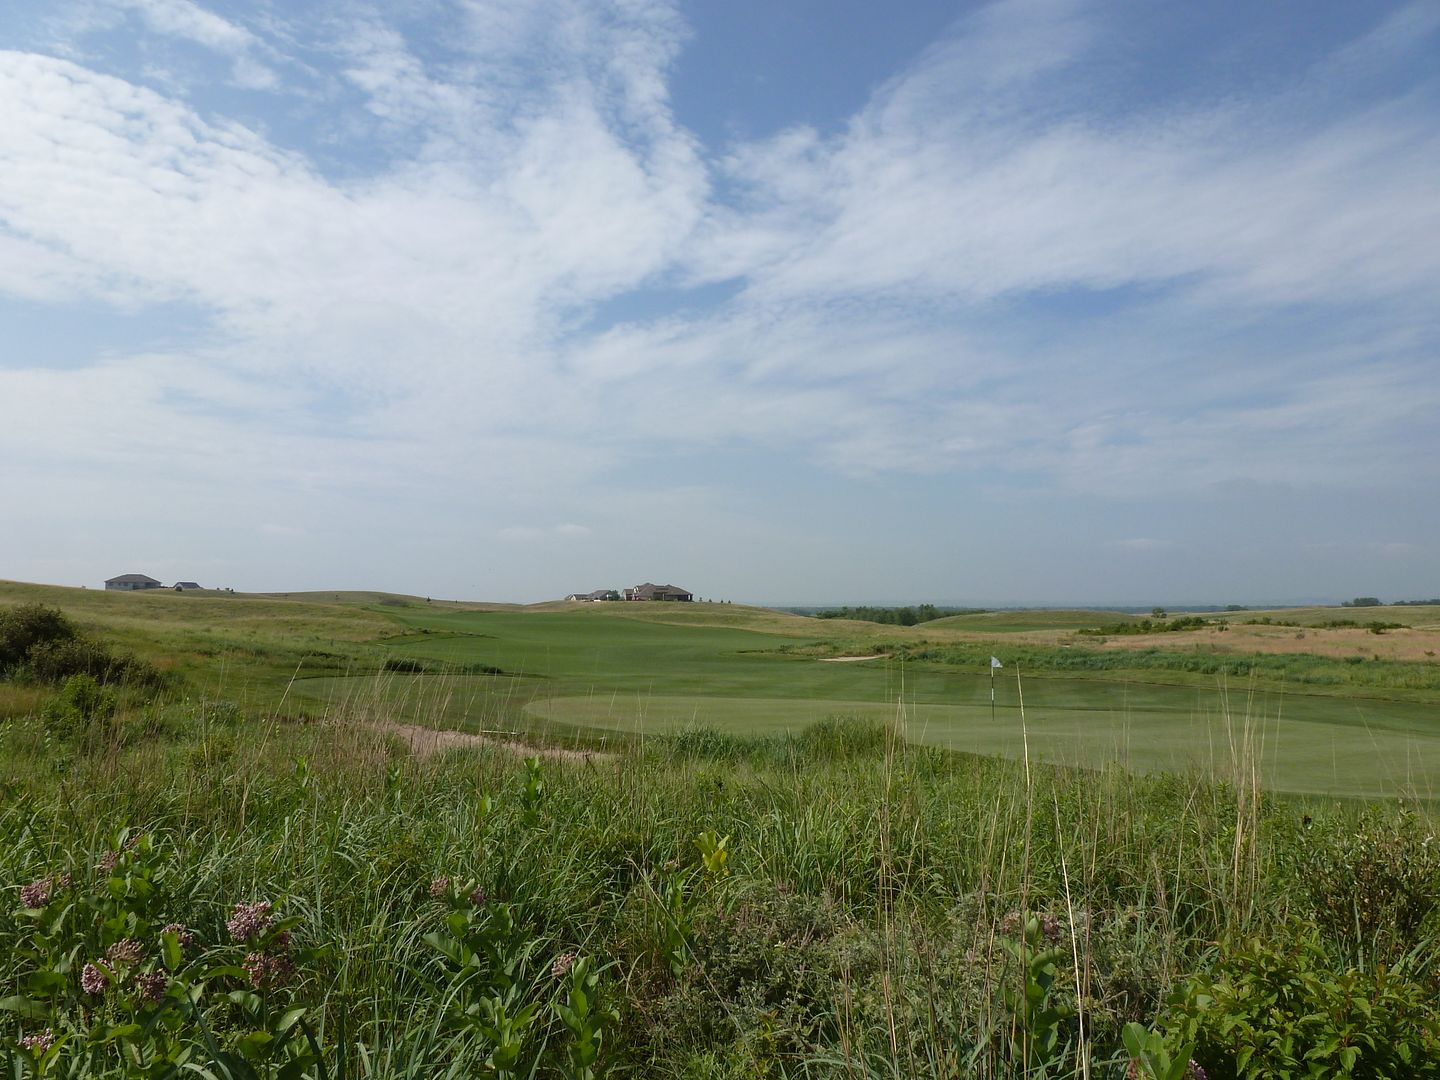
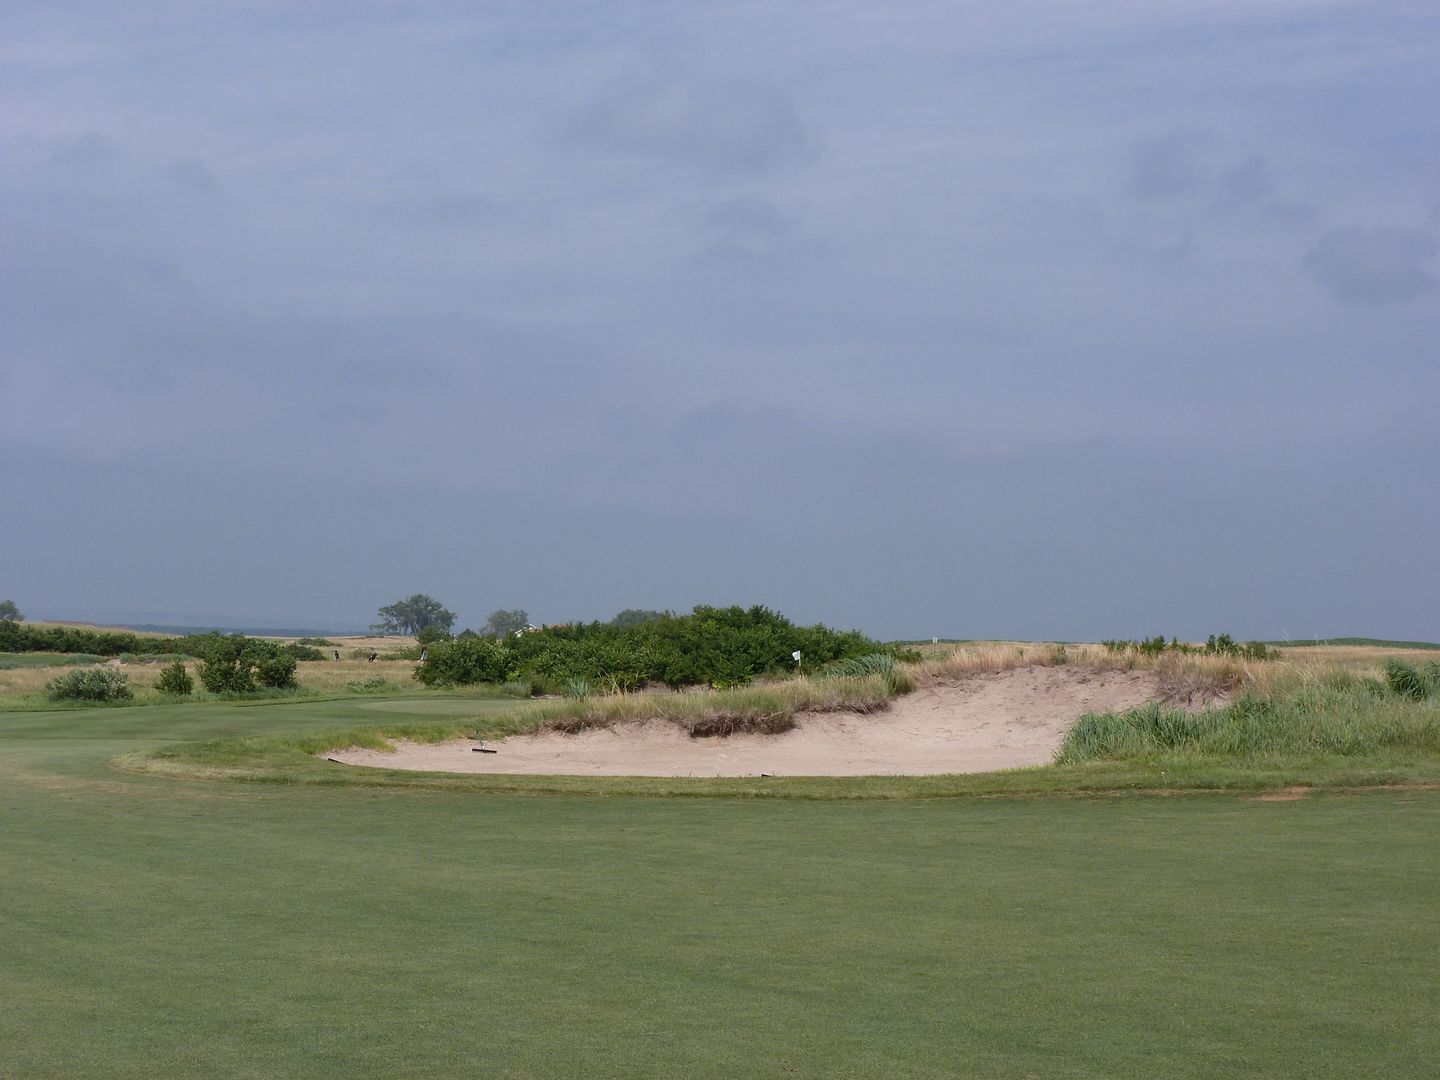
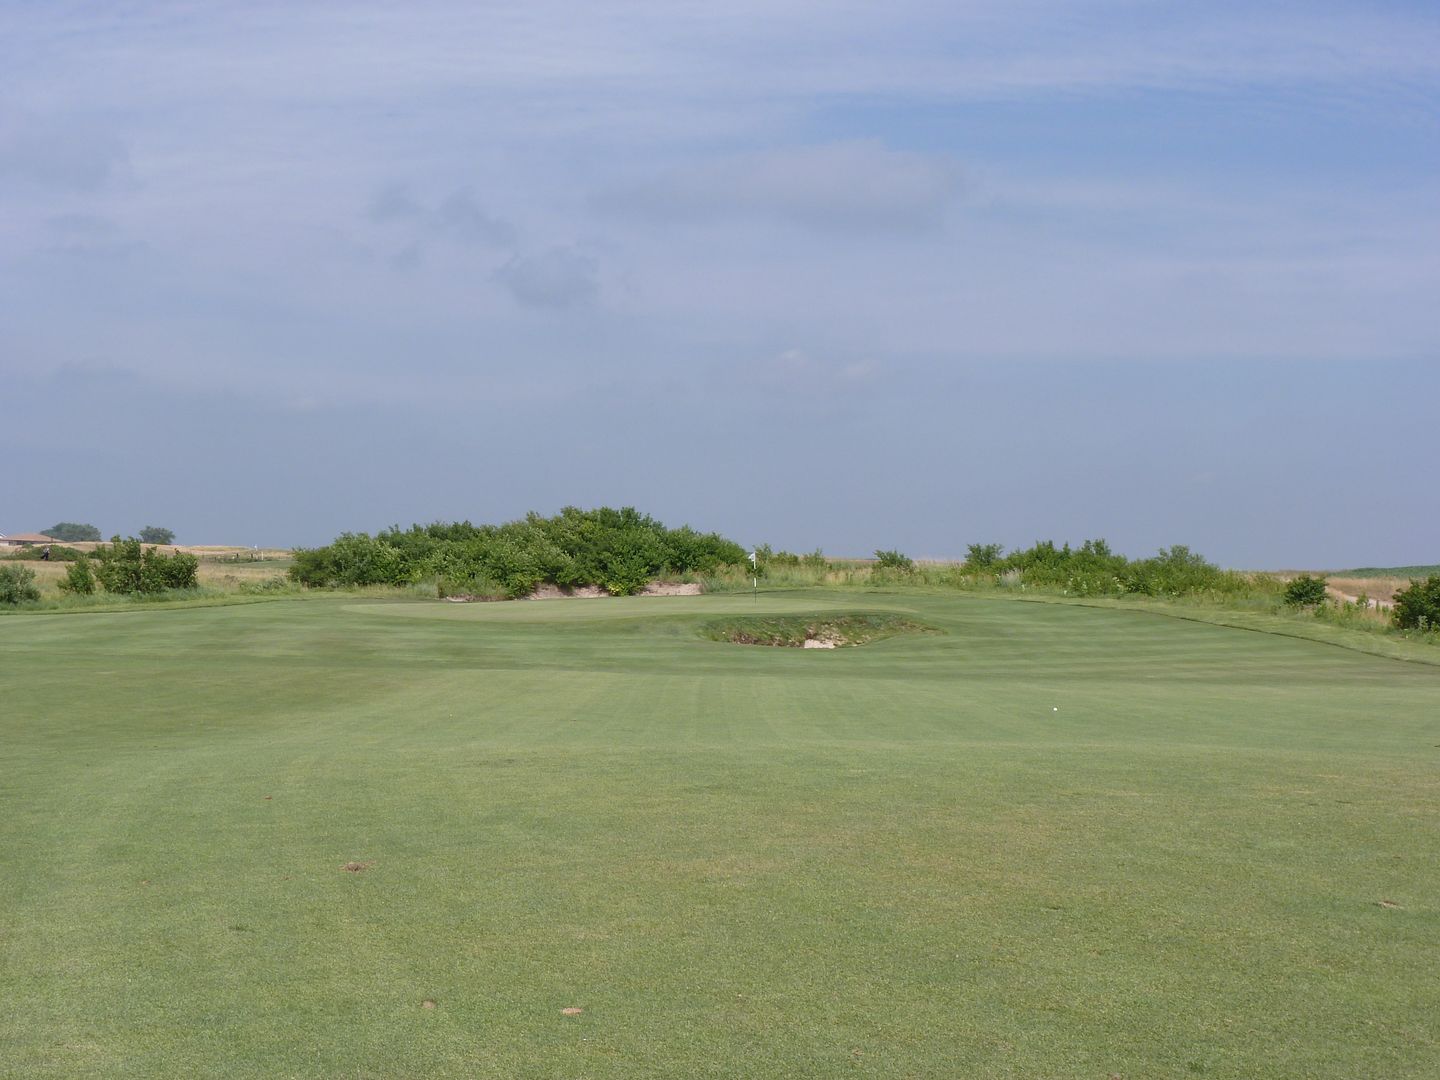
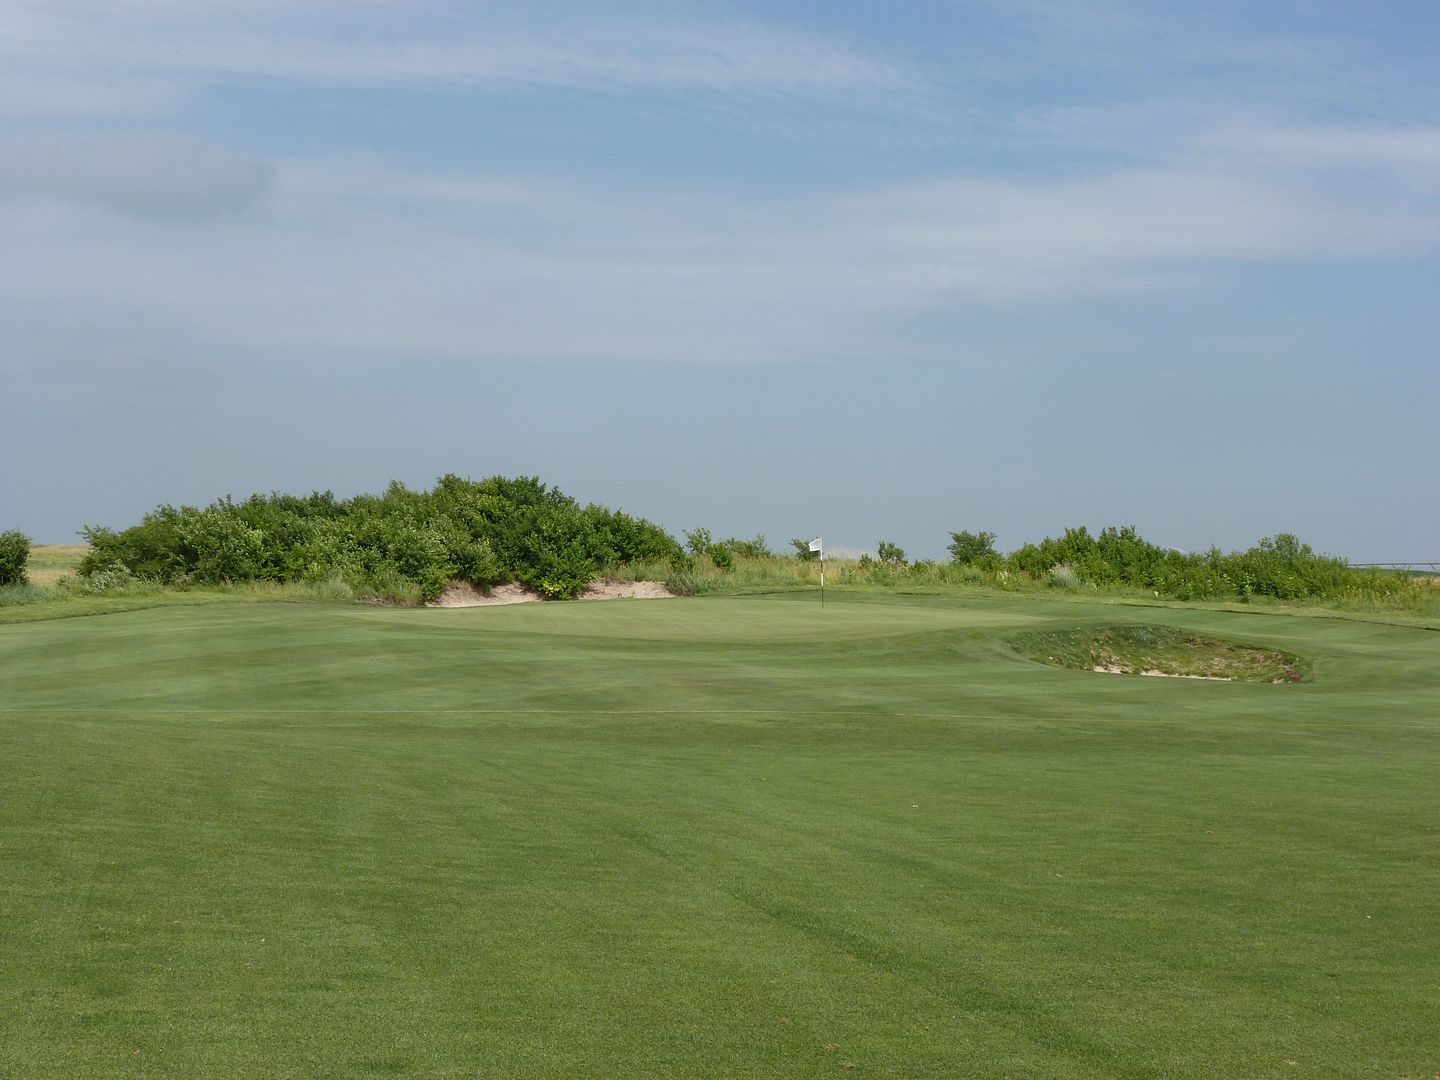
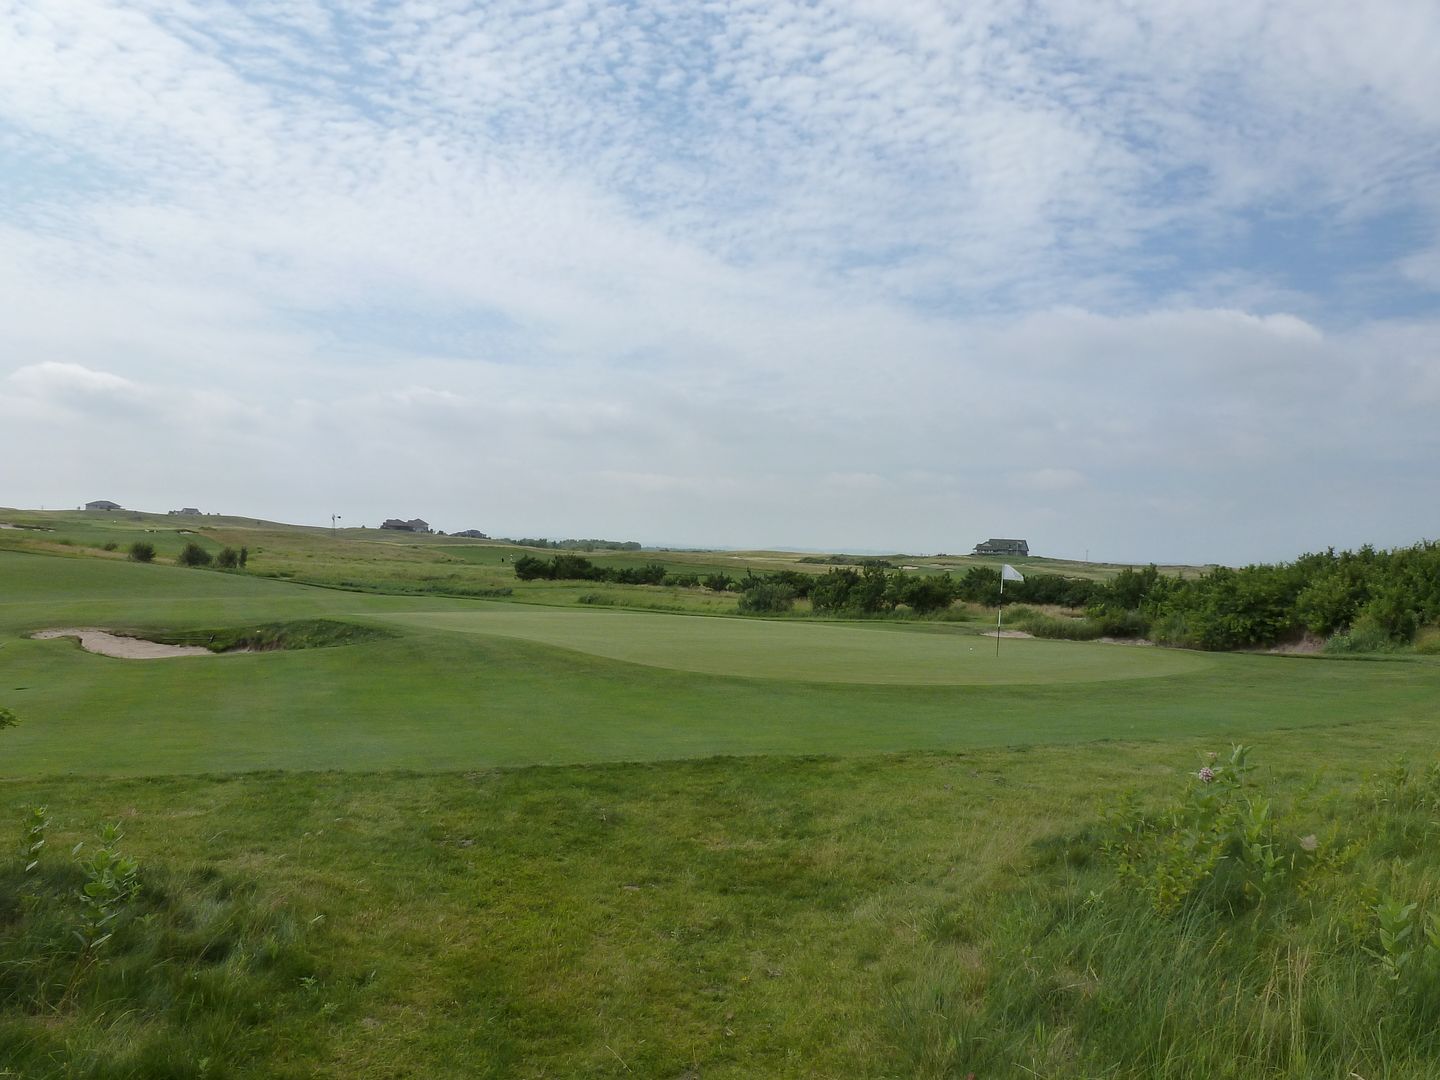
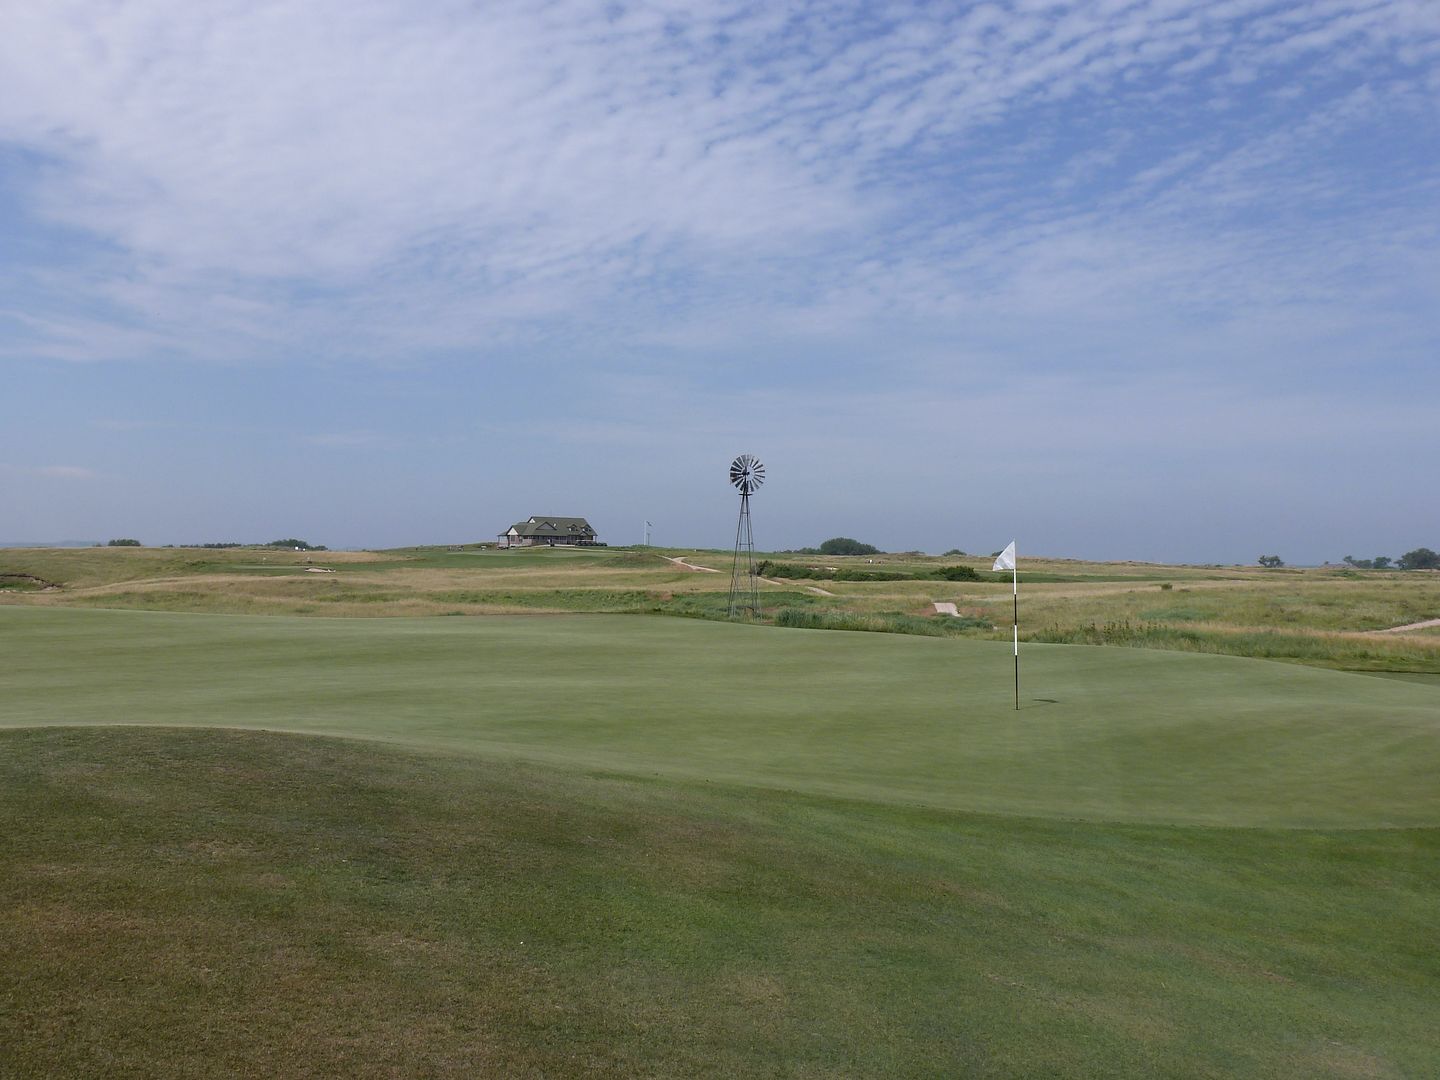
Hole Description: #1is a short par four that requires finess, not power to get your round started. It plays from a slightly elevated tee to a flat valley fairway bordered by the ever-present native grass hills. A fairway bunker guards the inside leg of a slight dogleg left. Tee shots should favor the left side of the fairway for a better approach to a green bunkered on both sides. (Many people aim too far right with too much club on their tee shots.) The green sits into a hillside that caroms balls to the left. A proper approach is just over the right side bunker which will kick left onto the green. Avoid being long. This green will preview future greens with lots of mounds and slope.
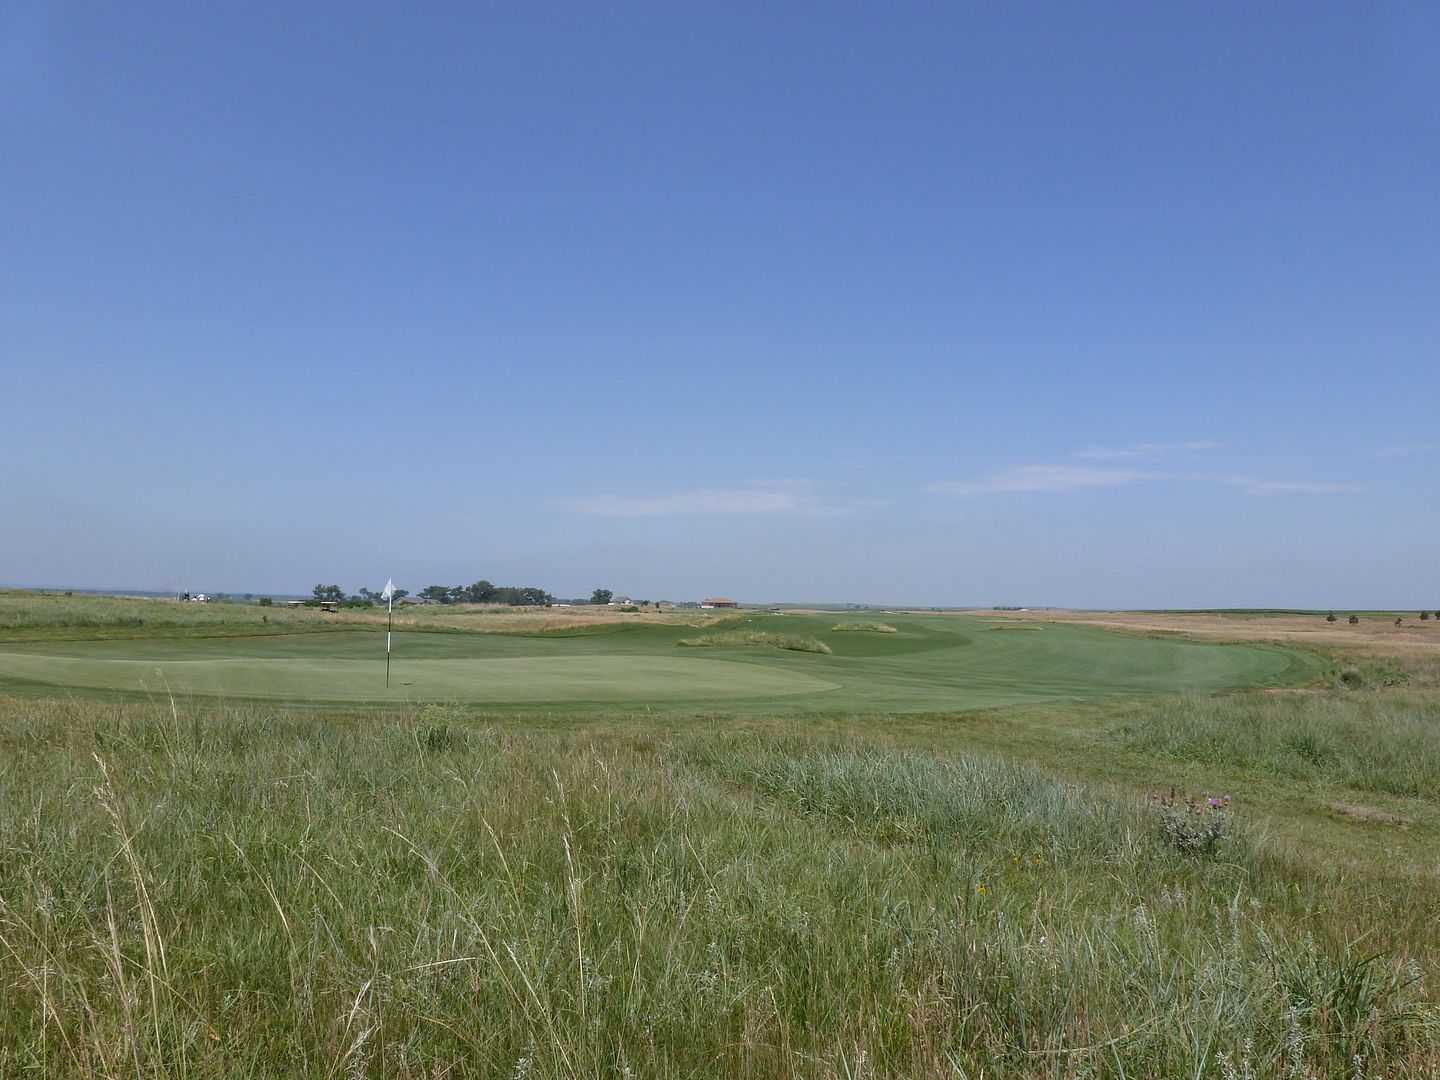
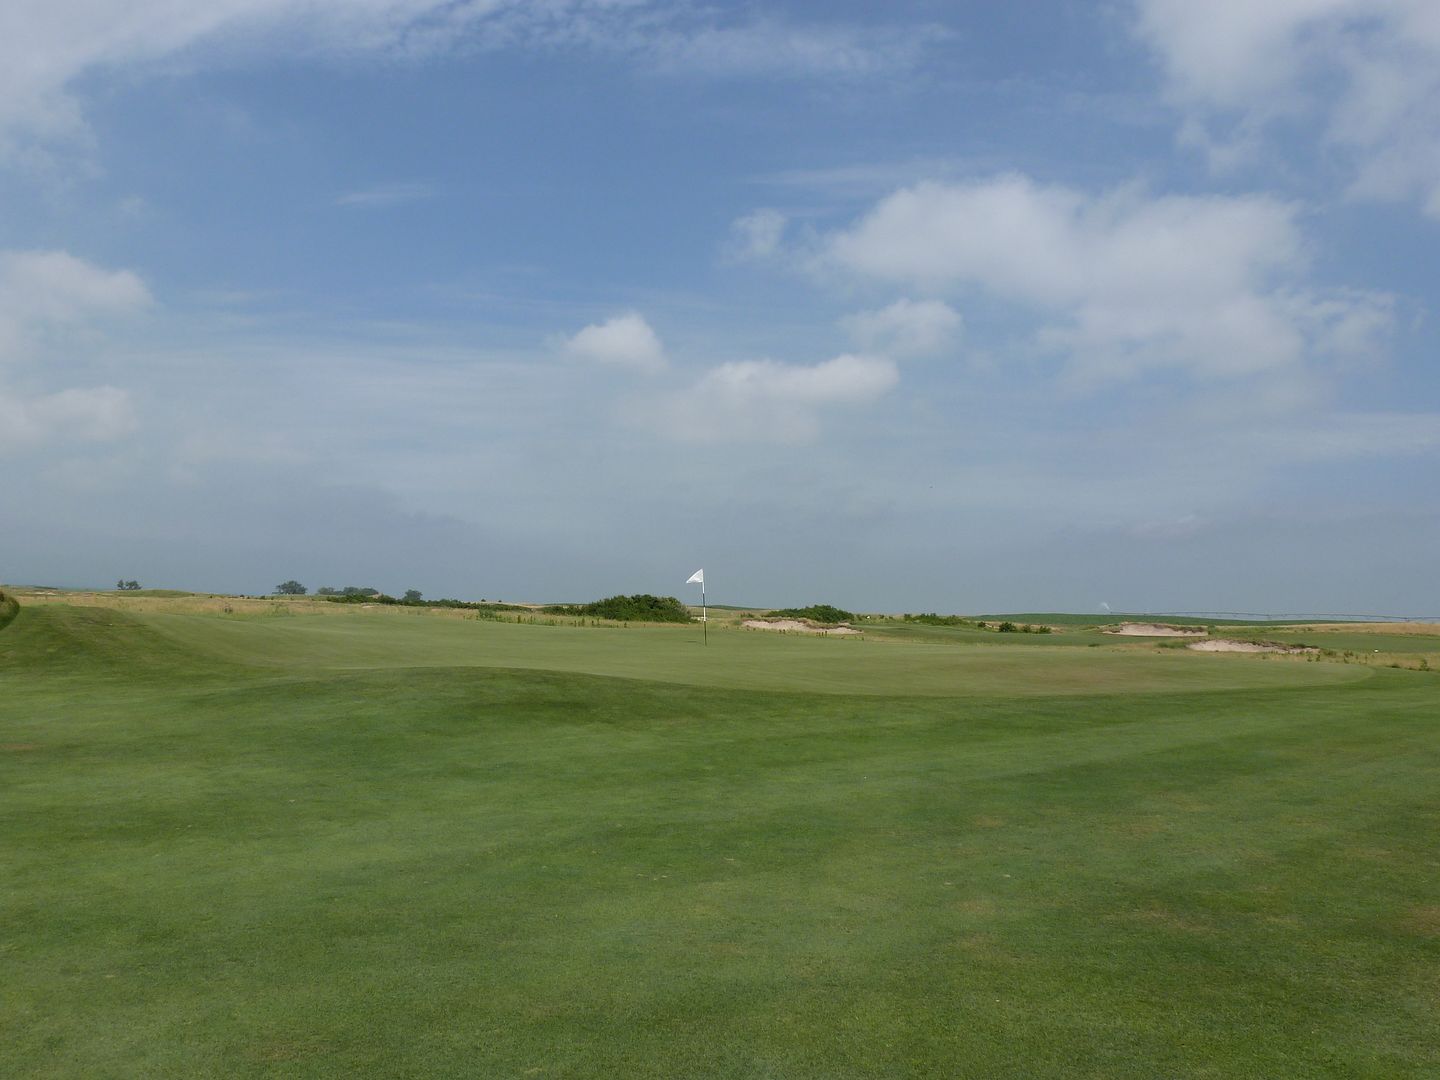
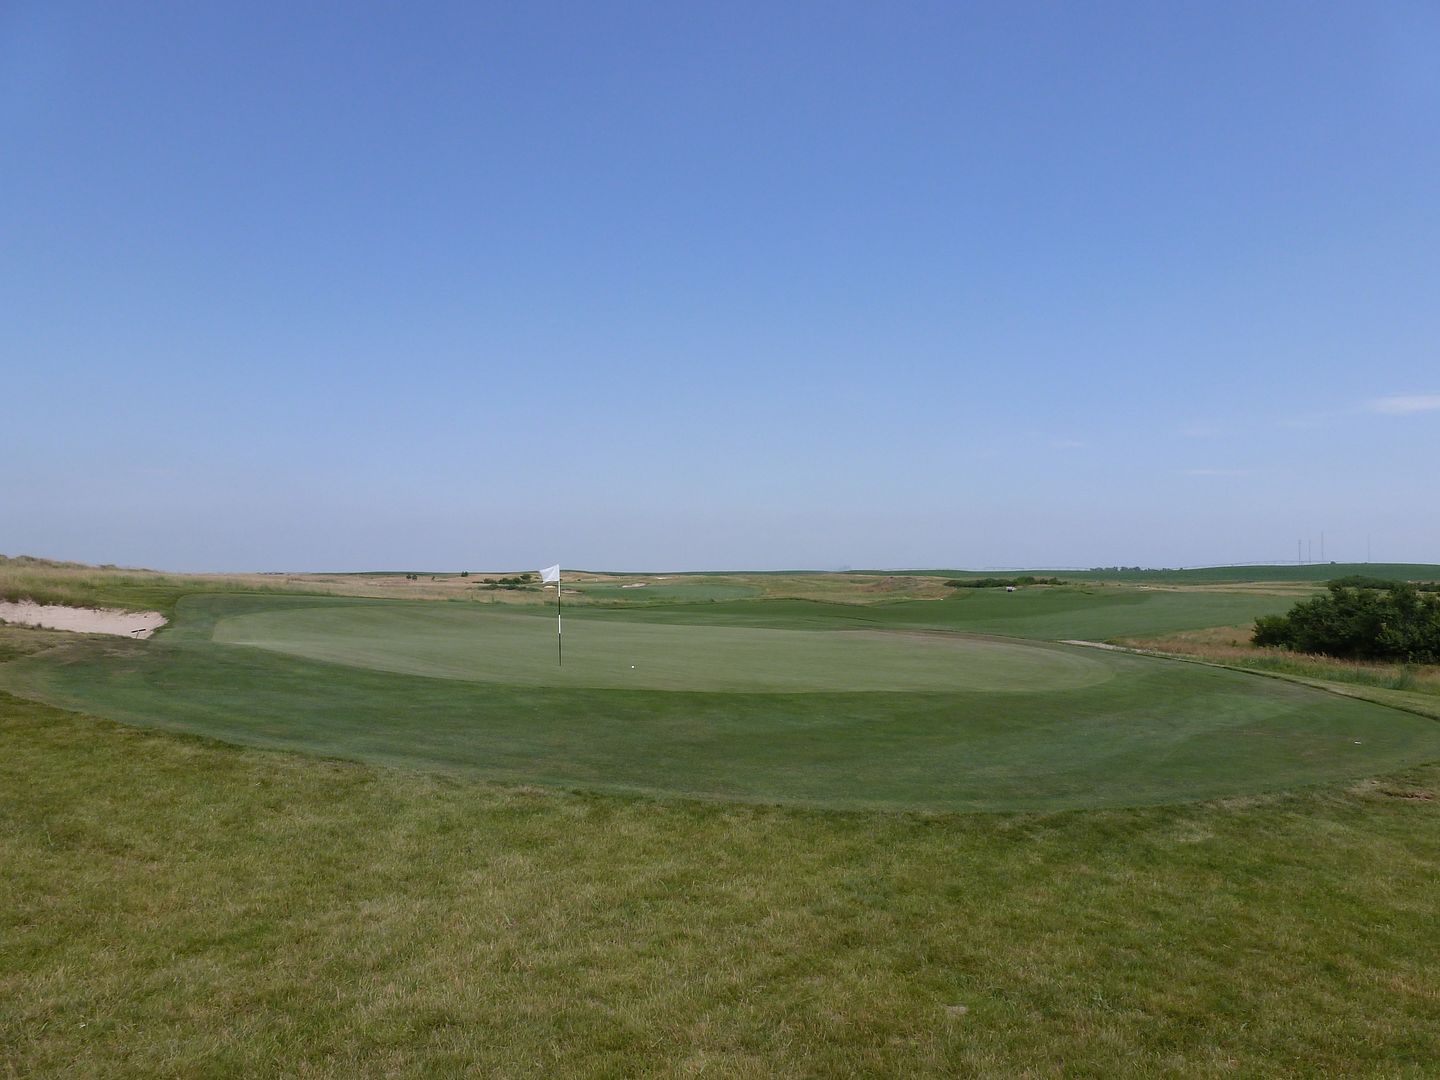
Approach from left

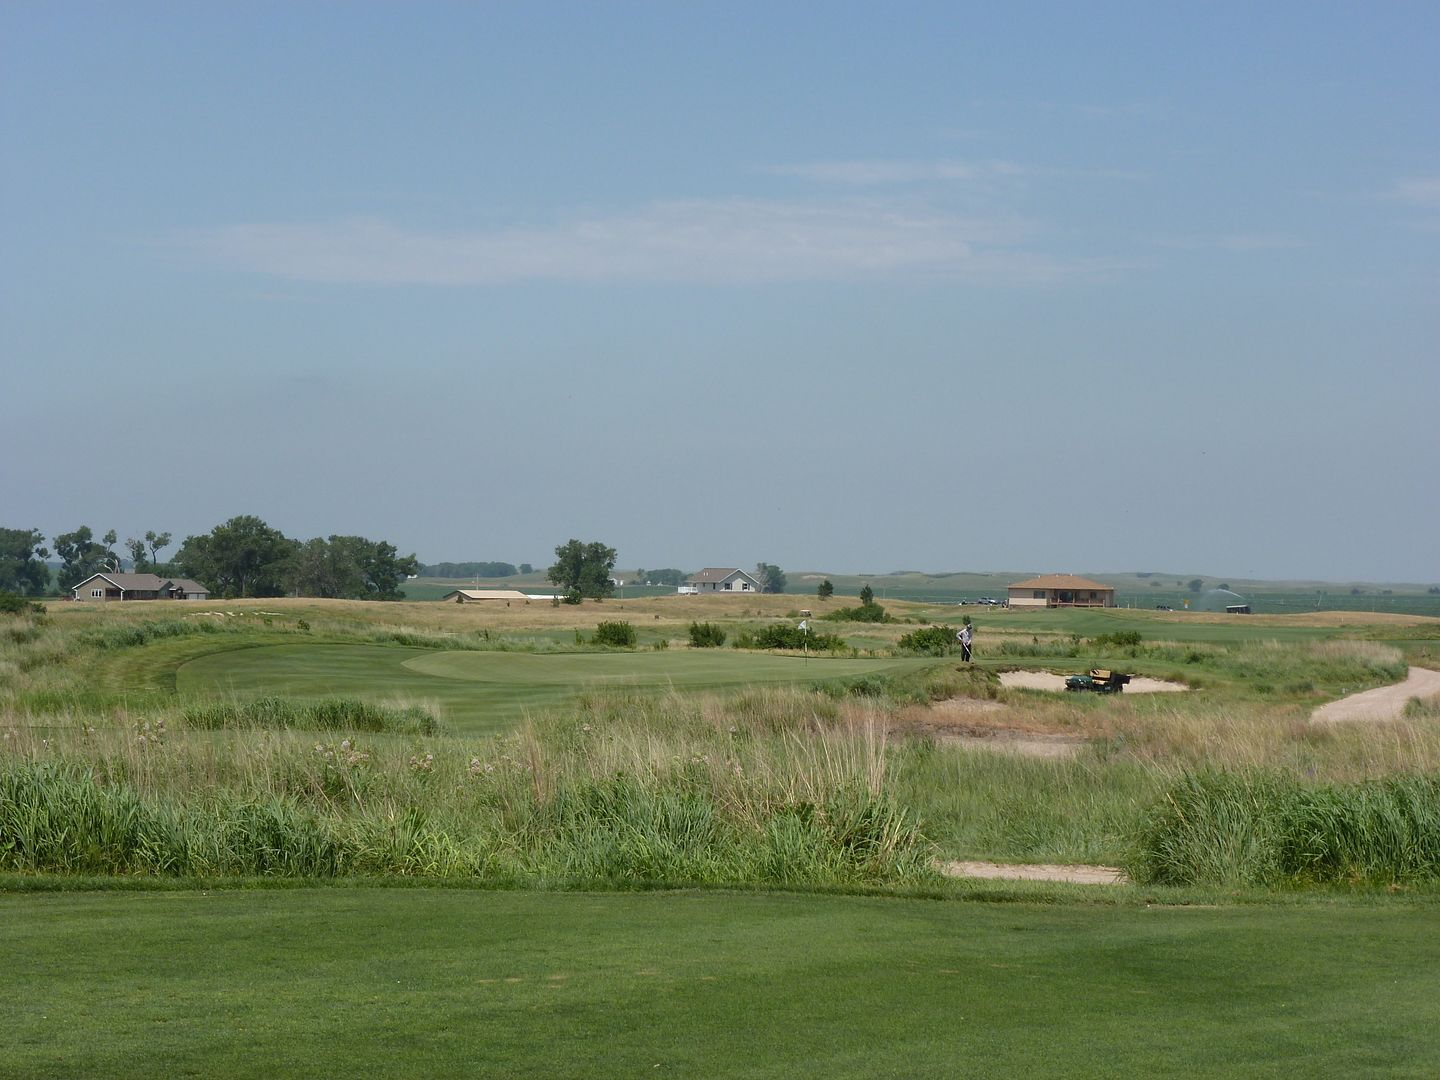
Approach from right
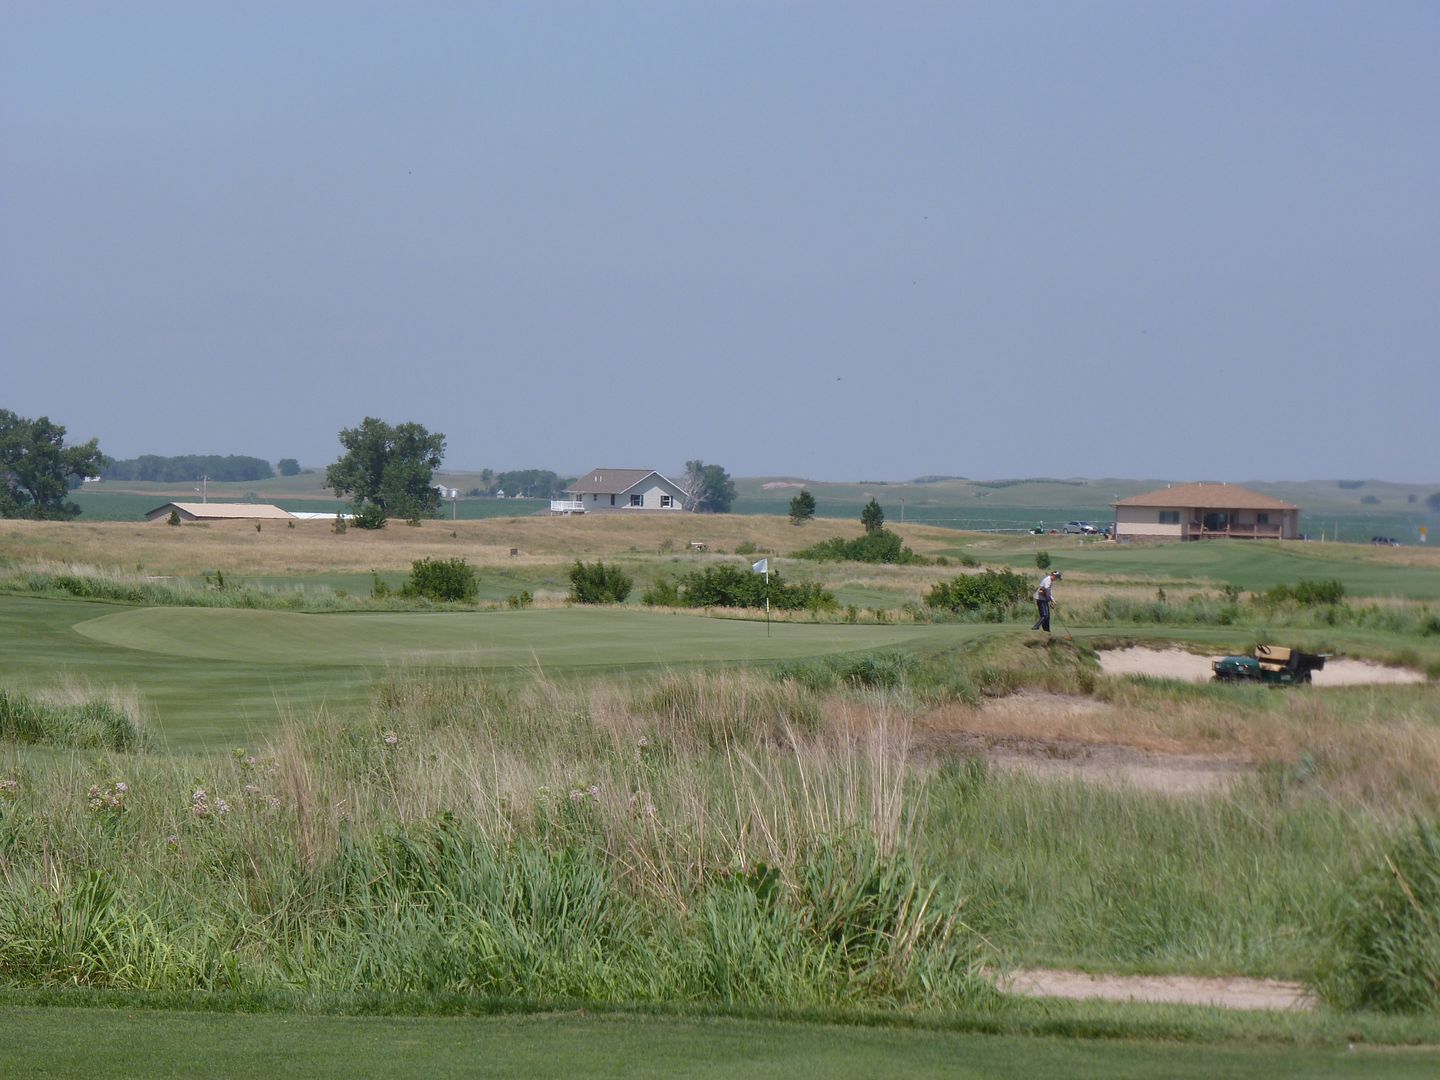
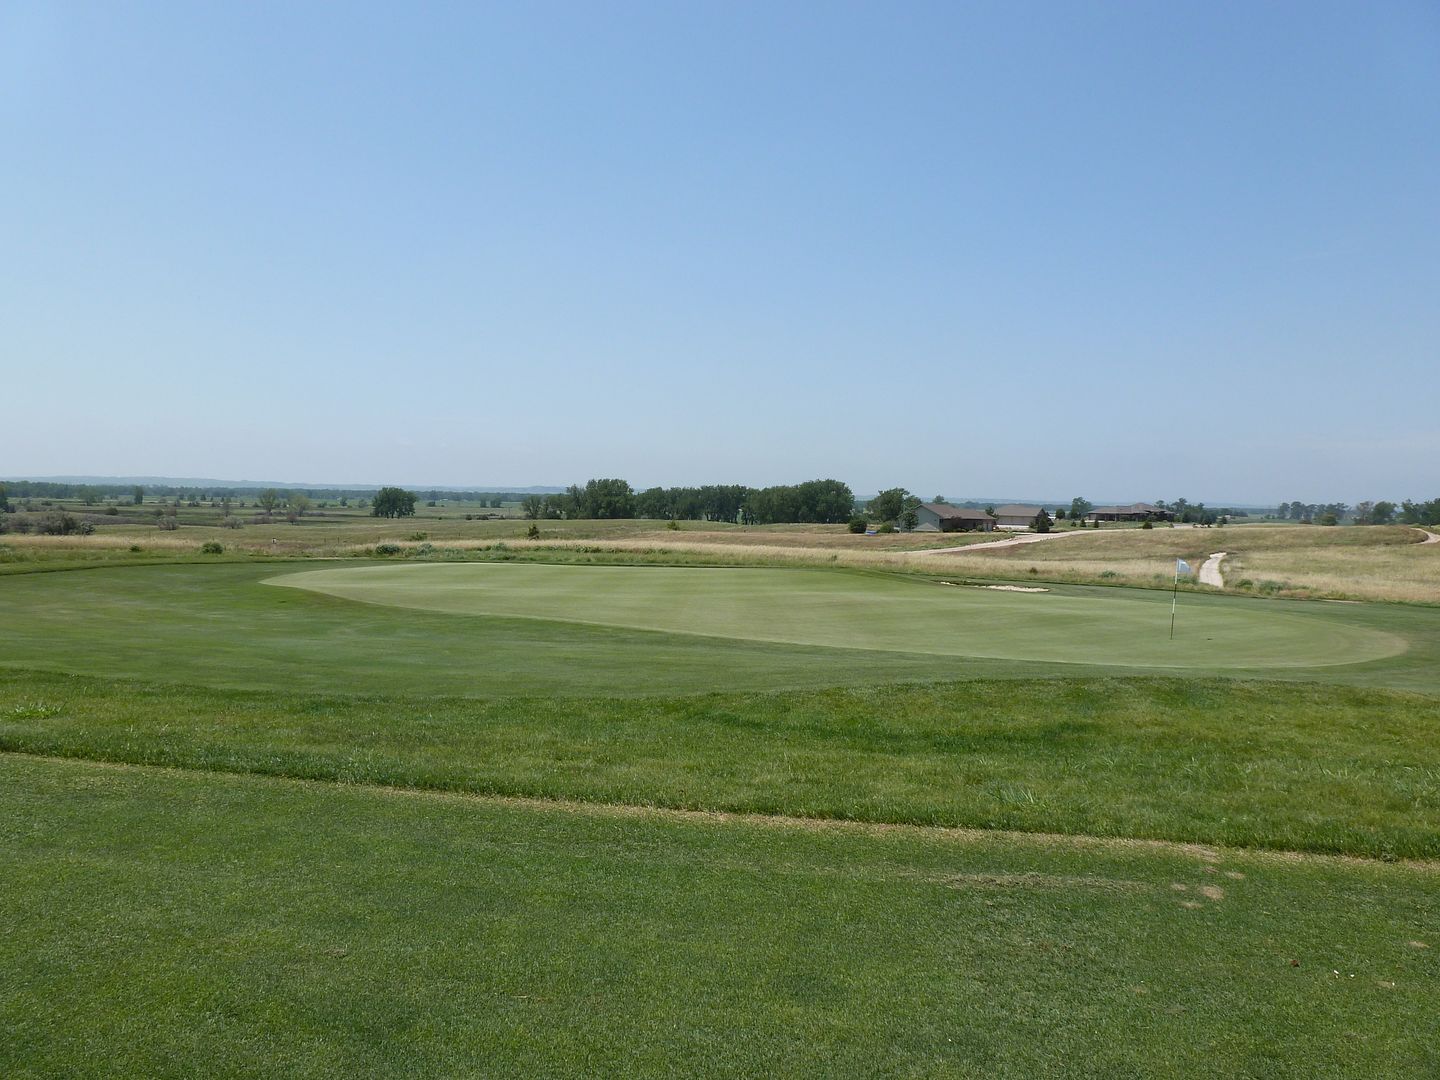
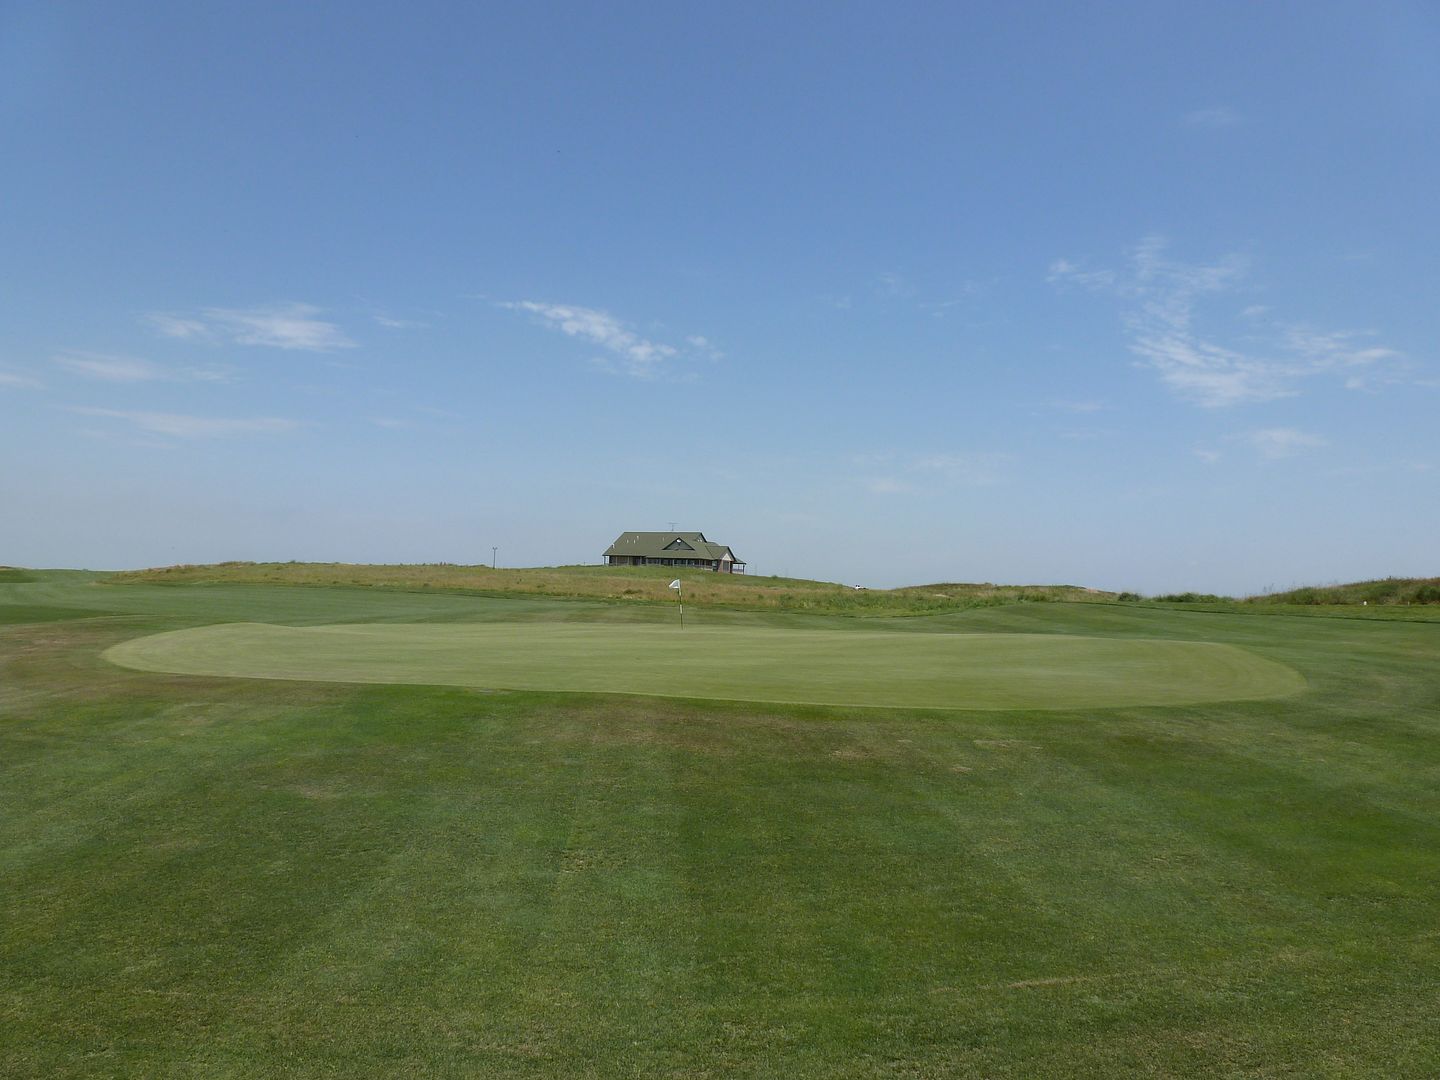
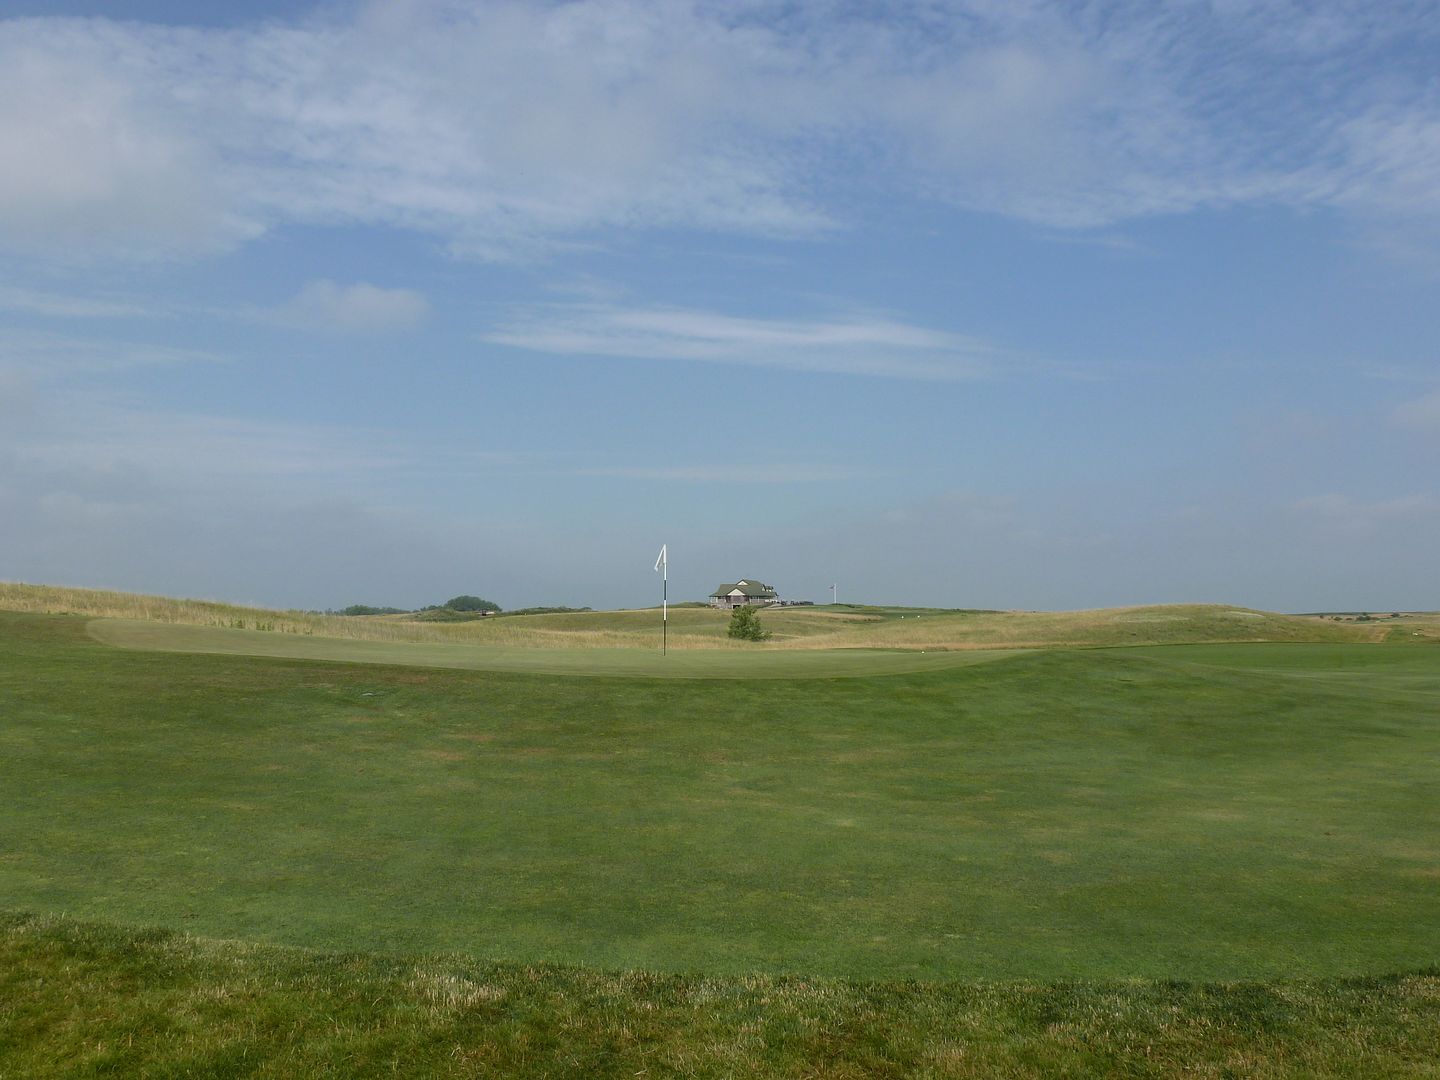
Short of green
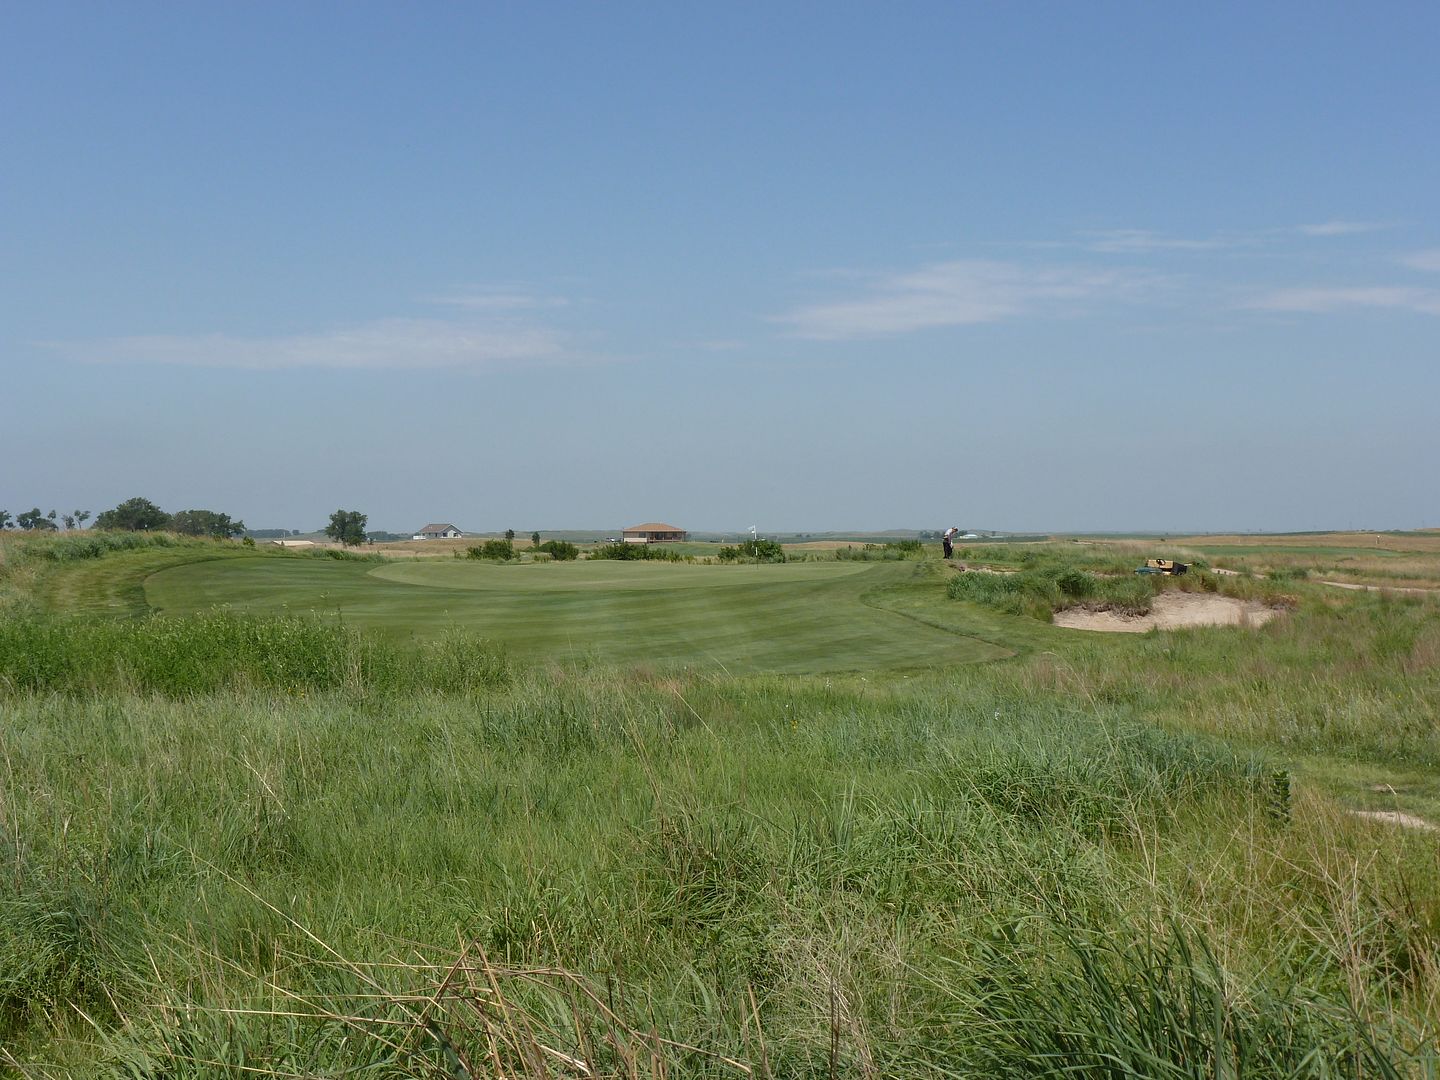
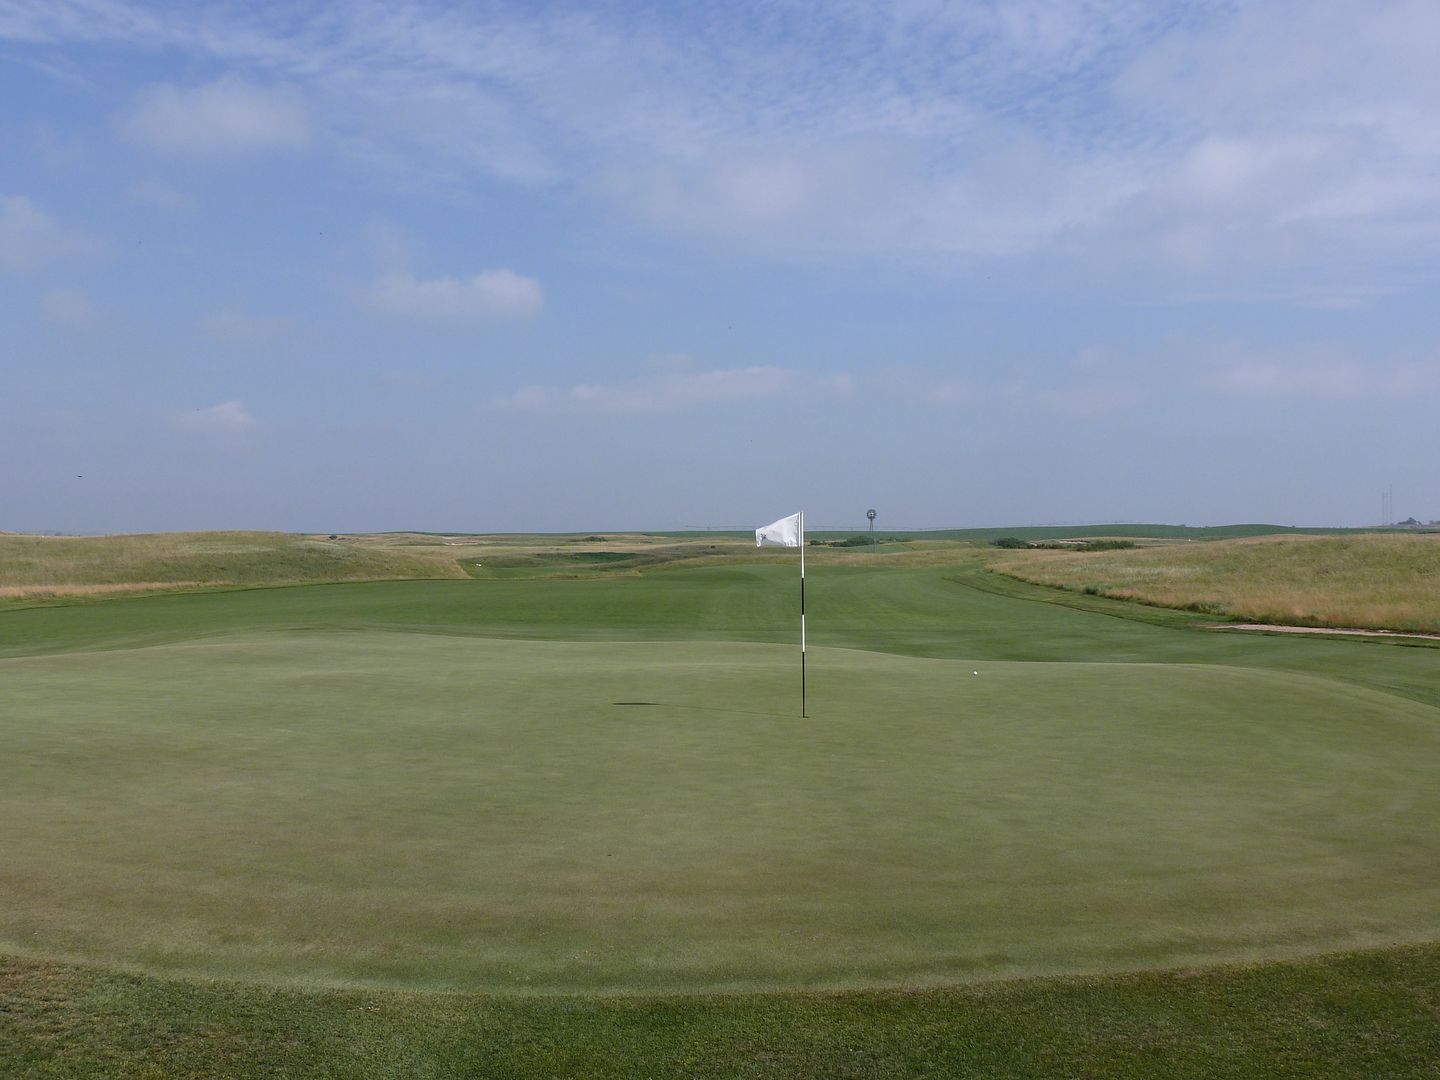
Left of green
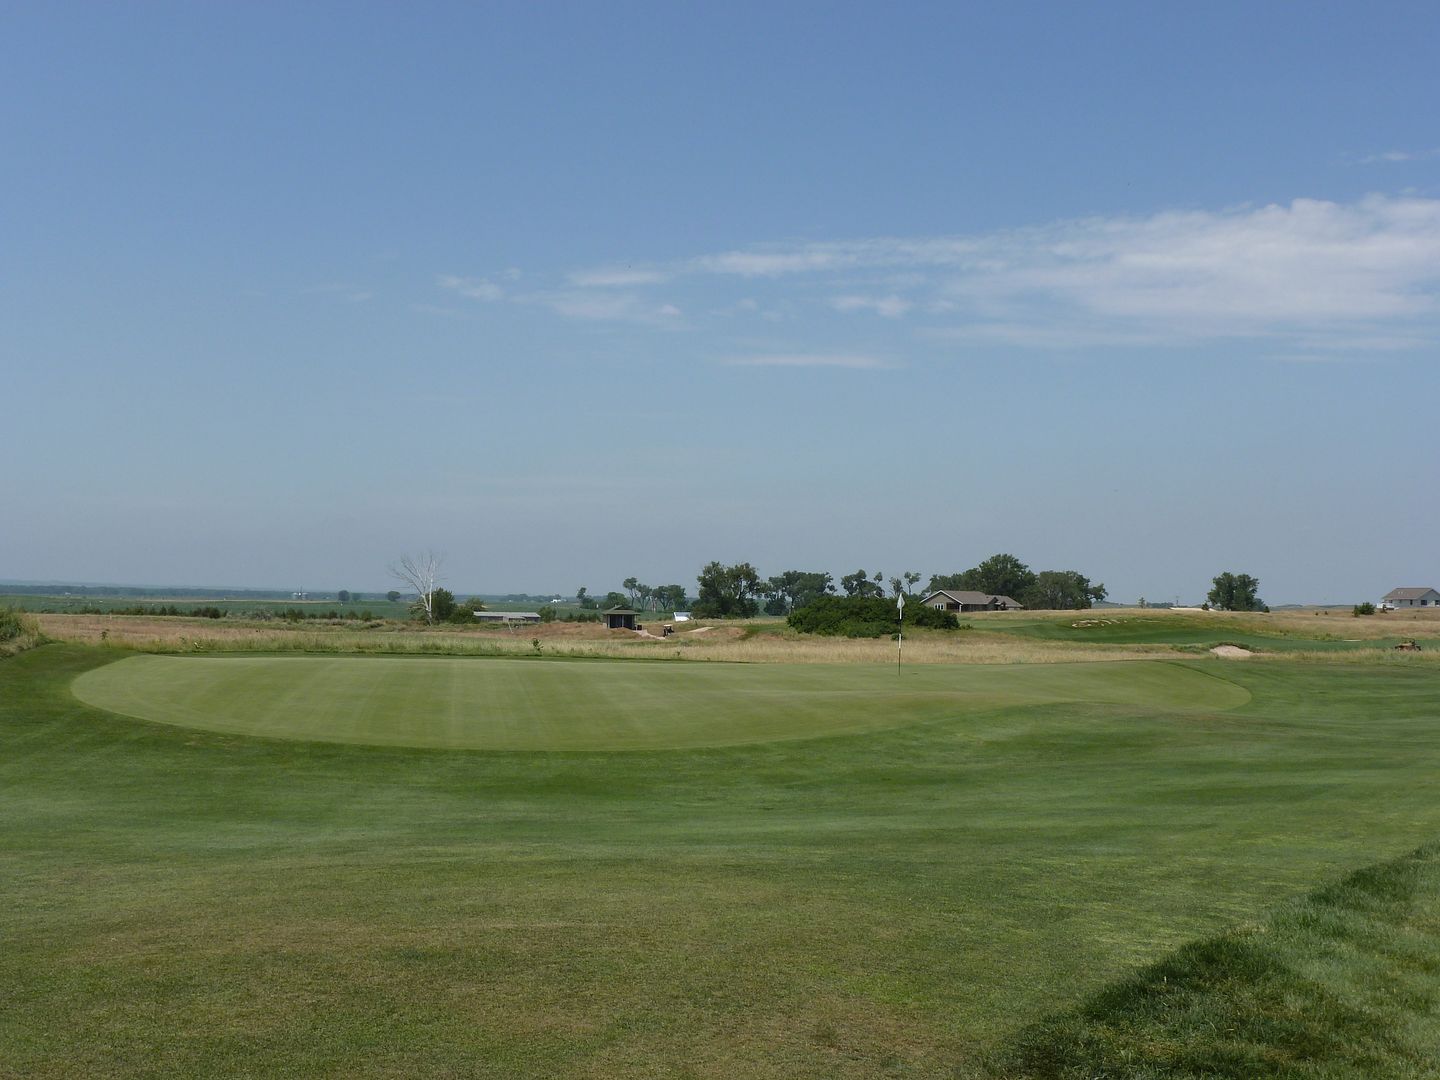
Hole 2: Par 4, 431 Yards
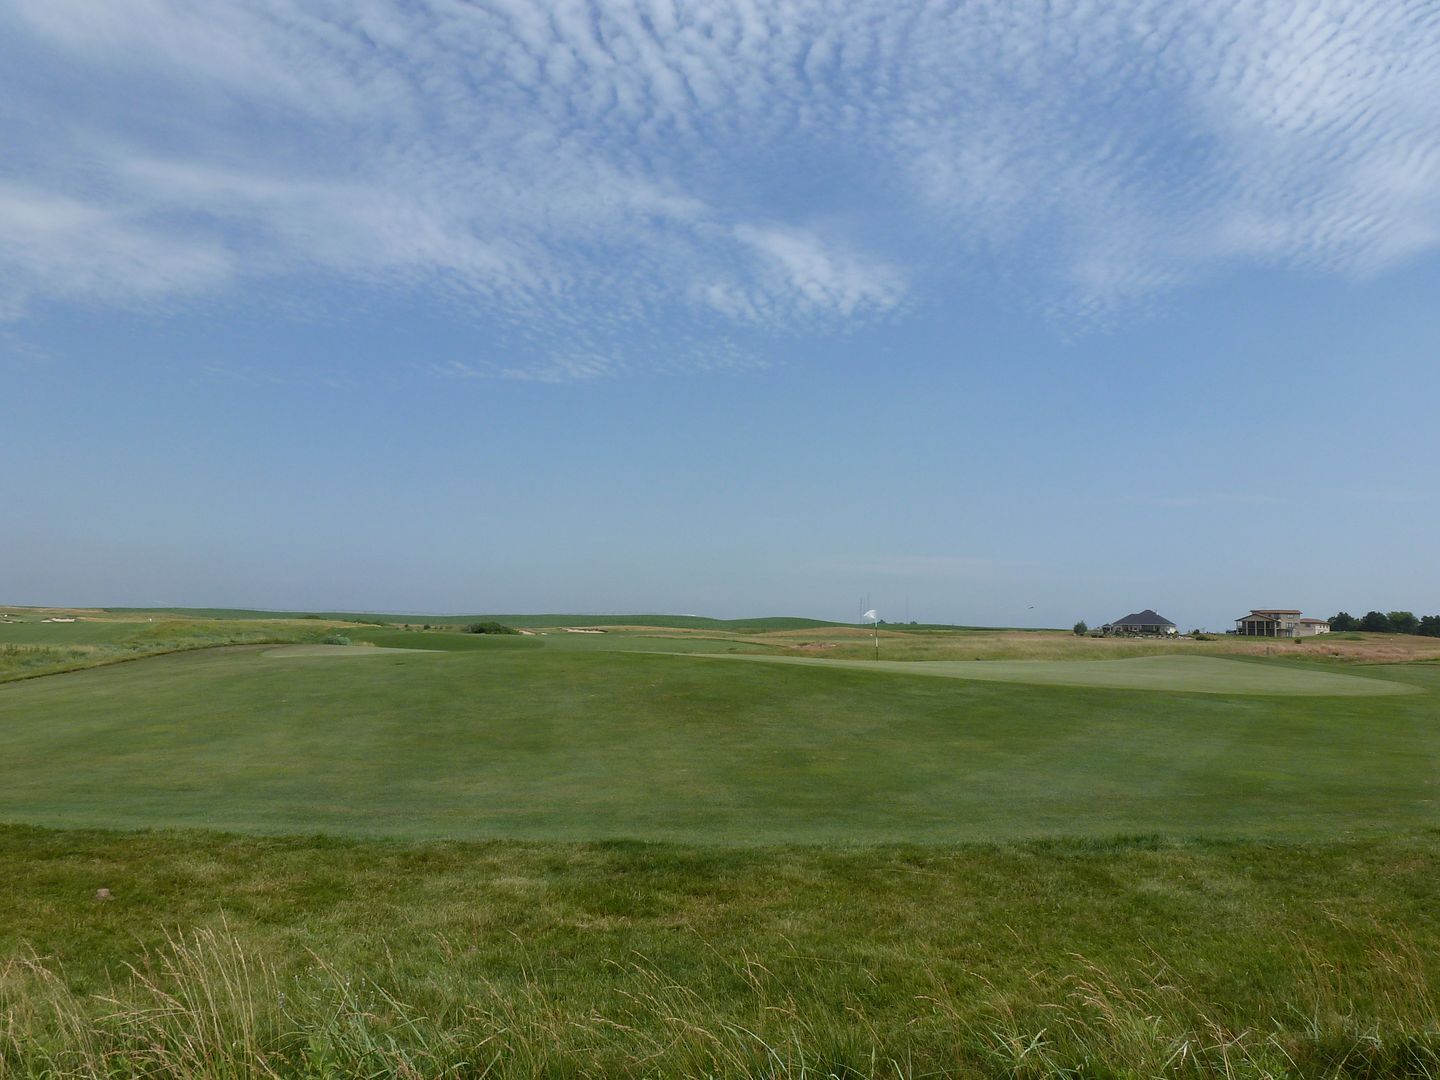
Hole Description: 2 is a medium par four that shares a fairway with #3. The tee shot is slightly blind but is framed by bunkers on both sides of the fairway near the landing area. A right line is more aggressive and can cut some distance off the angled fairway, but can leave a difficult second to a green that slopes from right to left. A long iron approach should find the large unbunkered green. Subtle breaks will test your green reading skills here.
Approach
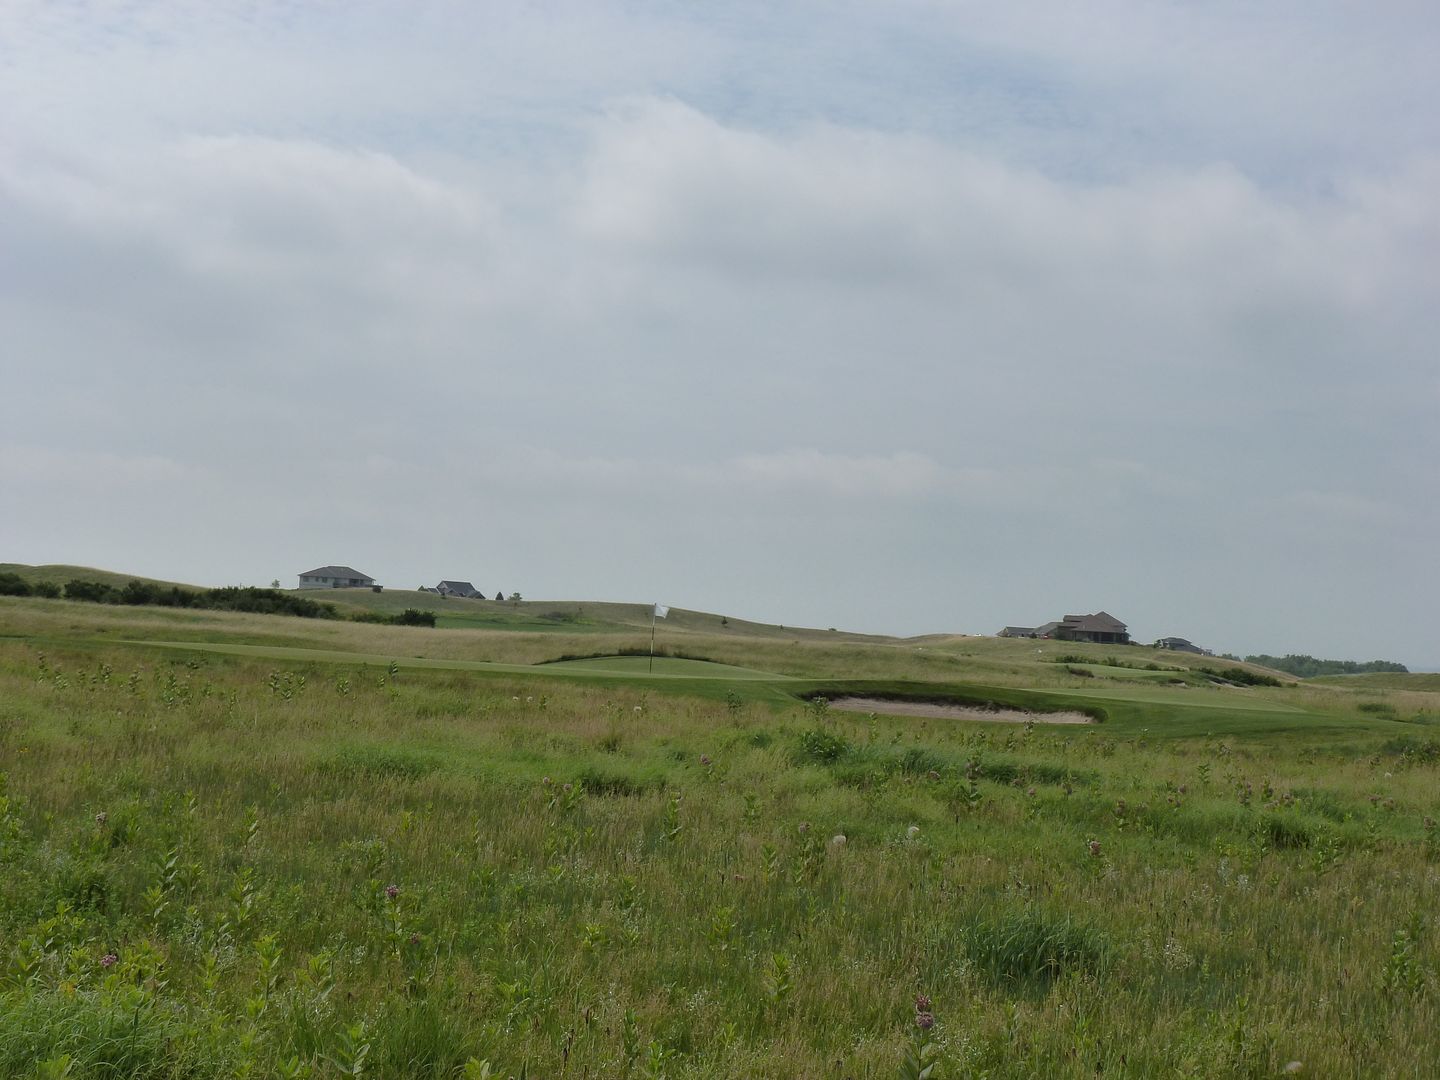
Short of green
Left of green
From behind
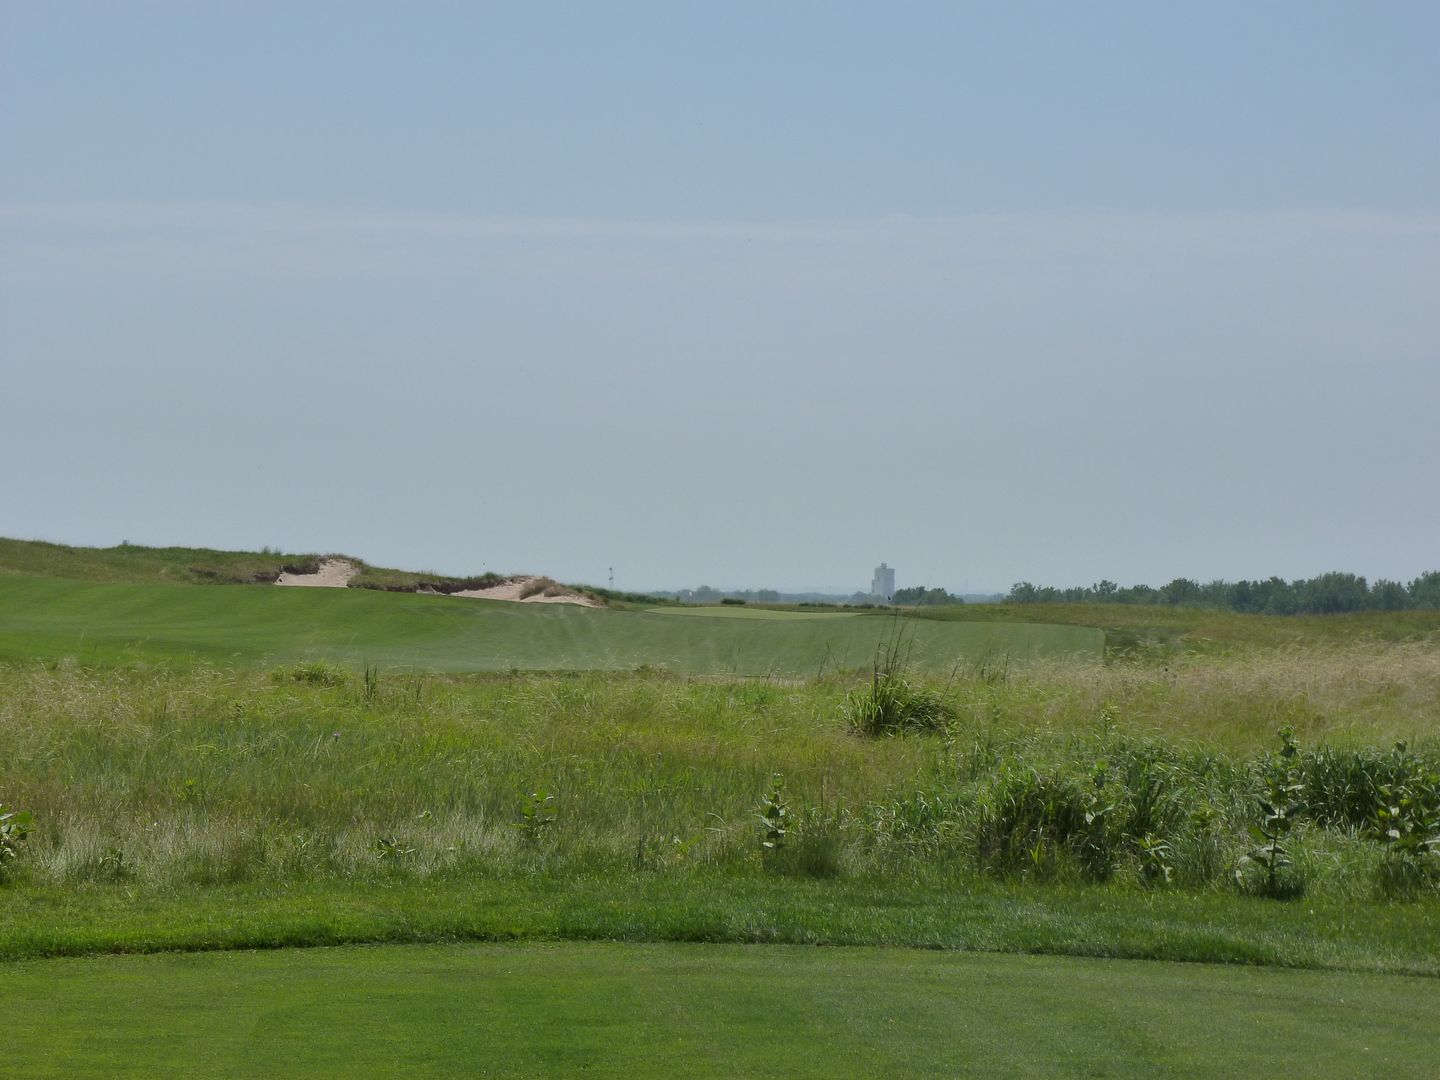
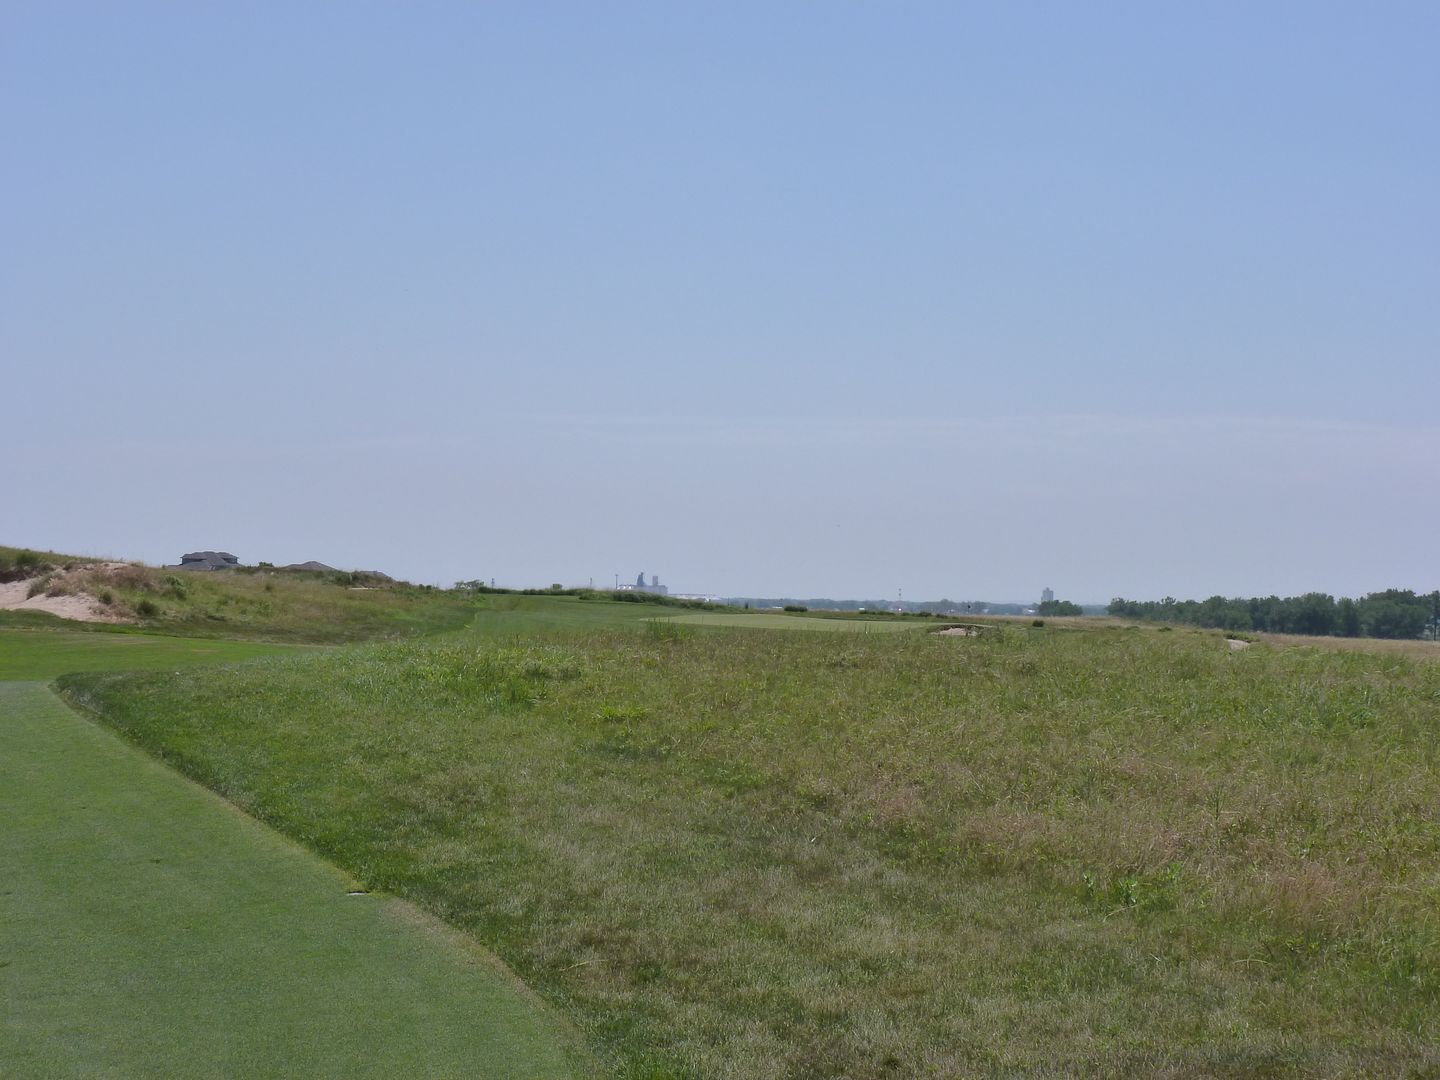
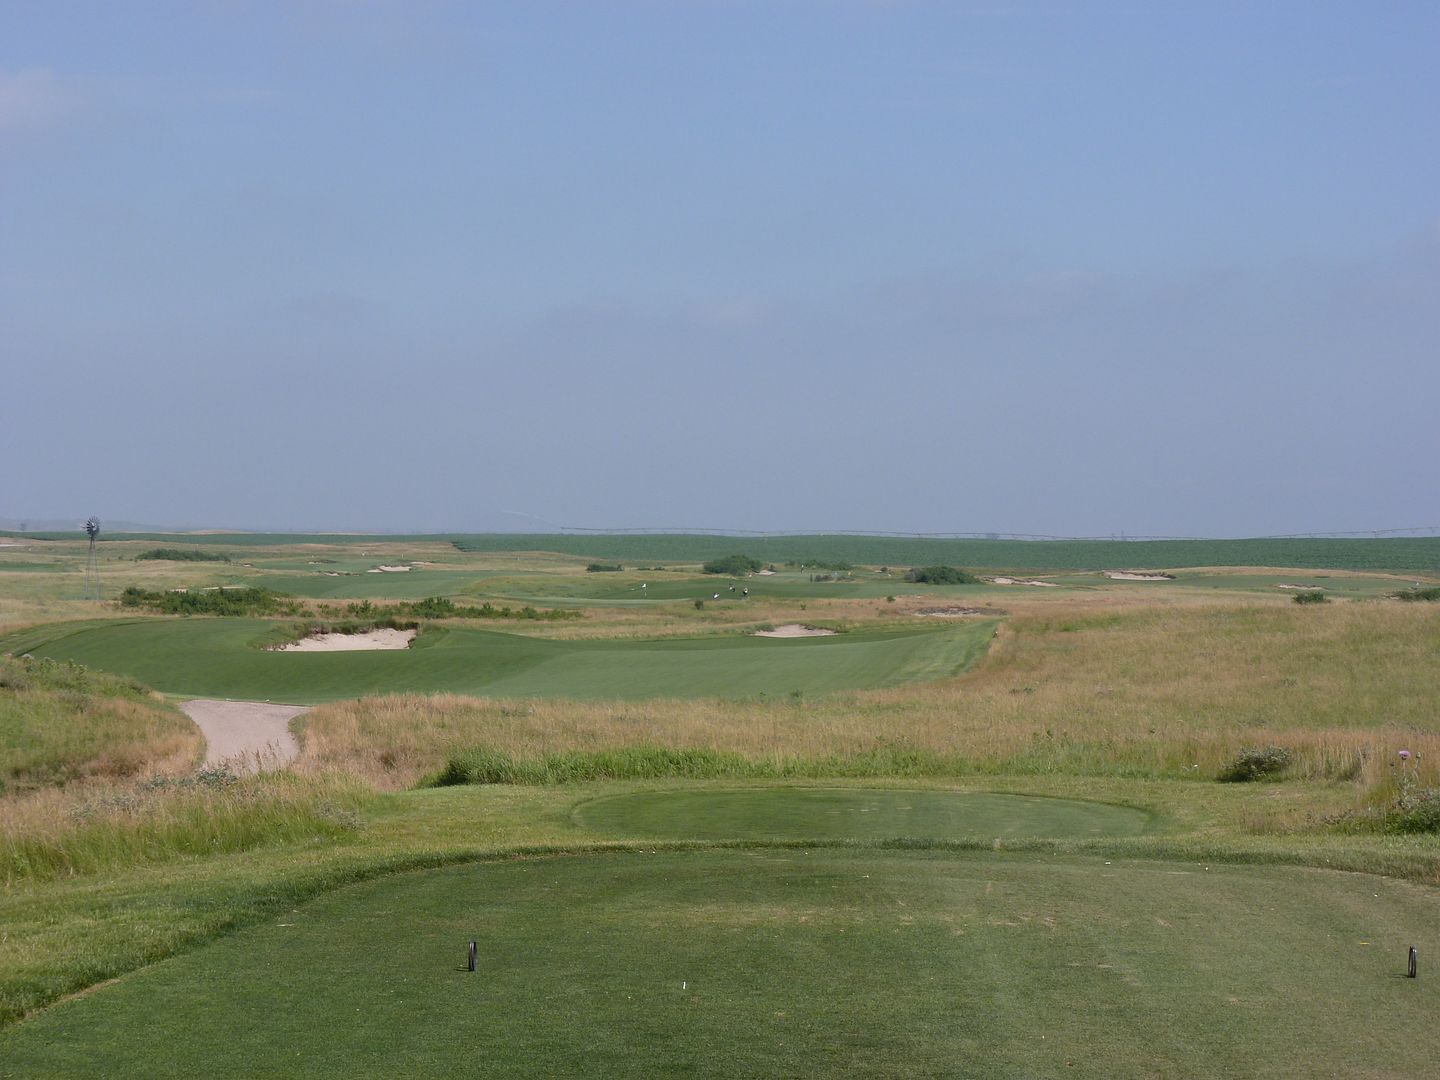
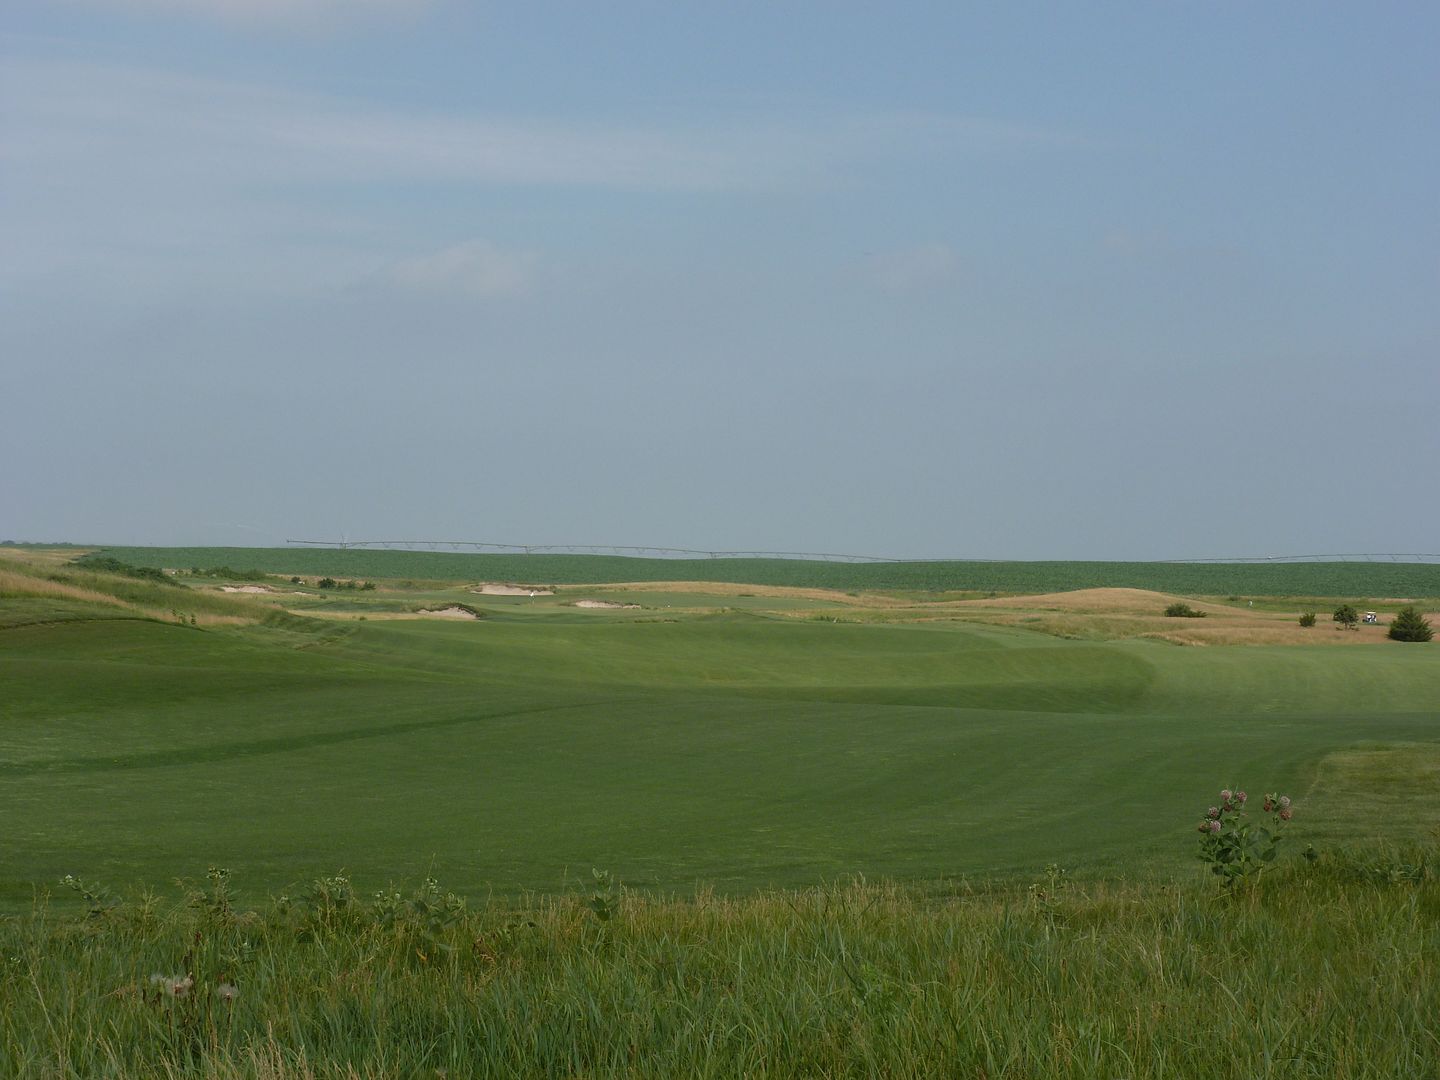
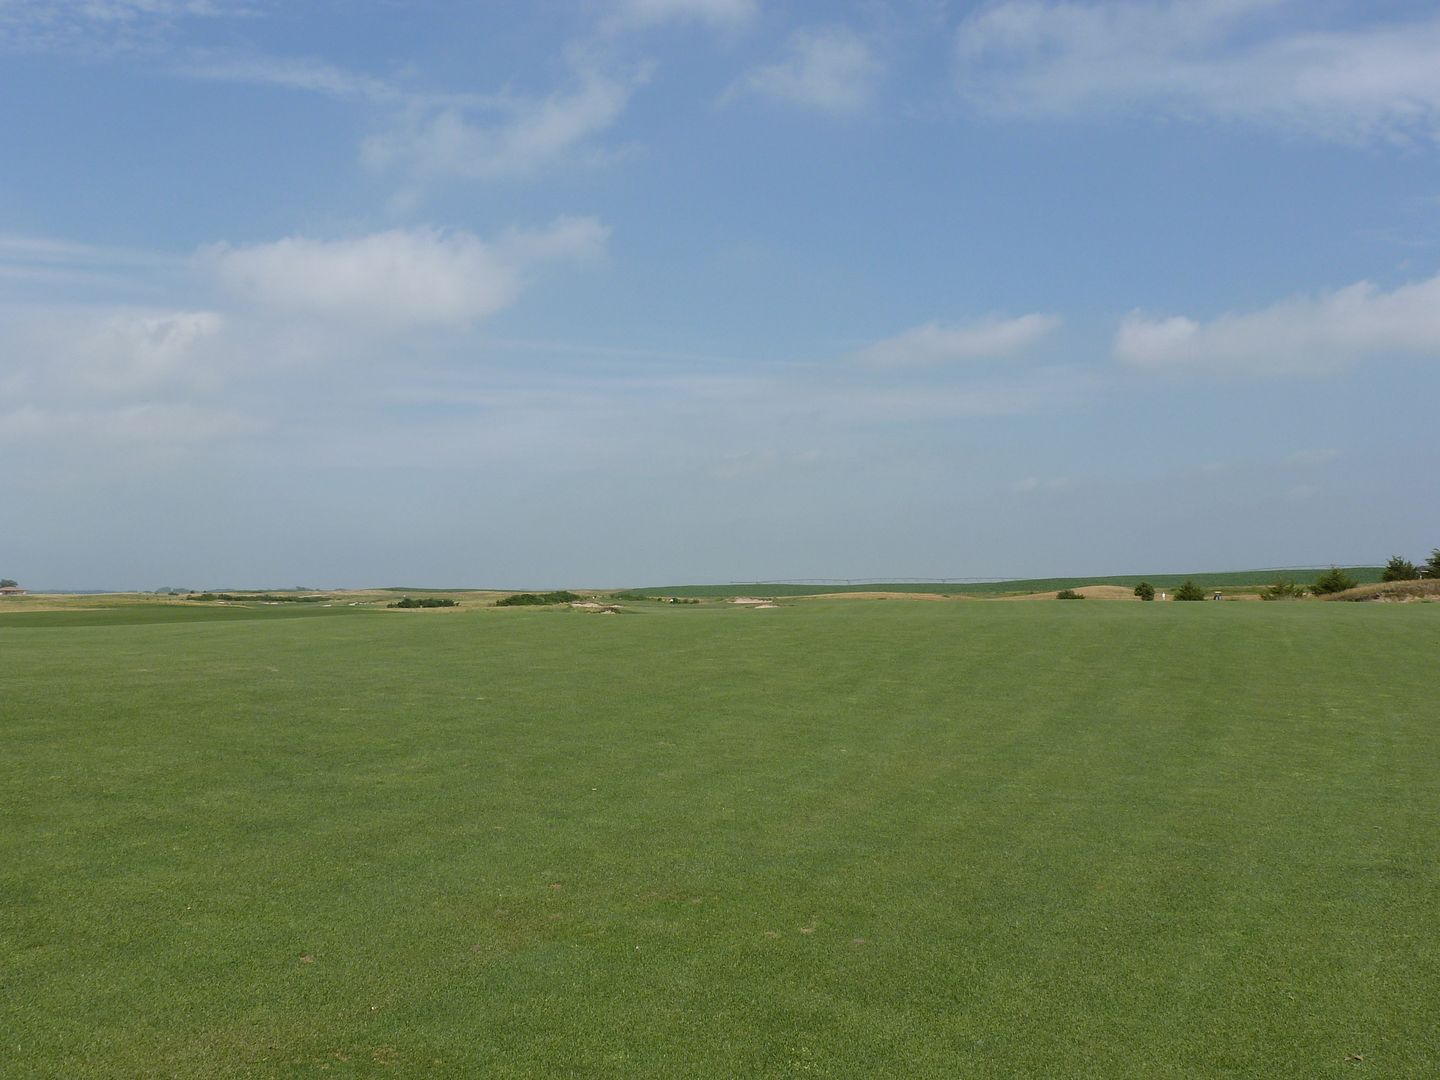
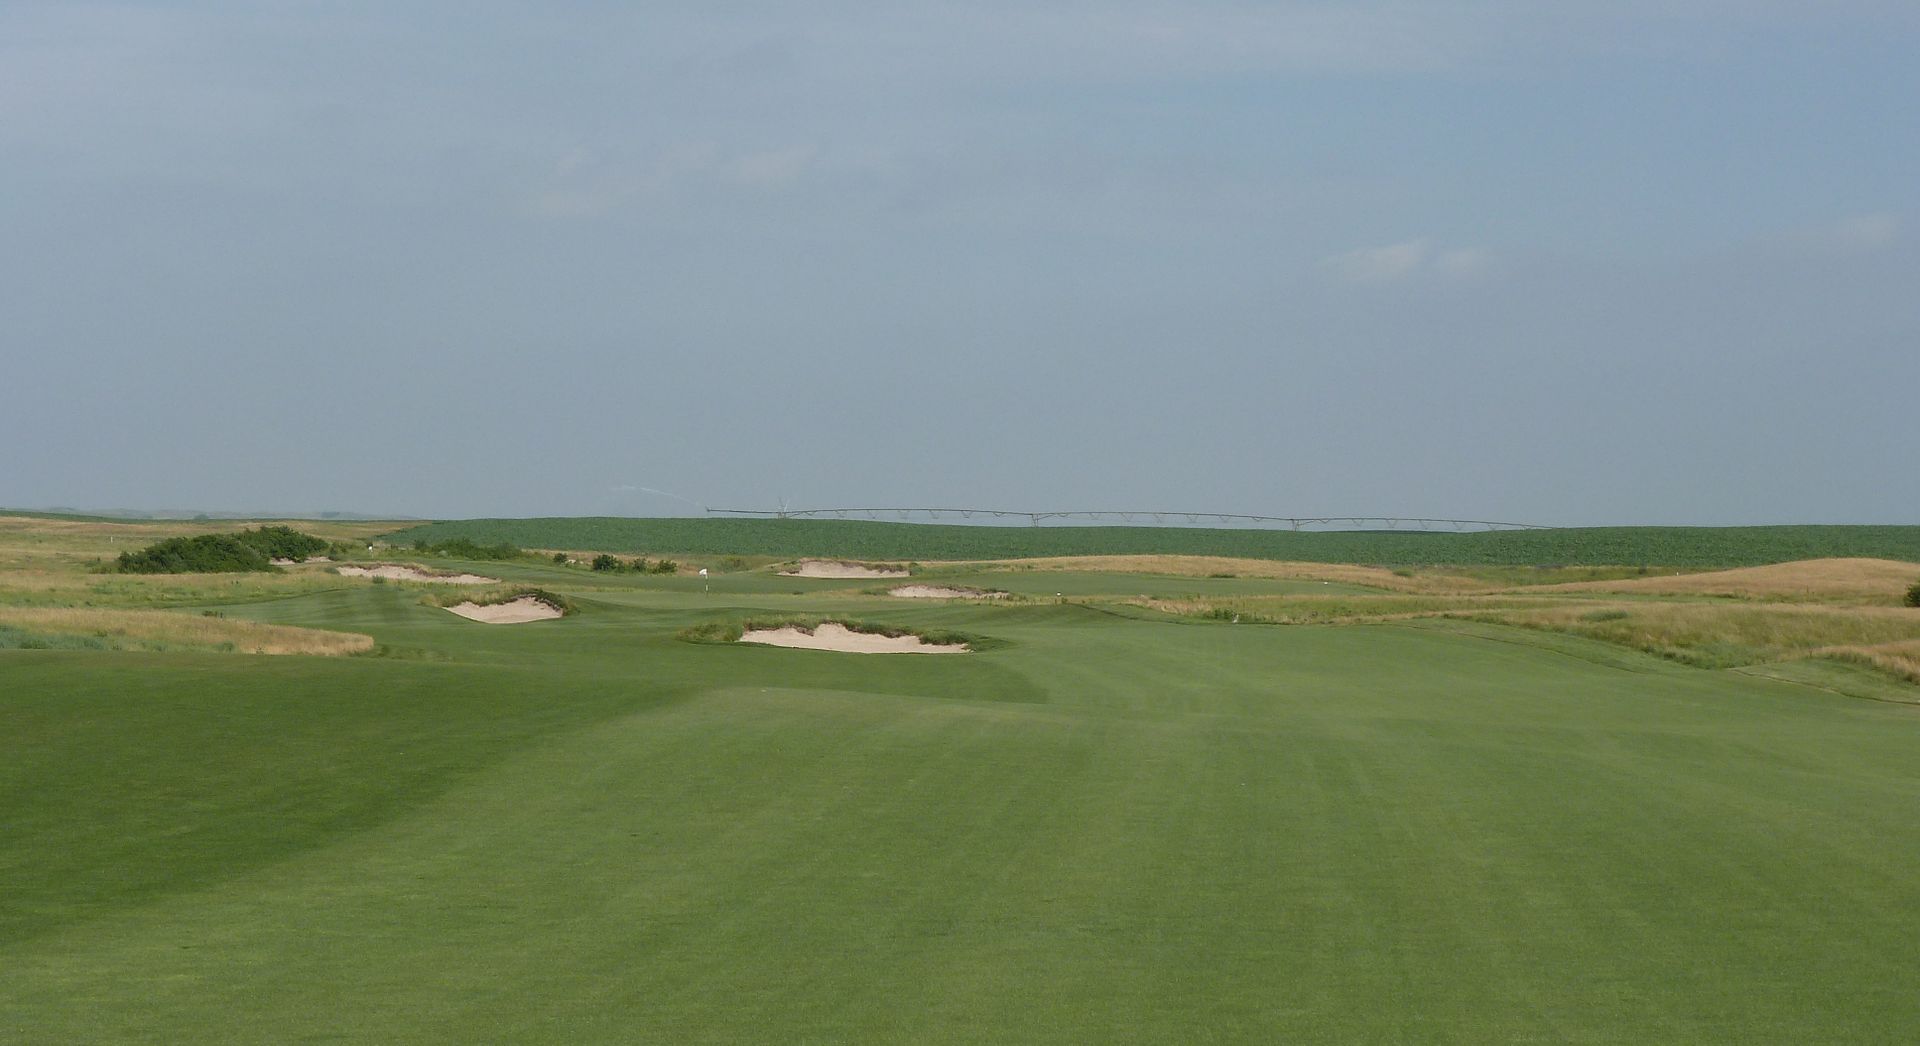
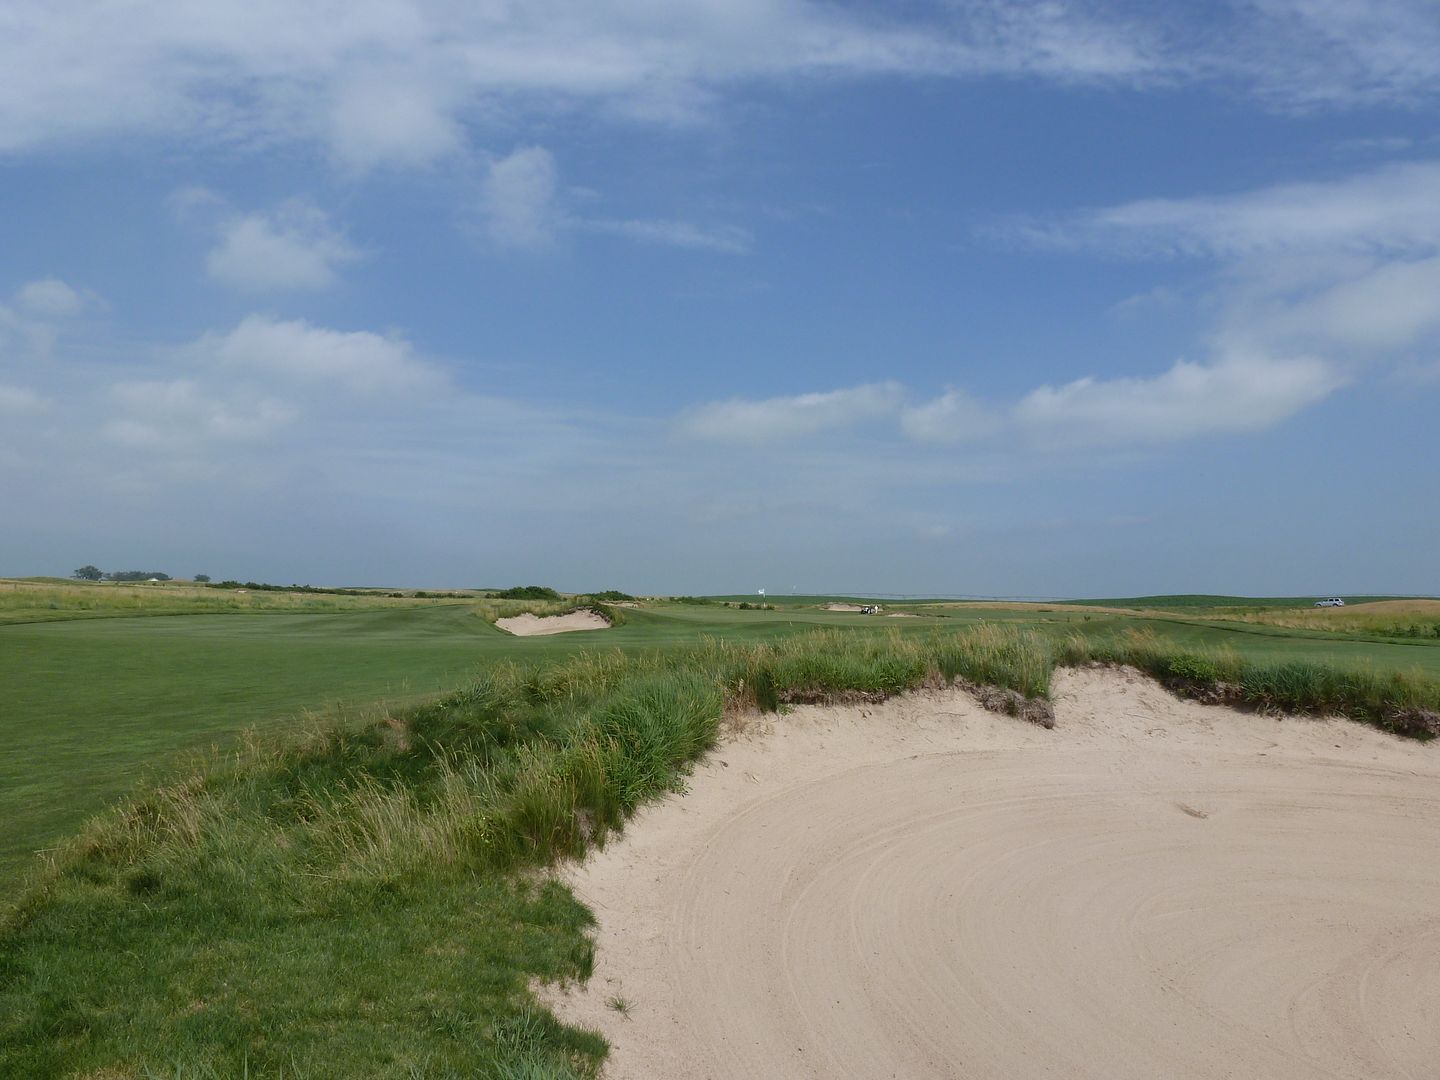
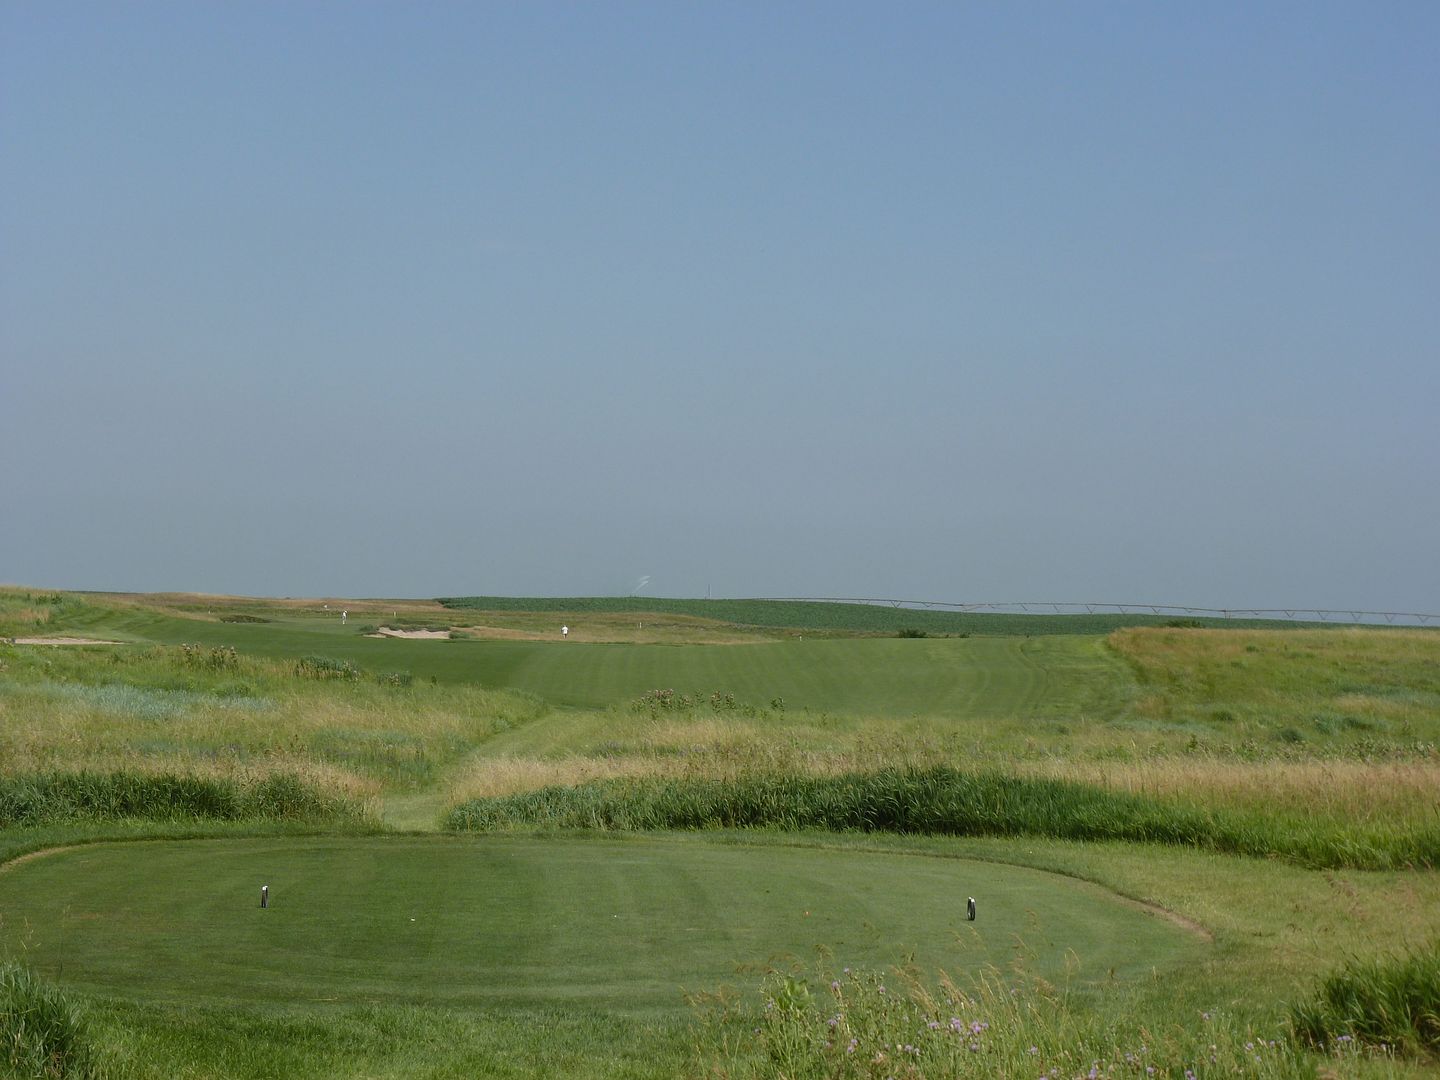
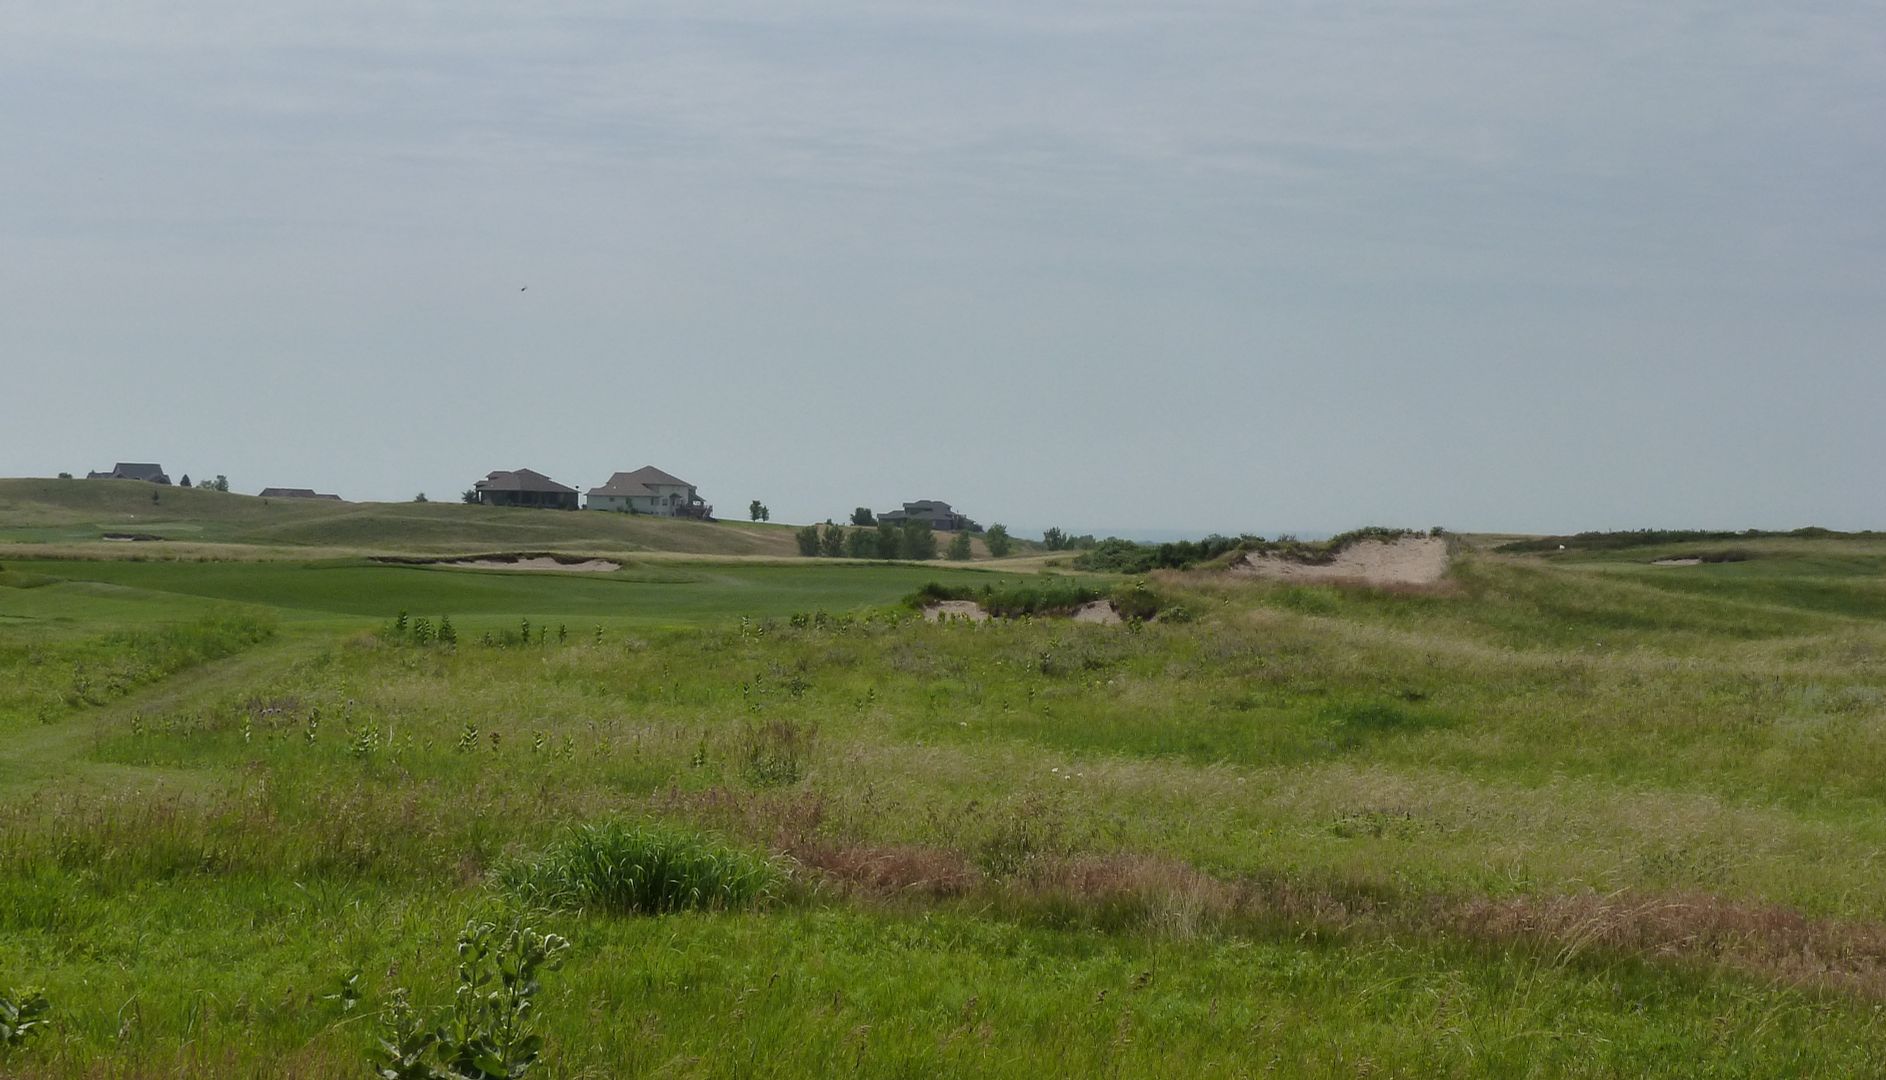
Hole 3: Par 5, 550 Yards
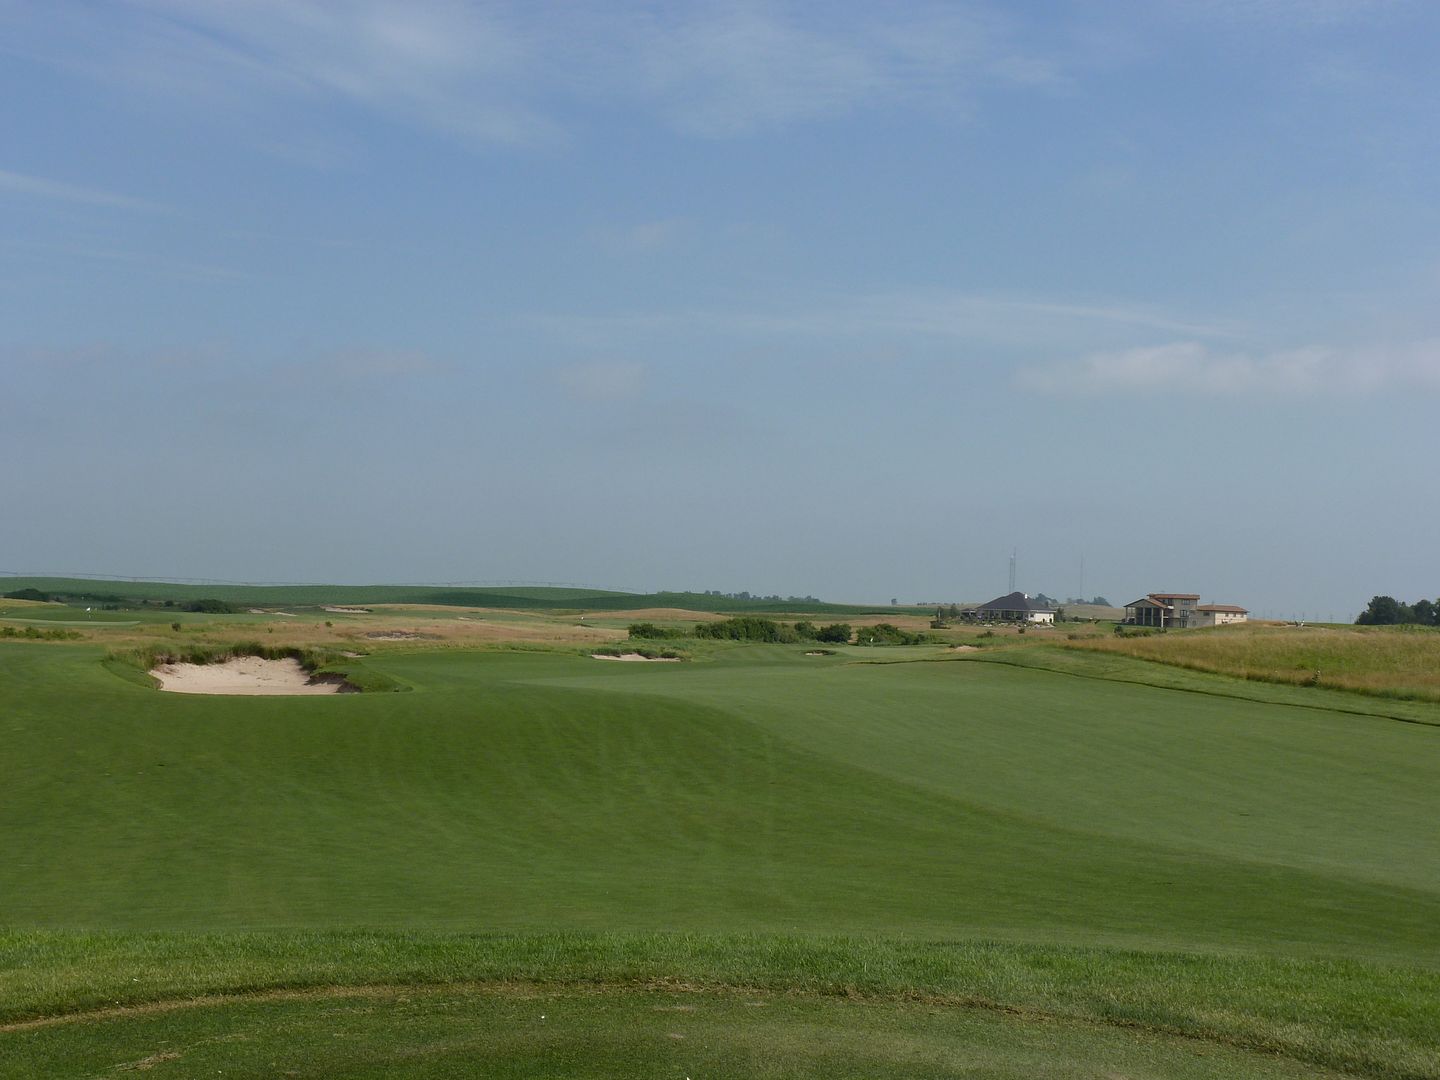
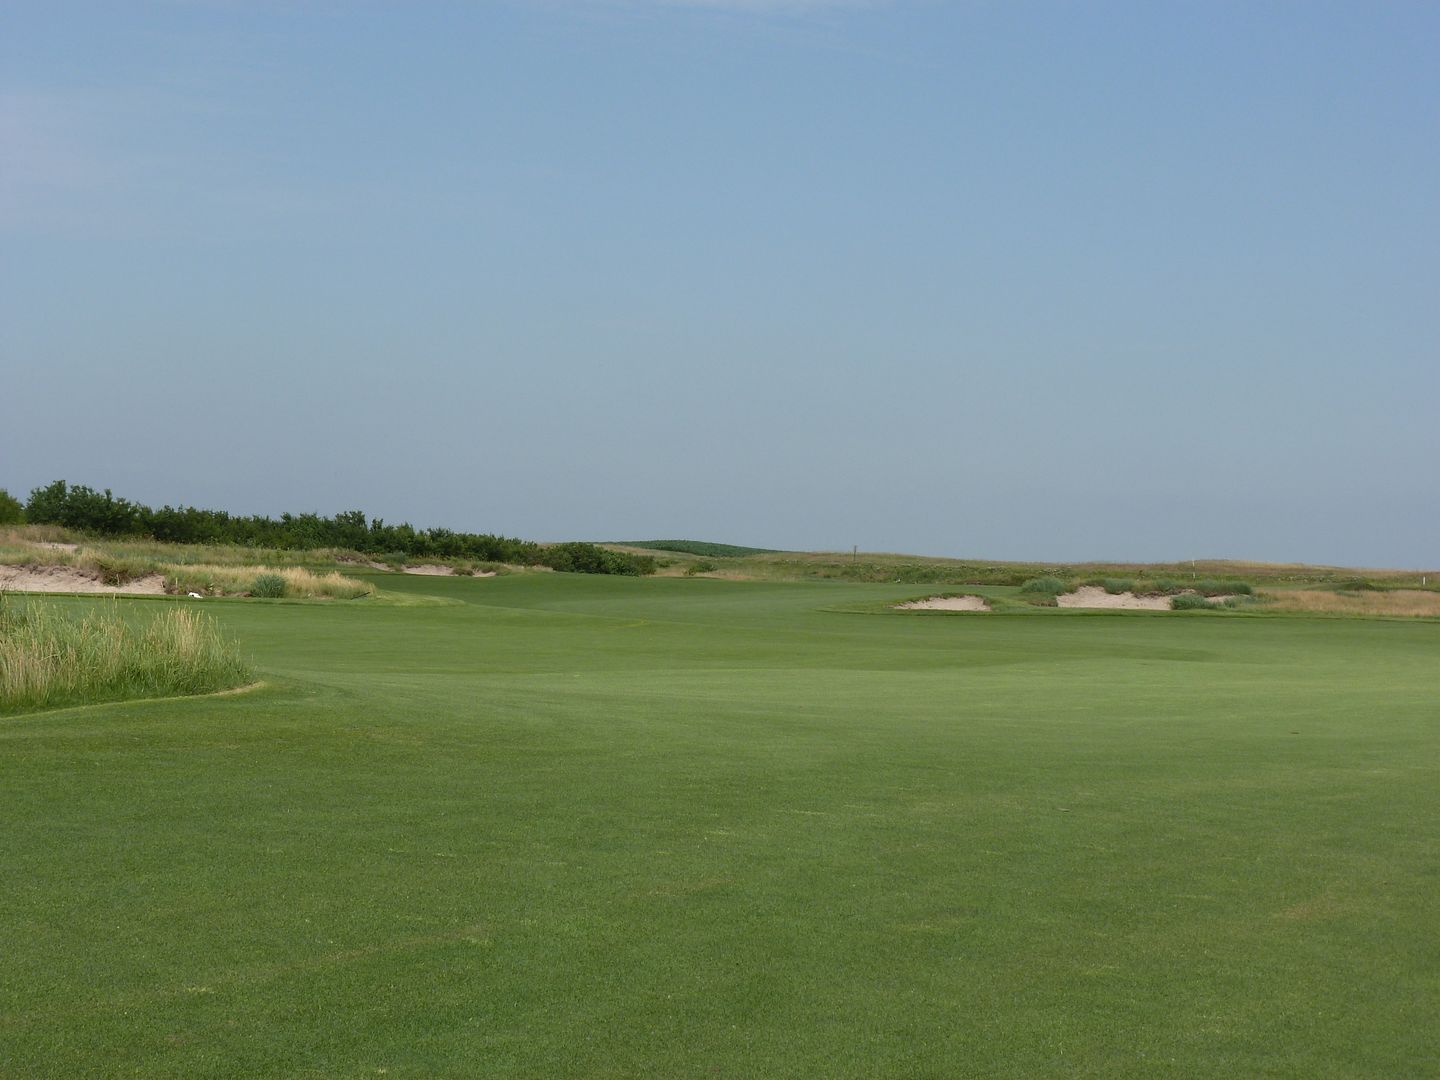
Hole Description: #3 is a par five playing back into the prevailing winds requiring good decisions and proper shot placement. A middle line for the tee ball is just over the right side of the carry bunkers in front of you. A tee shot to the left has lots of room and gives a good view of the rest of the hole as it doglegs right, but makes it a three shot hole. A more aggressive approach along the right side cuts distance but reduces the visibility of the second shot. Three pot bunkers spaced along the middle of the fairway create choices for your second shot. Another pot bunker lies 10 yards in front of the green making second shot placement crucial depending on pin position. The third shot must find its way around or over the pre-mentioned pot bunker onto a small green that slopes back to front with several mounds.
From 275 Yards Out
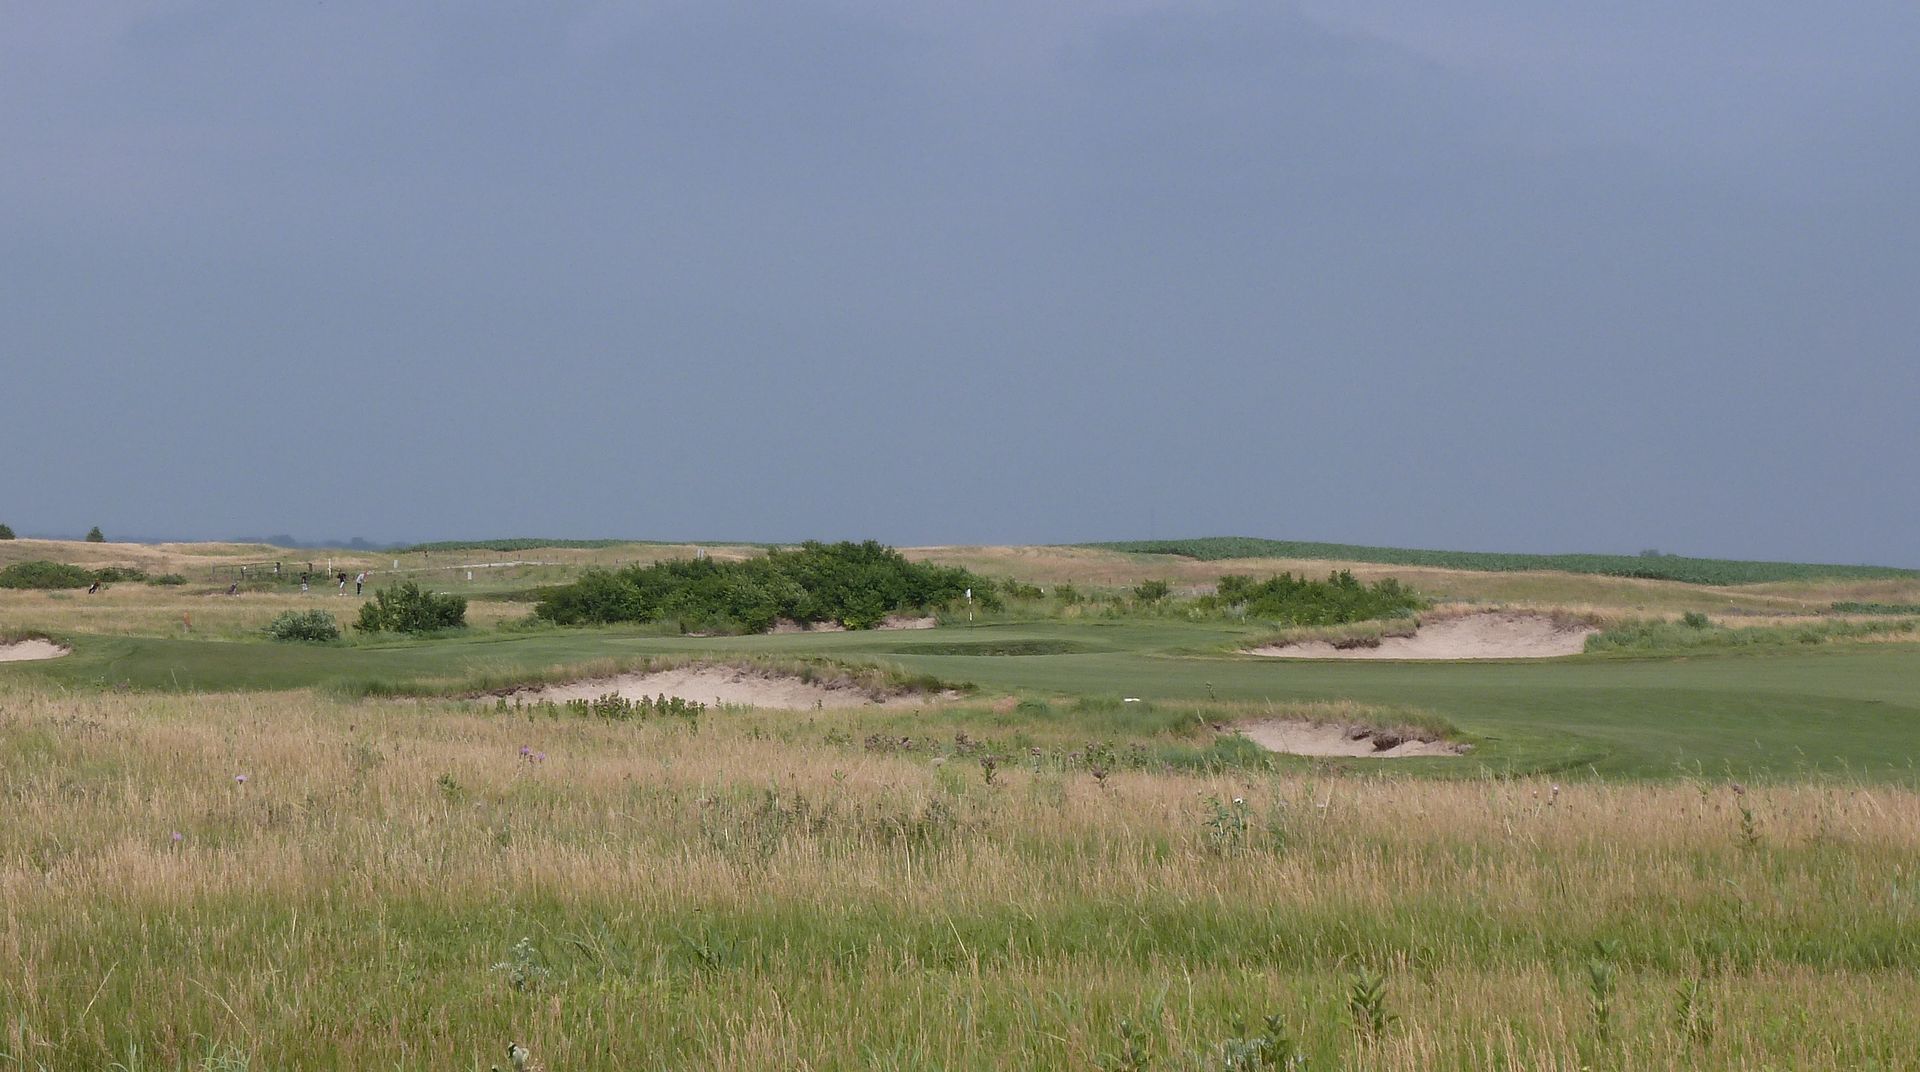
Approach short of all centerline bunkers
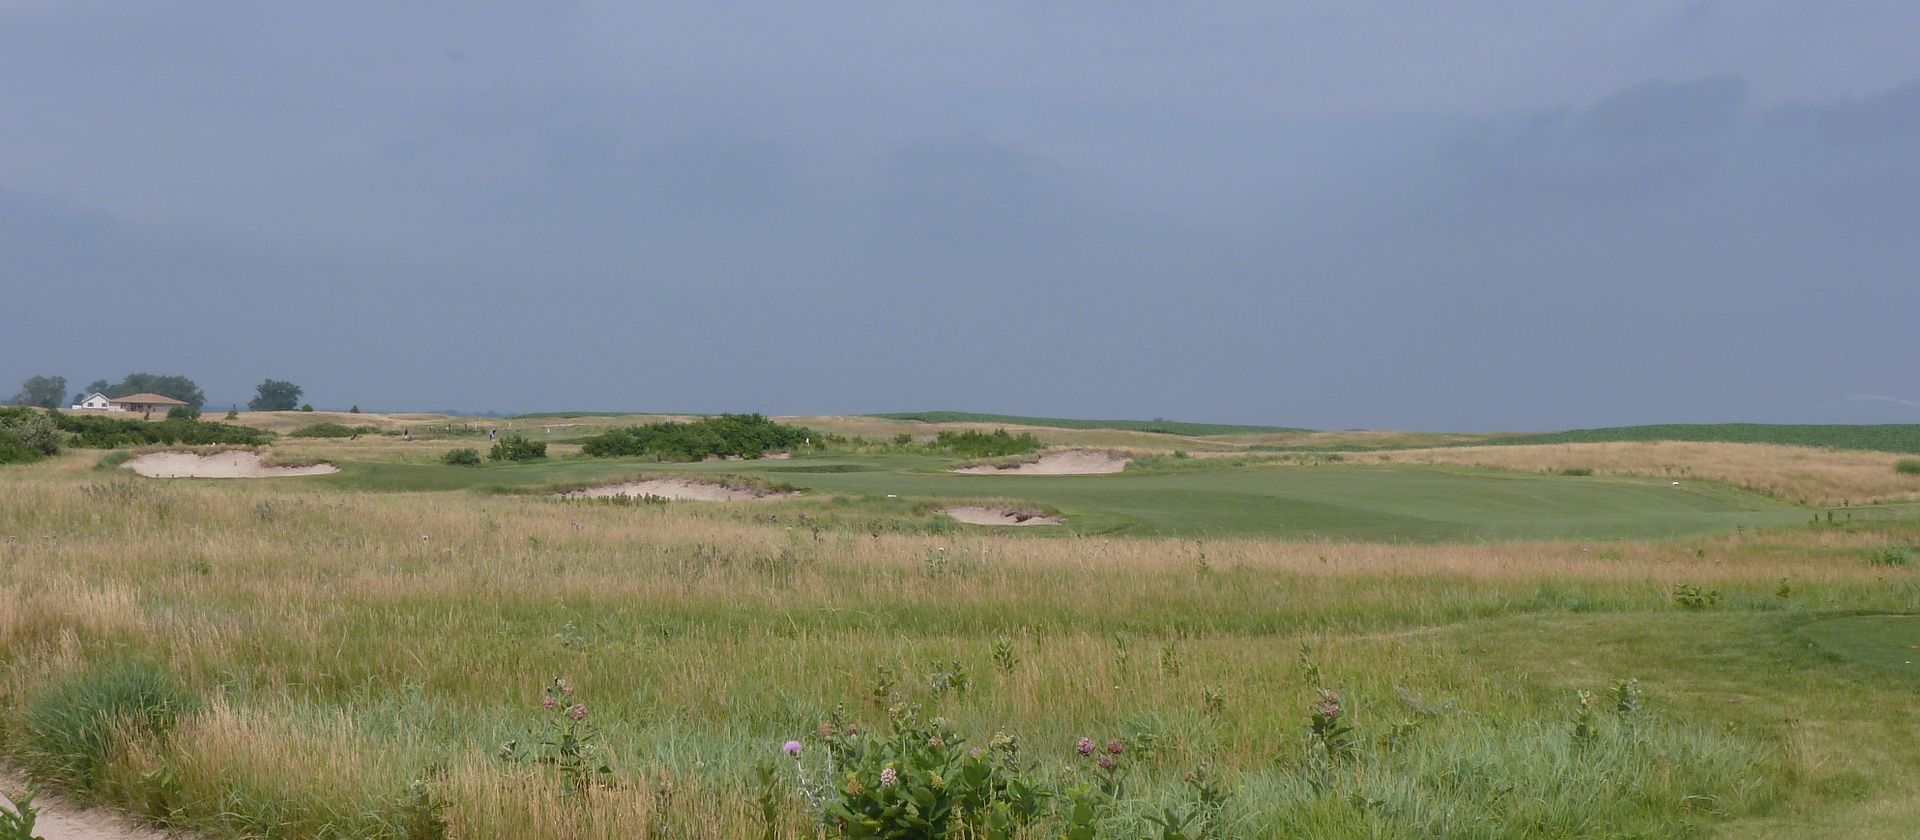
Approach from right of bunkers
Approach from left of bunkers

From behind
Hole Description: #1is a short par four that requires finess, not power to get your round started. It plays from a slightly elevated tee to a flat valley fairway bordered by the ever-present native grass hills. A fairway bunker guards the inside leg of a slight dogleg left. Tee shots should favor the left side of the fairway for a better approach to a green bunkered on both sides. (Many people aim too far right with too much club on their tee shots.) The green sits into a hillside that caroms balls to the left. A proper approach is just over the right side bunker which will kick left onto the green. Avoid being long. This green will preview future greens with lots of mounds and slope.
Approach from left
Approach from right
Short of green
Left of green
Hole 2: Par 4, 431 Yards
Hole Description: 2 is a medium par four that shares a fairway with #3. The tee shot is slightly blind but is framed by bunkers on both sides of the fairway near the landing area. A right line is more aggressive and can cut some distance off the angled fairway, but can leave a difficult second to a green that slopes from right to left. A long iron approach should find the large unbunkered green. Subtle breaks will test your green reading skills here.
Approach
Short of green
Left of green
From behind
Hole 3: Par 5, 550 Yards
Hole Description: #3 is a par five playing back into the prevailing winds requiring good decisions and proper shot placement. A middle line for the tee ball is just over the right side of the carry bunkers in front of you. A tee shot to the left has lots of room and gives a good view of the rest of the hole as it doglegs right, but makes it a three shot hole. A more aggressive approach along the right side cuts distance but reduces the visibility of the second shot. Three pot bunkers spaced along the middle of the fairway create choices for your second shot. Another pot bunker lies 10 yards in front of the green making second shot placement crucial depending on pin position. The third shot must find its way around or over the pre-mentioned pot bunker onto a small green that slopes back to front with several mounds.
From 275 Yards Out
Approach short of all centerline bunkers
Approach from right of bunkers
Approach from left of bunkers
From behind
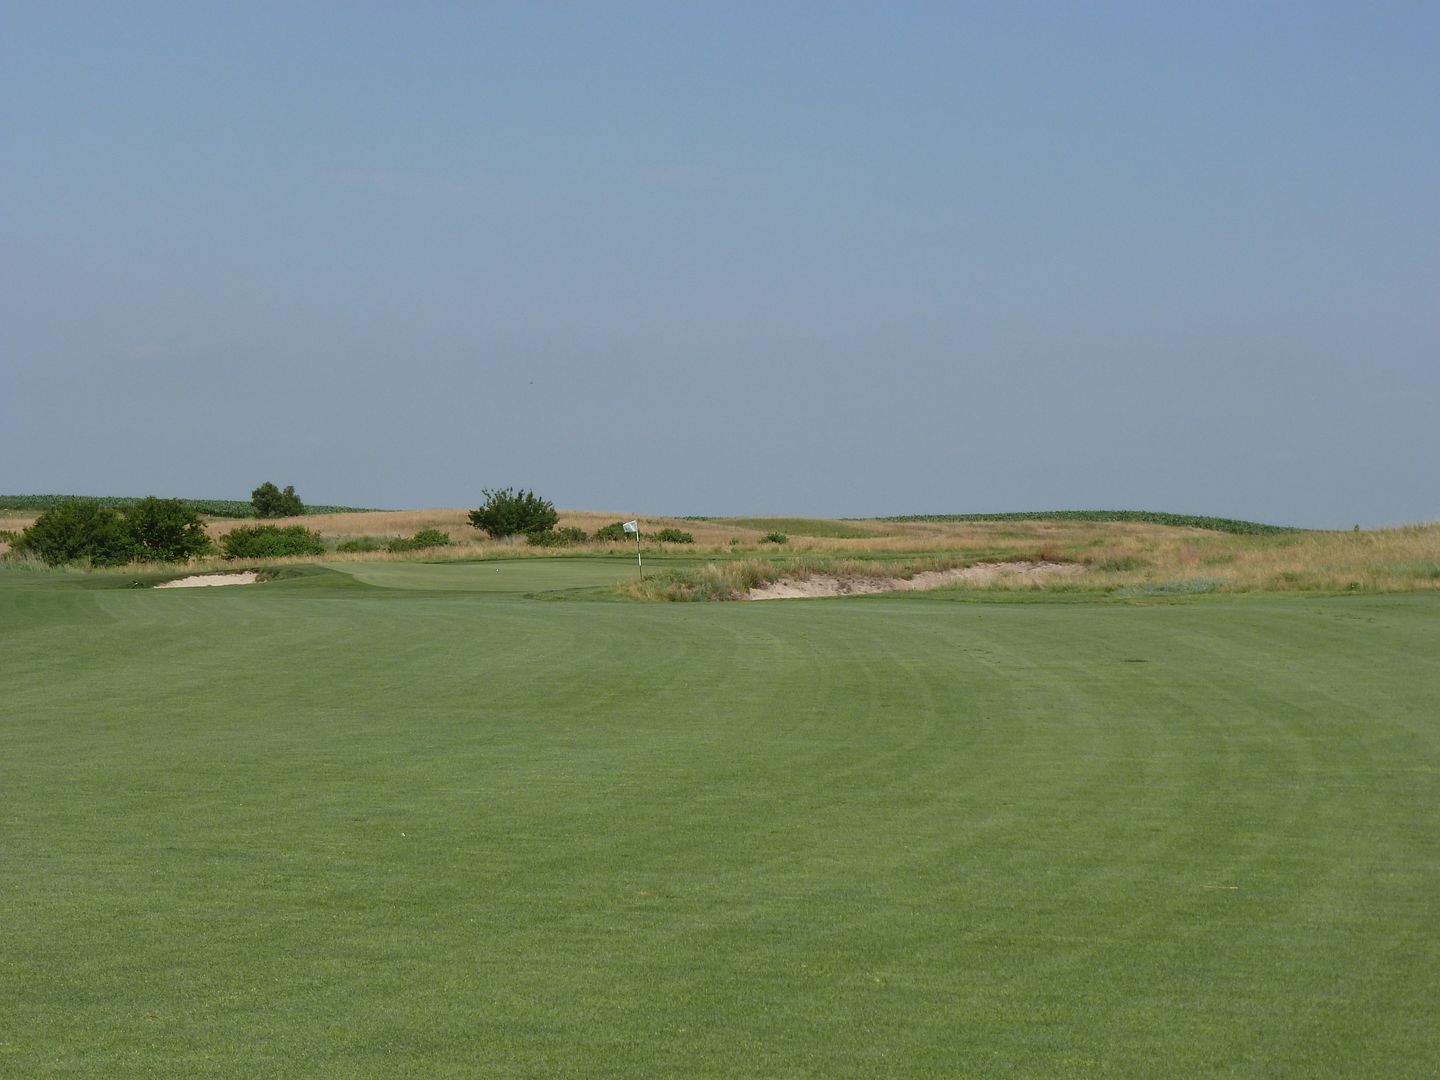
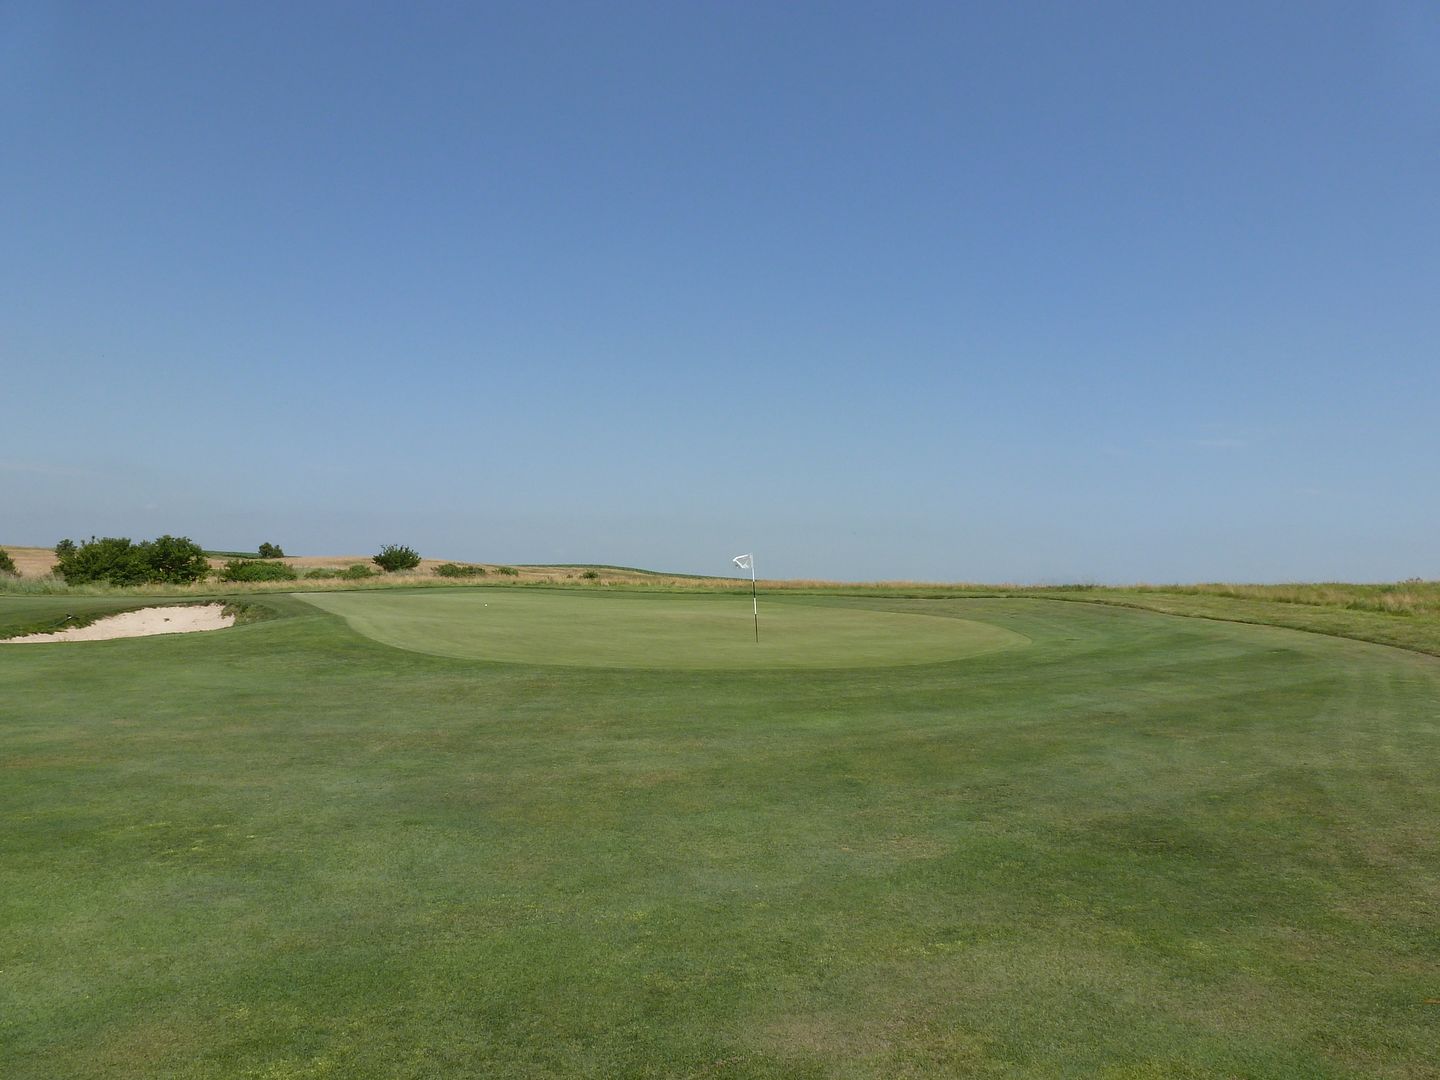
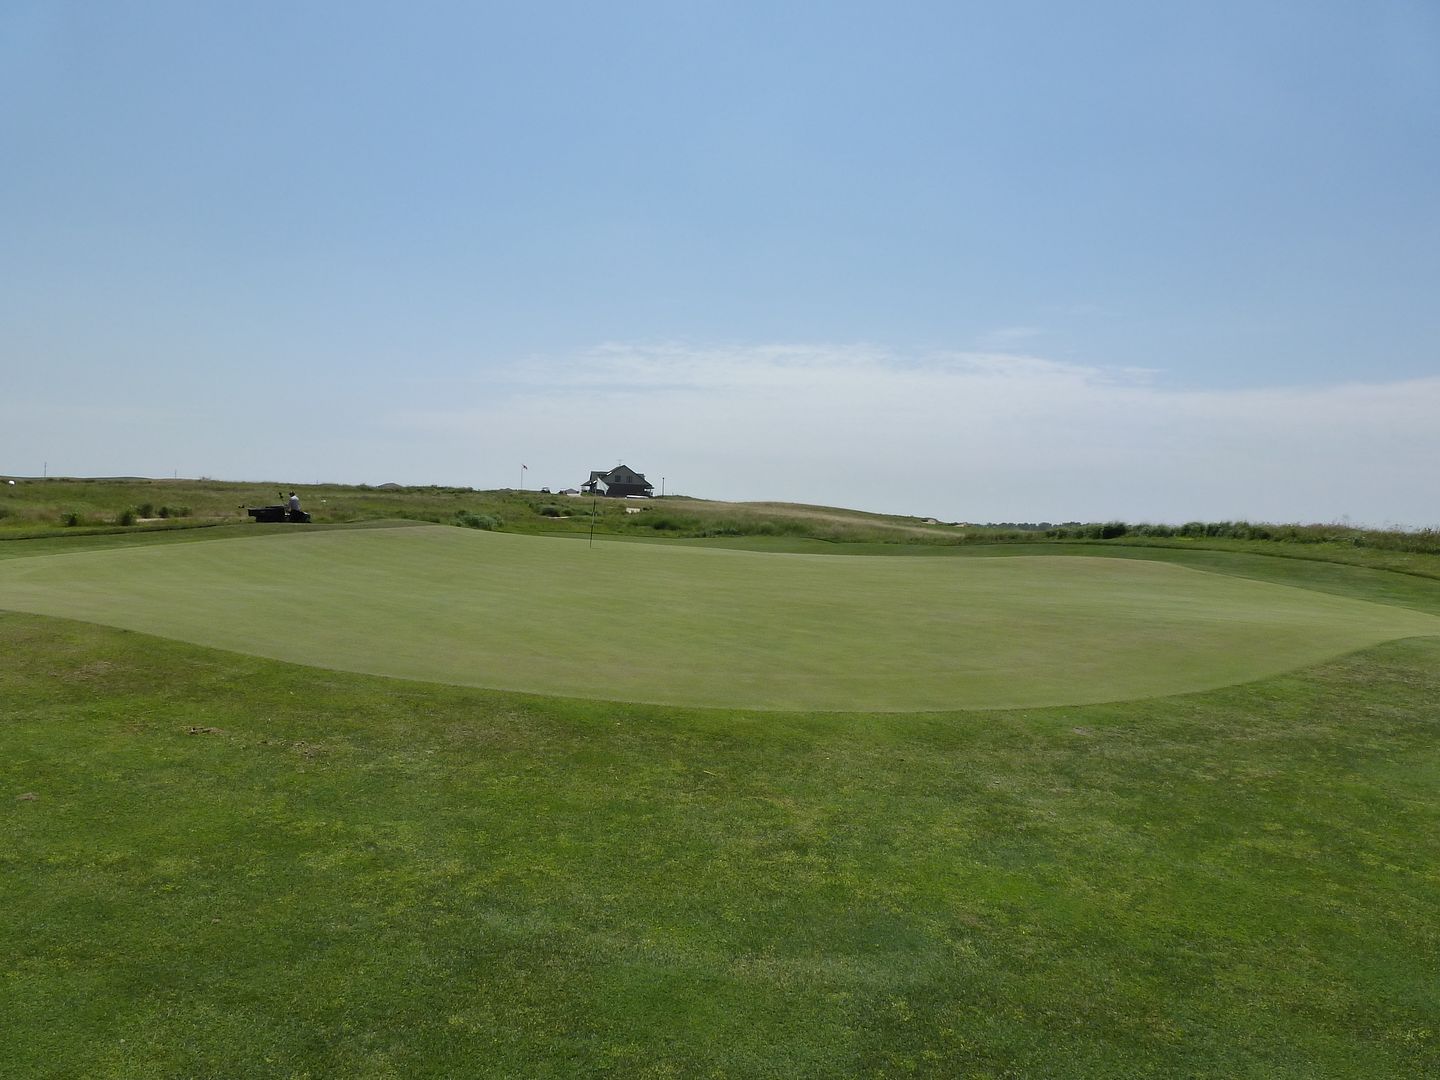
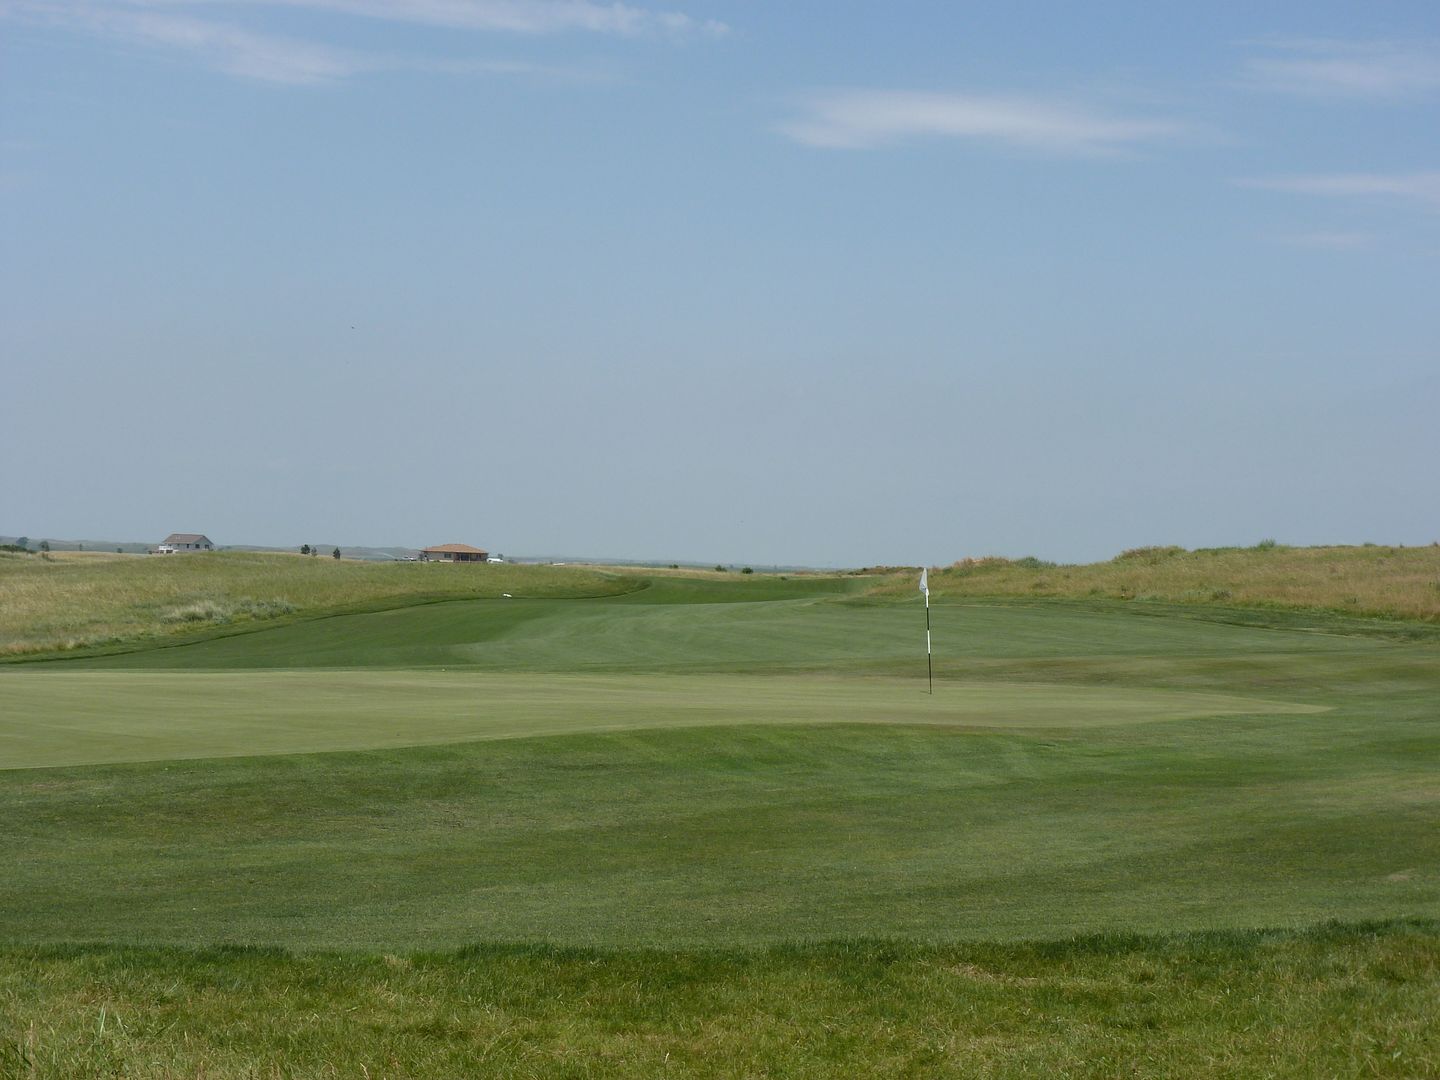
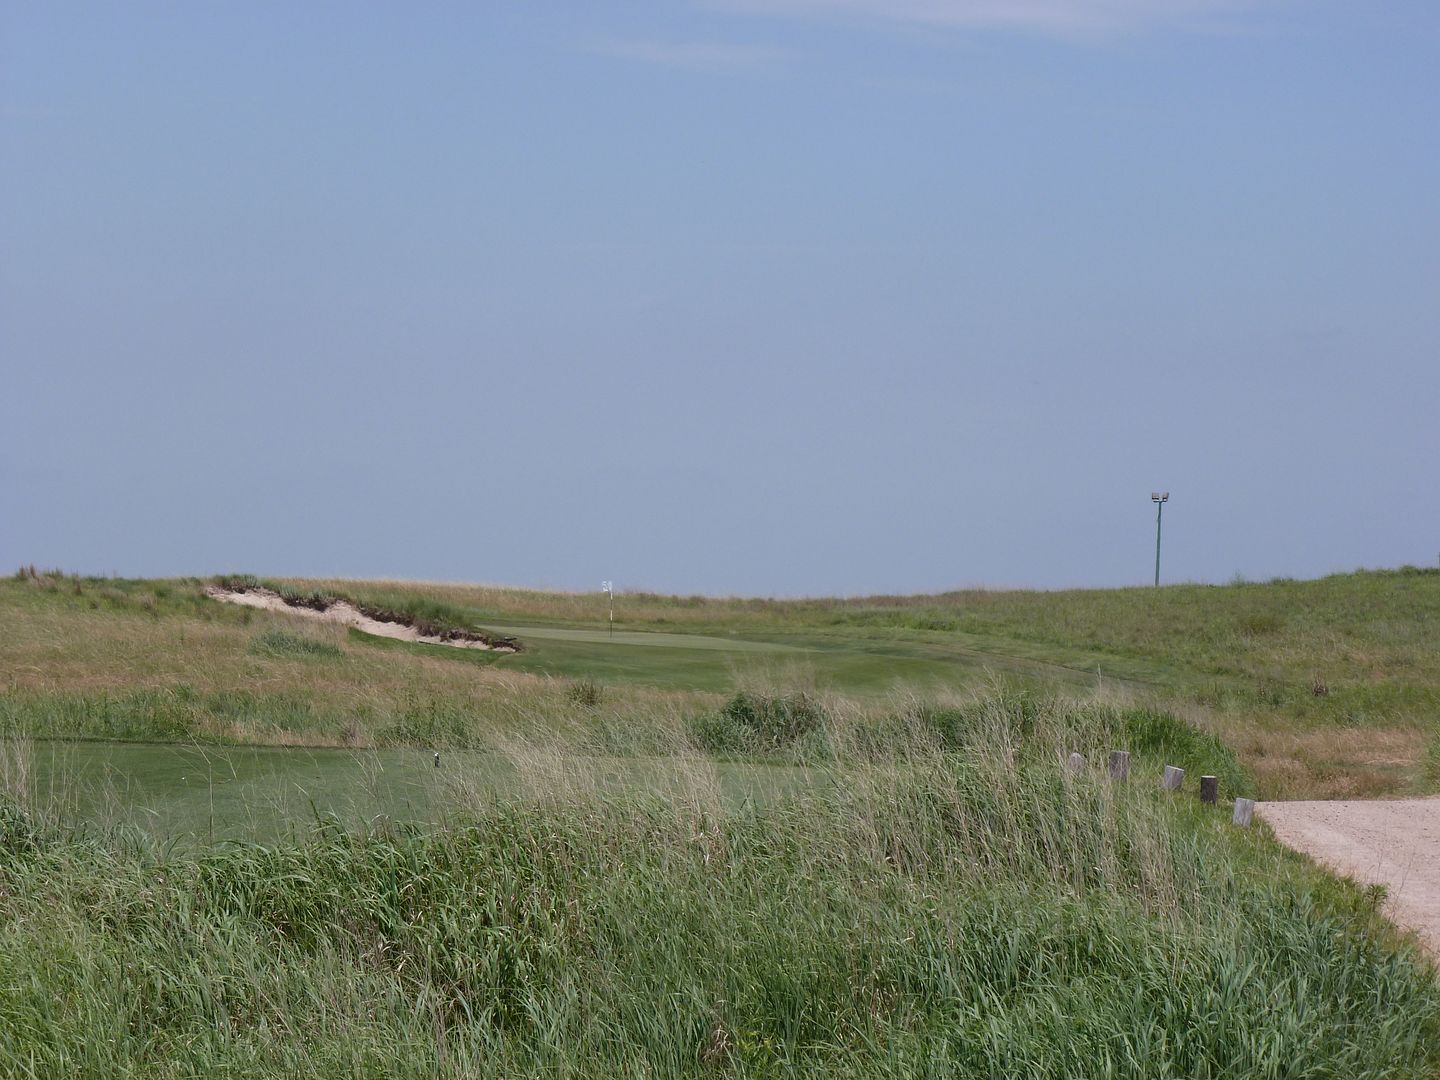
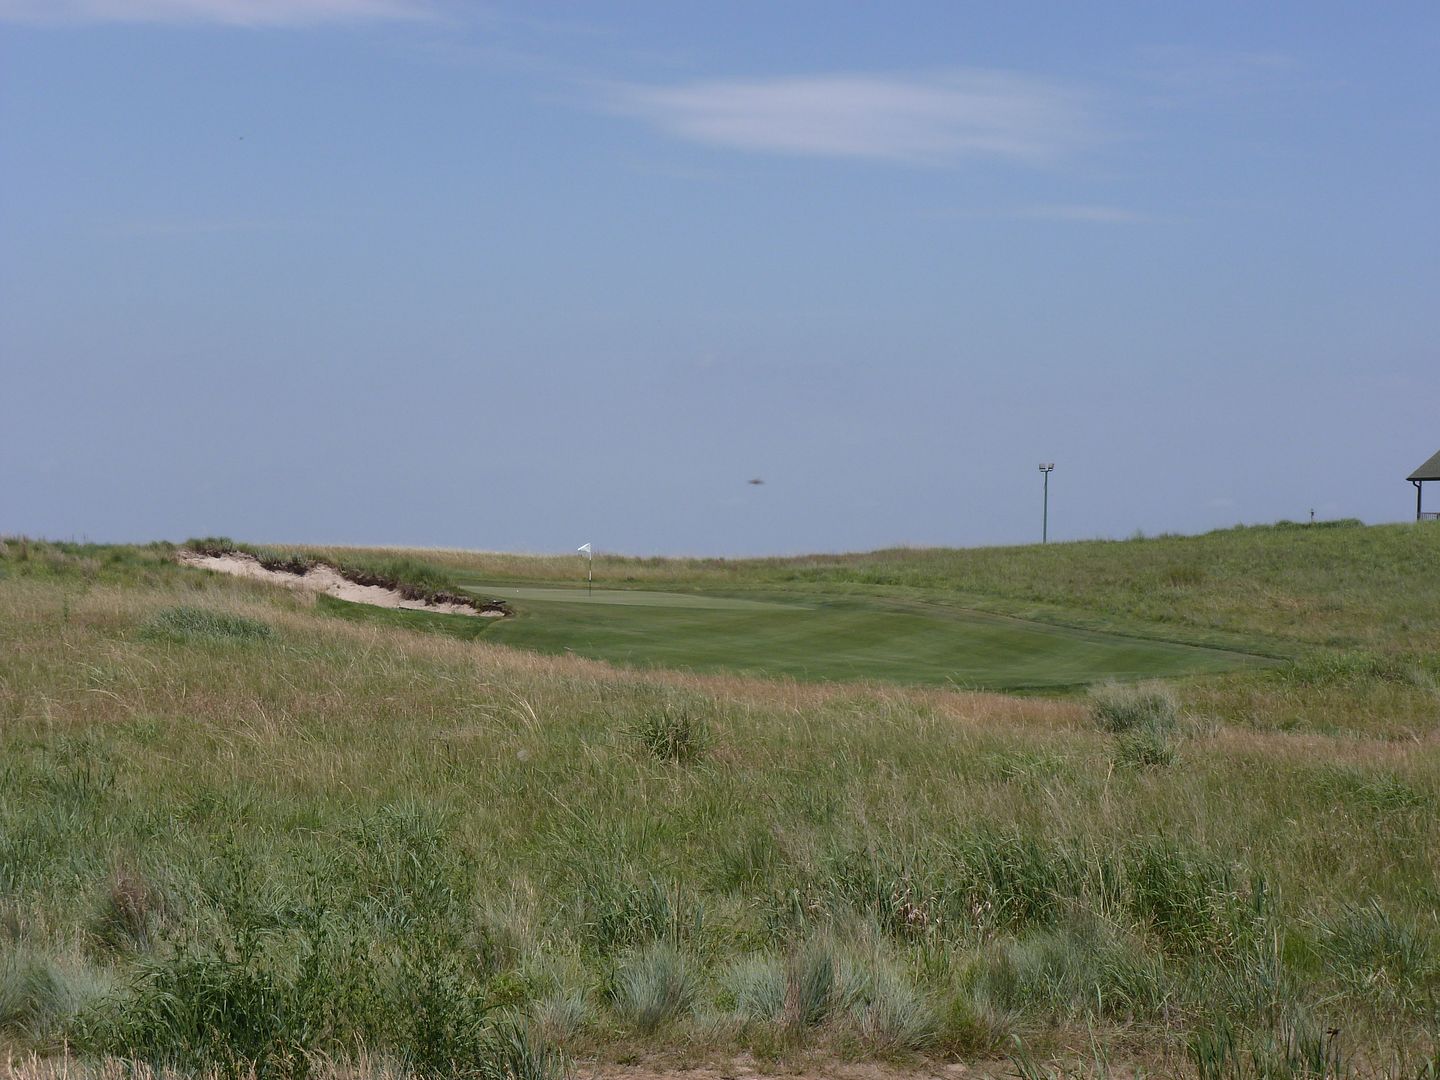
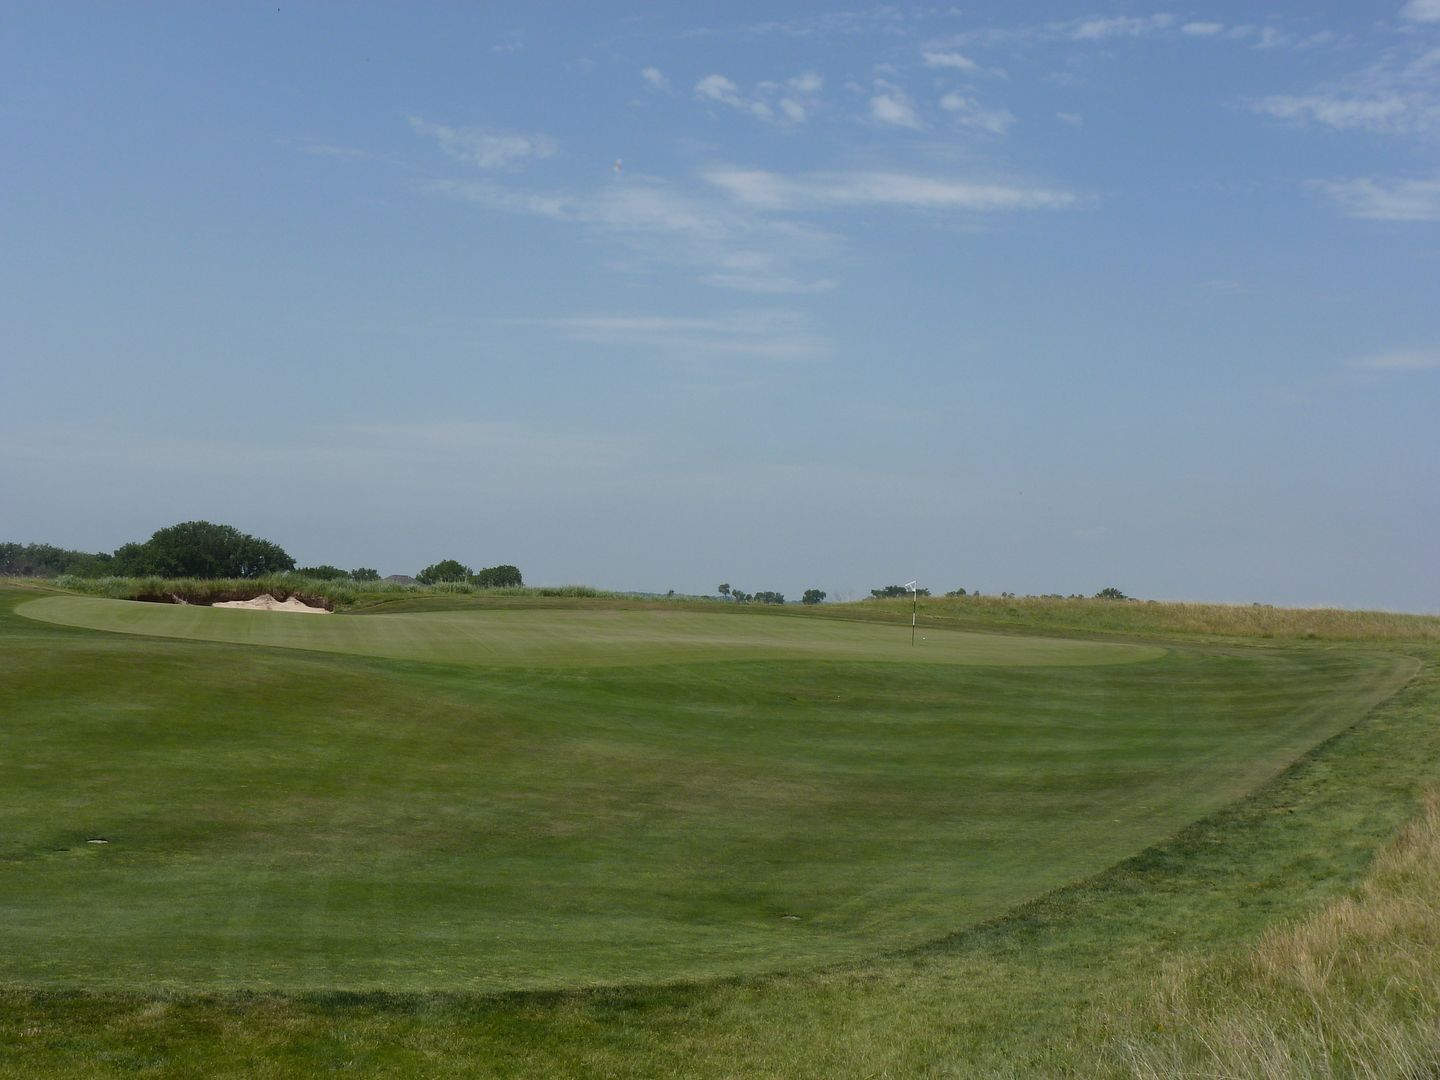
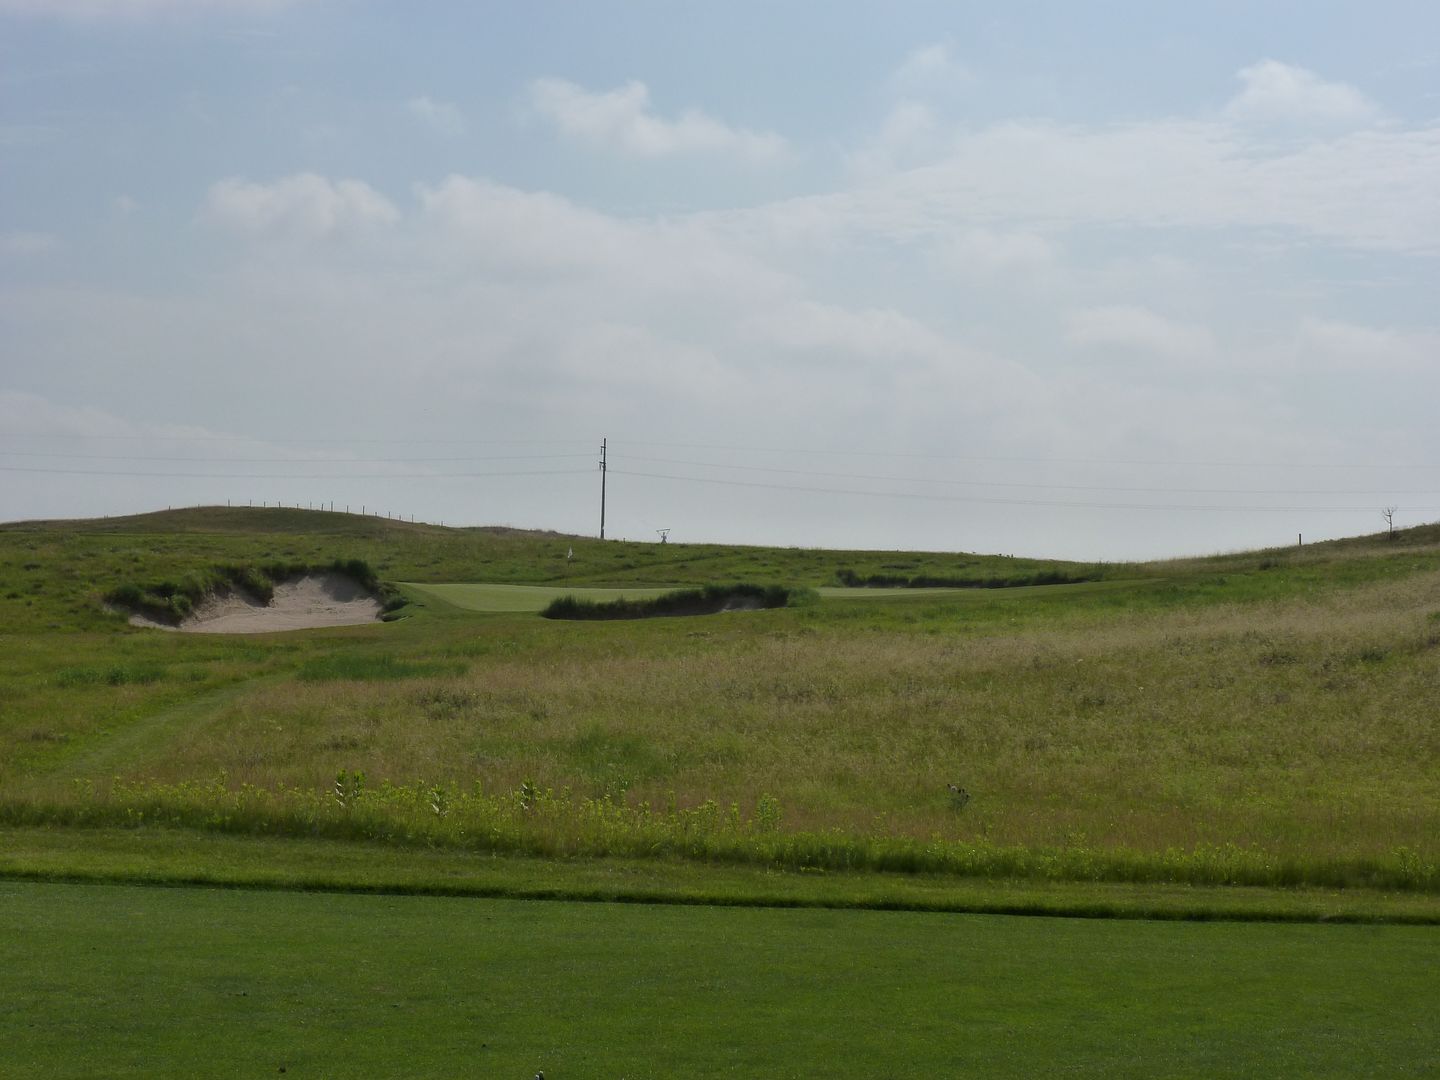
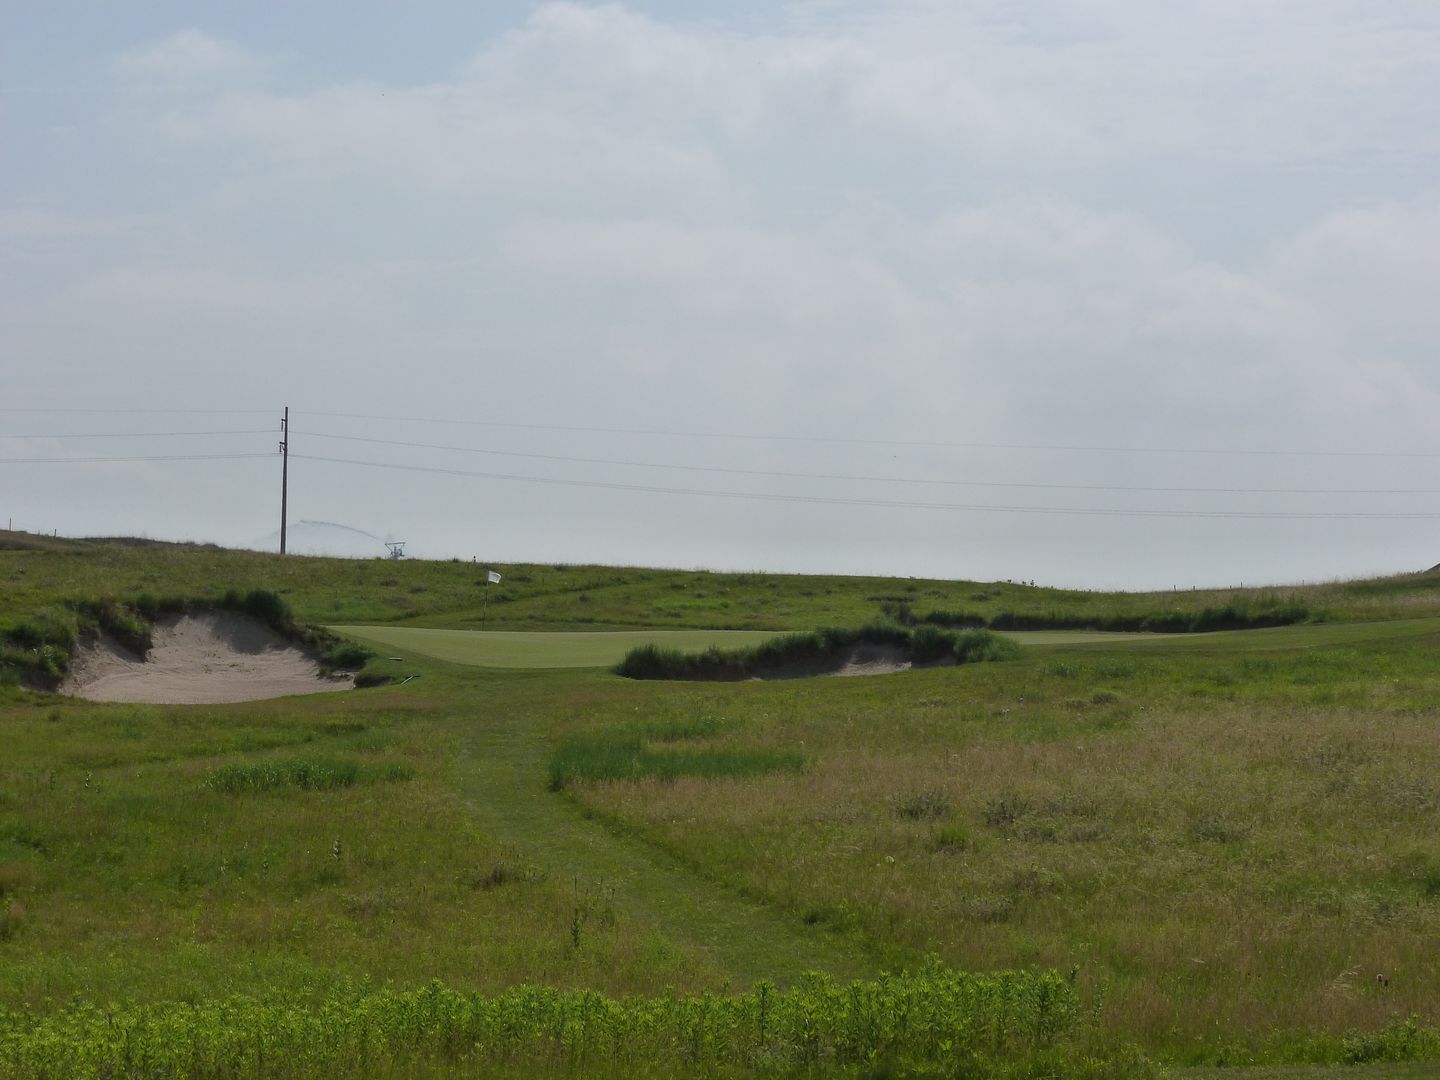
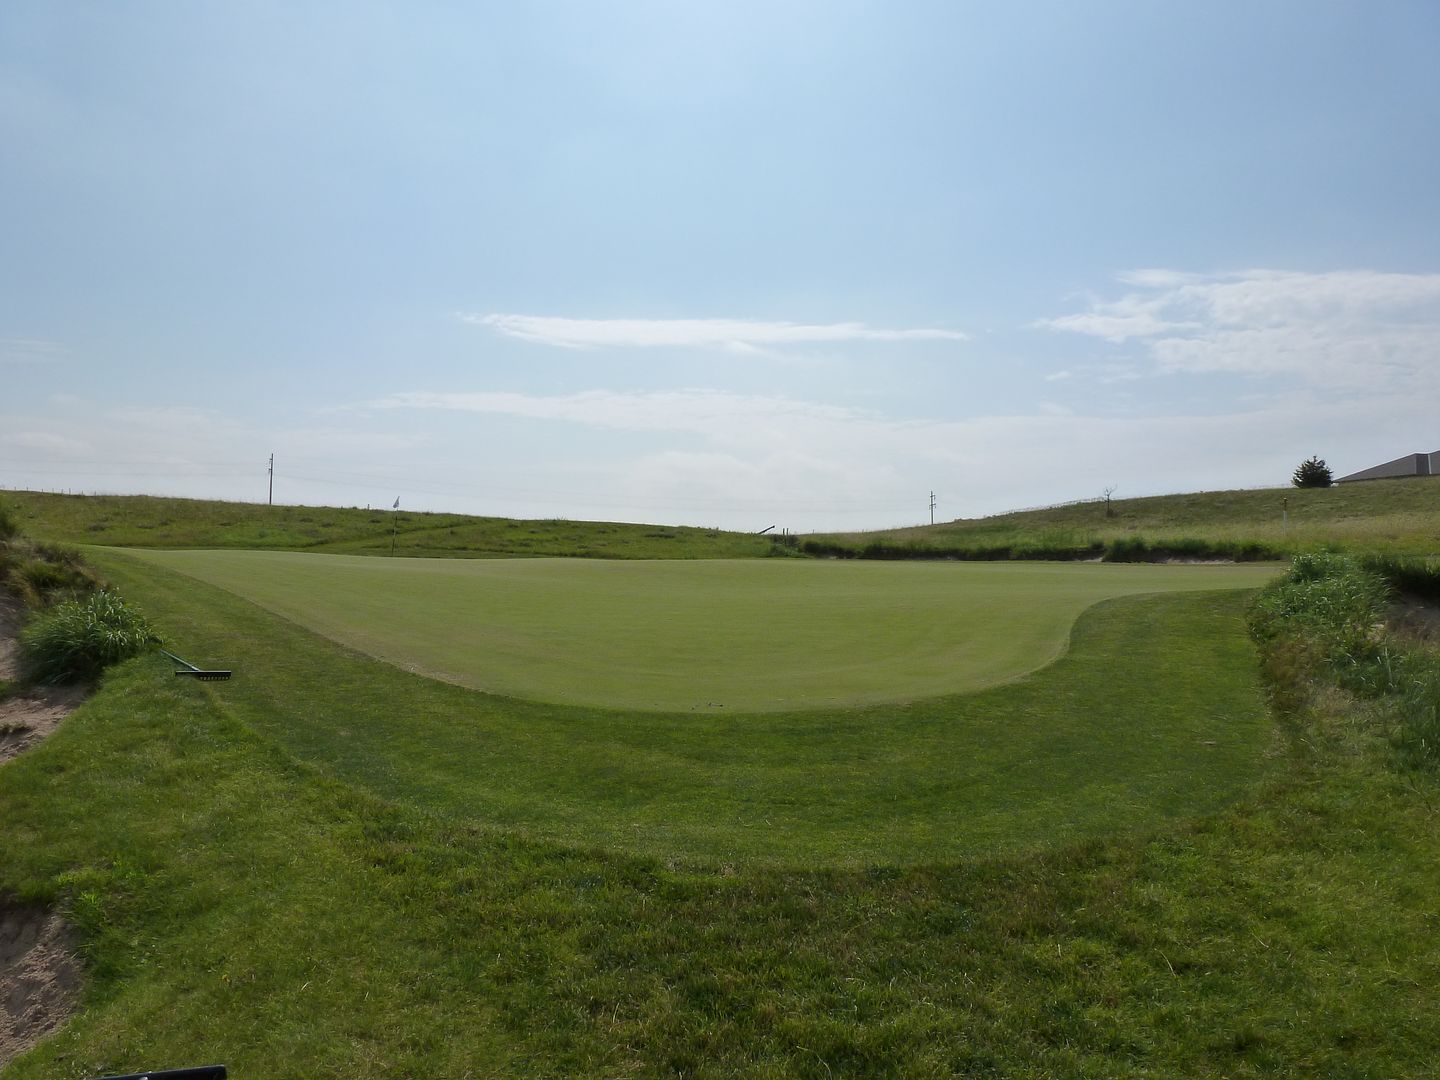
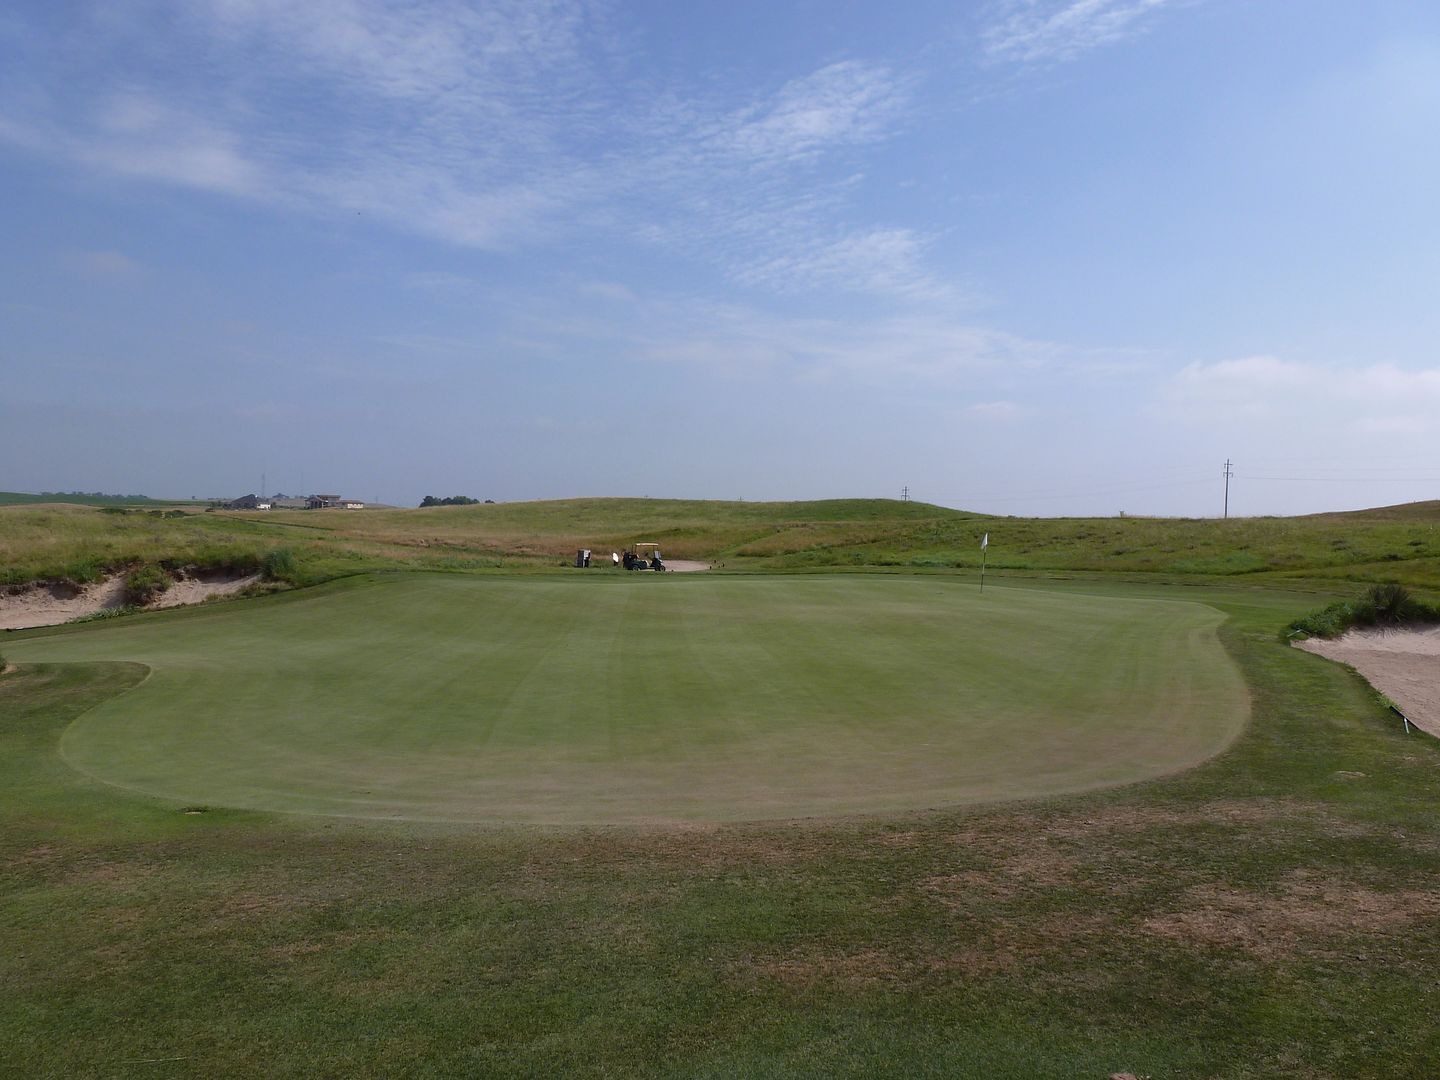
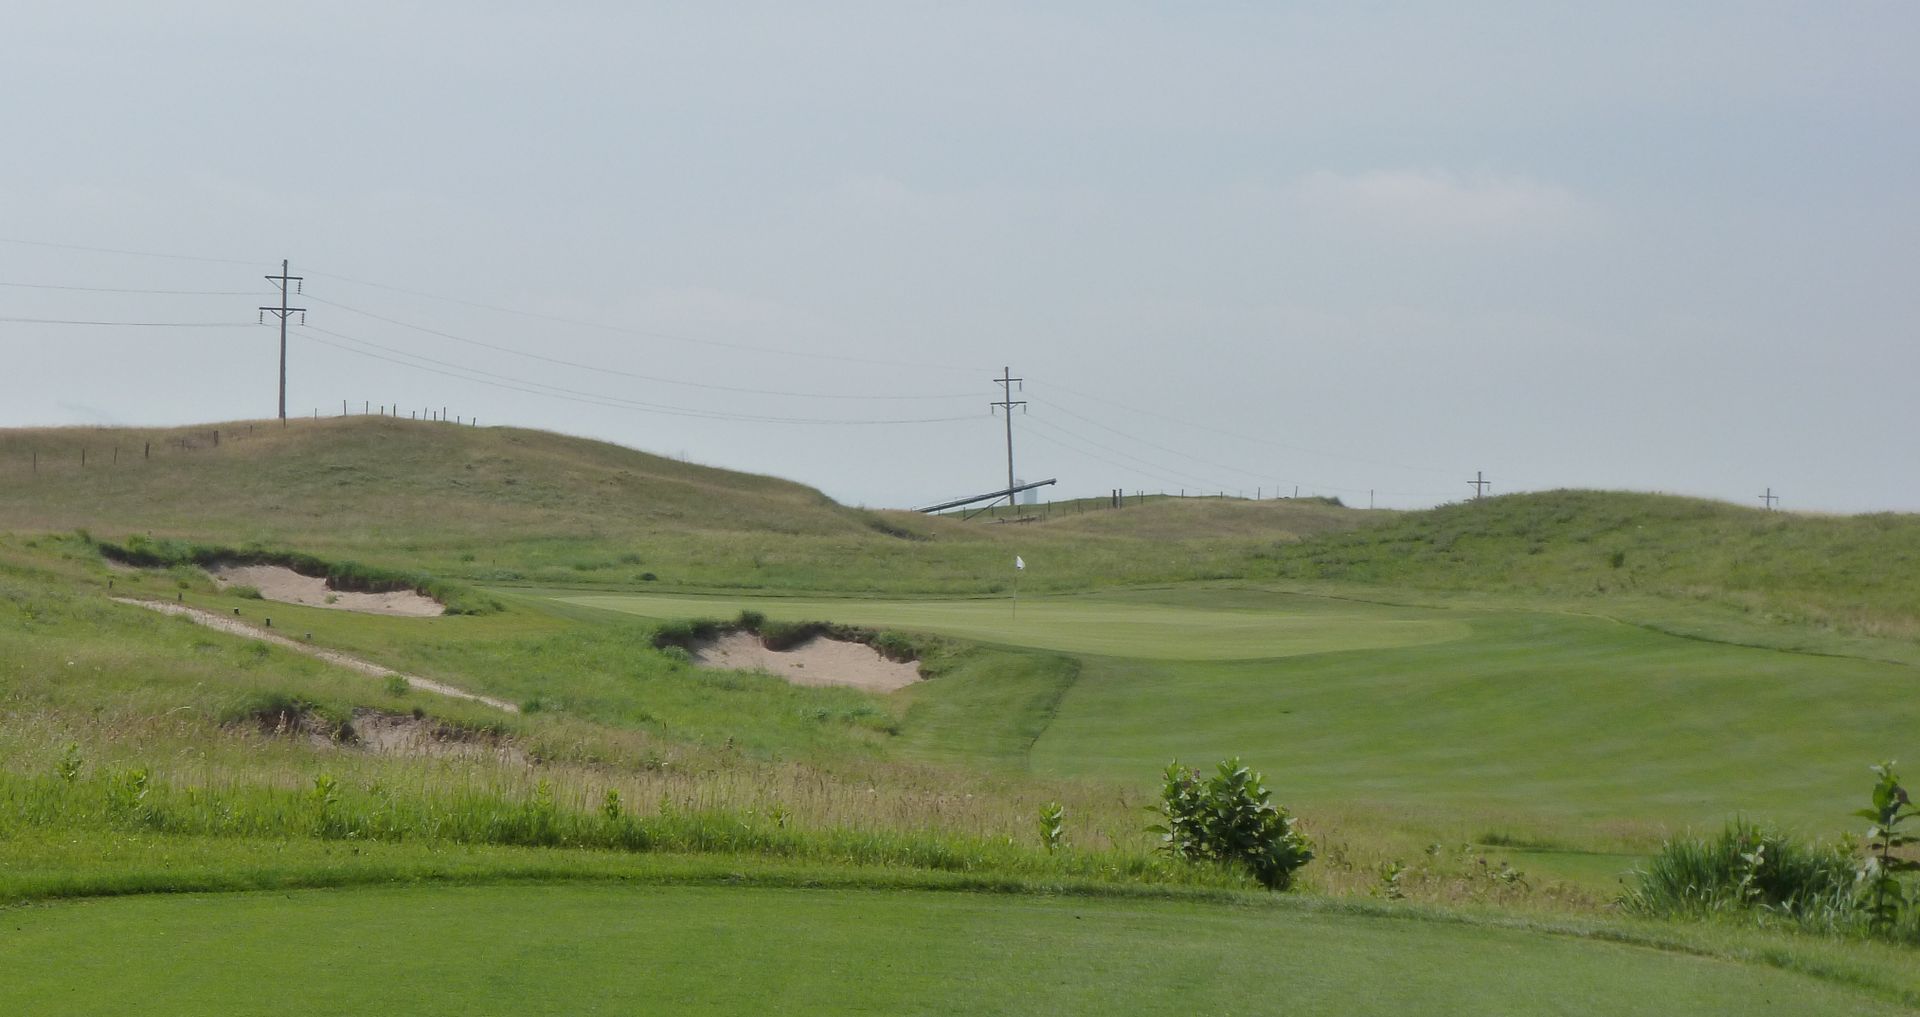
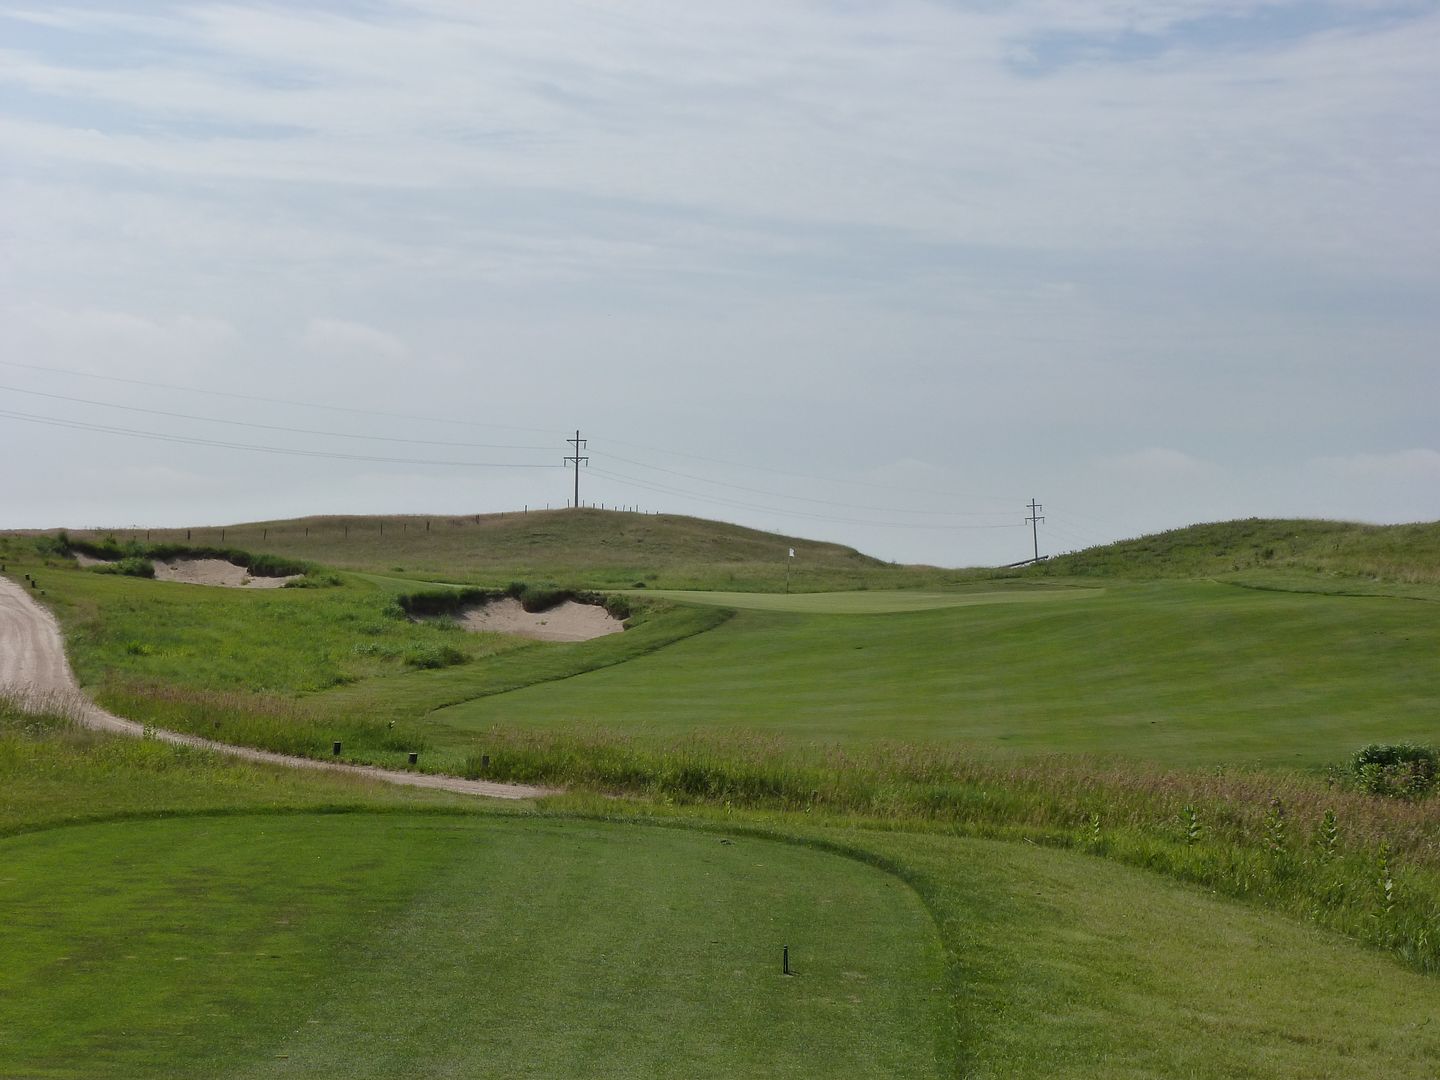
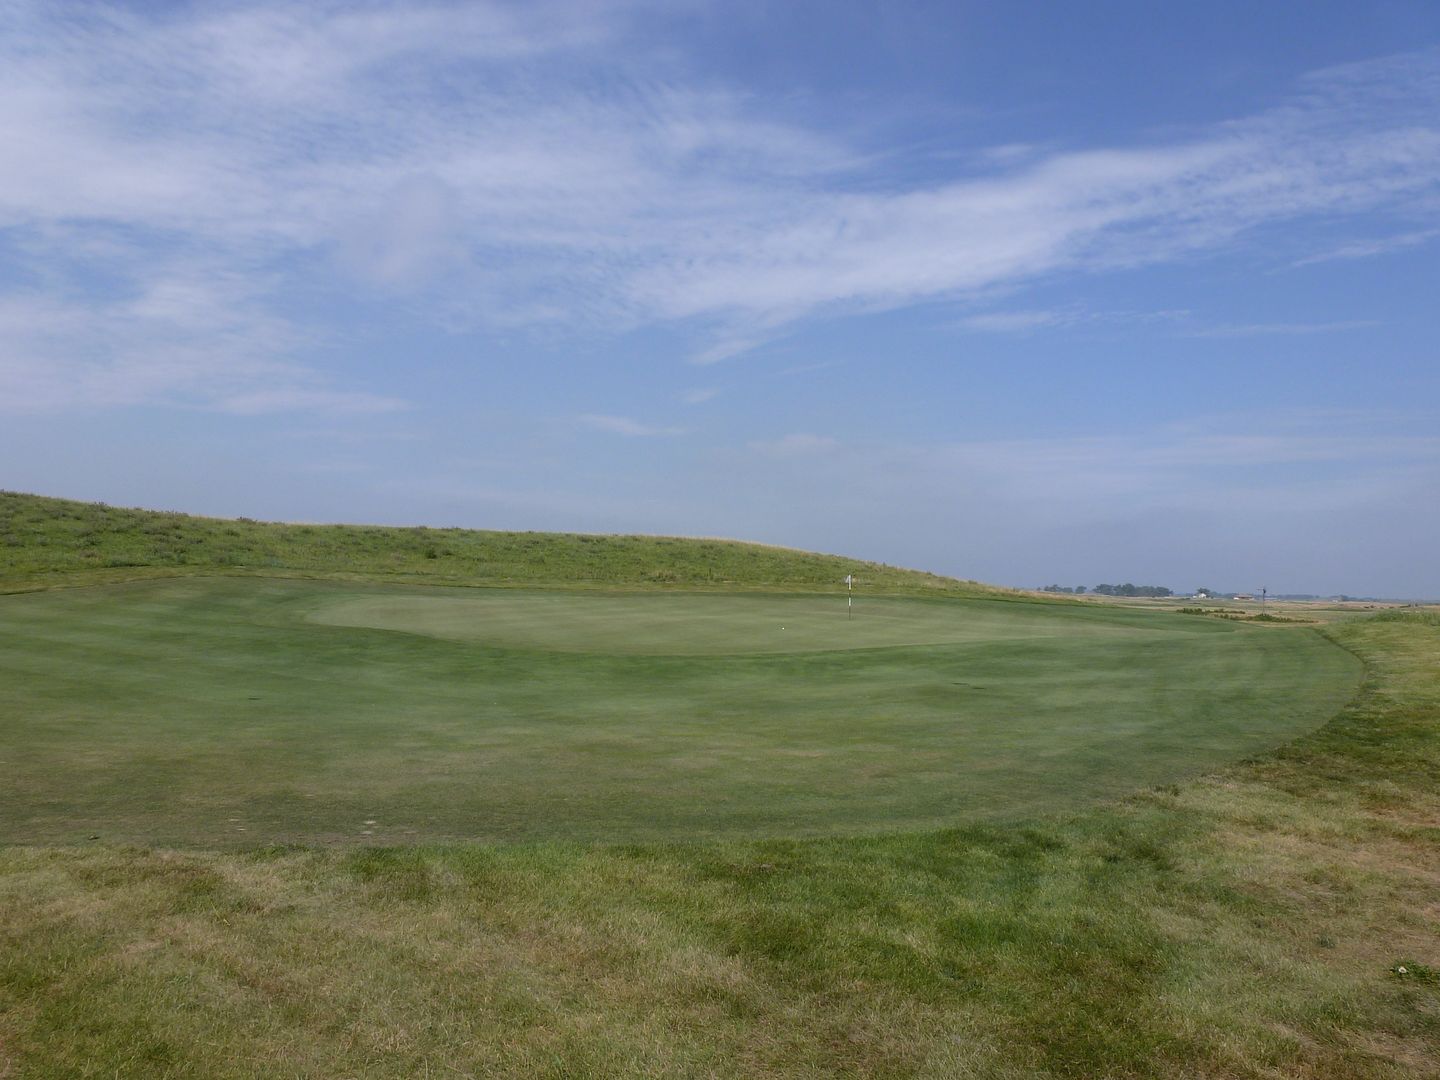
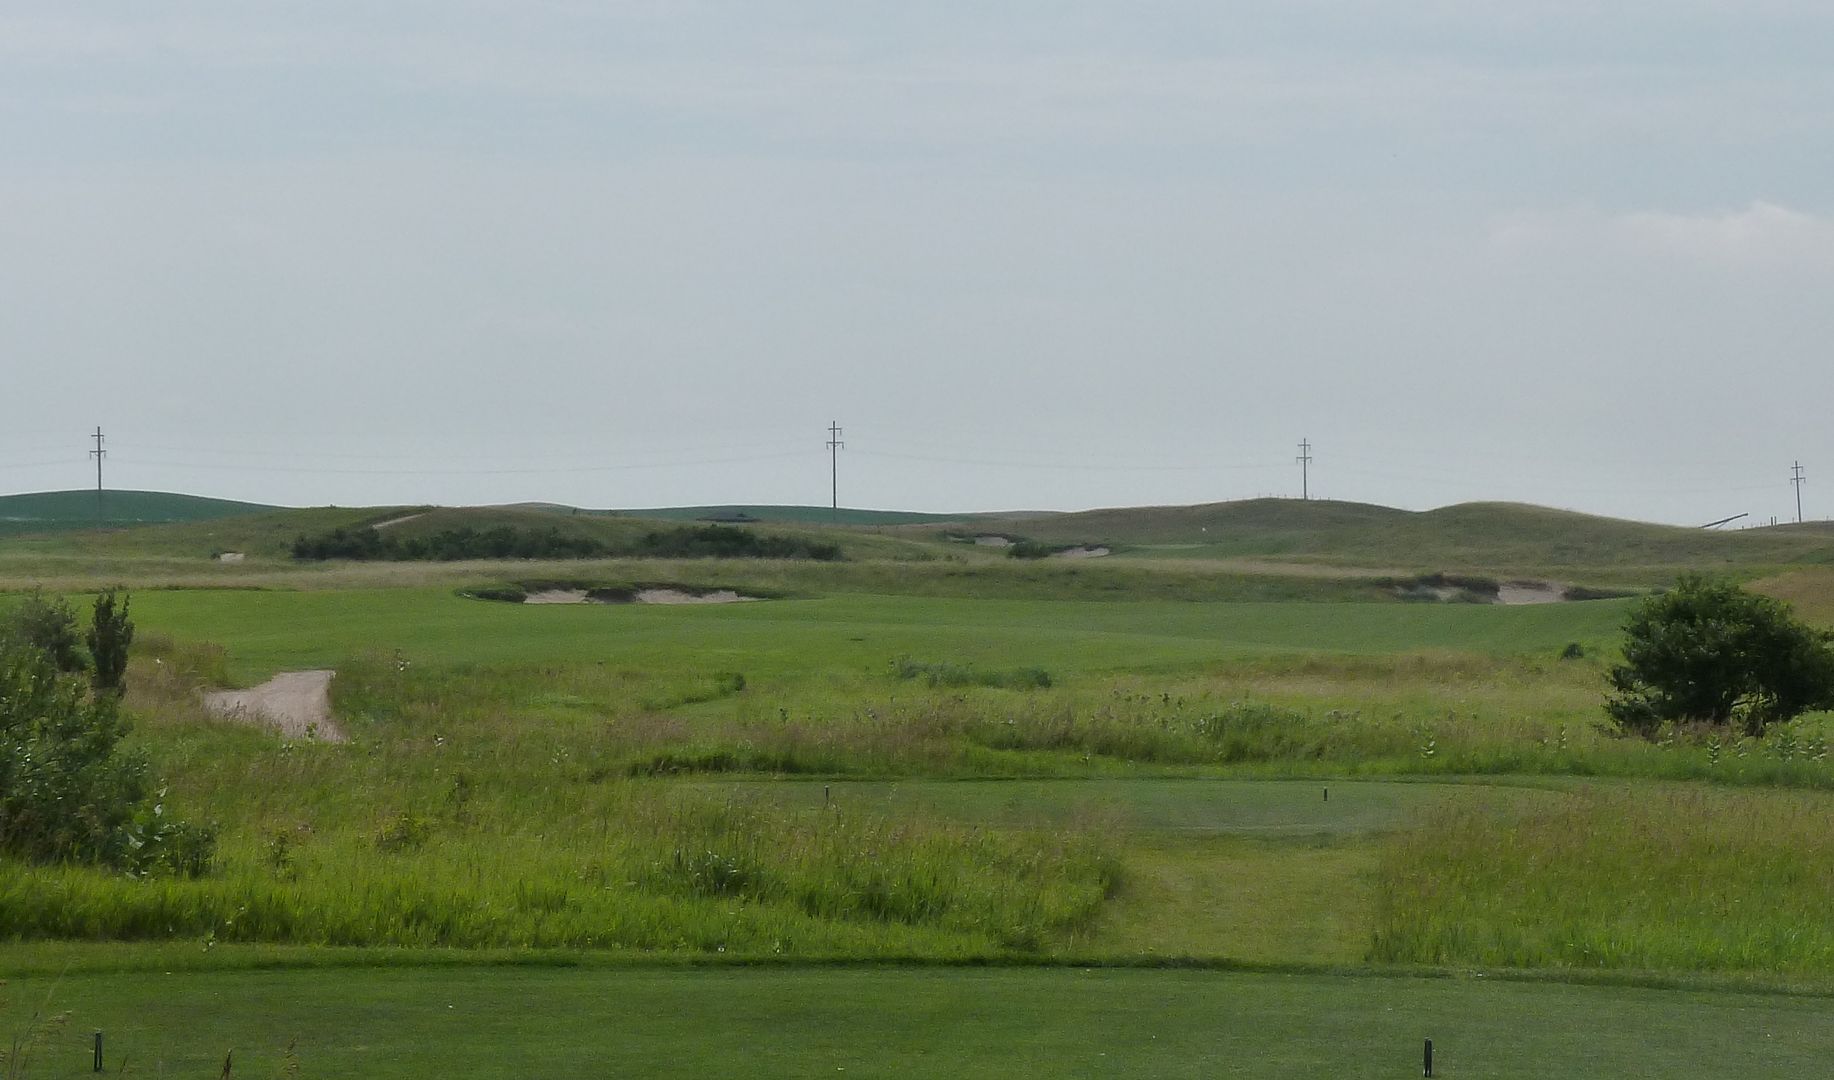
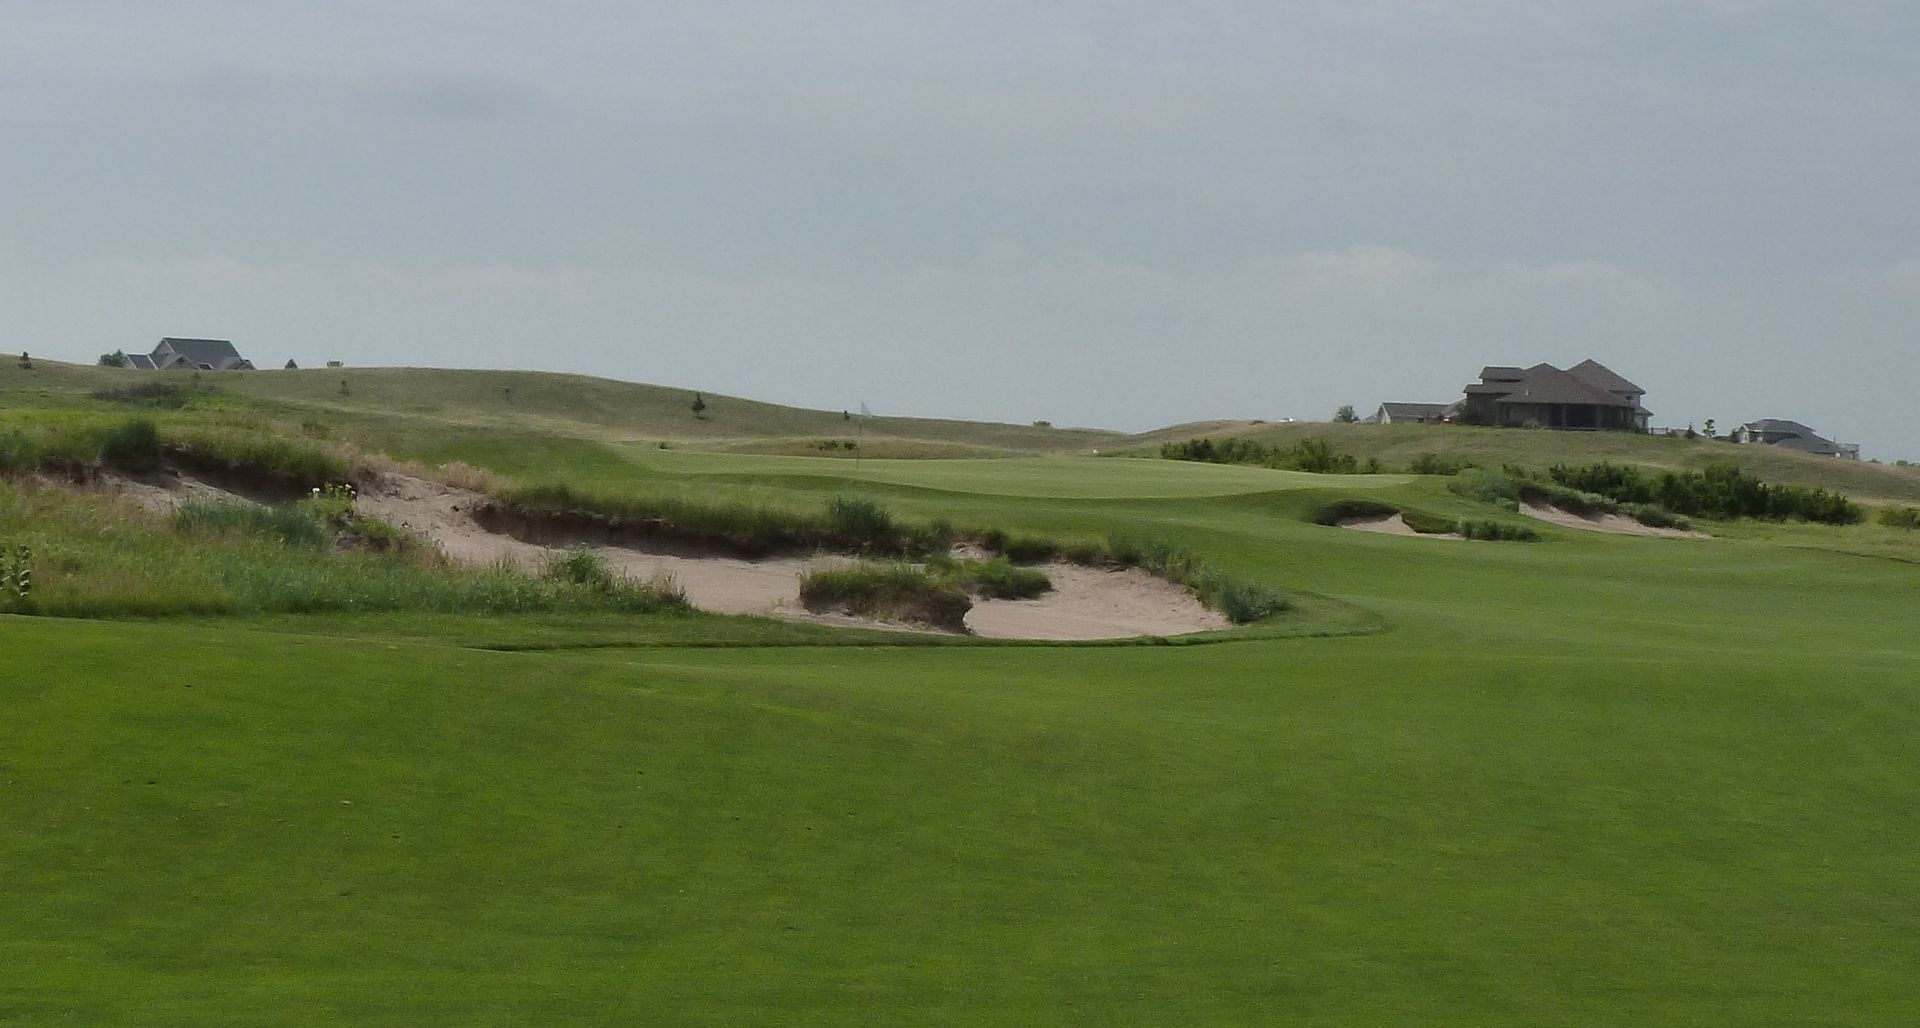
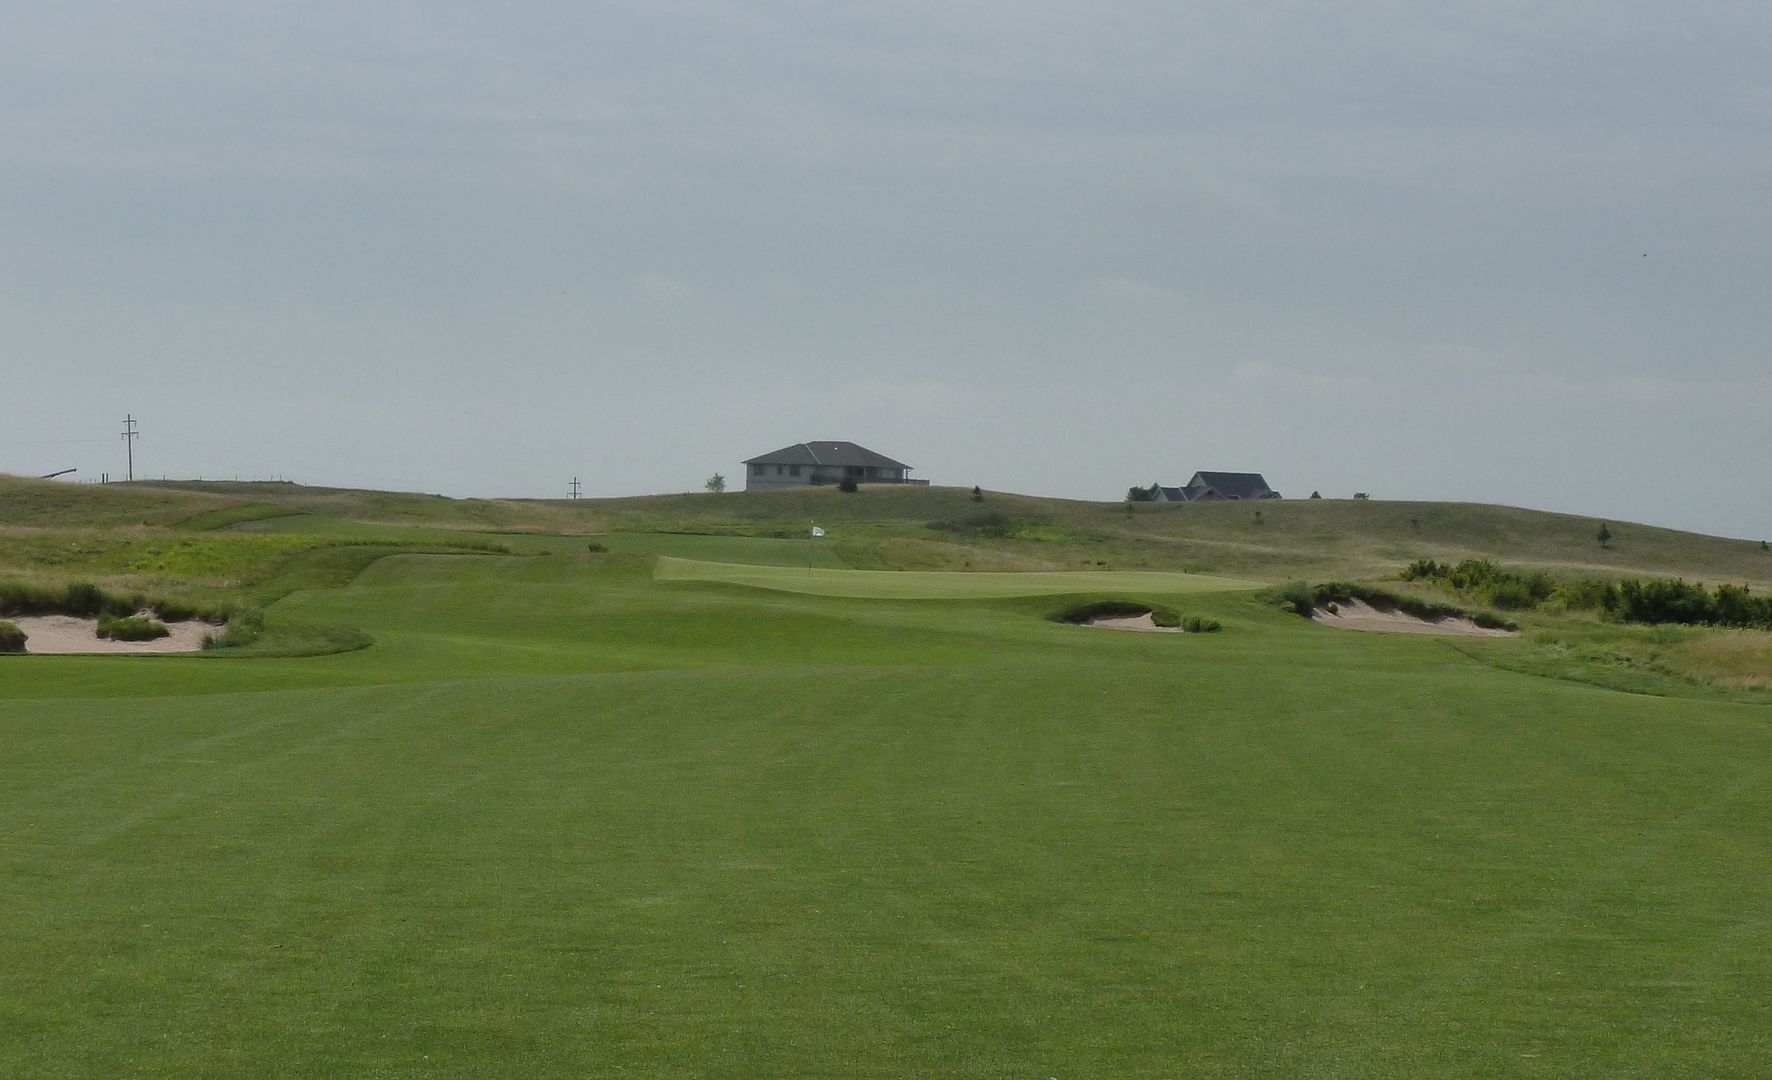
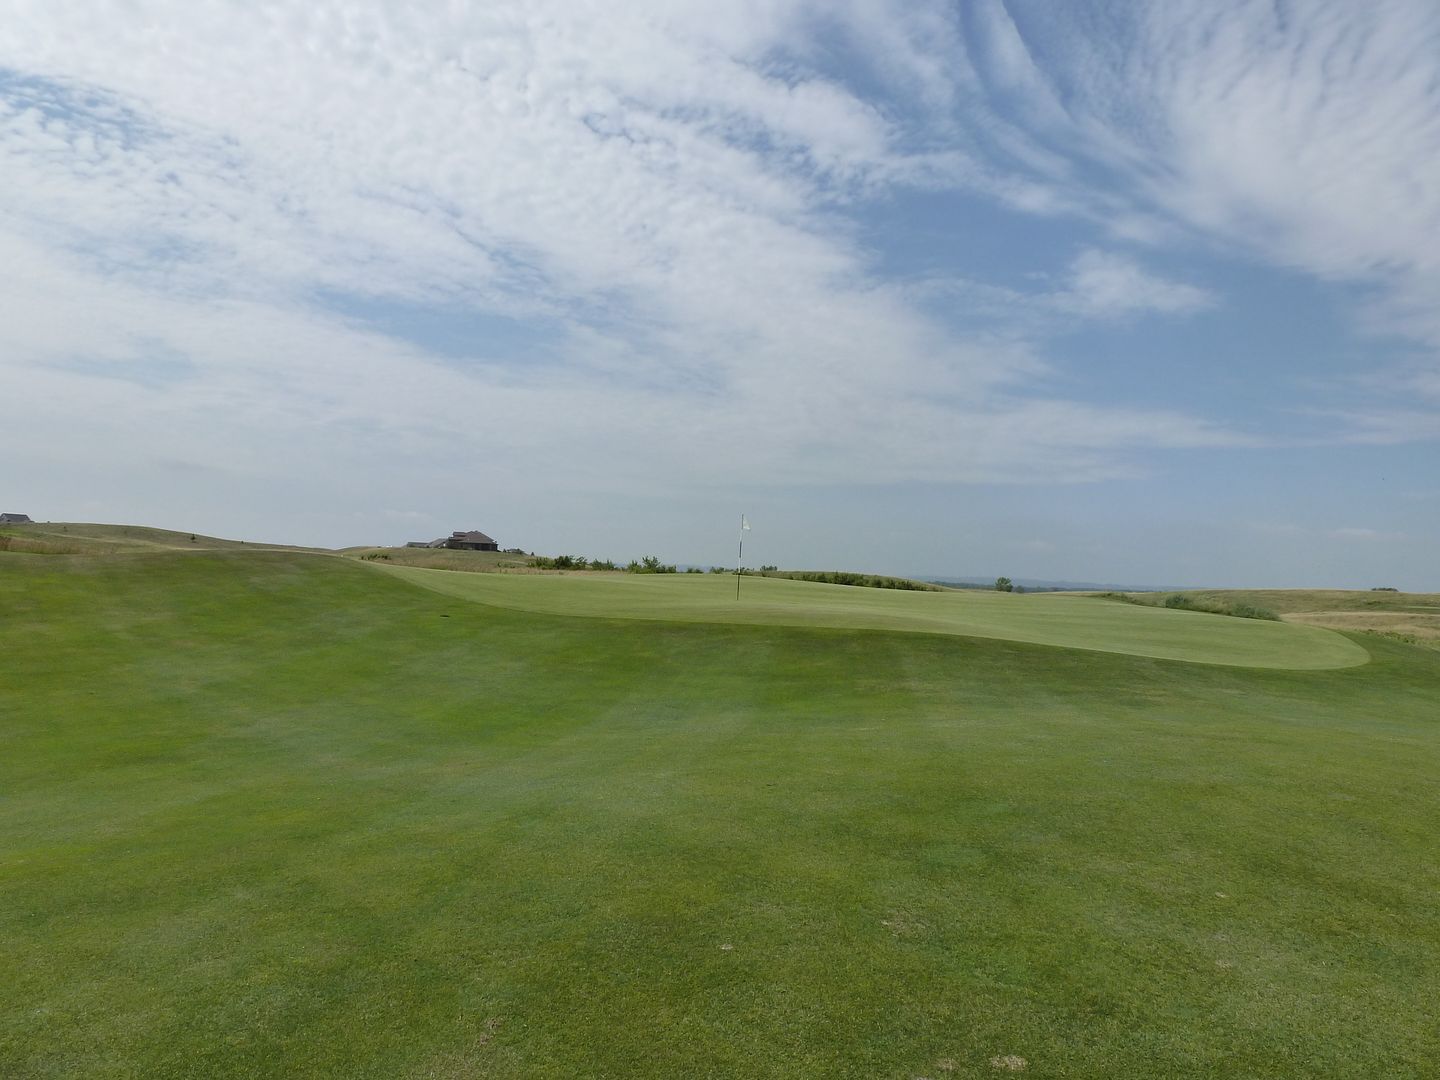
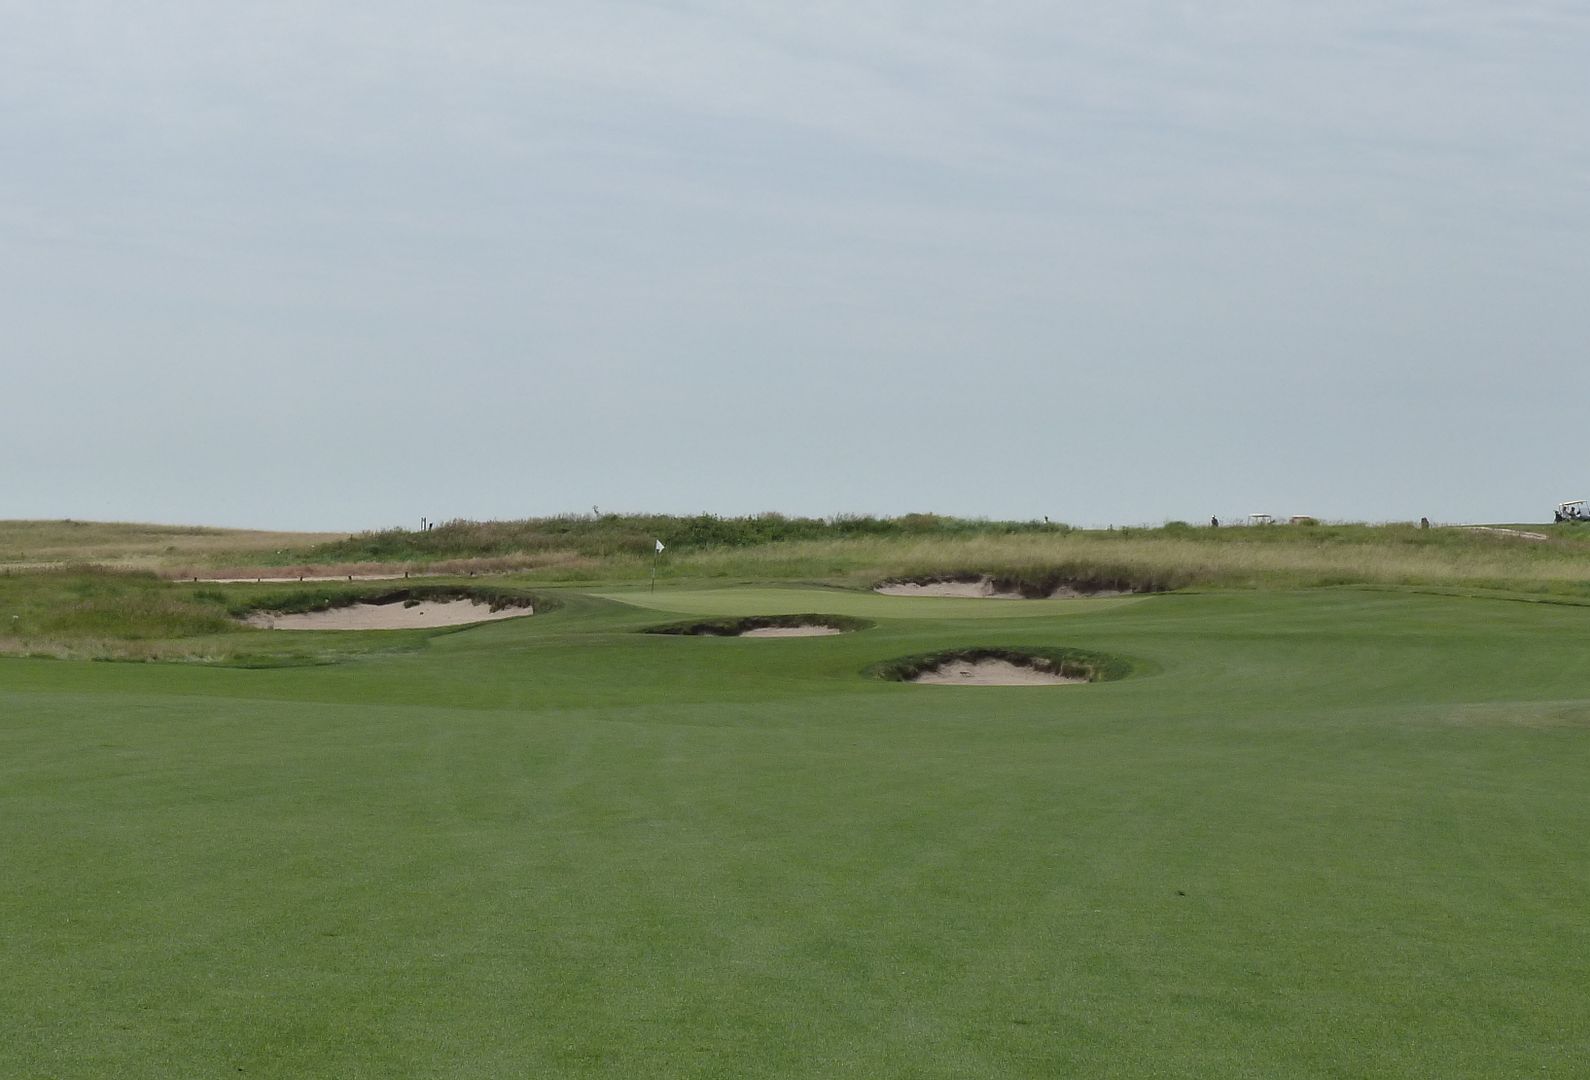
Hole 4: Par 3, 171 Yards
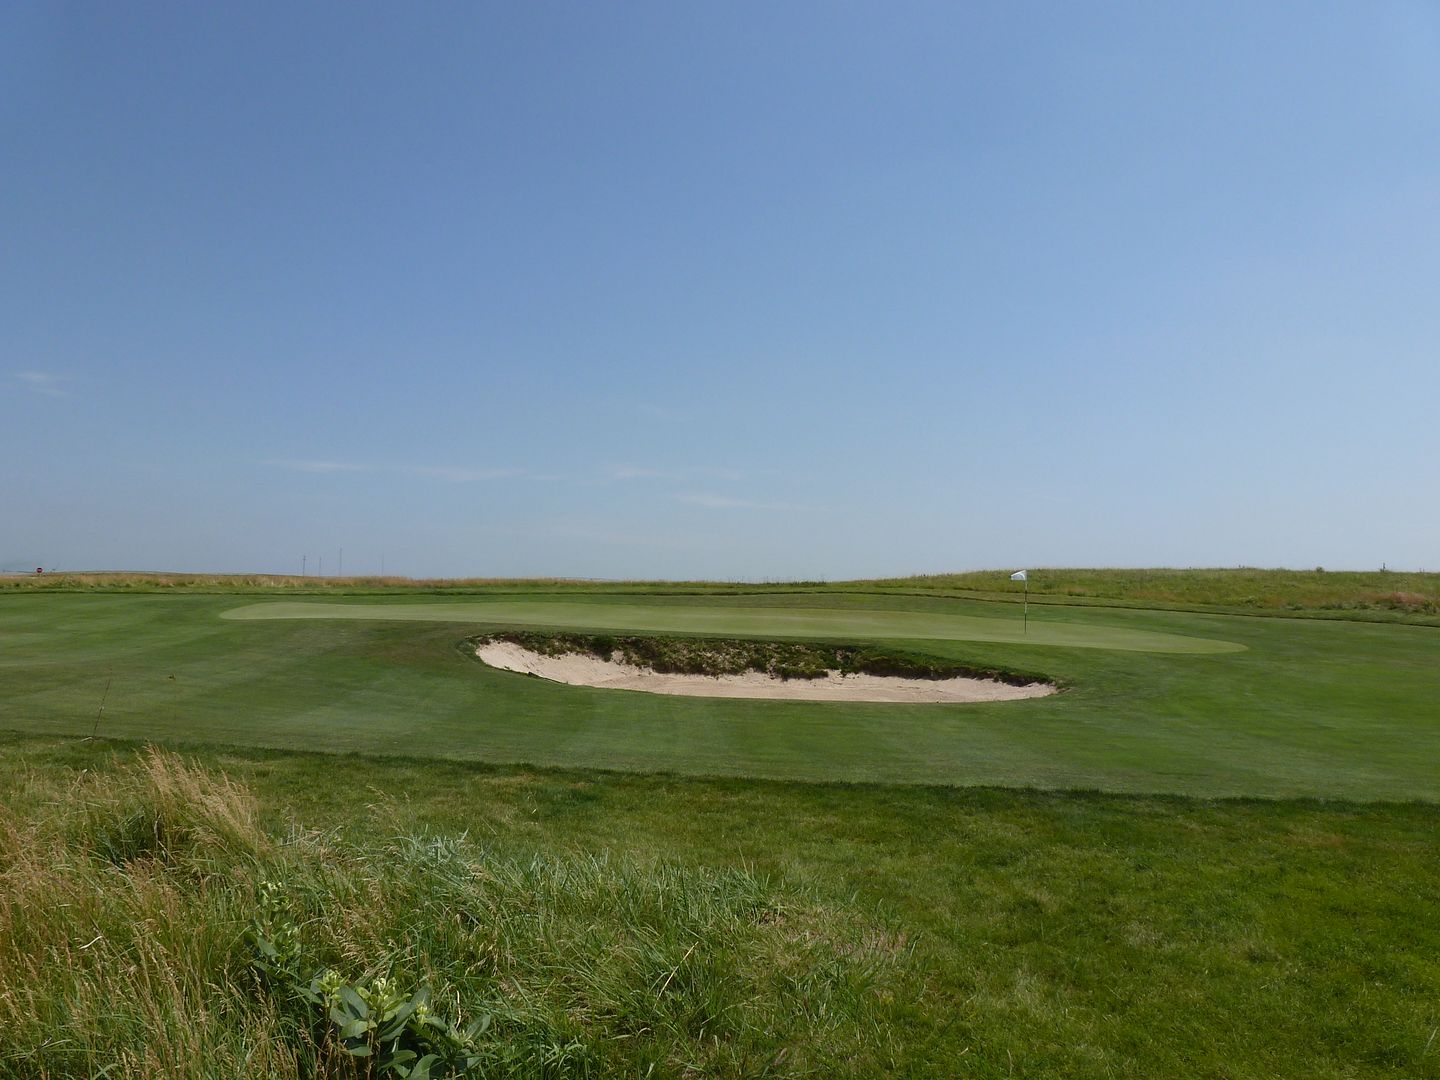
Hole Description: #4 is a medium par three from an elevated tee to a green guarded on the right side by two bunkers. The Green sits at an angle making pin placements to the back and right more difficult to get to but a safe shot to the left will kick back toward the large green. Club selection is difficult due to the large green and prevailing wind at your back.
From forward tee
From behind
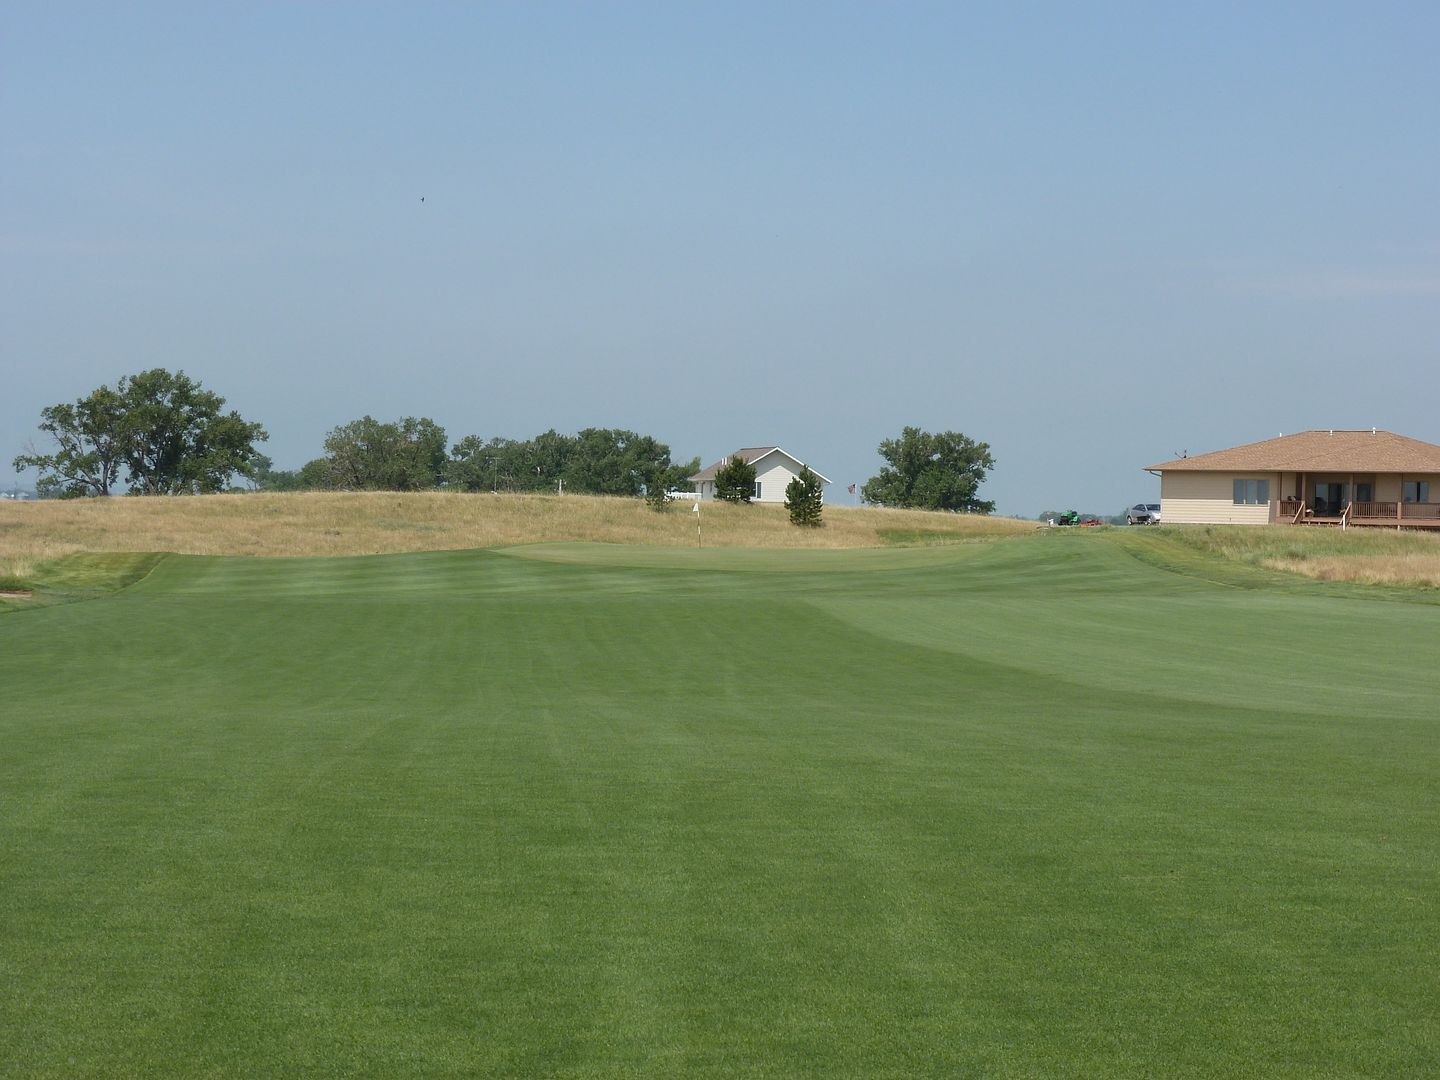
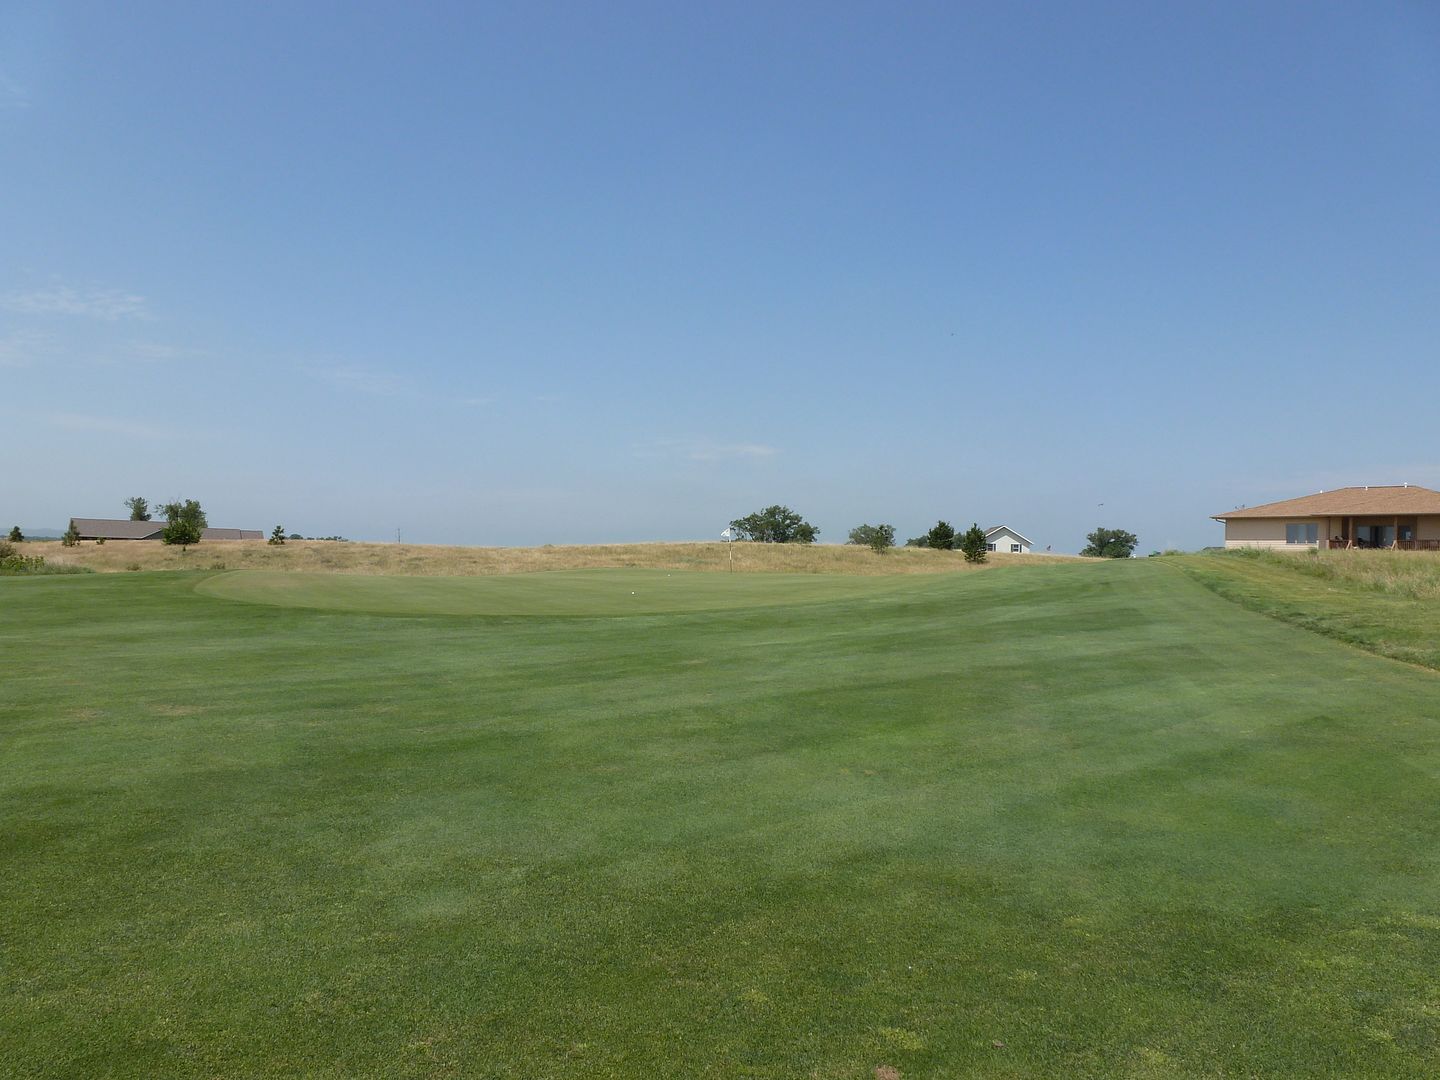
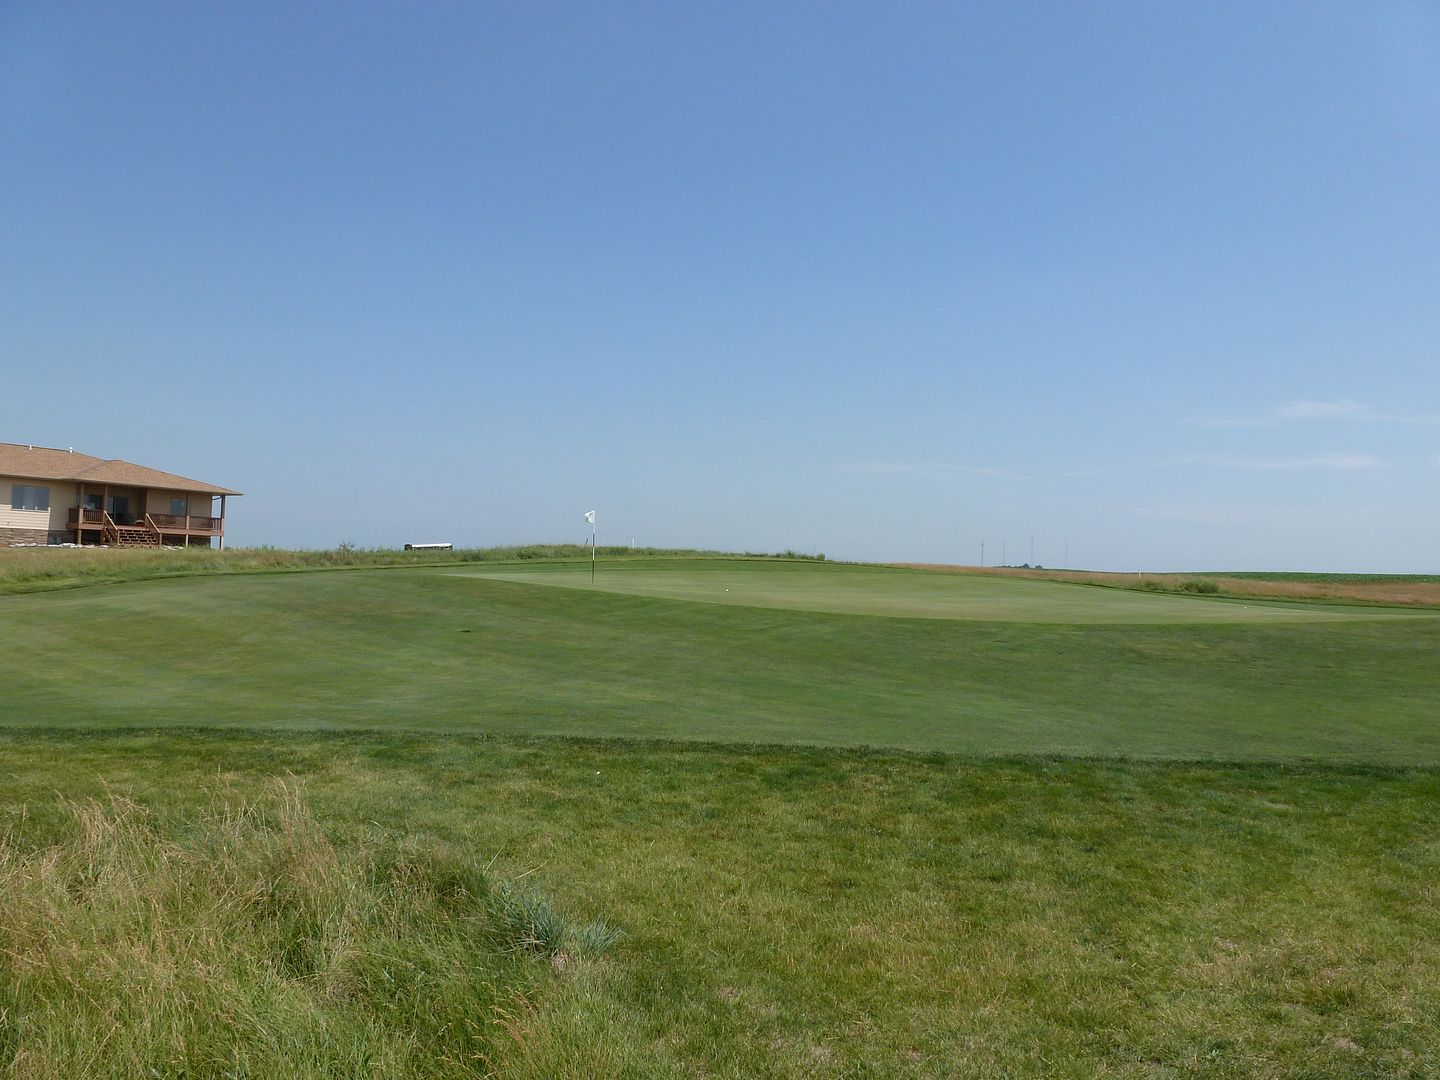
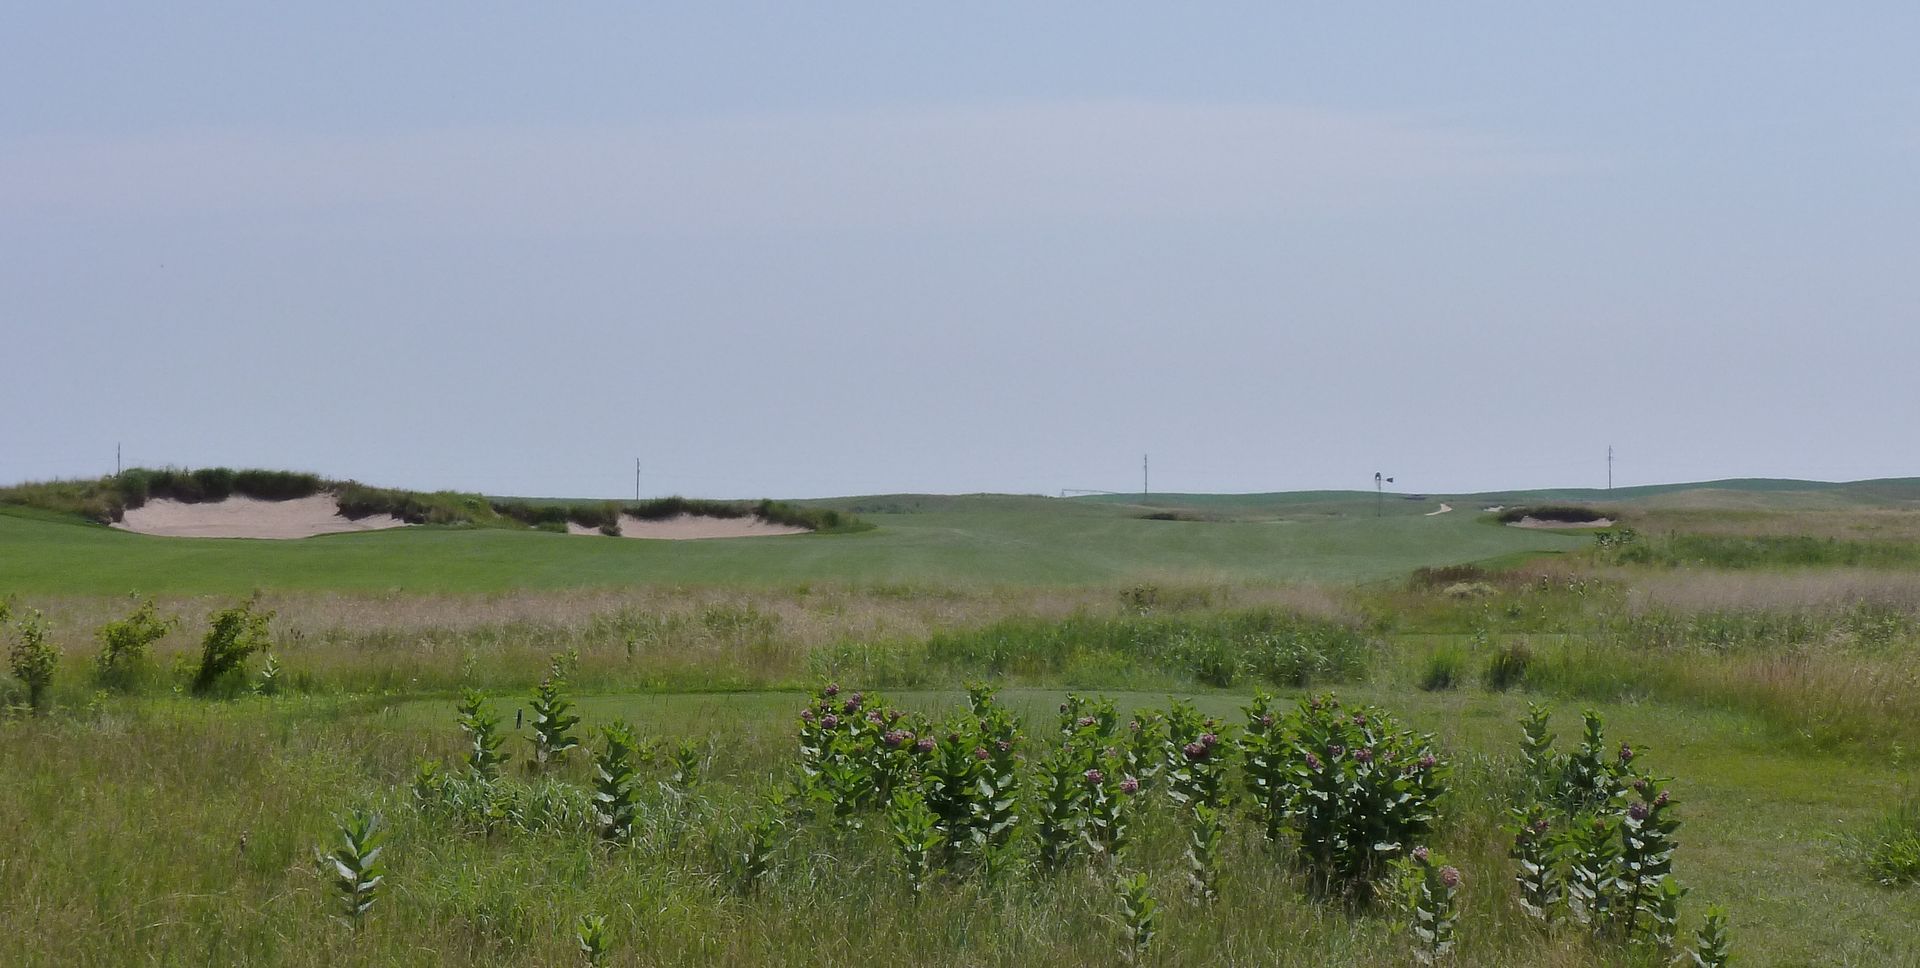
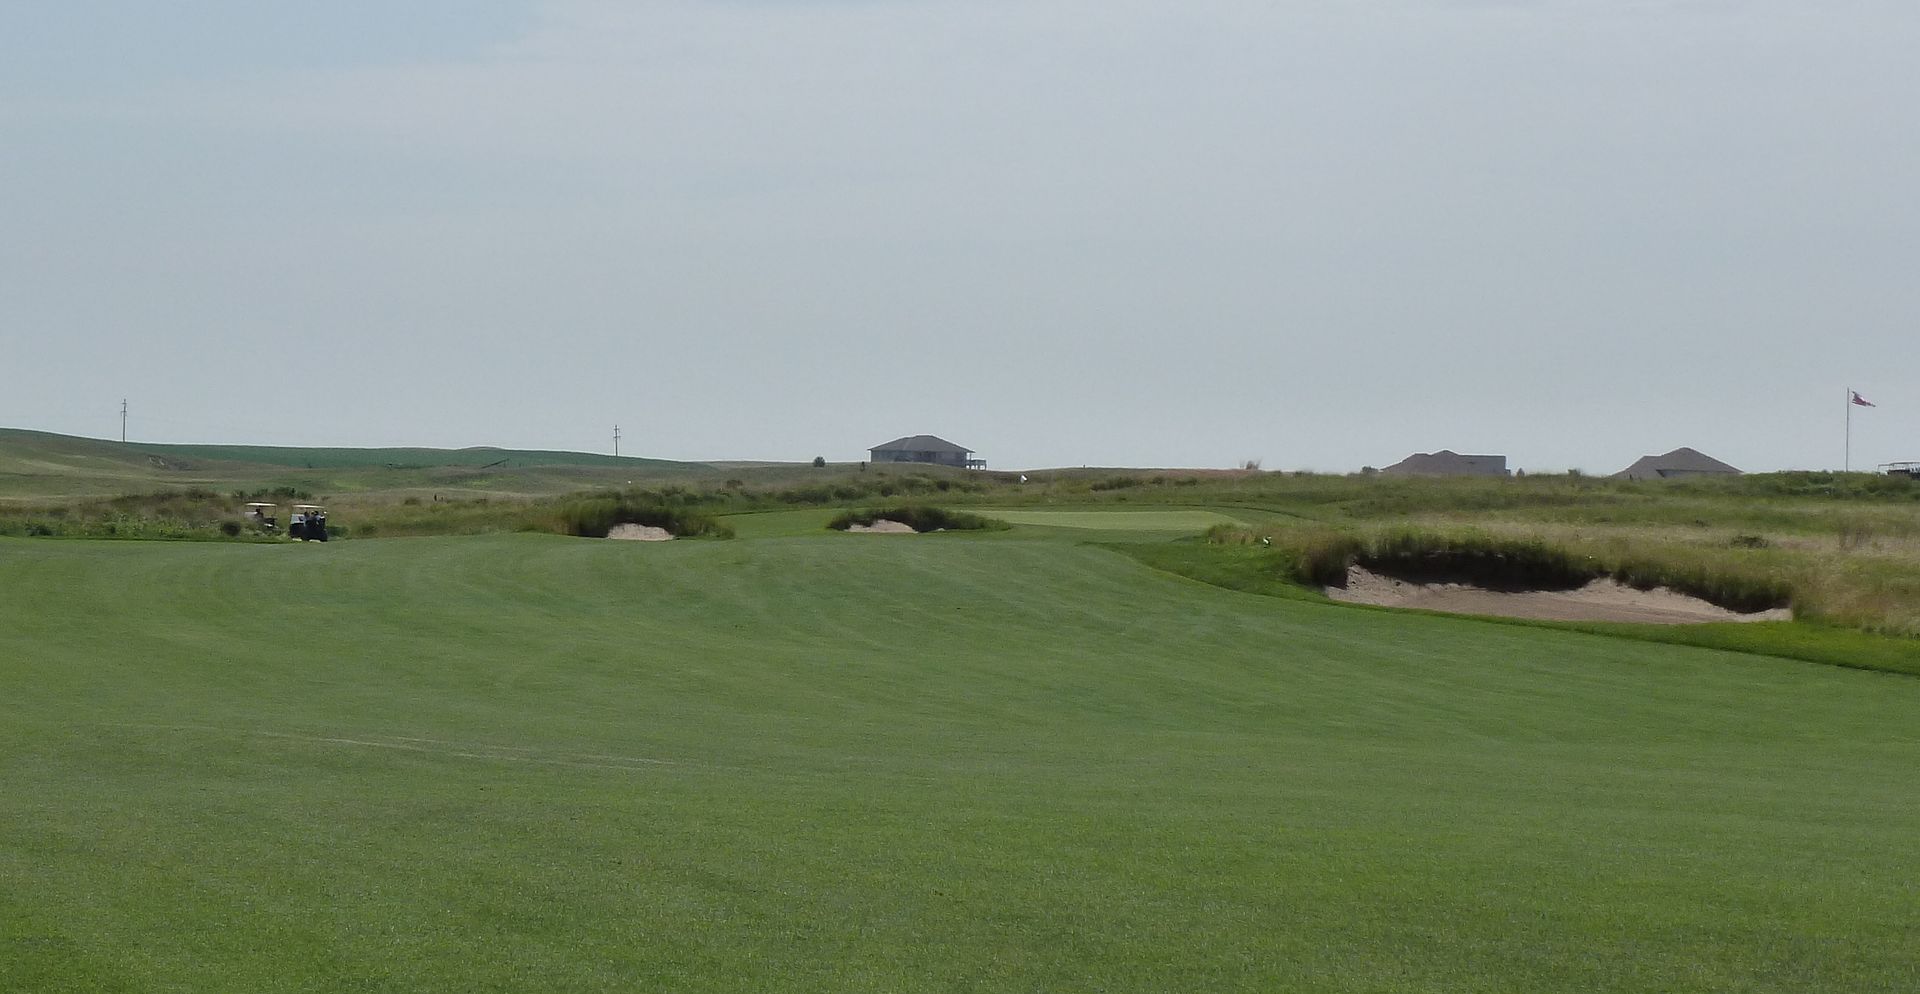
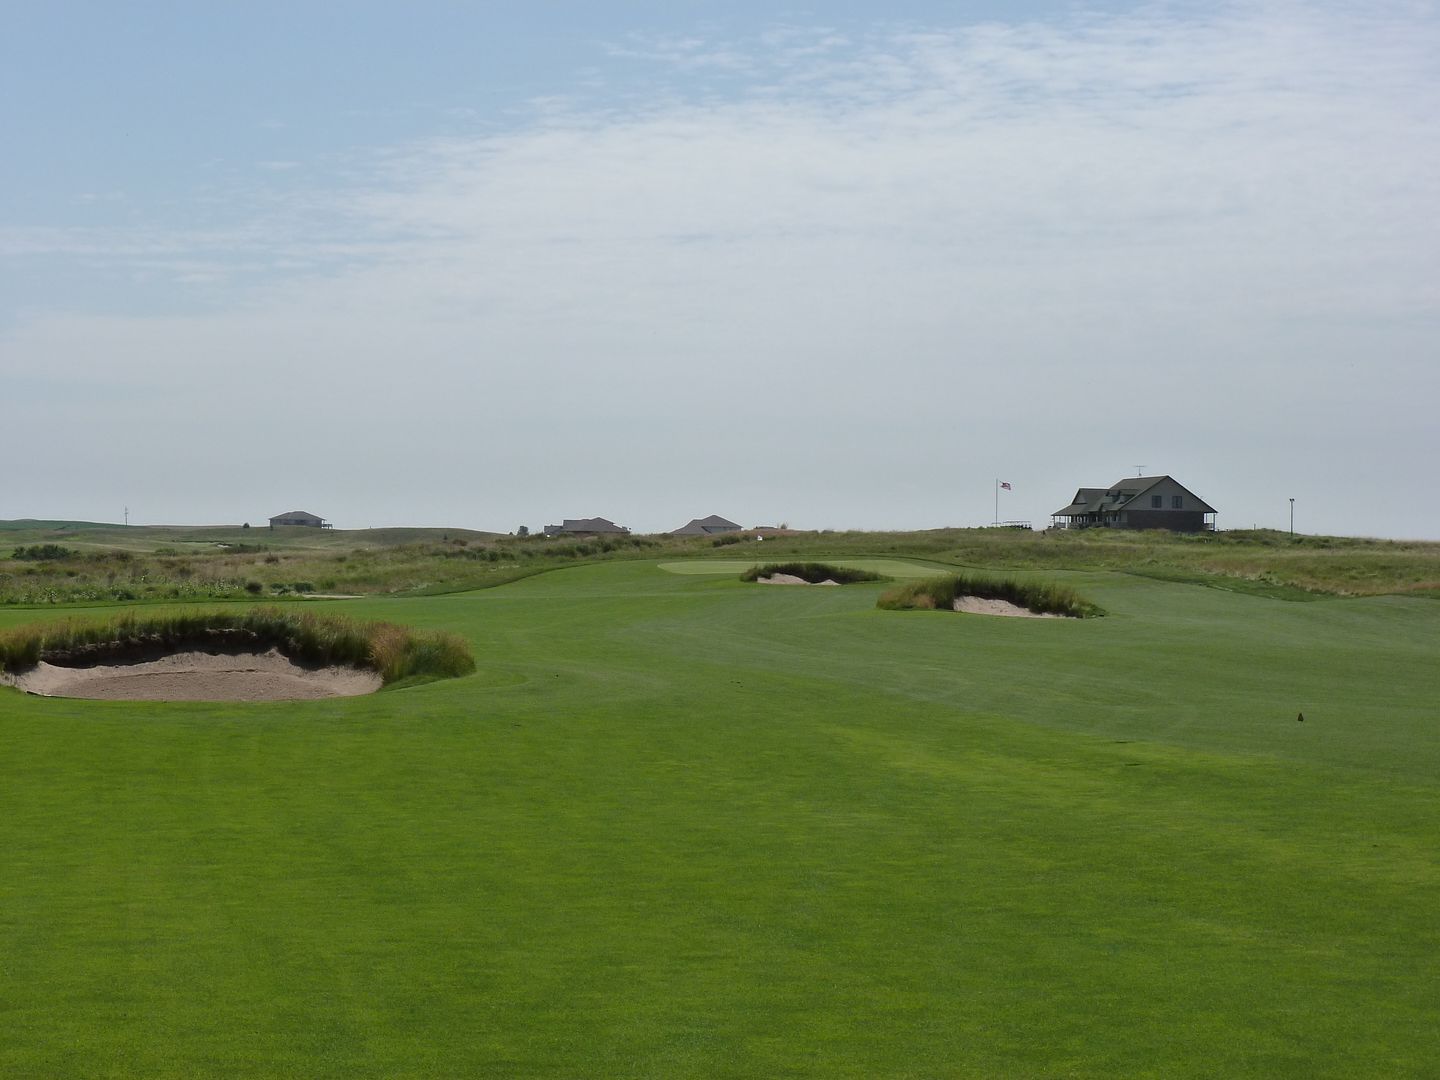
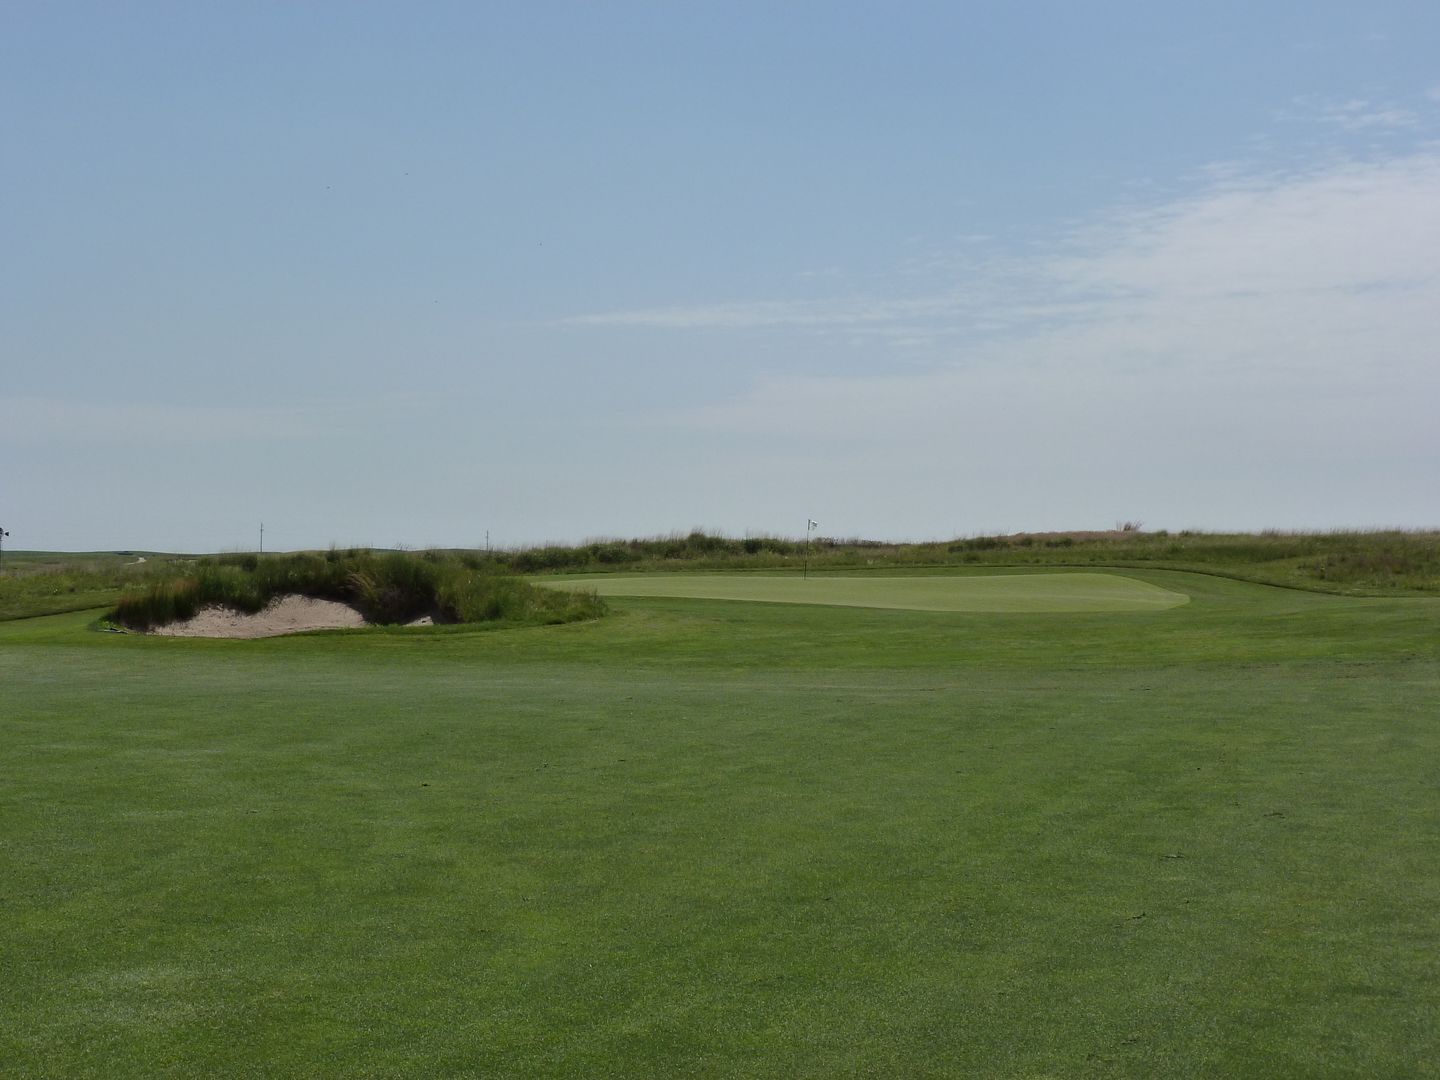
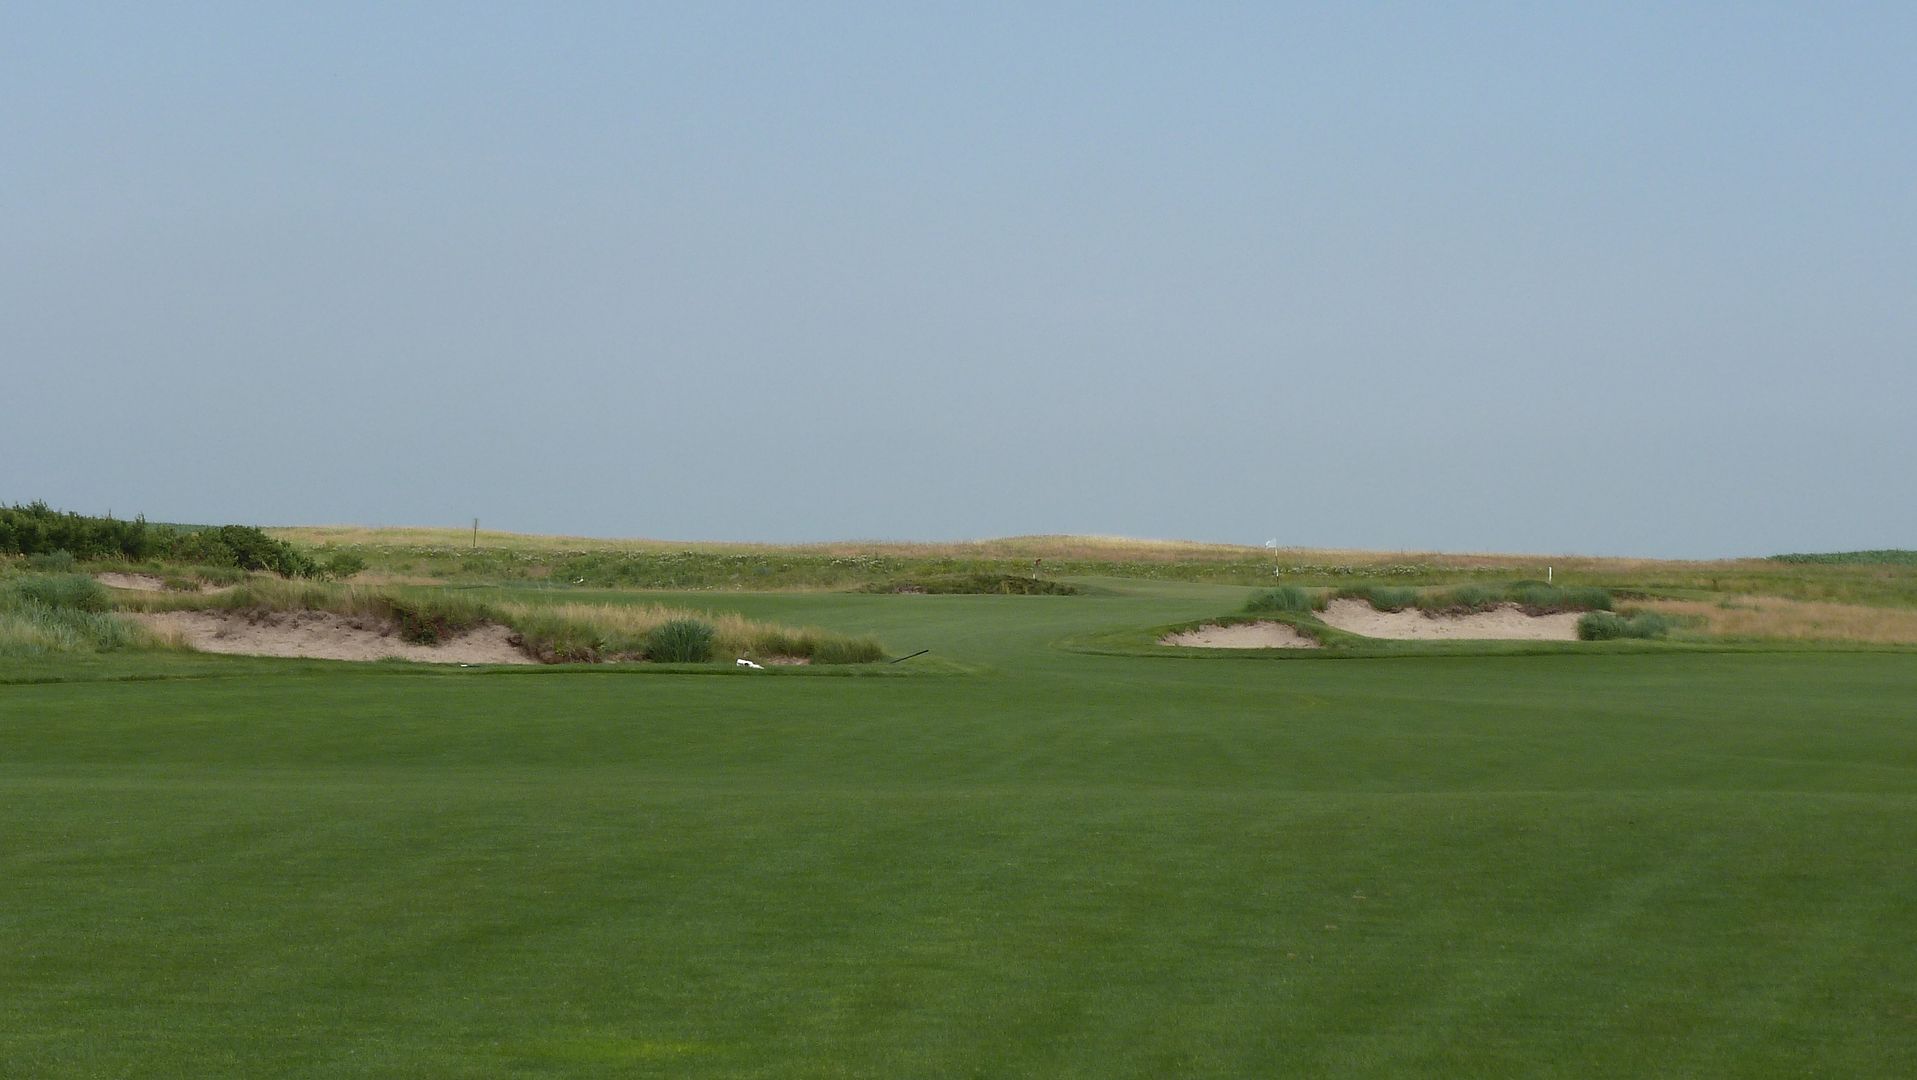
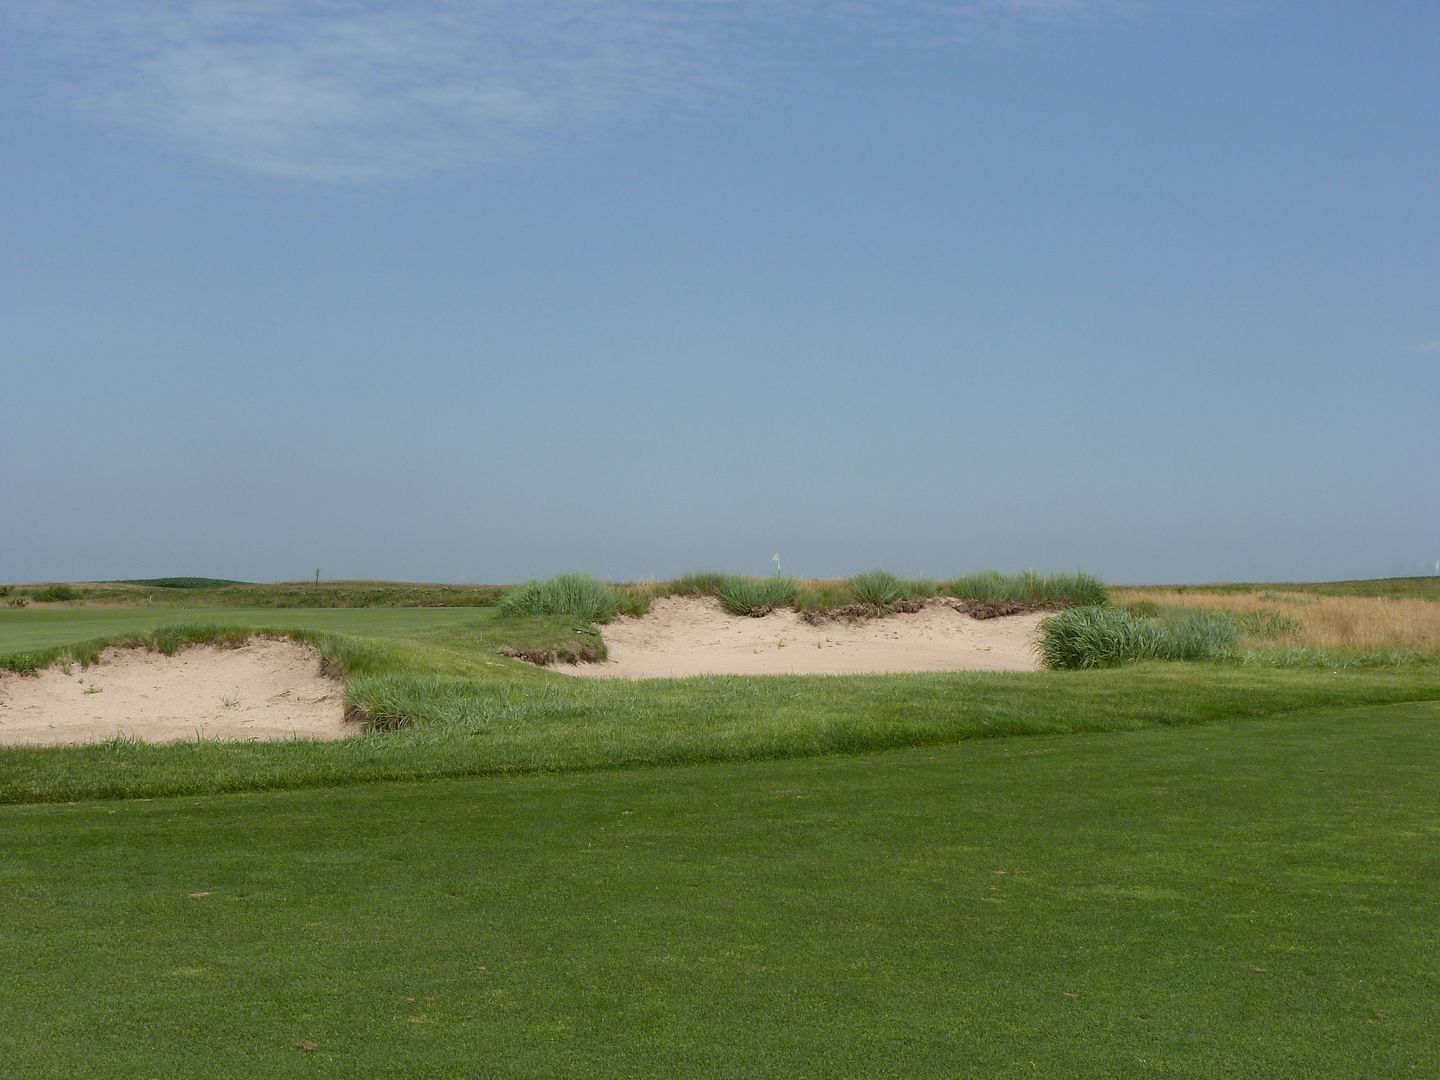
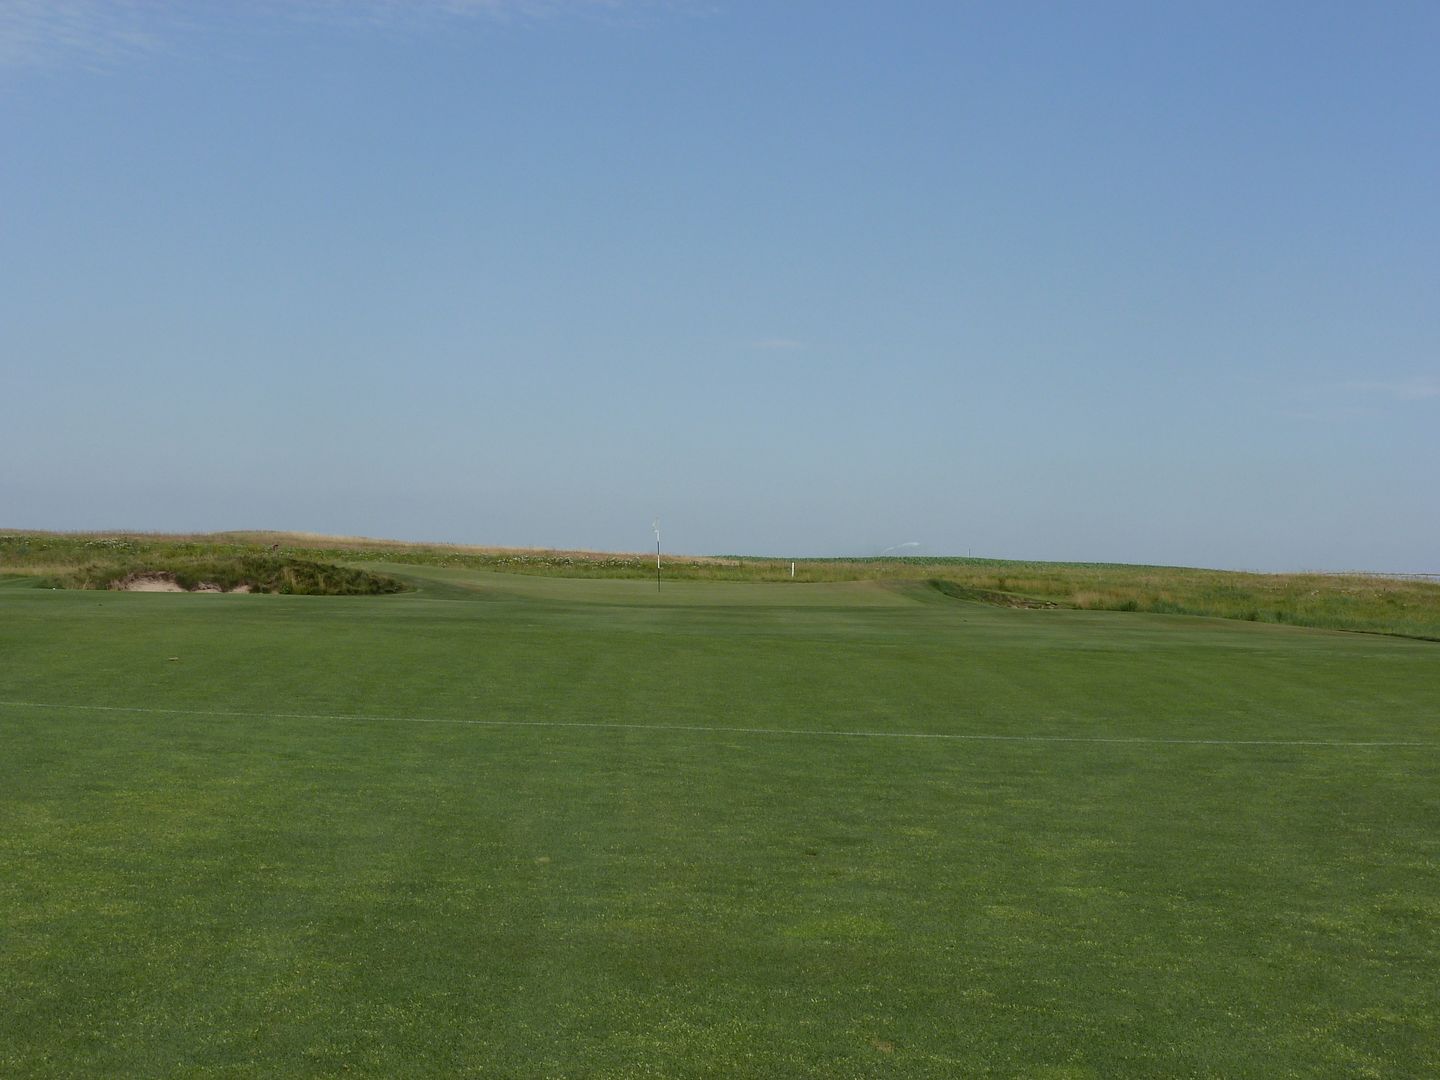
Hole 5: Par 4, 367 Yards
Hole Description: #5 is a short par four that requires a tee shot hugging the left side for a good angle to a fishbowl green guarded on the right by a sandy waste area. Complicating matters is a fairway bunker waiting to gobble up those errant tee shots left. Smart players will lay up short of that bunker leaving a 125 yard pitch uphill to the green. A high spinning second shot is best if pin is tucked to the right but a narrow throat Allows a running shot to find the green also. The fishbowl green funnels most shots to the middle but errant shots long or short make for difficult up and downs.
Tee
Approach from Right
Approach from Left
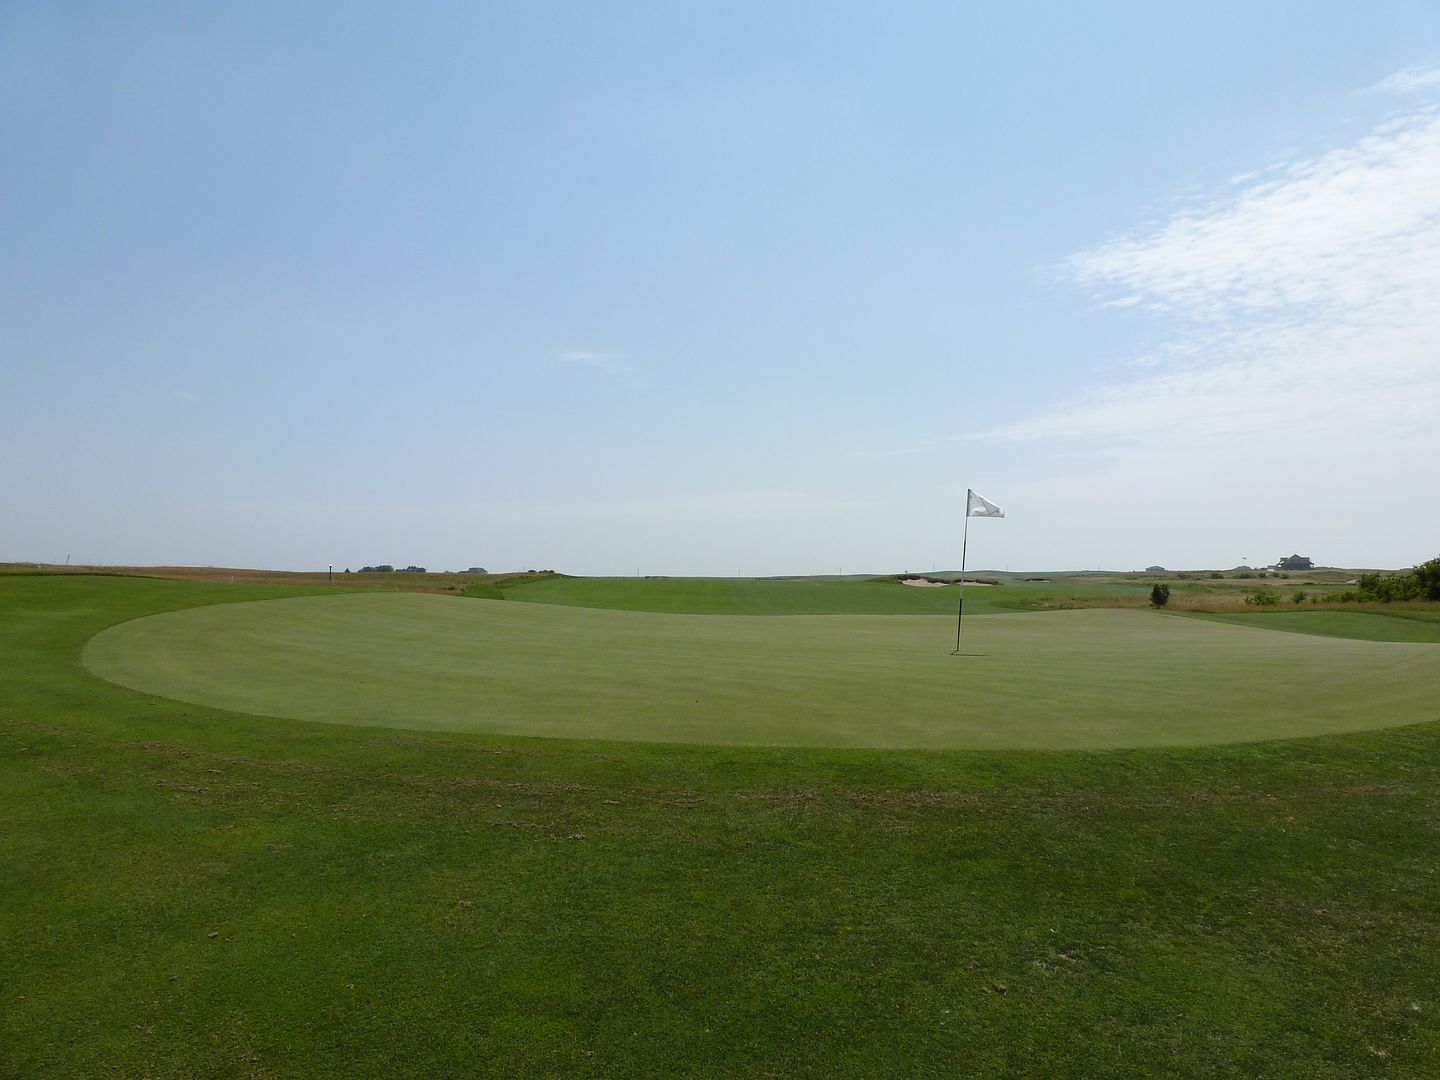
Green
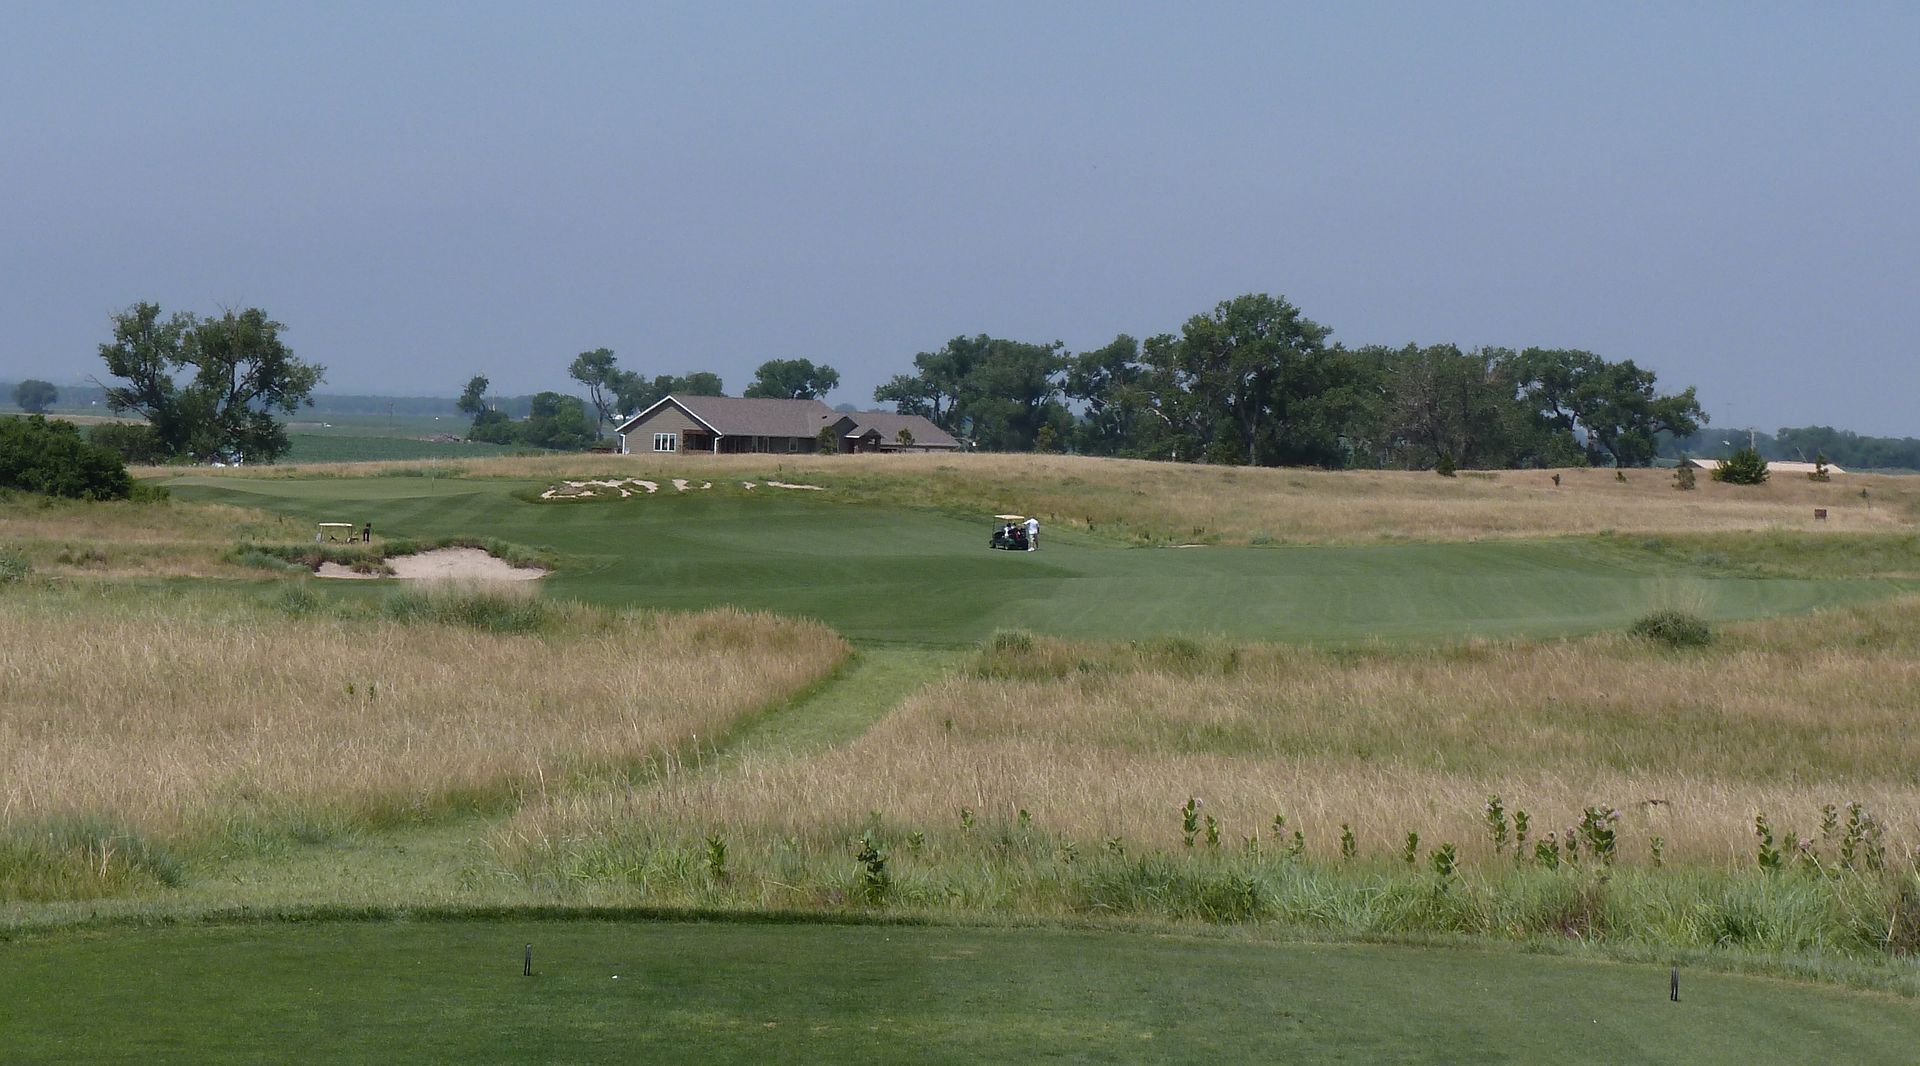
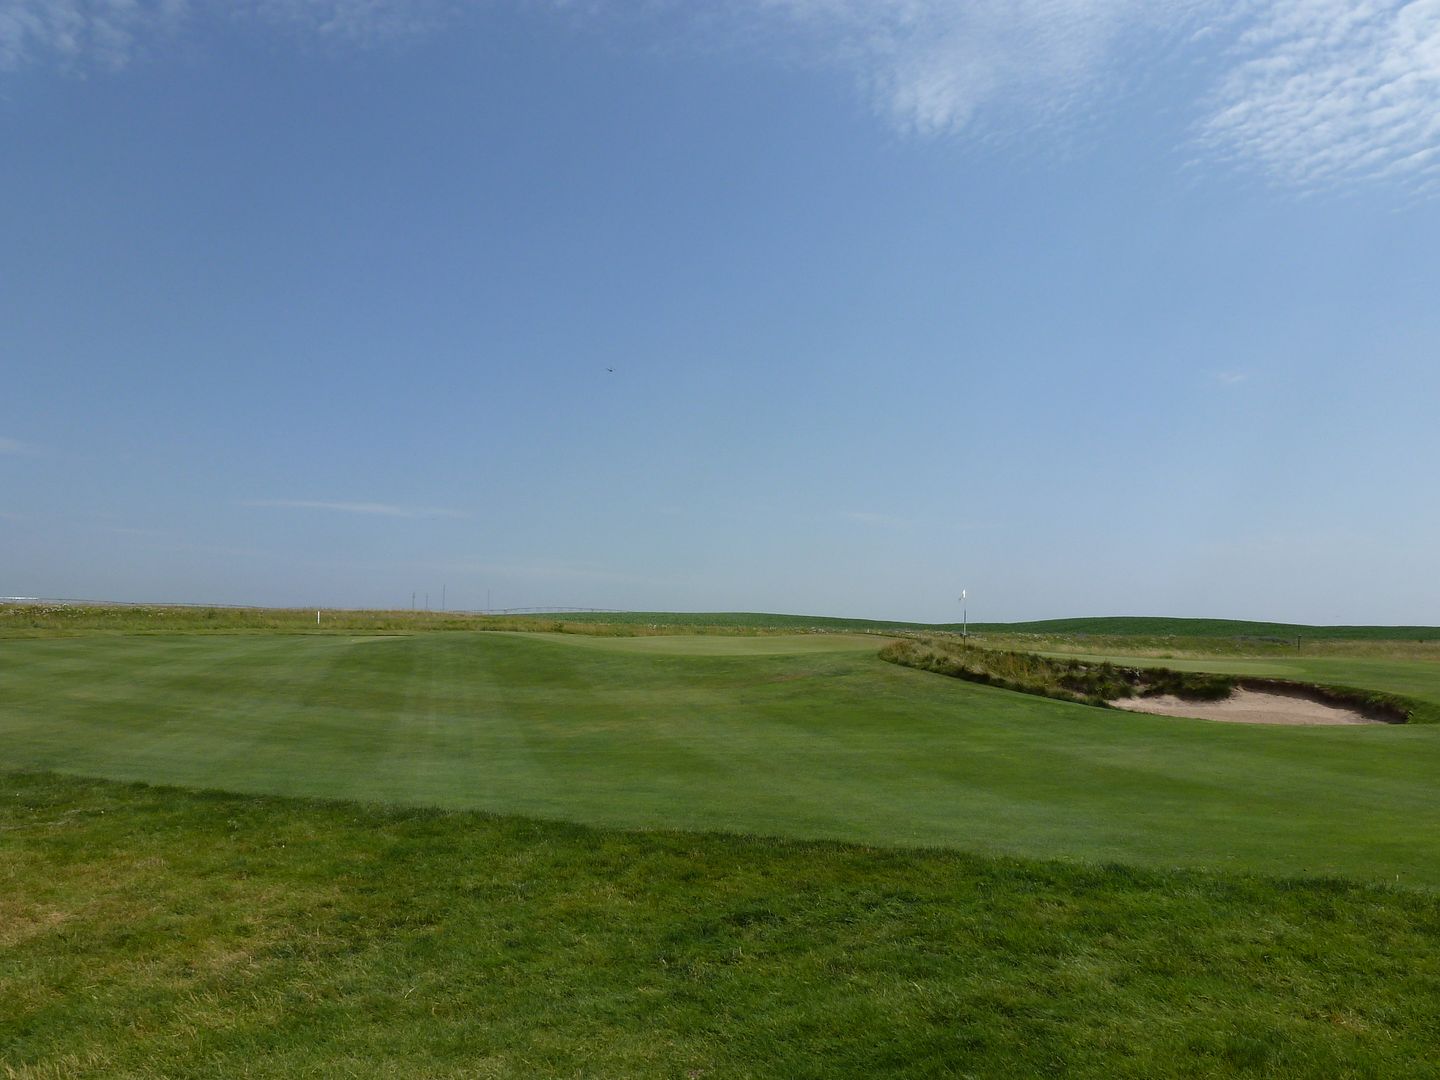
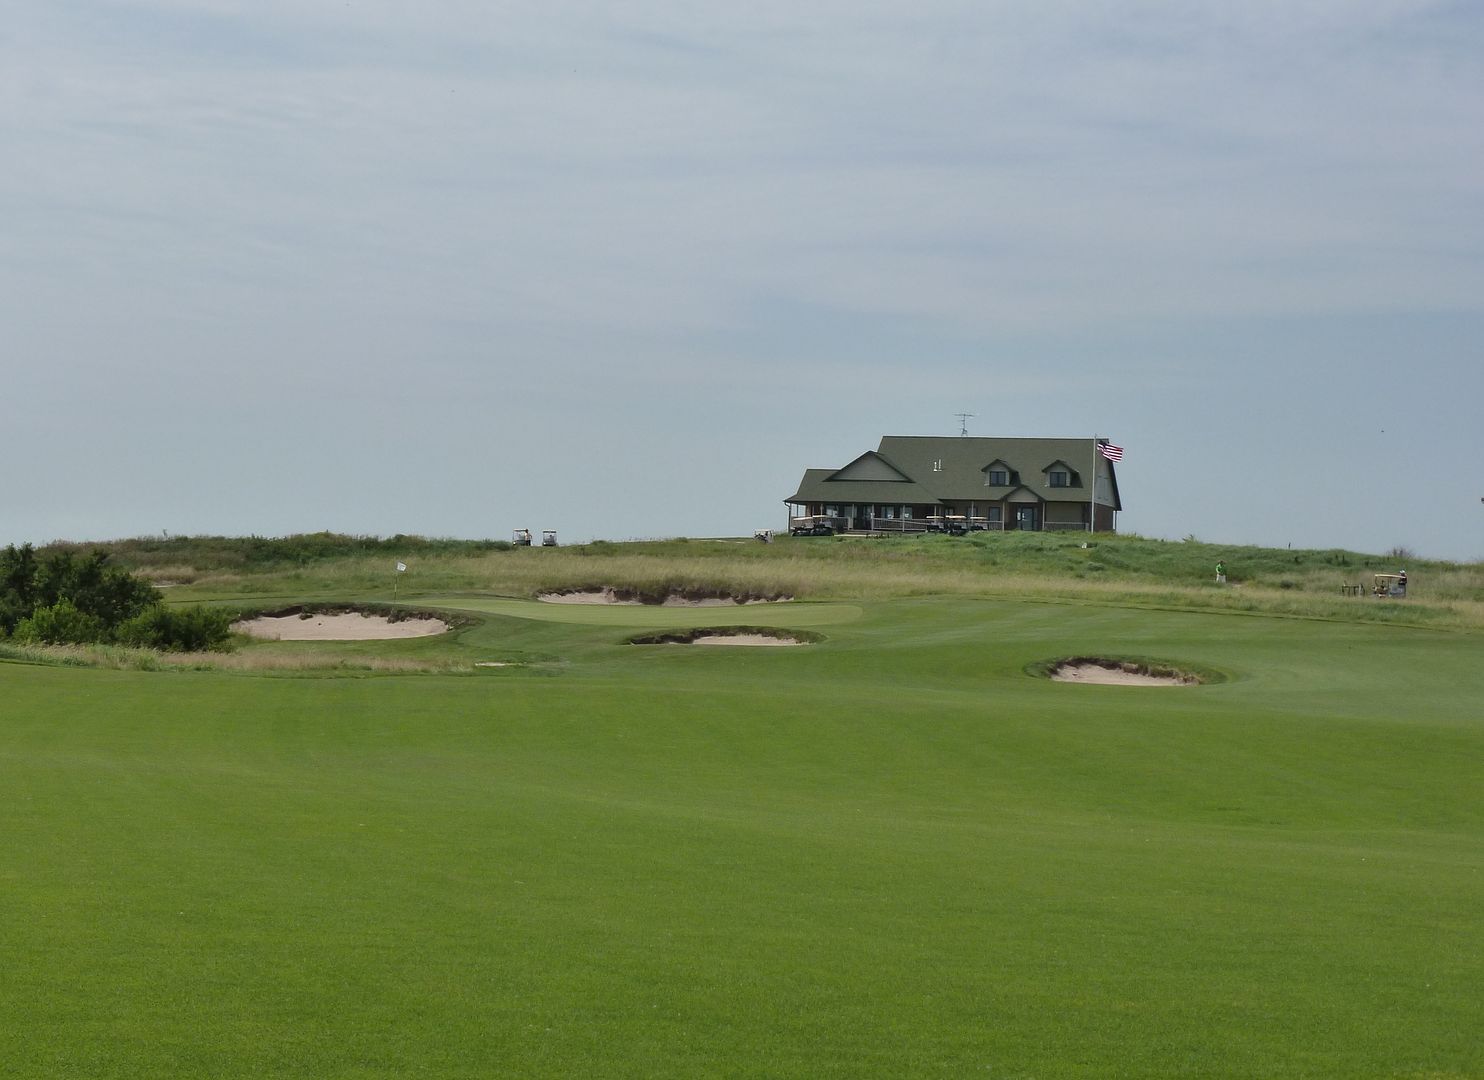
Hole 6: Par 5, 548 Yards
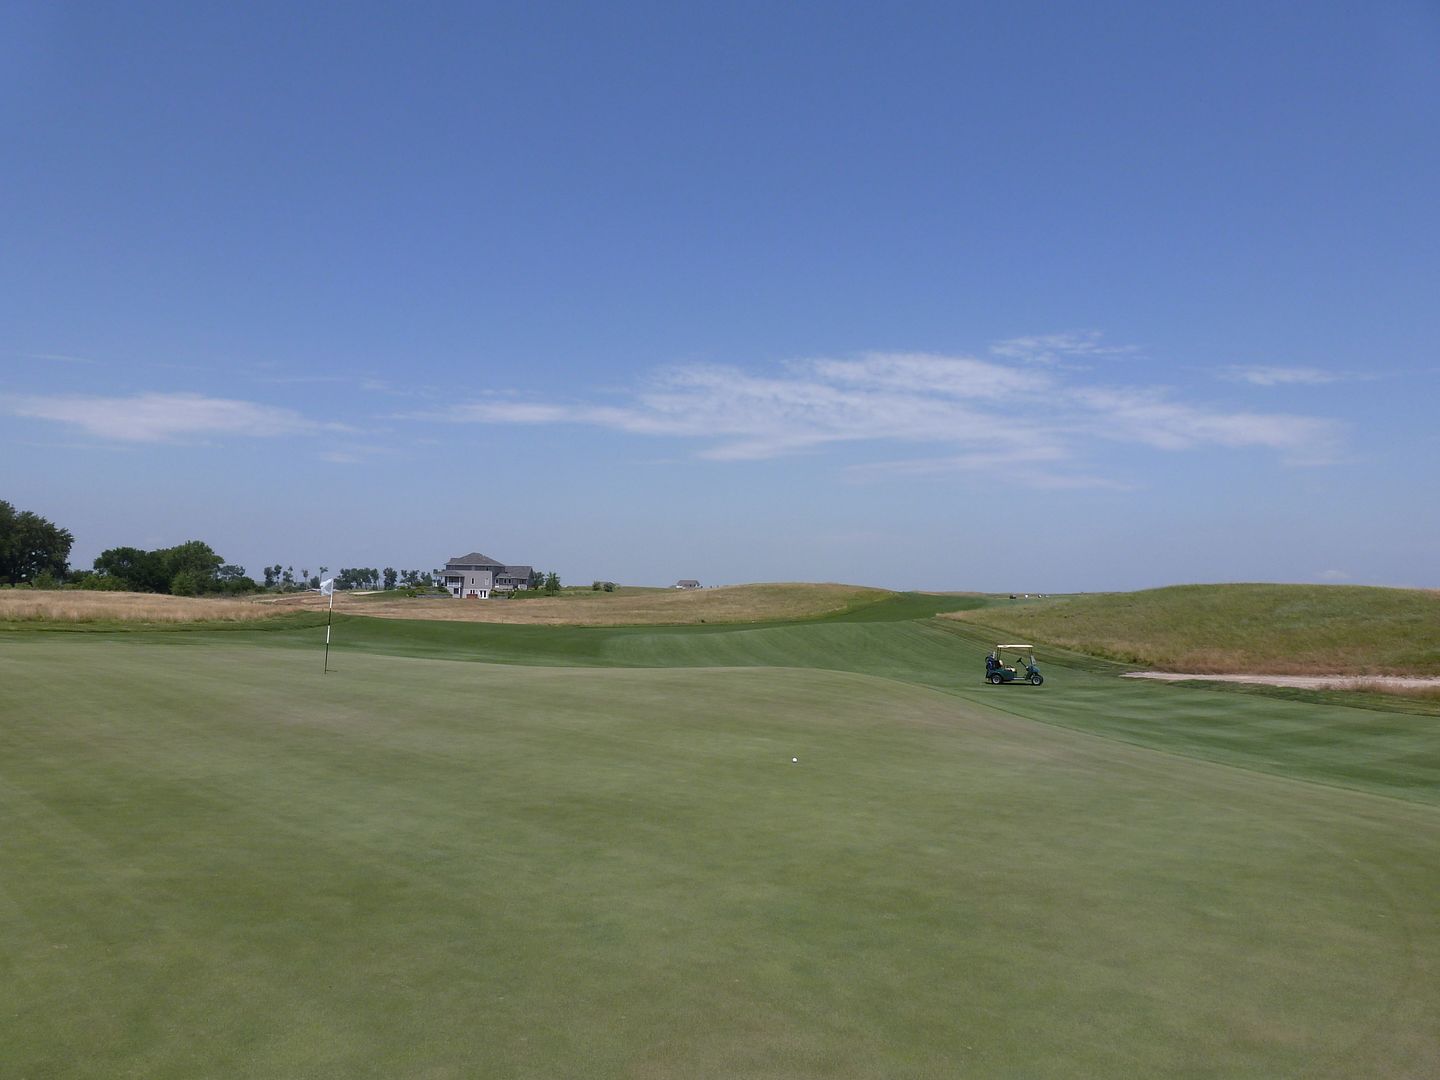
Hole Description: #6 is a par five double dogleg with no bunkers but lots of elevation change. The tee shot line varies with your ability, length, and aggressiveness. Longer players hoping to get there in two aim along the right edge of the fairway. More conservative shots take the ball down the middle. Most tee shots should find the top of the hill allowing the player to see the fairway swing right into a valley. An aggresseive second takes the ball over the left rough toward the green while a easier second should find the broad valley to the right setting up a 100 yard pitch uphill. The green sits into a hillside that filters shots from right to left, but drops off sharply on the left into a wide chipping area. The tilt in the green can make for some dangerous putting.
Tee
Approach from 250:
Approach from 100:
Left of Green:
From Behind:
Green From 7 Tee:
Hole Description: #4 is a medium par three from an elevated tee to a green guarded on the right side by two bunkers. The Green sits at an angle making pin placements to the back and right more difficult to get to but a safe shot to the left will kick back toward the large green. Club selection is difficult due to the large green and prevailing wind at your back.
From forward tee
From behind
Hole 5: Par 4, 367 Yards
Hole Description: #5 is a short par four that requires a tee shot hugging the left side for a good angle to a fishbowl green guarded on the right by a sandy waste area. Complicating matters is a fairway bunker waiting to gobble up those errant tee shots left. Smart players will lay up short of that bunker leaving a 125 yard pitch uphill to the green. A high spinning second shot is best if pin is tucked to the right but a narrow throat Allows a running shot to find the green also. The fishbowl green funnels most shots to the middle but errant shots long or short make for difficult up and downs.
Tee
Approach from Right
Approach from Left
Green
Hole 6: Par 5, 548 Yards
Hole Description: #6 is a par five double dogleg with no bunkers but lots of elevation change. The tee shot line varies with your ability, length, and aggressiveness. Longer players hoping to get there in two aim along the right edge of the fairway. More conservative shots take the ball down the middle. Most tee shots should find the top of the hill allowing the player to see the fairway swing right into a valley. An aggresseive second takes the ball over the left rough toward the green while a easier second should find the broad valley to the right setting up a 100 yard pitch uphill. The green sits into a hillside that filters shots from right to left, but drops off sharply on the left into a wide chipping area. The tilt in the green can make for some dangerous putting.
Tee
Approach from 250:
Approach from 100:
Left of Green:
From Behind:
Green From 7 Tee:
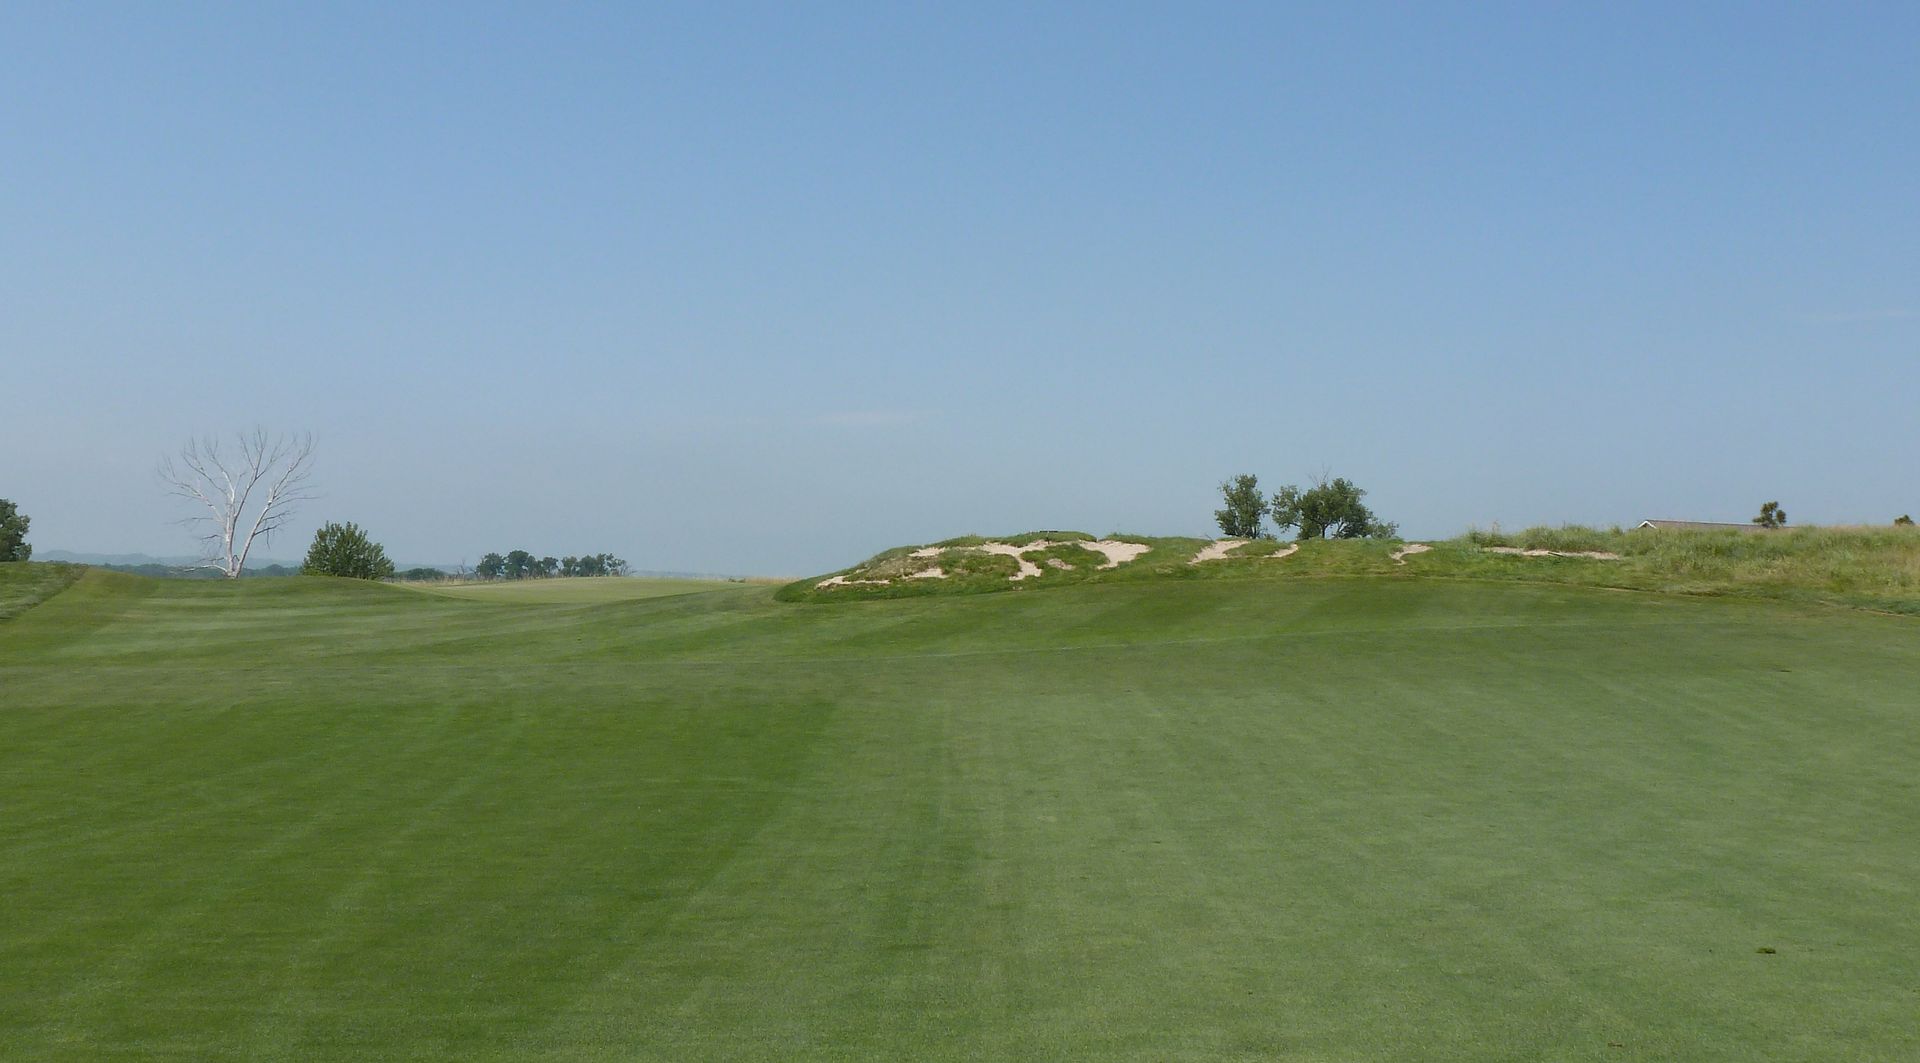
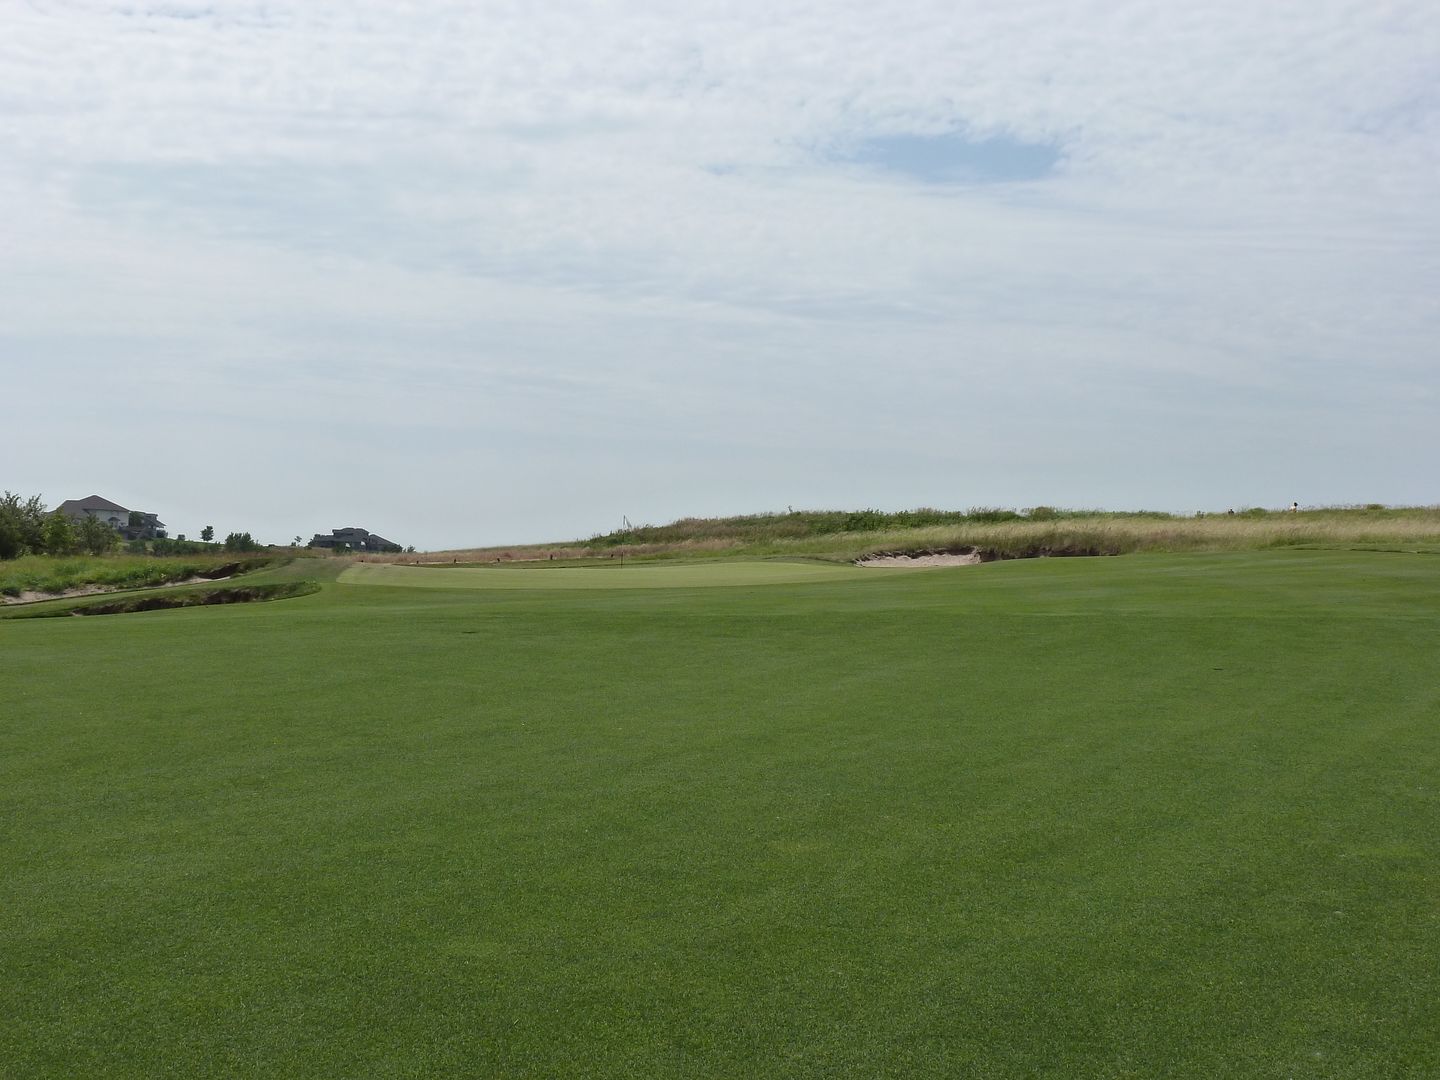
Hole 7: Par 4, 364 Yards
Hole Description: #7 is a short par four with a middle fairway bunker requiring a good tee shot staying between it and the right rough. A tee ball left of this bunker leaves you in a swale looking only at a huge bunker guarding the left side of the green. The green is open on the right allowing a variety of shots to be played. It is relatively flat except for a couple large mounds on the right. Birdies can be had, but be wary
Tee
Notice the additional room on the left side of the fairway if one can carry the ball some 225 yards from the back tee:
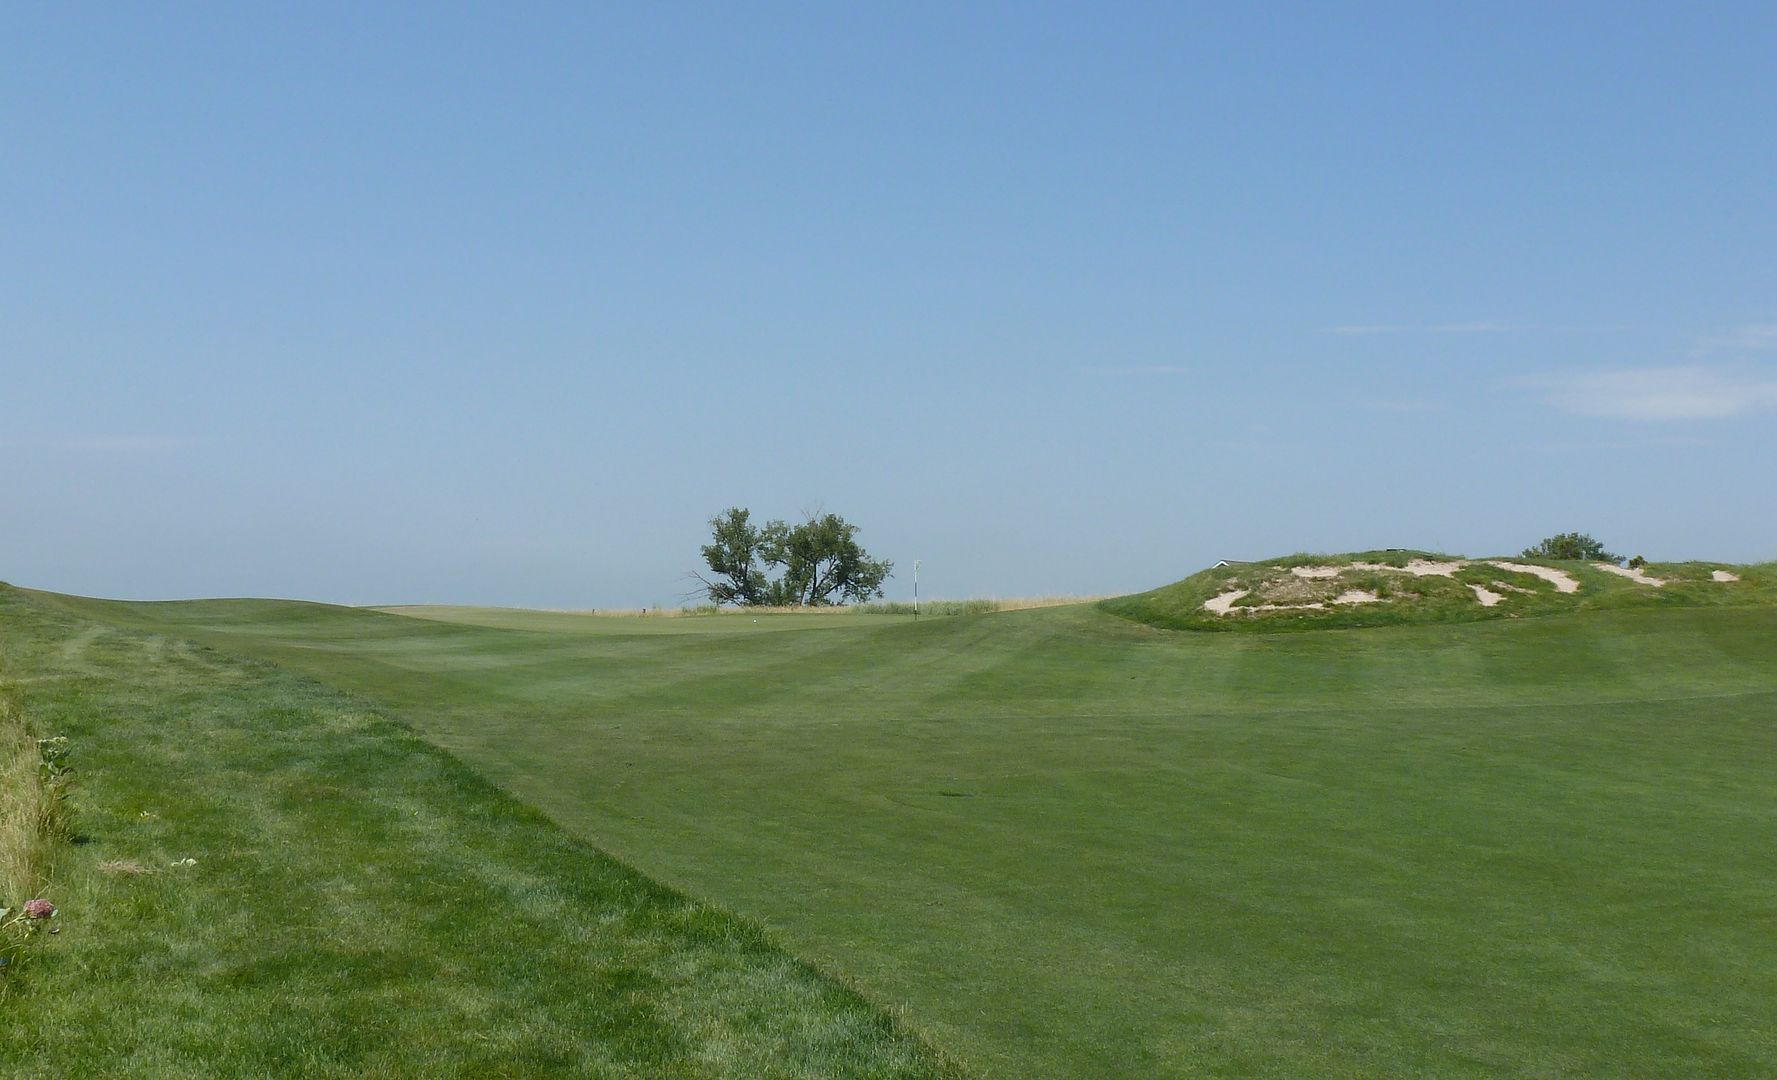
Approach from right of bunker

Just because you can carry the 225 yards to find the left part of the fairway, does not mean that is where you should try to hit it. Approach from left of bunker:

From short of the green
Hole 8: Par 4, 451 Yards
Hole Description: #8 is a long straight par four that is one of the most demanding on the course. A huge blowout bunker on the left side of the fairway is a good aiming point. Only if the wind is at your back should you be able to reach this bunker. A good tee shot should kick left into a series of mounds in the landing area. Luck will provide a good lie for a long second to a green guarded on the right side by a small bunker. The terrain slopes from left to right so stay to the high side and let the ground carry your ball onto the green. The green has two large bumps in the middle that make for a difficult two-putt.
Tee
One is rewarded for challenging the massive blowout on the left (if they have the guts to do it). The farther right, the more difficult the approach.
Approach from right
Approach from centre
Approach from left
From short of green

From left of green
From long right of green
From Behind
Hole 9: Par 3, 185 Yards - I think this may be a new tee that has been added?
Hole Description: #9 is a medium par three guarded on the high side by two bunkers with steep fall off to the right into a chipping area. A good shot will challenge the bunkers that hide the left half of the long narrow green. The slope will work it back into the middle of the green. Any shots right will find the low side chipping area which makes for a tough par. Again club selection is tough with a prevailing wind at your back that takes spin off and kicks the ball forward.
Tee
Forward Tee
From short right
From right
From short left
Hole Description: #7 is a short par four with a middle fairway bunker requiring a good tee shot staying between it and the right rough. A tee ball left of this bunker leaves you in a swale looking only at a huge bunker guarding the left side of the green. The green is open on the right allowing a variety of shots to be played. It is relatively flat except for a couple large mounds on the right. Birdies can be had, but be wary
Tee
Notice the additional room on the left side of the fairway if one can carry the ball some 225 yards from the back tee:
Approach from right of bunker
Just because you can carry the 225 yards to find the left part of the fairway, does not mean that is where you should try to hit it. Approach from left of bunker:
From short of the green
Hole 8: Par 4, 451 Yards
Hole Description: #8 is a long straight par four that is one of the most demanding on the course. A huge blowout bunker on the left side of the fairway is a good aiming point. Only if the wind is at your back should you be able to reach this bunker. A good tee shot should kick left into a series of mounds in the landing area. Luck will provide a good lie for a long second to a green guarded on the right side by a small bunker. The terrain slopes from left to right so stay to the high side and let the ground carry your ball onto the green. The green has two large bumps in the middle that make for a difficult two-putt.
Tee
One is rewarded for challenging the massive blowout on the left (if they have the guts to do it). The farther right, the more difficult the approach.
Approach from right
Approach from centre
Approach from left
From short of green
From left of green
From long right of green
From Behind
Hole 9: Par 3, 185 Yards - I think this may be a new tee that has been added?
Hole Description: #9 is a medium par three guarded on the high side by two bunkers with steep fall off to the right into a chipping area. A good shot will challenge the bunkers that hide the left half of the long narrow green. The slope will work it back into the middle of the green. Any shots right will find the low side chipping area which makes for a tough par. Again club selection is tough with a prevailing wind at your back that takes spin off and kicks the ball forward.
Tee
Forward Tee
From short right
From right
From short left
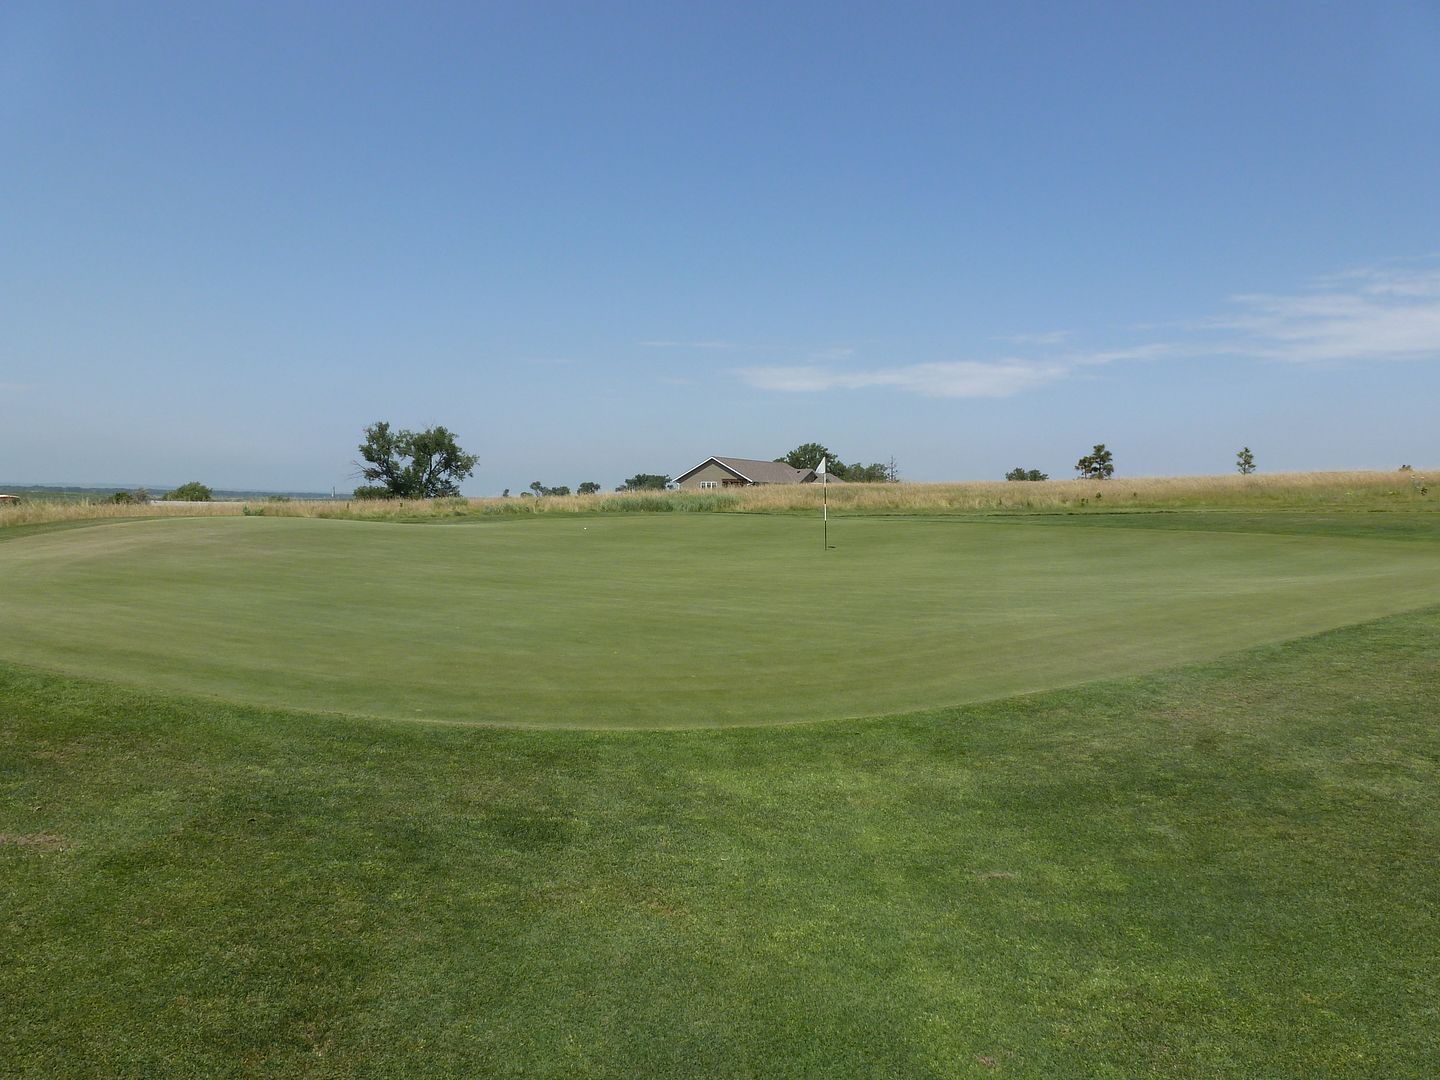
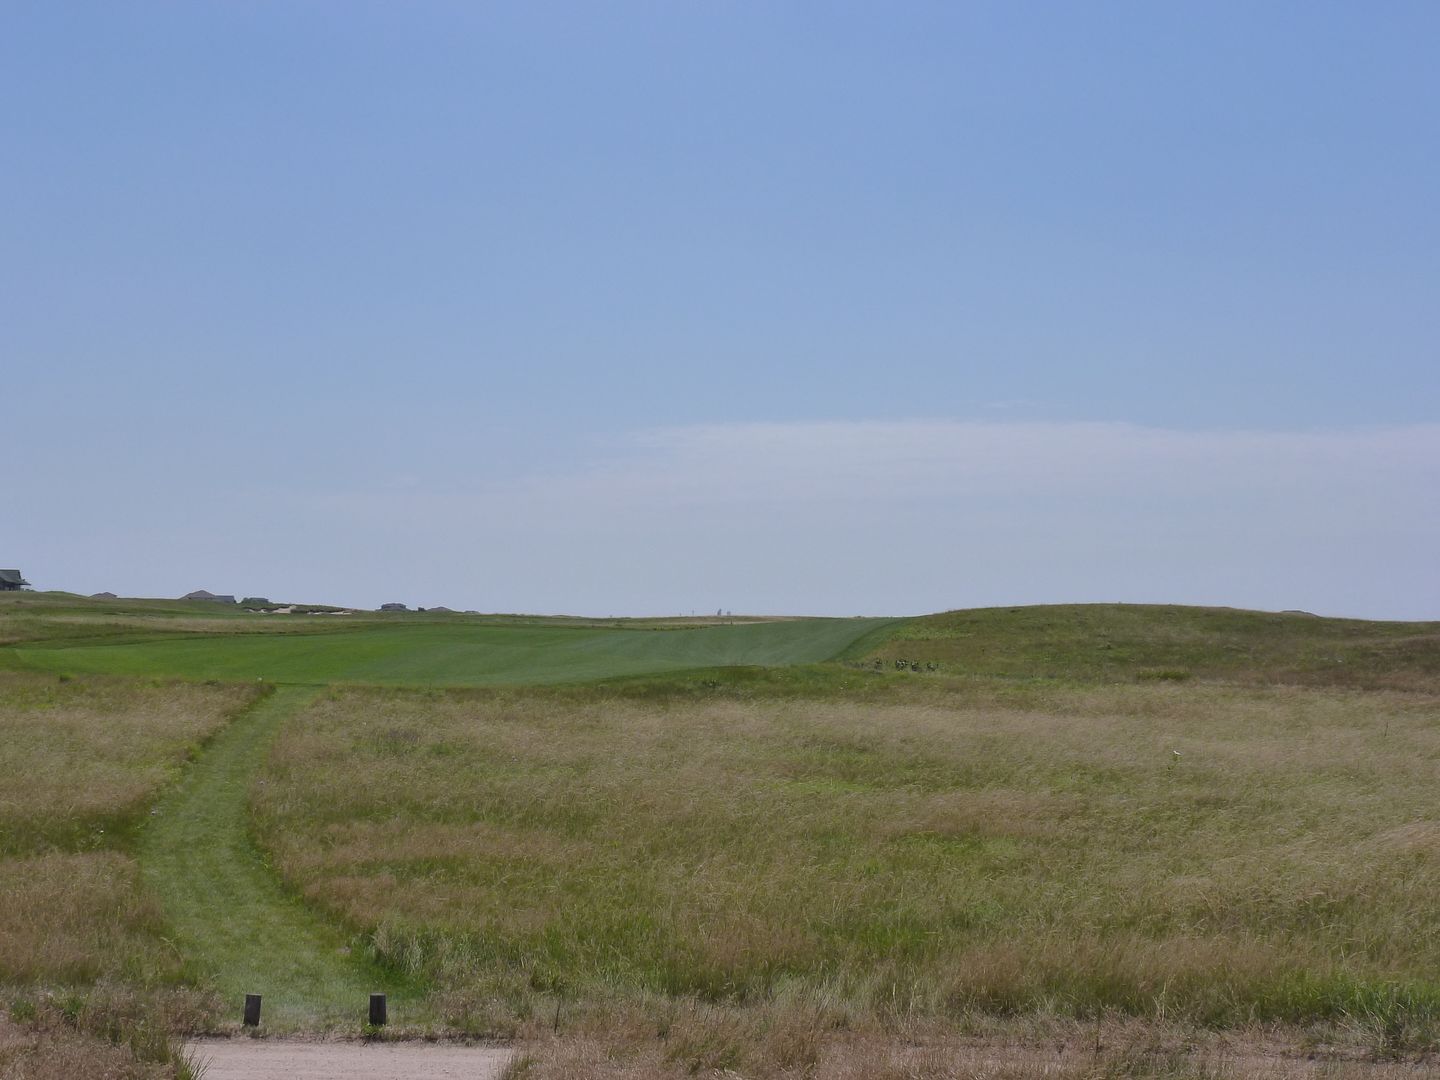
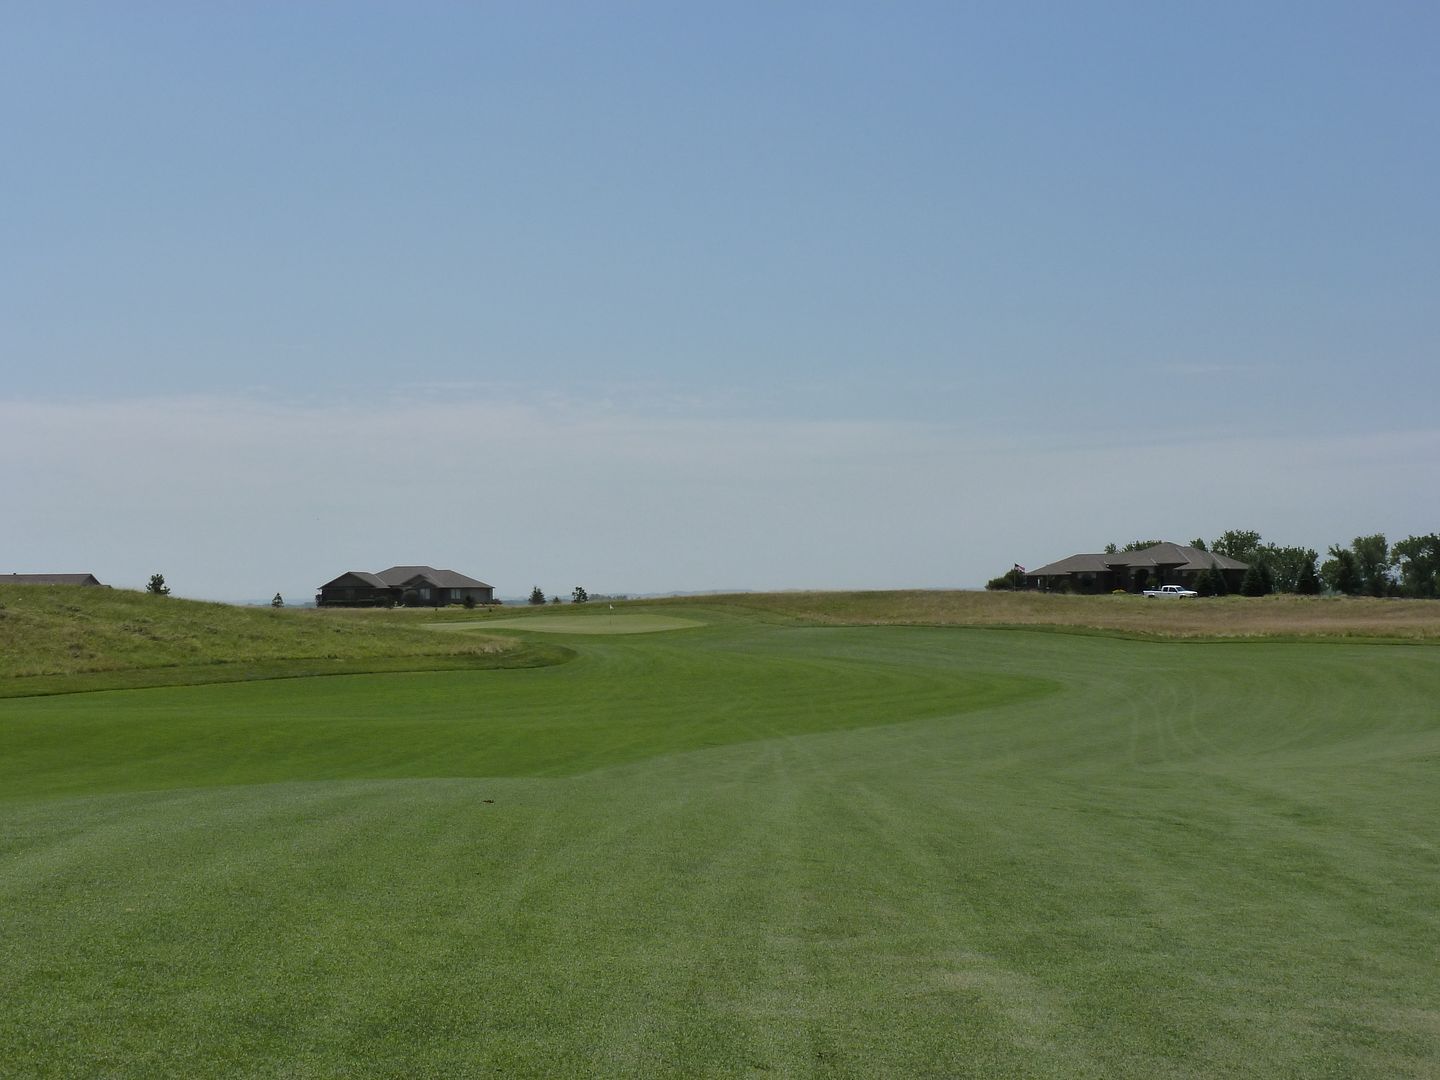
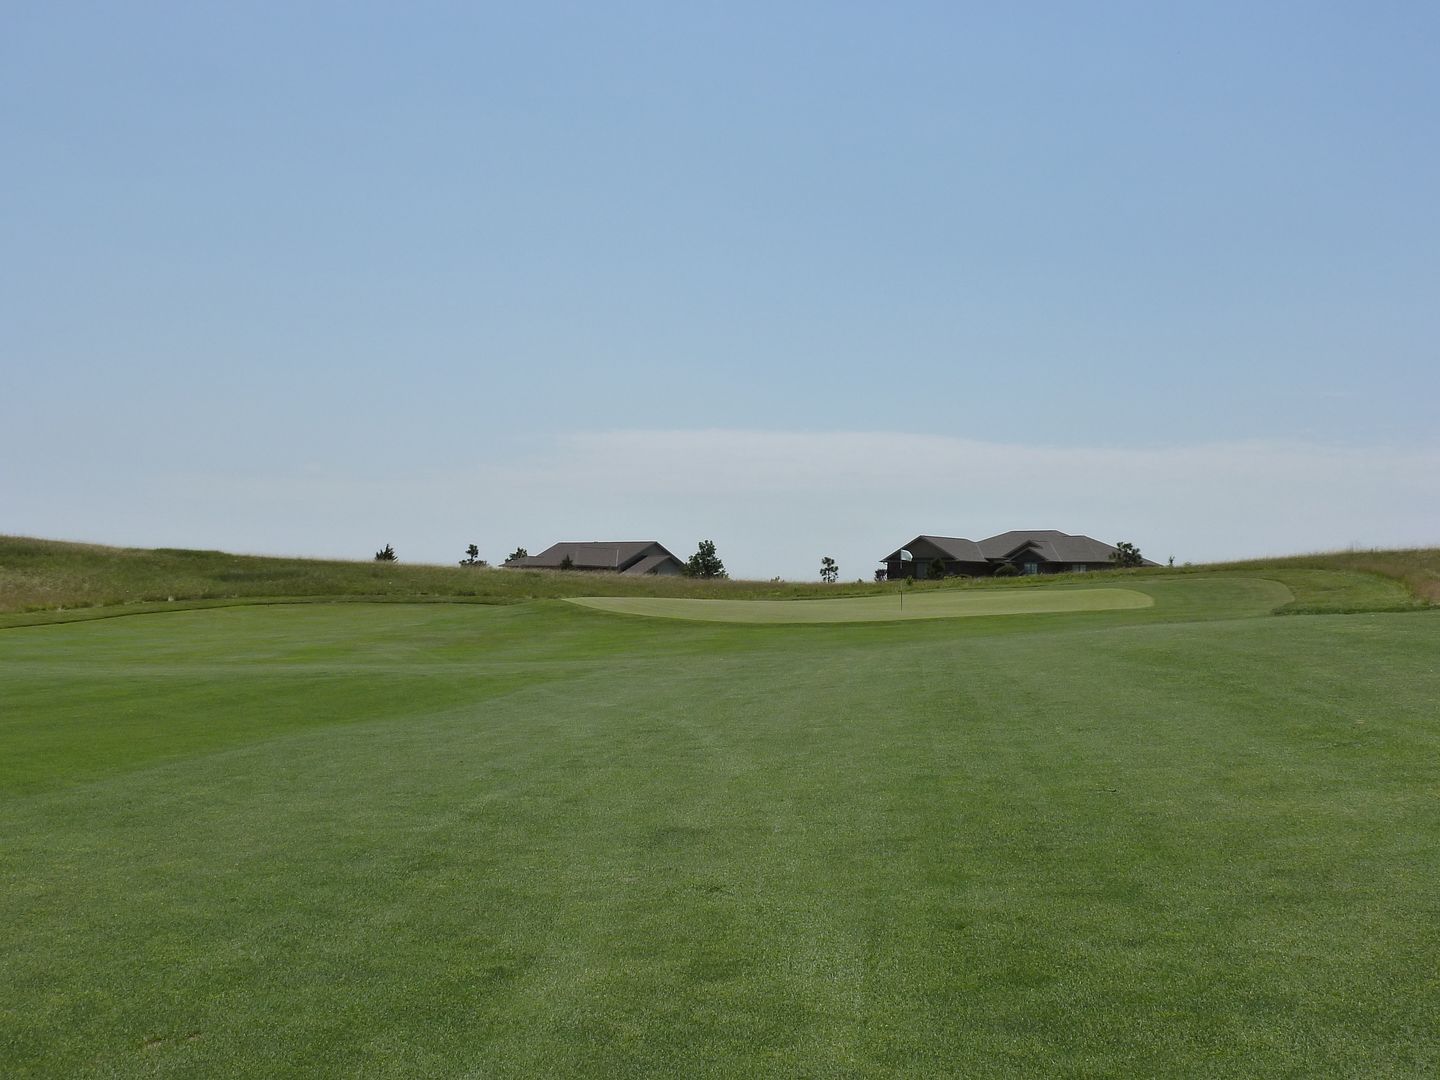
Hole 10: Par 4, 408 Yards
Hole Description: #10 is a medium par four dogleg right that requires an accurate tee shot to find a rolling narrow fairway. A bunker guards the inside of the dogleg but is only a factor for the longest hitters. The second shot is to a small unbunkered green with falloffs on both sides. The green itself is one of the toughest with several mounds and a steep tilt from back to front.
Gold Tee
Forward Tee - Hole opens up from here
Approach from right

Approach from left
From short left of green
From long left of green
From behind
Hole 11: Par 3, 126 Yards
Hole Description: #11 is a short heavily bunkered par three. Only errant shots long will stay away from the three bunkers that guard the left, right and front of this large green. The green slopes from right to left in the front with a mound on the left that can run balls back to the middle. The back of the green is flatter with only a couple of mounds. A two putt here will thrill you.
Interestingly, the tee box is some 30 yards wide. Tee position as much as pin position will dictate strategy on this hole.
From right side of tee box
From left side of tee box
Front left green
Front right green
Long left green
Look back from 12 tee
Hole 12: Par 4, 442 Yards
Hole Description: #12 is a downhill par four that plays differently depending on the tee placement. The forward tees allow you to see the entire hole but choose your club and placement wisely to avoid the many fairway bunkers. The back tee is a blind tee shot over a hill into a flat valley. Shots to the right will nearly always find trouble in the rough or fairway bunker. A good line is toward the aiming bunker in the distance. The approach shot must navigate three bunkers that closely guard the narrow green. Shots will kick to the left so play just over the short right bunker to find the middle of the green and stay below the hole.
Gold Tee
Red Tee
Approach from left

Approach from right

Short of green
Notice the kicker over the bunker towards the green
Left of green
Looking back from next tee

From Behind
Hole Description: #10 is a medium par four dogleg right that requires an accurate tee shot to find a rolling narrow fairway. A bunker guards the inside of the dogleg but is only a factor for the longest hitters. The second shot is to a small unbunkered green with falloffs on both sides. The green itself is one of the toughest with several mounds and a steep tilt from back to front.
Gold Tee
Forward Tee - Hole opens up from here
Approach from right
Approach from left
From short left of green
From long left of green
From behind
Hole 11: Par 3, 126 Yards
Hole Description: #11 is a short heavily bunkered par three. Only errant shots long will stay away from the three bunkers that guard the left, right and front of this large green. The green slopes from right to left in the front with a mound on the left that can run balls back to the middle. The back of the green is flatter with only a couple of mounds. A two putt here will thrill you.
Interestingly, the tee box is some 30 yards wide. Tee position as much as pin position will dictate strategy on this hole.
From right side of tee box
From left side of tee box
Front left green
Front right green
Long left green
Look back from 12 tee
Hole 12: Par 4, 442 Yards
Hole Description: #12 is a downhill par four that plays differently depending on the tee placement. The forward tees allow you to see the entire hole but choose your club and placement wisely to avoid the many fairway bunkers. The back tee is a blind tee shot over a hill into a flat valley. Shots to the right will nearly always find trouble in the rough or fairway bunker. A good line is toward the aiming bunker in the distance. The approach shot must navigate three bunkers that closely guard the narrow green. Shots will kick to the left so play just over the short right bunker to find the middle of the green and stay below the hole.
Gold Tee
Red Tee
Approach from left
Approach from right
Short of green
Notice the kicker over the bunker towards the green
Left of green
Looking back from next tee
From Behind
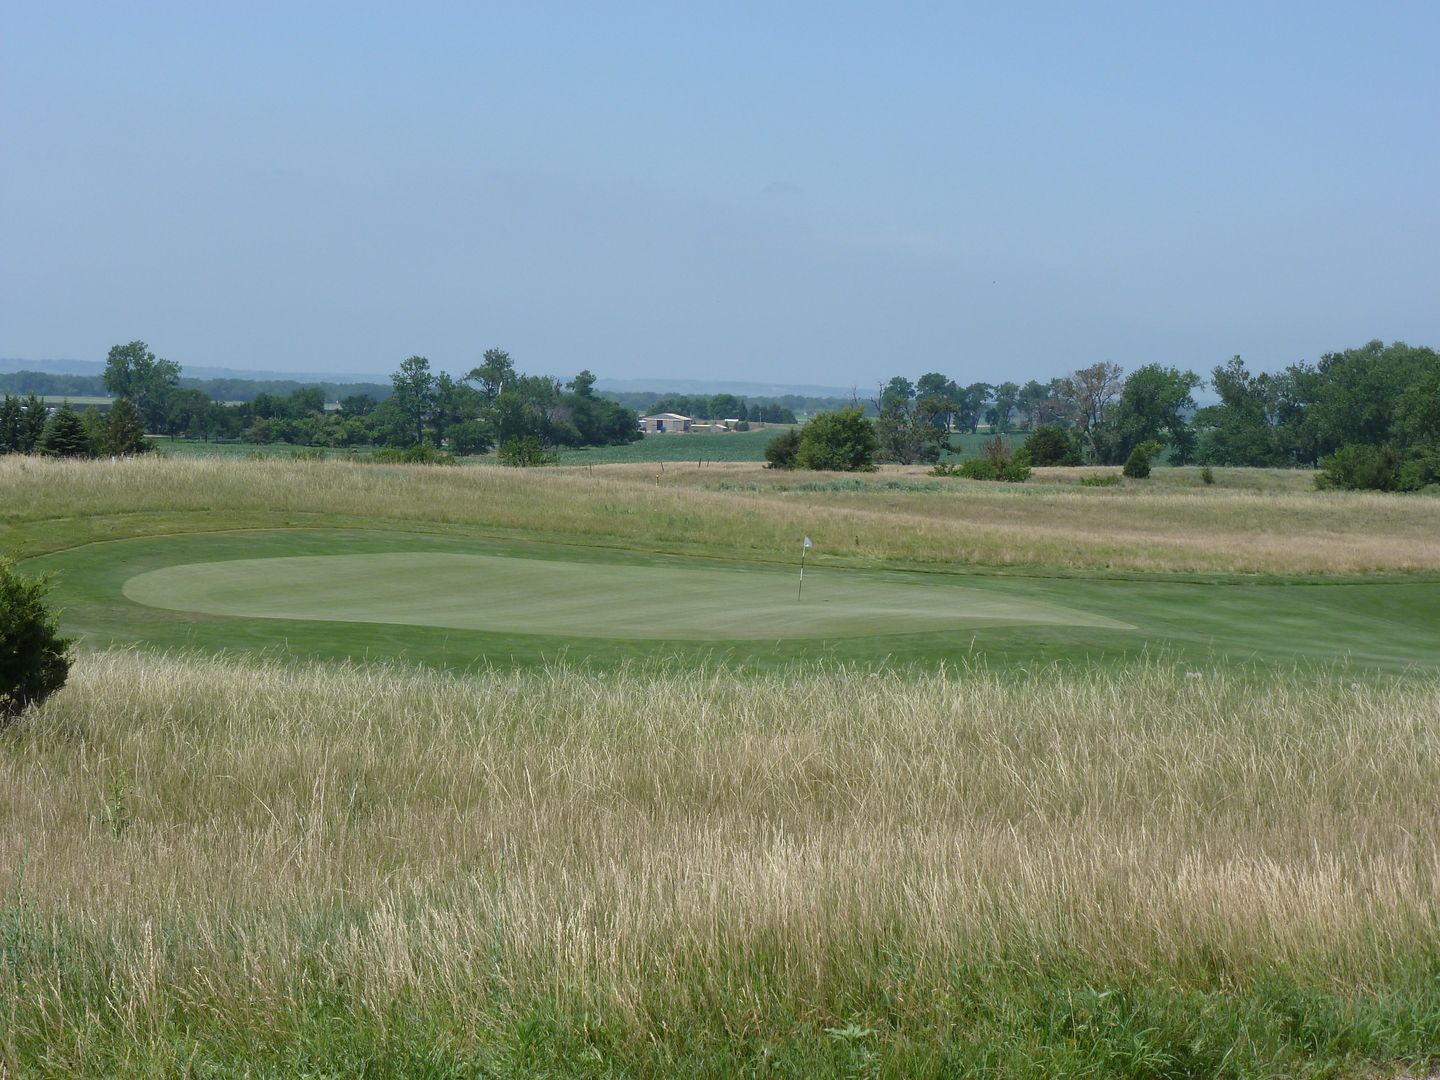
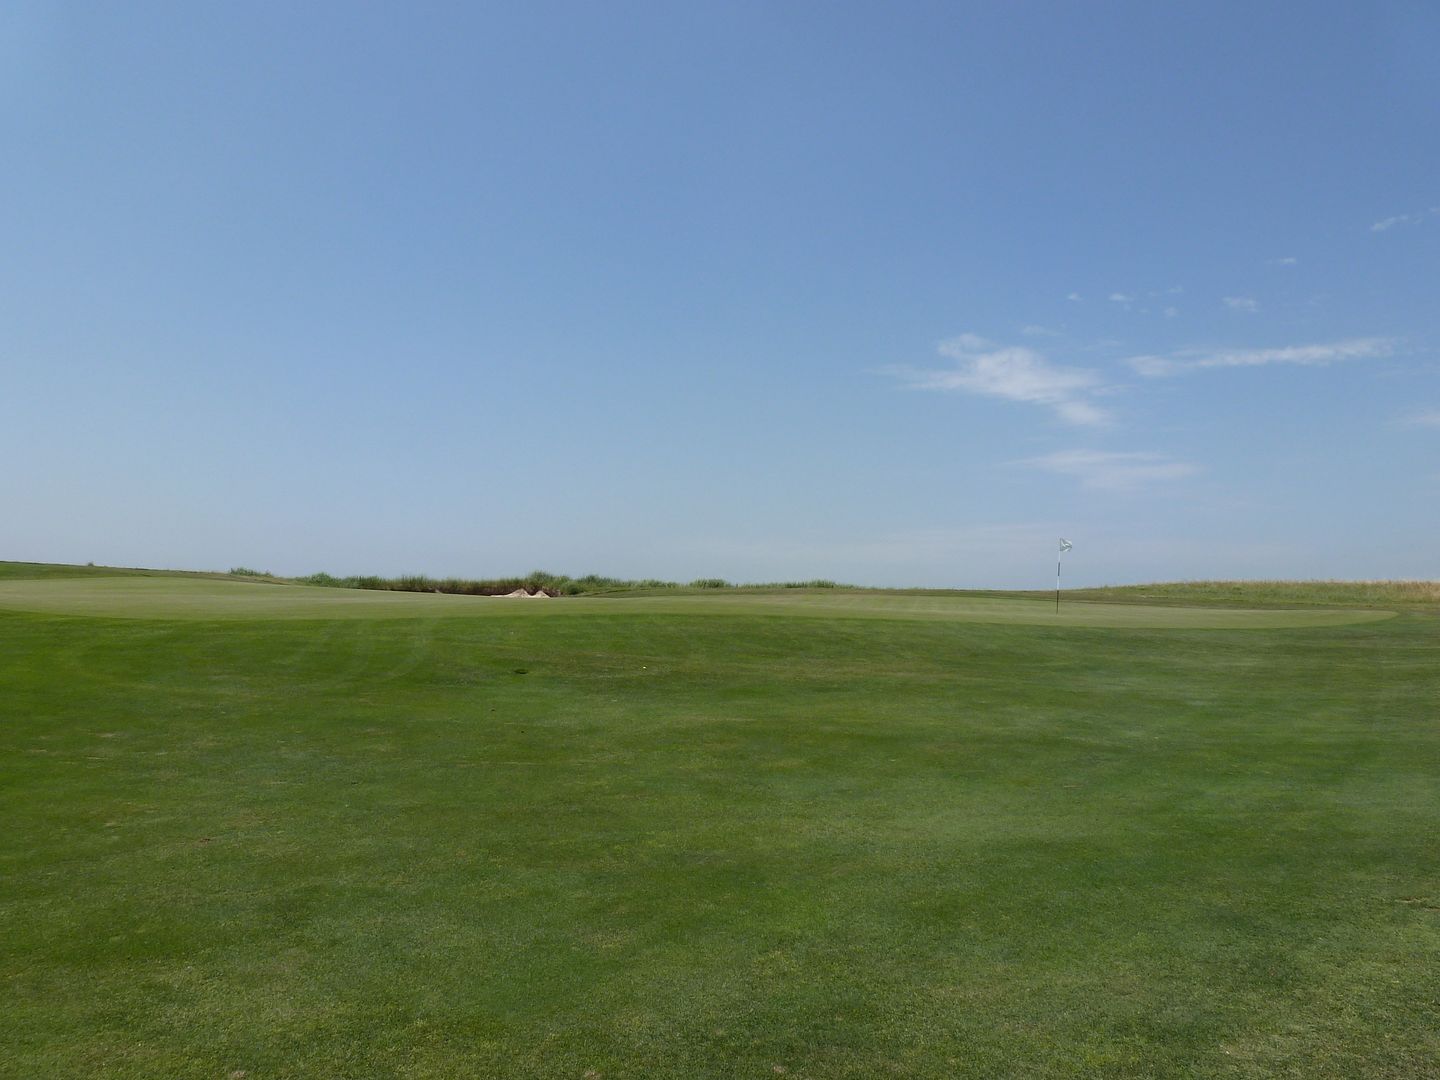
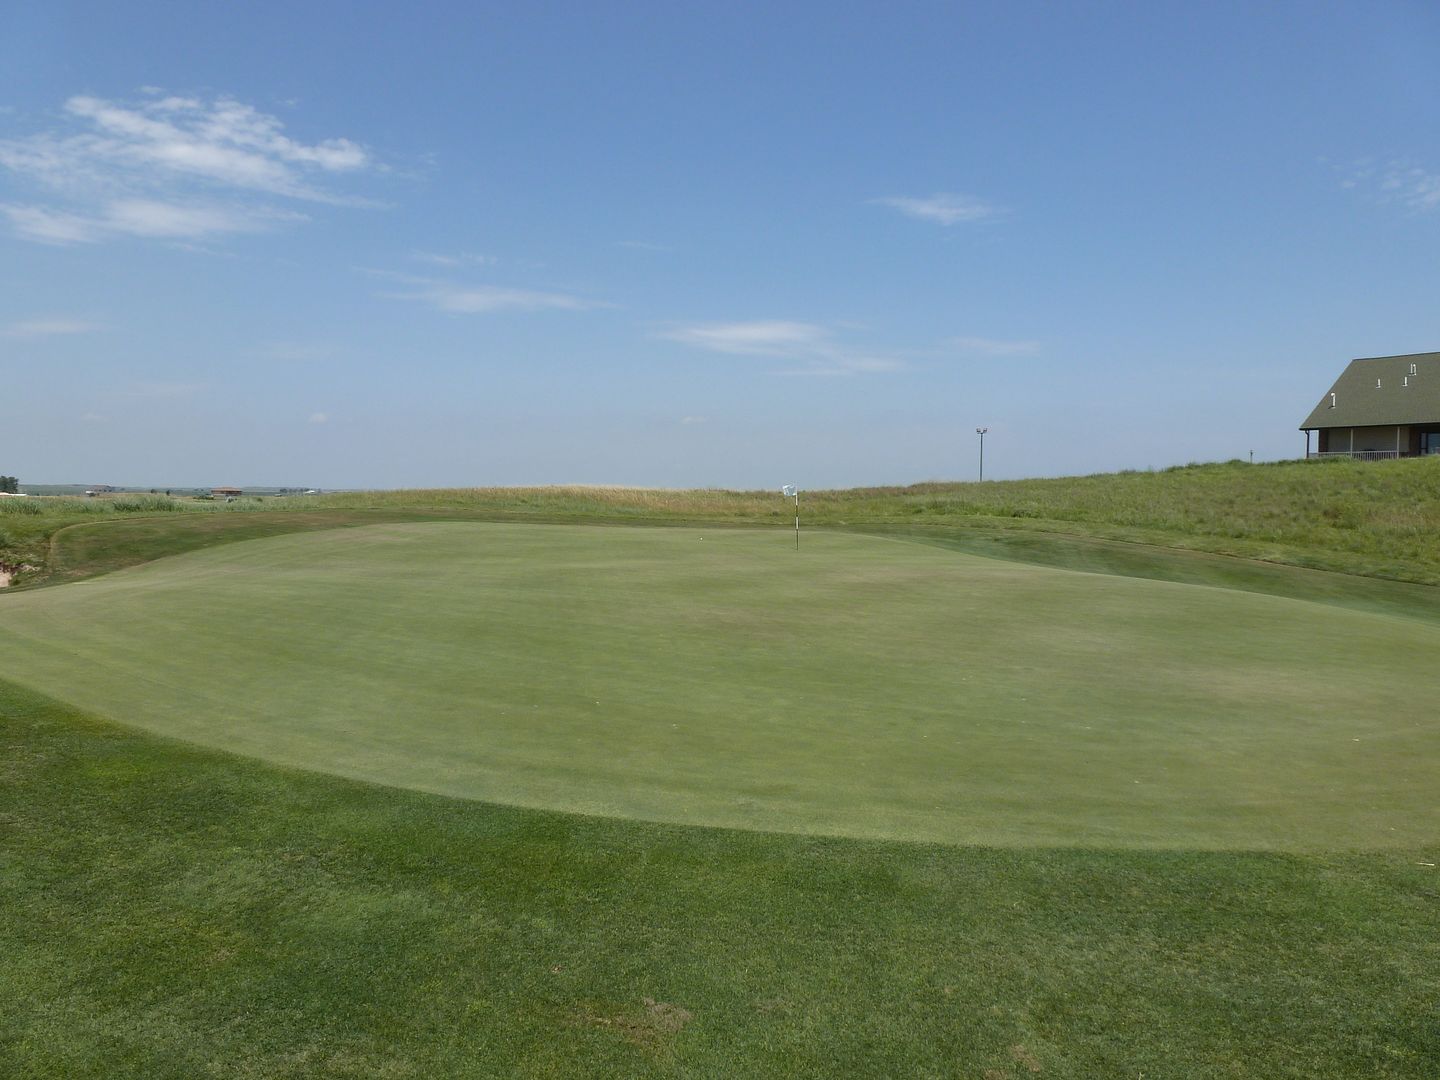
Hole 13: Par 3, 208 Yards
Hole Description: #13 is a long par three that plays from an elevated tee over a valley to a huge green with many rolls. Bunkers in front and left should be avoided. Shots up onto the hill right will find their way back to the green and shots long will avoid trouble. A tough par most days into the wind.
Gold Tee
Forward Tee
Green from long left

Green from left
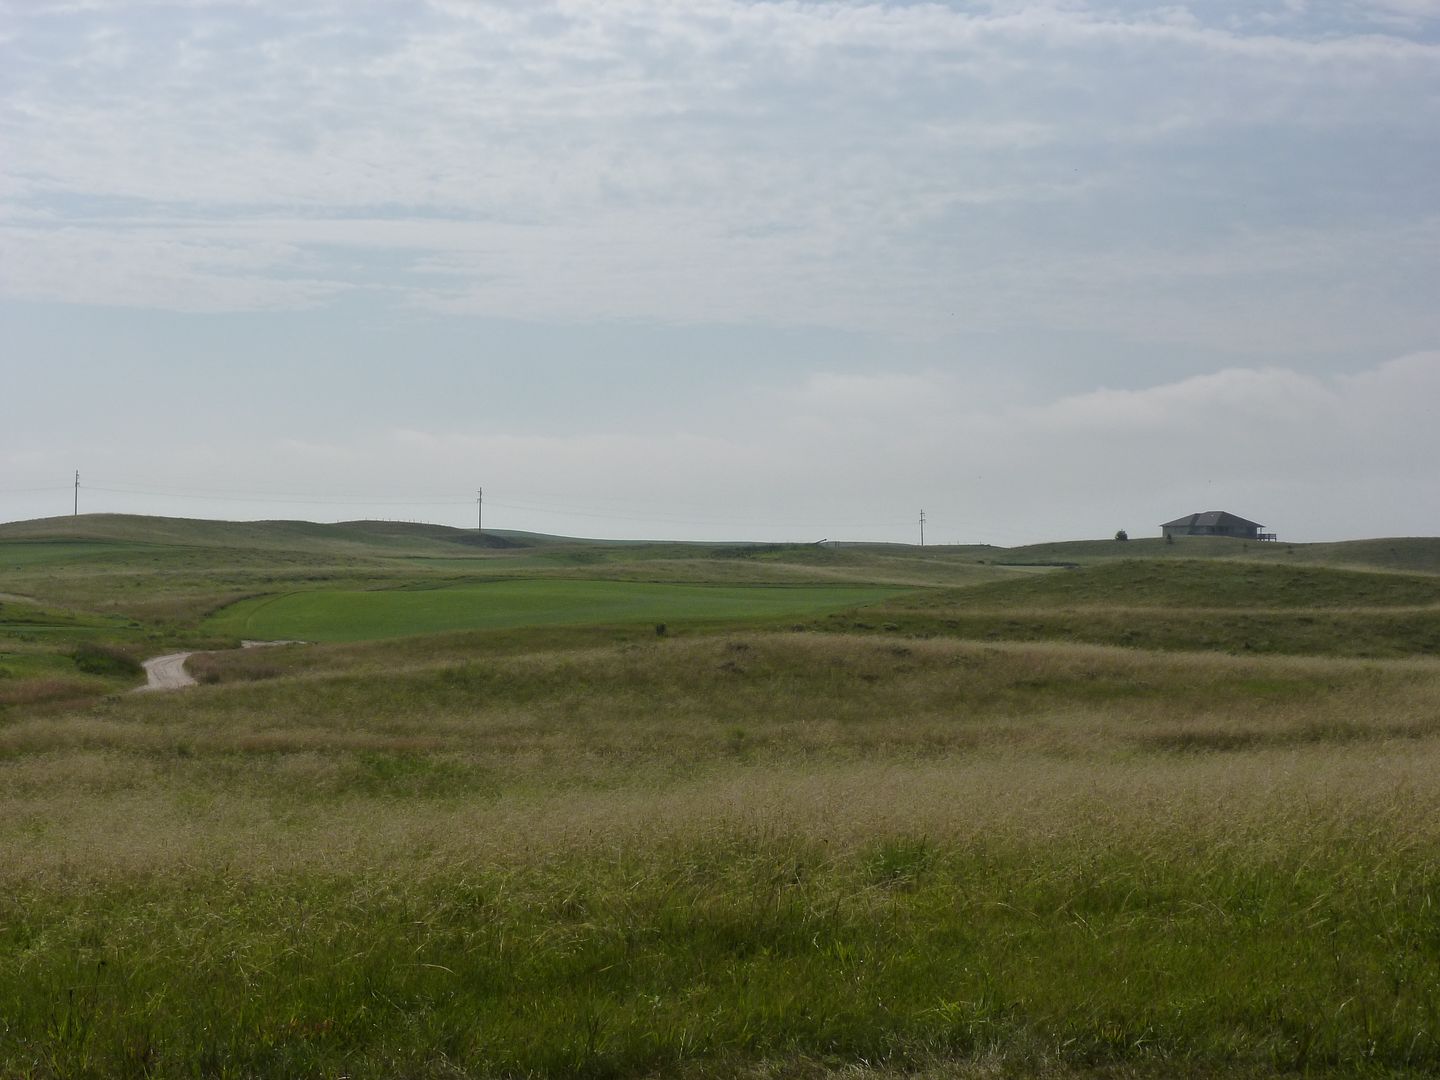
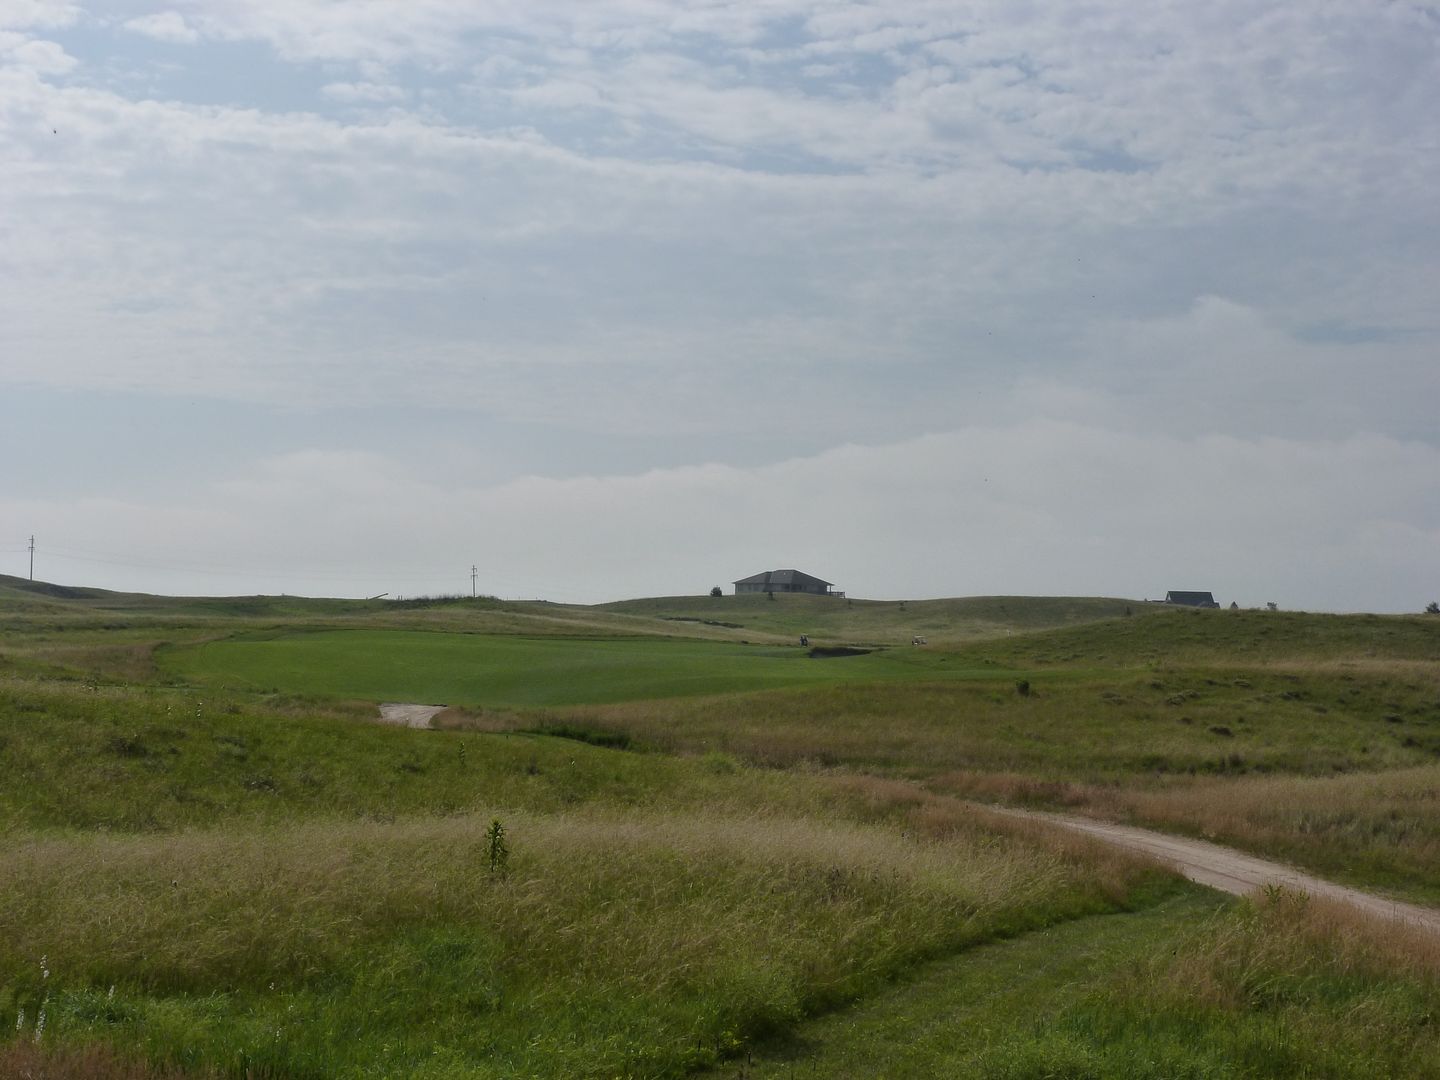
Hole 14: Par 5, 524 Yards
Hole Description: #14 is a short par five most often downwind that presents a good birdie opportunity. The tee shot is open to an 80 yard wide fairway. The left side cuts some distance but presents a trickier second. A shot to the middle or right should come to rest on a hill looking down to the green. A middle fairway bunker lies about 70 yards from the green and a deep bunker guards the left side of the shallow but wide green. Play to the right to give yourself a chance to run onto the green in two but dont overclub as a bunker behind the green will gobble up long approaches.
Gold Tee
Forward Tee
2nd from right
2nd from left
Approach from right

Approach from left
Short of green
Over the green there is a bunker completely hidden from view from the fairway. Here is the view from behind the green:
Hole 15: Par 4, 342 Yards
Hole Description: #15 is a short par four with a myriad of bunkers. Three fairway bunkers challenge your tee ball that should hug the left side. A fairway bunker right catches wayward slices. The green is pinched in by bunkers front right and back left and only opens up from the left side of the fairway. Although your second shot should be from 120 yards and in, it must be very precise to hold on this tiny, shallow green. Safe shooters play a run up to the front left part of the green and take par. Aggressive players must avoid the deep sand traps front and back and spin the ball to keep it greenside. The green slopes from back to front slightly making for some quick, breaking putts. #15 is short but treacherous!
Tee
From lay-up tee shot
From tee shot down the left
From aggressive tee shot that carries left bunker
From long right of green
Hole Description: #13 is a long par three that plays from an elevated tee over a valley to a huge green with many rolls. Bunkers in front and left should be avoided. Shots up onto the hill right will find their way back to the green and shots long will avoid trouble. A tough par most days into the wind.
Gold Tee
Forward Tee
Green from long left
Green from left
Hole 14: Par 5, 524 Yards
Hole Description: #14 is a short par five most often downwind that presents a good birdie opportunity. The tee shot is open to an 80 yard wide fairway. The left side cuts some distance but presents a trickier second. A shot to the middle or right should come to rest on a hill looking down to the green. A middle fairway bunker lies about 70 yards from the green and a deep bunker guards the left side of the shallow but wide green. Play to the right to give yourself a chance to run onto the green in two but dont overclub as a bunker behind the green will gobble up long approaches.
Gold Tee
Forward Tee
2nd from right
2nd from left
Approach from right
Approach from left
Short of green
Over the green there is a bunker completely hidden from view from the fairway. Here is the view from behind the green:
Hole 15: Par 4, 342 Yards
Hole Description: #15 is a short par four with a myriad of bunkers. Three fairway bunkers challenge your tee ball that should hug the left side. A fairway bunker right catches wayward slices. The green is pinched in by bunkers front right and back left and only opens up from the left side of the fairway. Although your second shot should be from 120 yards and in, it must be very precise to hold on this tiny, shallow green. Safe shooters play a run up to the front left part of the green and take par. Aggressive players must avoid the deep sand traps front and back and spin the ball to keep it greenside. The green slopes from back to front slightly making for some quick, breaking putts. #15 is short but treacherous!
Tee
From lay-up tee shot
From tee shot down the left
From aggressive tee shot that carries left bunker
From long right of green
Hole 16: Par 4, 445 Yards
Hole Description: #16 is a long par four that requires excellent shots to take par. The tee shot is slightly uphill and blind and should split the fairway between the middle bunker and the right fairway line. The second is usually a long iron to a green most difficult to hit because is sits on a plateau guarded on the right by two bunkers. Stay left to avoid pitching into those on your approach. The putting surface is two tiered with mounds galore. Stay below the hole and judge speed carefully.
Tee
Approach from the right
Approach from left
Short left of green
Green from left (I really like this picture)
From behind
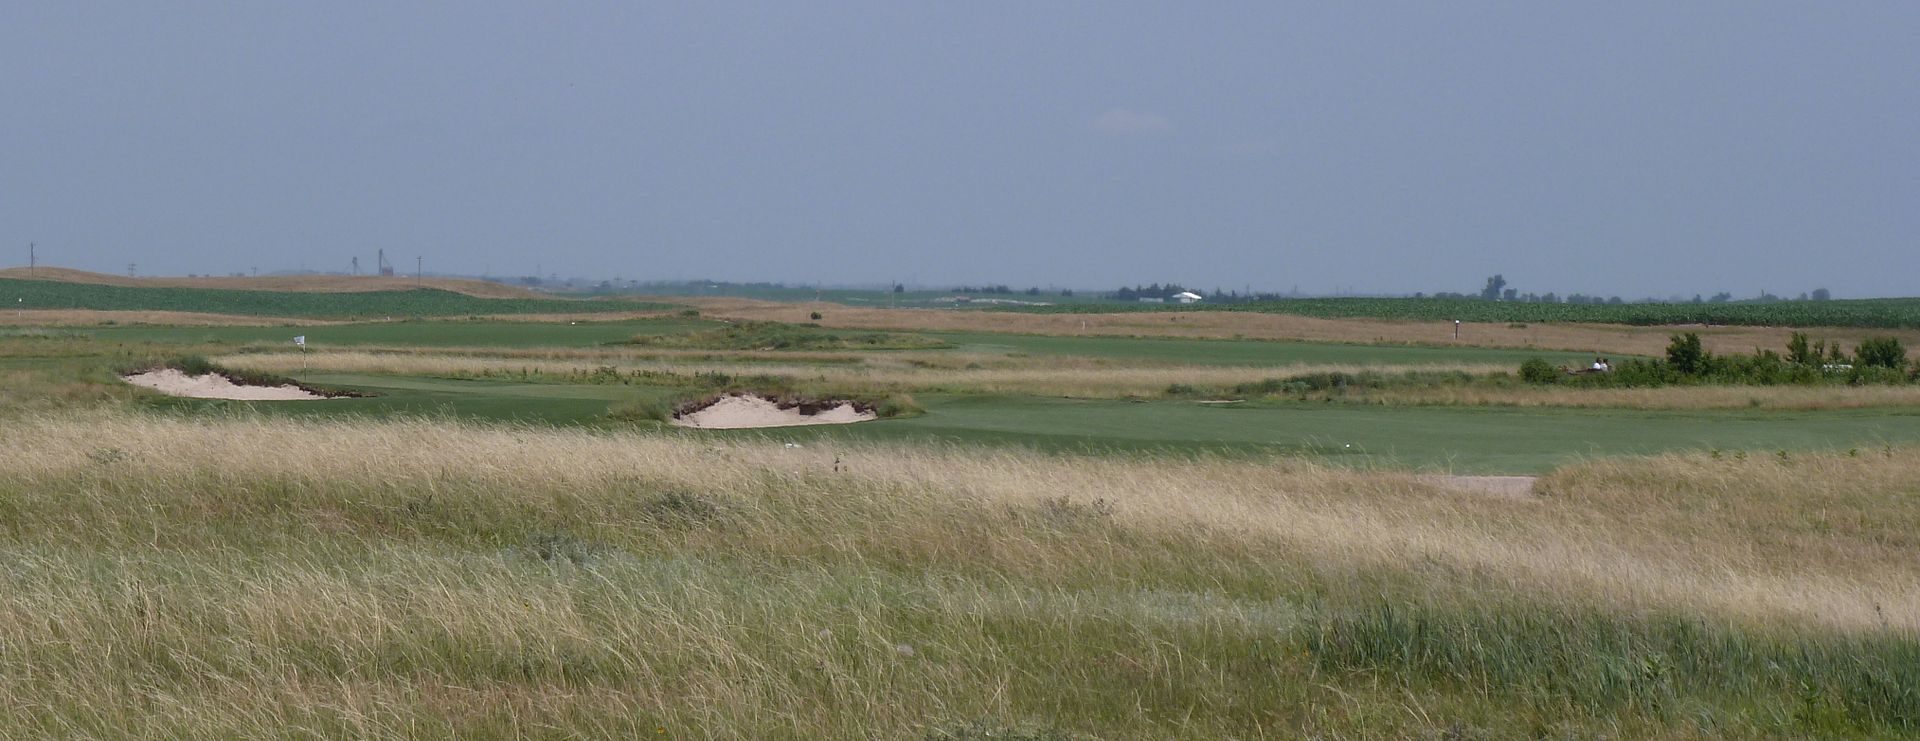
Hole 17: Par 5, 505 Yards
Hole Description: #17 is a short par five reachable in two. The tee shot should be played over the saddle in the middle of the fairway into a broad flat valley. A small pot bunker can catch long drives in the middle of the fairway. The second shot requires a decision to go over two bunkers at the turn of the fairway for the green or to play left of those into a small neck in the fairway leaving a simple bump and run to the green. Shorter players can play short of those for a 120 yard pitch to the green. The entrance to the green is open but a bunker guards the left front and another parallels the green on the right. The green itself is concave with mounds right and left.
One thing I really liked about this hole was that the green opened up with an aggressive tee shot down the left, but the lay-up area opened up with a tee-shot down the right. This means that a flared (weak) tee shot that chooses to layup on the second will not be penalized too much for the poor tee shot and 4 is still an option. Even more, it means that the short but straight hitter, knowing he will be laying up, should make the conscious decision to hit his tee ball down the right.
Tee
Approach from right (layup area opens up from here, but shot at green is very difficult - pin is over rightmost bunker)
Approach from left (green opens up a bit from here)
After a conservative layup
Short of green (plenty of room to run a ball onto the green here)
From left
Hole 18: Par 4, 418 Yards
Hole Description: #18 is a medium dogleg right par four. The tee shot should find the fairway between the middle fairway bunker and the huge blowout bunker guarding the right side. The green is uphill from the fairway and guarded by bunkers all around except for the right front where the approach slopes right to left allowing a shot to feed down onto the green. Finding the green in two should give you a chance to birdie as the green is reletively flat.
The line of charm here (notice the green/pin to the right of the massive blowout) really, really make you want to try to carry that bunker (or even go right of it) from the tee, but alas, that is dead. Still, one is rewarded with a far easier approach if they manage to skirt that blowout on the tee shot.
Approach from right
Approach from left
Short right of green
From behind
No comments:
Post a Comment